Sea of Thieves Tall Tales Journal Locations Guide: Part Two

Our guide to the Sea of Thieves Tall Tales continues below.
TALL TALE #3: THE LEGENDARY STORYTELLER
You can find this Tall Tale at Ancient Spire outpost. Speak with Tasha in the Tavern. These journals relate to Briggsy.
JOURNAL #1: A FUNNY LITTLE RUMOUR
The first journal can be found at Lone Cove in the Shores of Plenty. It is located in the cave on the north-west side of the island. Enter the cave and it is located on the right hand side on the rock next to some glowing mushrooms.
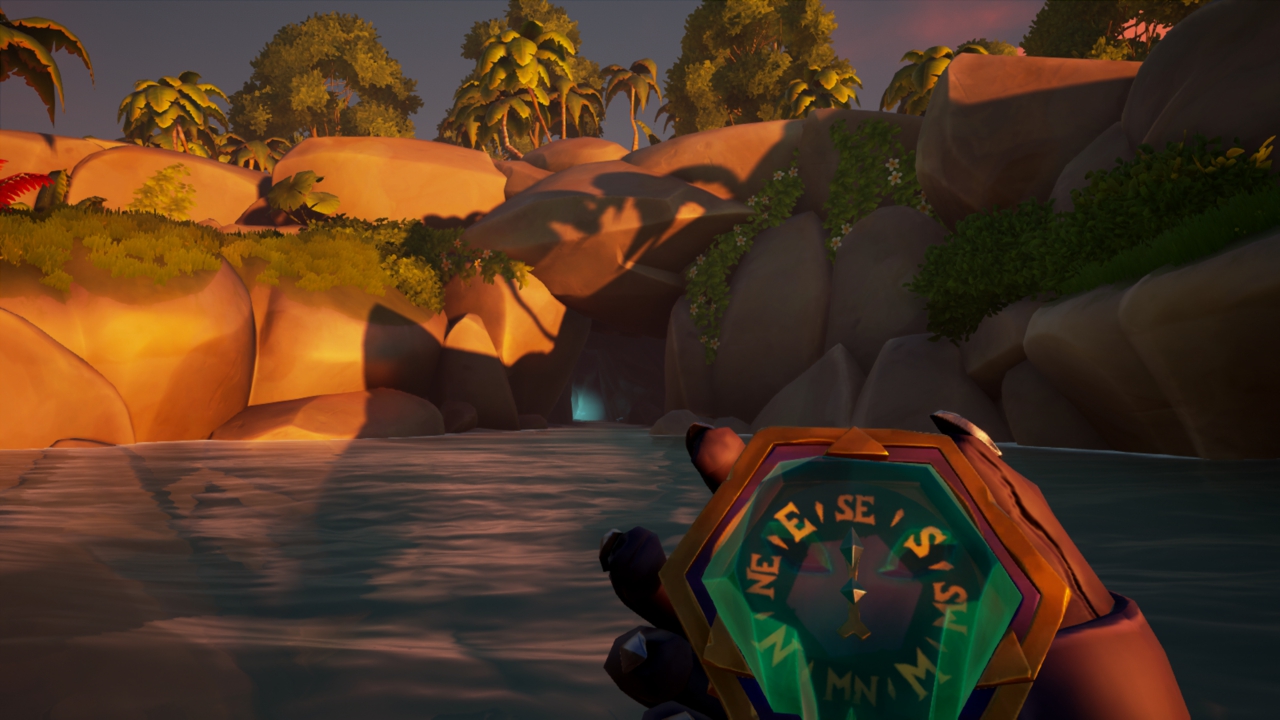
Lone Cove

Lone Cove – Journal Location
The text reads:
Started keeping a diary again. It doesn’t beat telling my tales in a busy tavern, but it’ll do for now. Besides, it’s time for another adventure. The yearning’s back, deep in my belly. Time to sail again. Lucky me, overhearing the girl with the merfolk earrings. A Shroudbreaker? Sounds like fun! If what she said is true, I should take a scout around Mermaid’s Hideaway. Just in case…
JOURNAL #2: I KNOW WHERE IT IS!
This is located at Mermaid’s Hideaway on the Northern beach in a broken barrel near a camp fire.
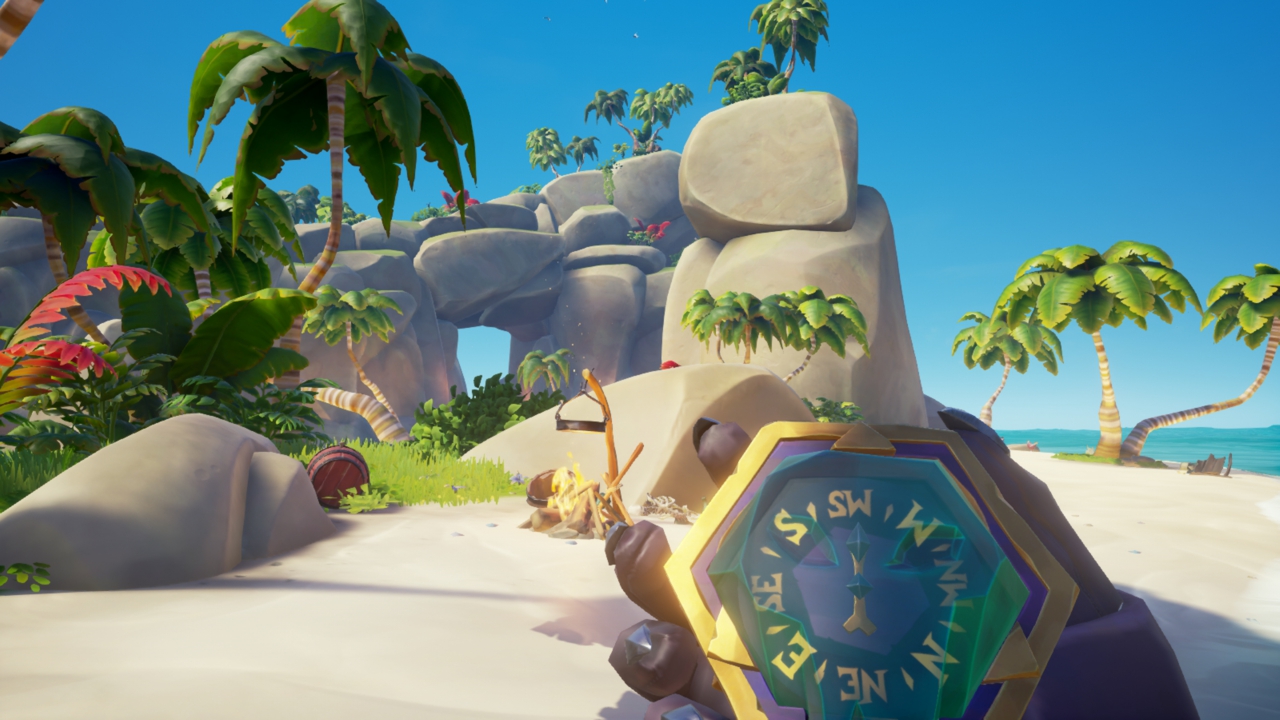
Mermaid’s Hideaway
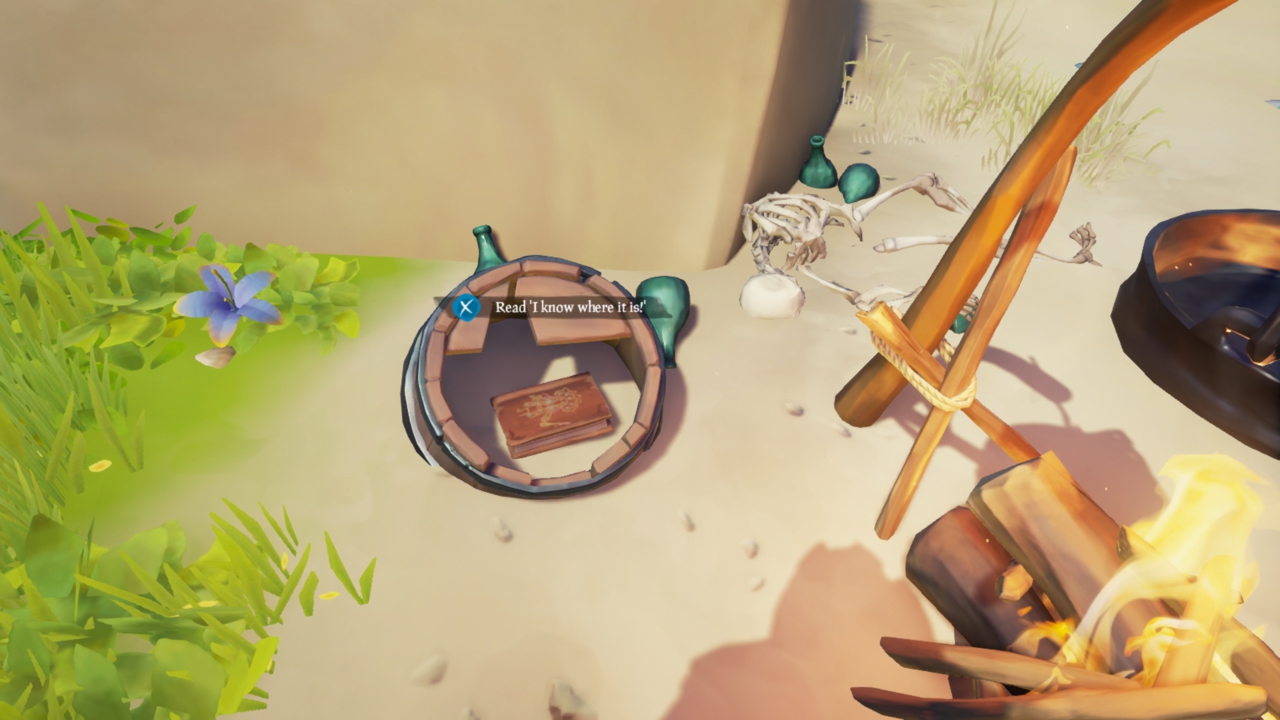
Mermaid’s Hideaway – Journal Location
The text reads:
As I hoped, the pirate I overheard stashed a map to the Shroudbreaker here. I’m sure she won’t mind me borrowing it! All those new places beyond the Shroud! I can’t wait to make my mark on them, so everyone knows I got there first. It’s so stormy though… I stashed some vittles in the wreck at Old Salts Atoll, so I’ll hole up there for tonight. Then tomorrow, I’m off to claim my prize. I just need to work out how to open the vault…
JOURNAL #3: I NEED TO GO ALONE…
You can locate this tattered old tome on Old Salts Atoll. The journal is located in the front section of the shipwreck in the broken hull. You can access if by climbing up onto the front section and looking through the broken hull.
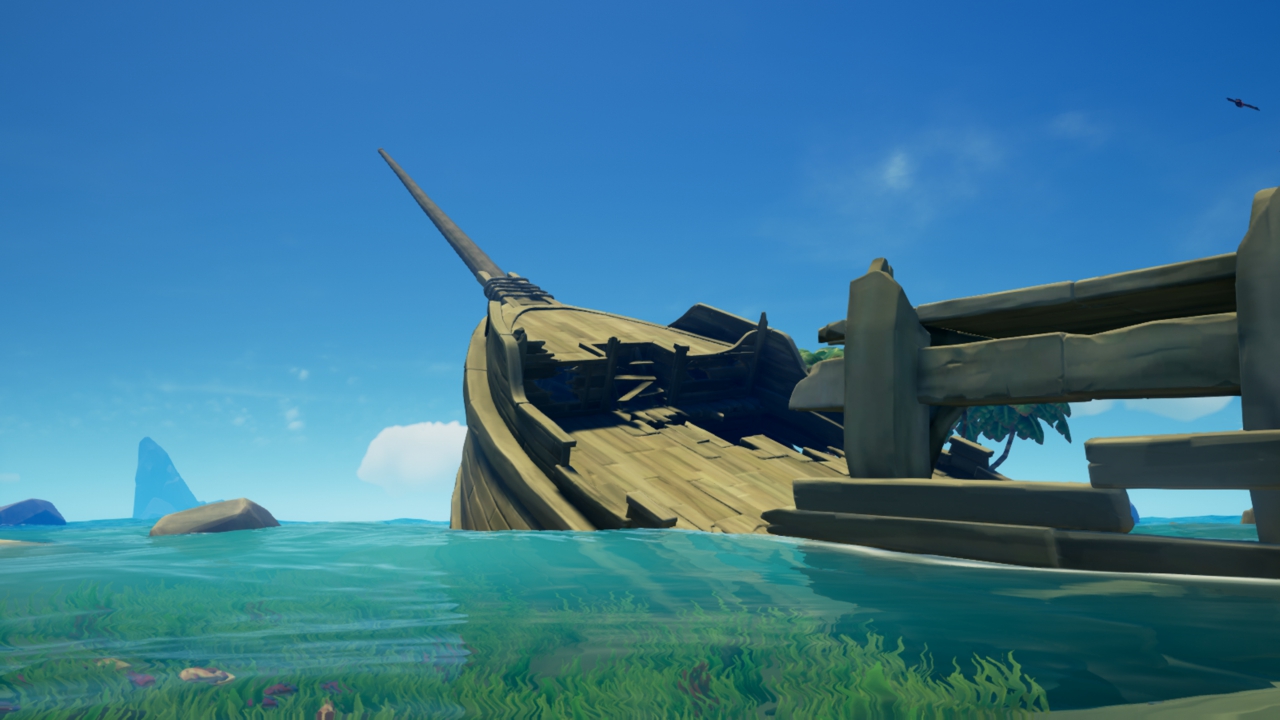
Old Salts Atoll
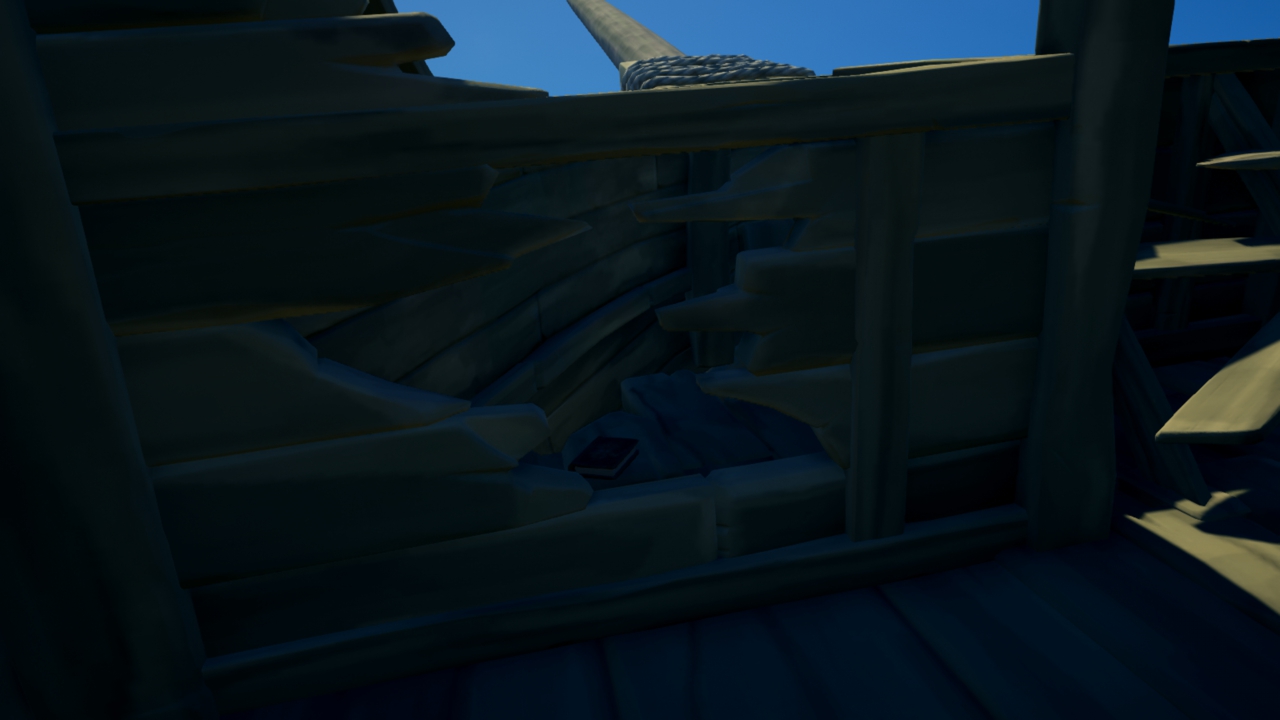
Old Salts Atoll – Journal Location
The text reads:
This place reeks worse than the drinking den where I tell my stories, but at least it’s warm and dry. It’ll do! I can’t wait to see that little girl’s face when I tell her Briggsy made it to the Shores of Gold. Not sure I can risk bringing Sudds along. He means well, but it’s a long voyage and he’s not exactly nimble. I hope he’ll understand… Well, the storm’s easing off. Time to snatch myself a Shroudbreaker!
JOURNAL #4: I CAN’T GO BACK…
This journal can be found in the Tavern at Dagger Tooth Outpost. It is located on the bookshelf to the right of the fire.
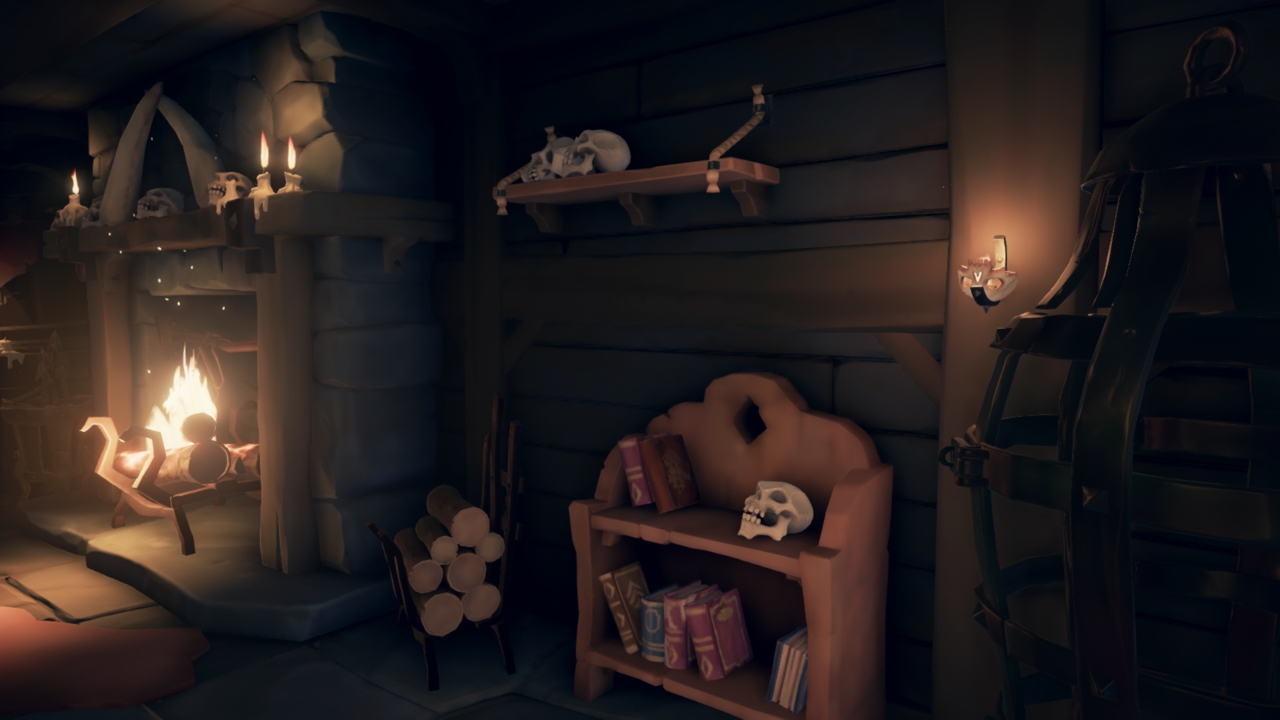
Dagger Tooth Outpost

Dagger Tooth Outpost – Journal Location
The text reads:
They say you should be careful what you wish for. The greatest voyage of my life, and this is how it ends… Boneheads don’t attack me now. They just stand and stare, like they’re expecting… What? Orders? From me? I can feel a darkness in my heart. I want to lash out, like I did to that Naughty Man at Galleon’s Grave. I’m so, SO glad that girl can’t see me like this. I don’t want her to hear this story. My last story… I… I don’t want her to know I’m a monster…
JOURNAL #5: TO WHOEVER FINDS THIS…
This journal is at Galleon’s Grave outpost. You will need to climb right up to the shipwreck on the top of the island and walk along the bowsprit to the hanging cage. The journal is located at the bottom of the cage.
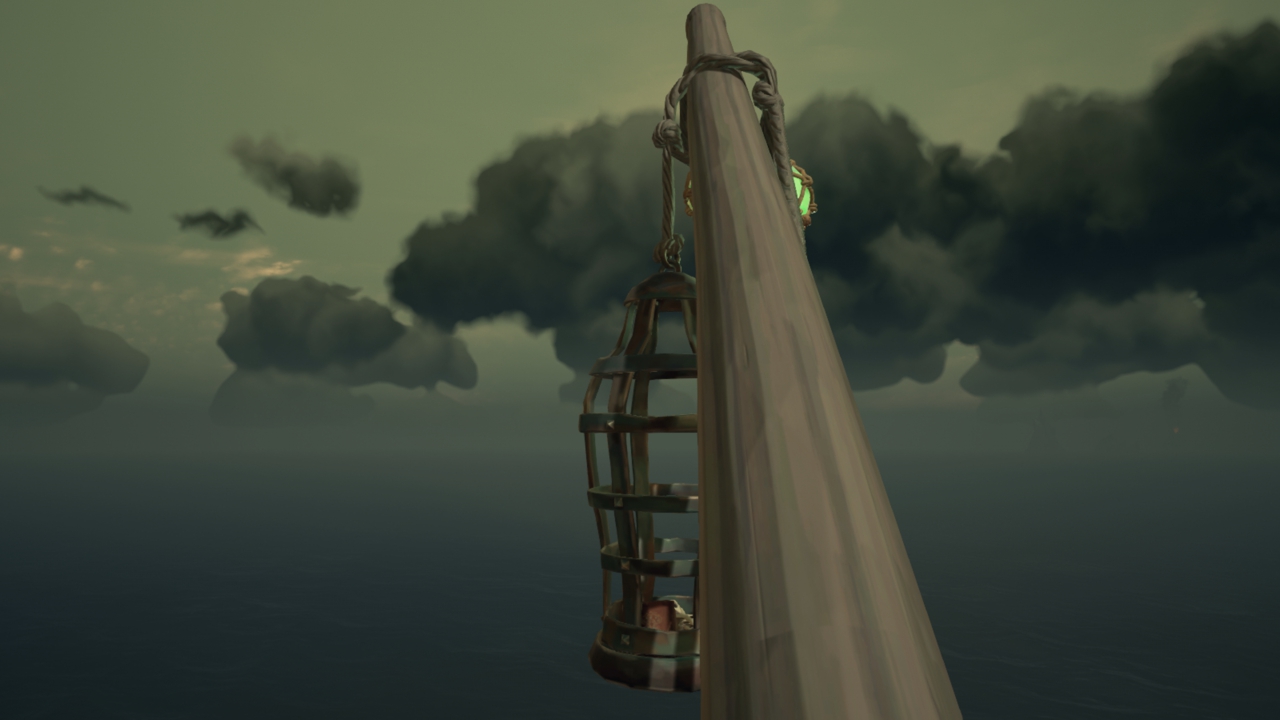
Galleon’s Grave
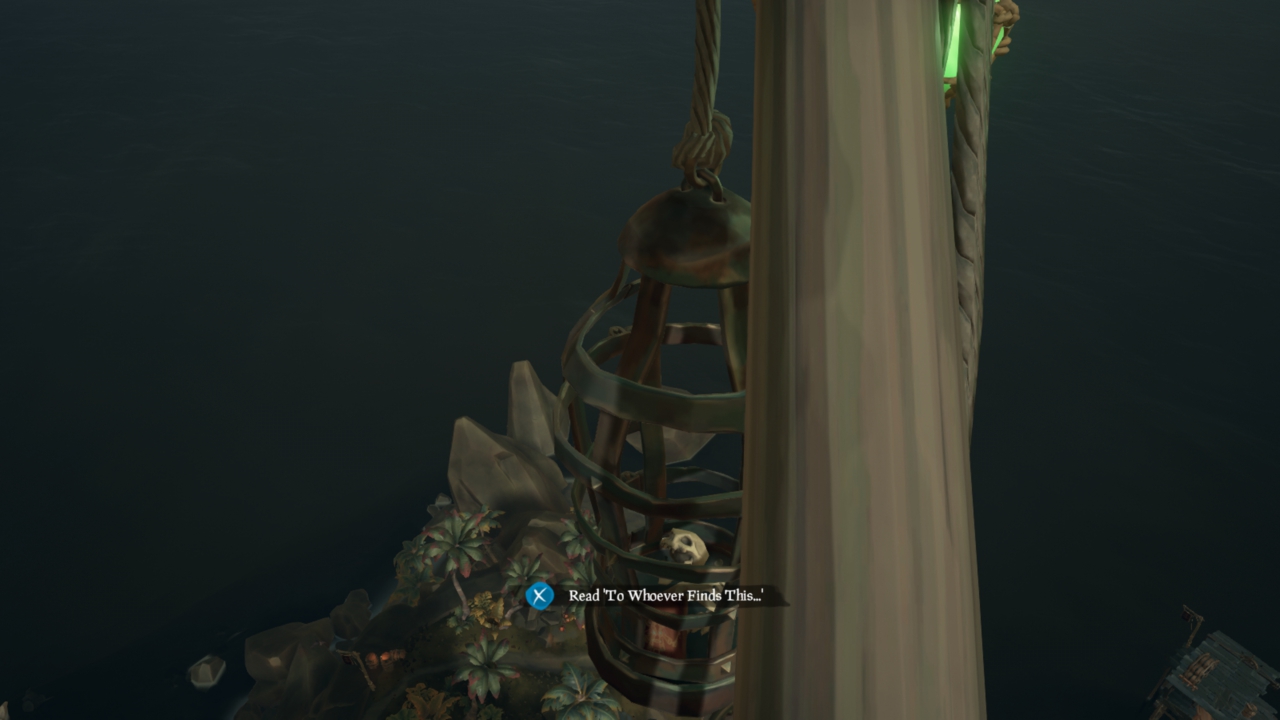
Galleon’s Grave – Journal Location
The text reads:
Kareen, my love, I hope you never read this. Today I made the worst mistake of my life. I was such an idiot. I recognised her livery on the horizon and thought I’d pick a fight with the famous Briggsy. It wasn’t her! Well it was, but cursed! Her flesh mostly rotted away, and so fierce. Like a wild animal. She didn’t kill me, only threw me in a cage. She said starving my way onto the ferry would teach me a lesson. I’m so hungry, and this is so cruel! I don’t know what Briggsy is now, Kareen. I just know she isn’t human any more.
TALL TALE #4: STARS OF A THIEF
You can find this Tall Tale by visiting Sudds at the North Star Seapost. These ones are slightly easier to find than some of the others as they are all located near a spyglass on the islands.
JOURNAL #1: THE NORTH STAR GUIDES YOU
This journal is located on Rum Runner Isle, next to the spyglass located on the eastern islet.
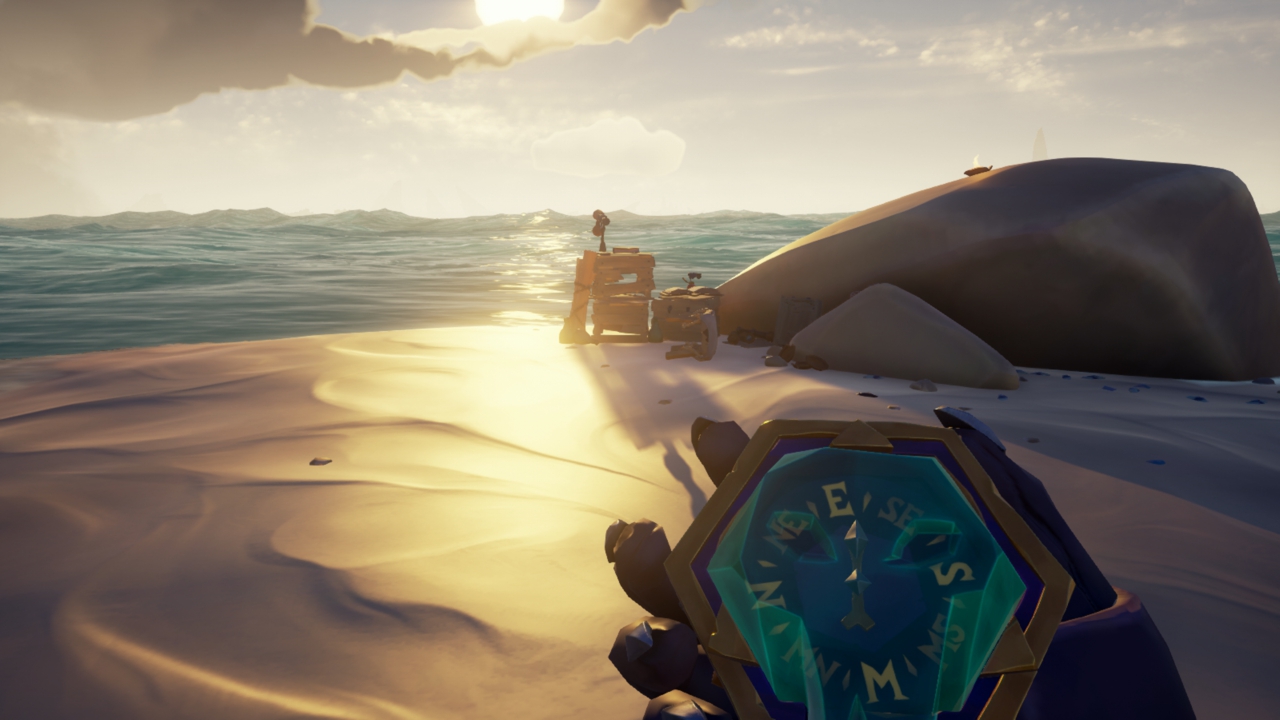
Rum Runner Isle
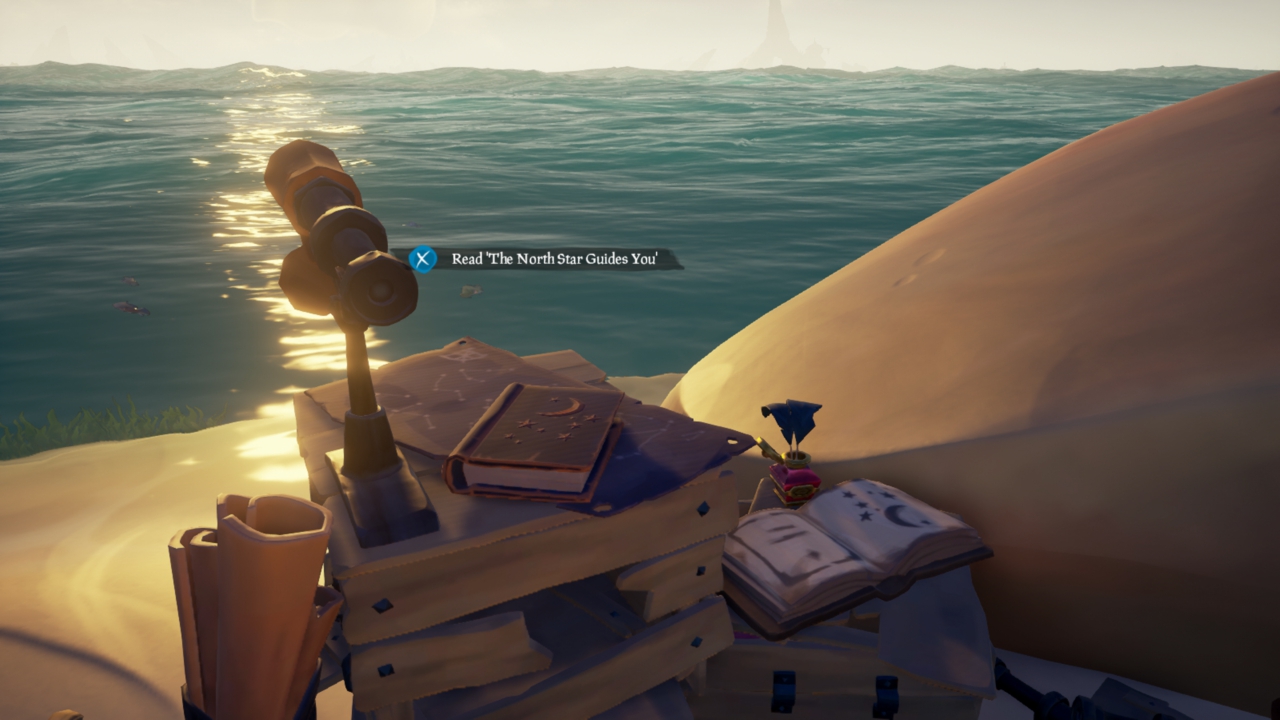
Rum Runner Isle – Journal Location
The text reads:
Sudds met a young whippersnapper today. Green as leaves, he was. He hadn’t even heard of the North Star! You don’t need no spyglass to find her, Sudds told the lad, she’s the biggest and brightest friend and she likes to stay put. Spot the North Star and you’ll never need a compass again! And the boy smiled, and asked Sudds: “What if it’s raining?” Sudds gave the lad a thick ear. Busy, too busy for foolish questions! Gots to reach ol’ Plunder by nightfall…
JOURNAL #2: THE LITTLE GLIMMER FISH
You will need to head to Plunder Valley for this journal. It is located way up near the highest point of the island in a little box near the spyglass.
Plunder Valley
Plunder Valley – Journal Location
The text reads:
Brave little Glimmer Fish…. He used to swim down here in the water with all of his brothers and sisters, shining in the sun. Sometimes it’s not wise to shine too brightly… Bigger fish came with empty bellies, and their teeth went snicker-snack! Soon Glimmer Fish was the only one left to guide the ancient ones on their journey here. One brave little light, all alone… The ancients felt sorry for Glimmer Fish and placed him in the heavens where he could swim in safety. Lucky little fishy! Now Sudds must swim along too, all the way to the shores named after the sneaky snake…
JOURNAL #3: SNAKE GETS WHAT HE DESERVES
As the title suggests this one is on Snake Island. You will need to go to the middle island and it is located on the top looking out to the north-east. There is a small ledge just below the scrolls near the spyglass with the journal on it.

Snake Island

Snake Island – Journal Location
The text reads:
Snake has many voices and likes to play tricks. He coiled along a branch and waited until the Great Warrior was near. “Help me!” came the Sea Queen’s cry, “Won’t someone help me, for wicked One-Eye has me by the tail!” Warrior heard it all. Warrior ran through the trees, not looking up above his head, and whump! There came Singing Snake to coil around his throat. Snake is cunning, but Warrior is strong! He grabbed at Snake and hurled him up into the stars, where he has lived ever since! Sudds can’t get a good view from here. Needs to sail out to Old Harry’s place before daybreak…
JOUNRAL #4: THE WAR THAT SHOOK THE SKY
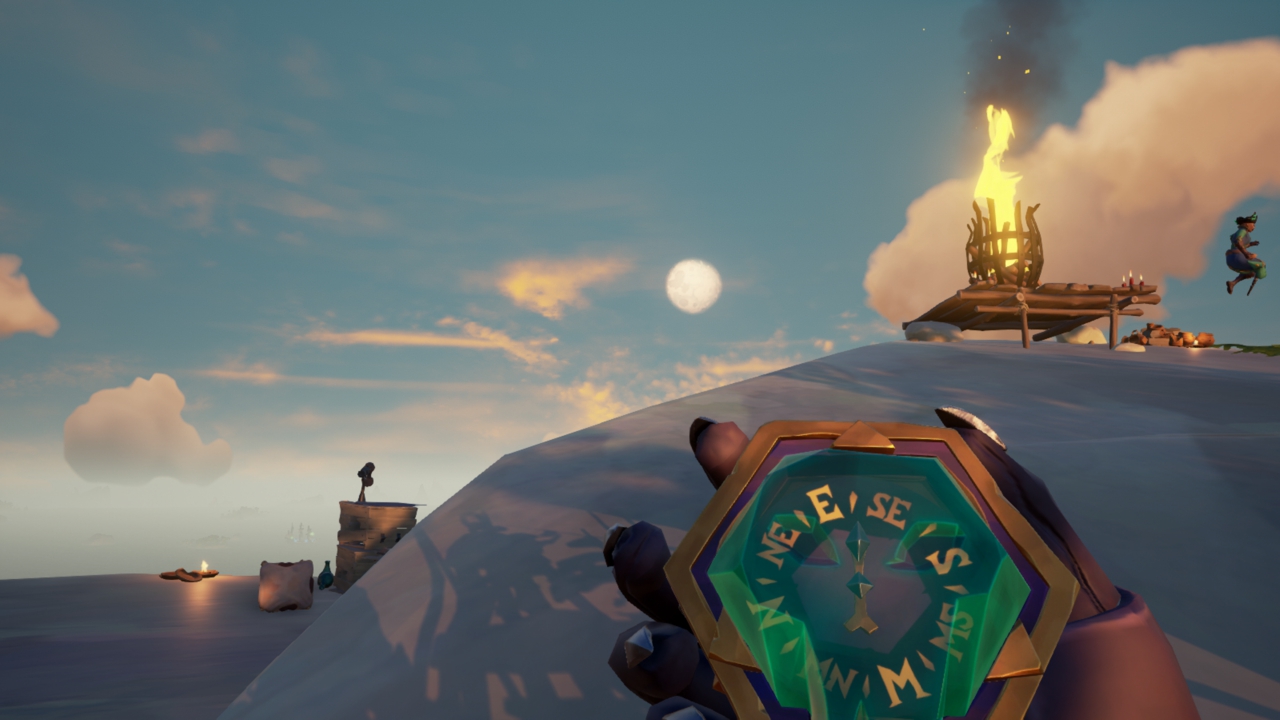
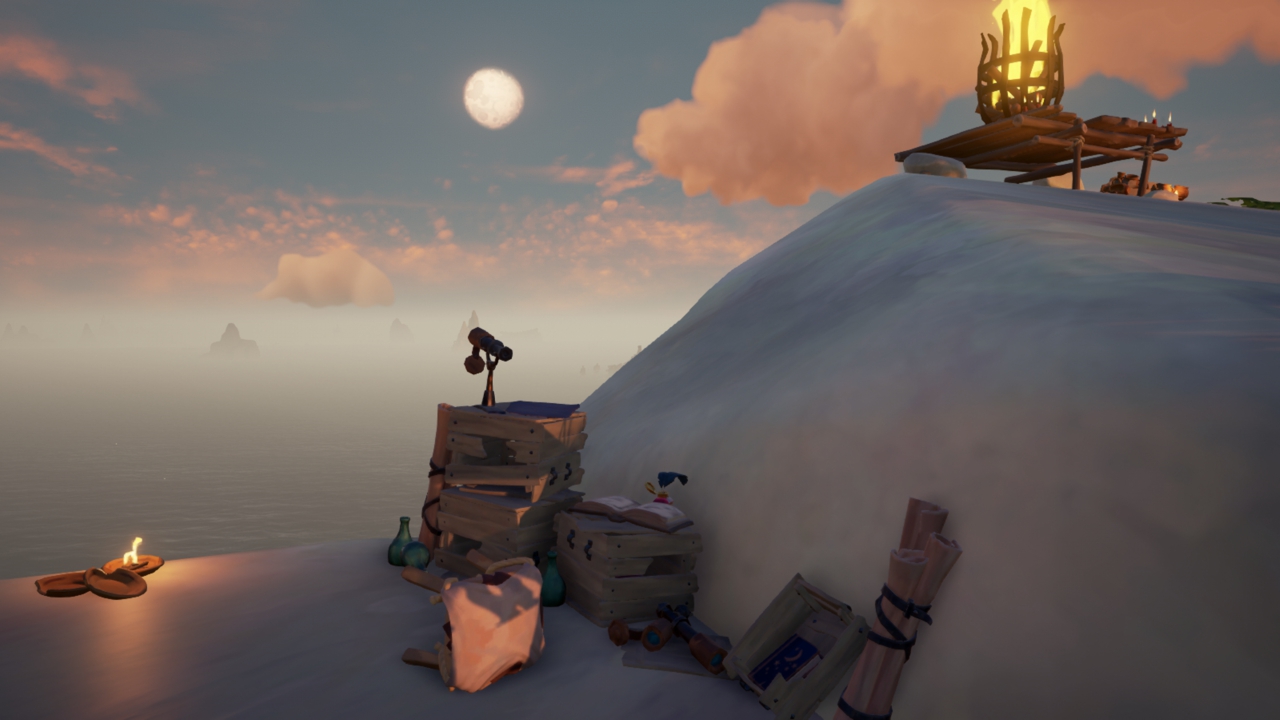
Onto Devil’s Ridge. The journal is located way up high on the rocks above where the brazier is. The spyglass is looking out to the south-west, with the journal tucked in under the scrolls nearby.
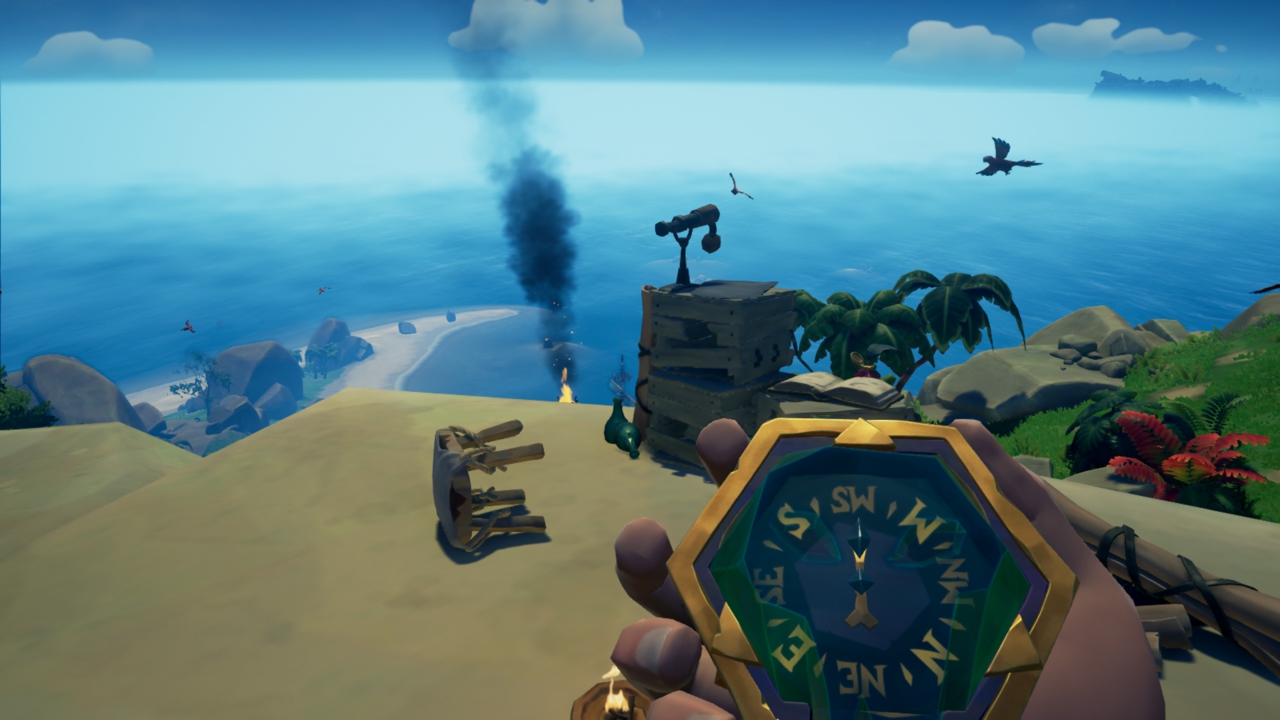
Devil’s Ridge

Devil’s Ridge – Journal Location
The text reads:
There was once a great battle that shook the whole heavens, and caused great sadness to Sudds’s friends above. Great Warrior knew that he would have to battle Old Kraken, for she planeed to feast on the merfolk and their kin. To fletch the arrows he would need, Warrior told Proud Eagle to give up eight of his feathers, or they would go to war. Eagle refused, of course, and tore at Warrior with his sharp talons, but it was no use. Warrior fled with his golden prizes! He dropped one feather as he fell back to earth, and it’s still in the stars! Sudds wants to see it from the moon-shaped isle…
JOURNAL #5: THE BINDING OF THE KRAKEN
As the previous journal entry suggested you will need to head to Crescent Isle. The spyglass and the journal are located on the south-western rocks.
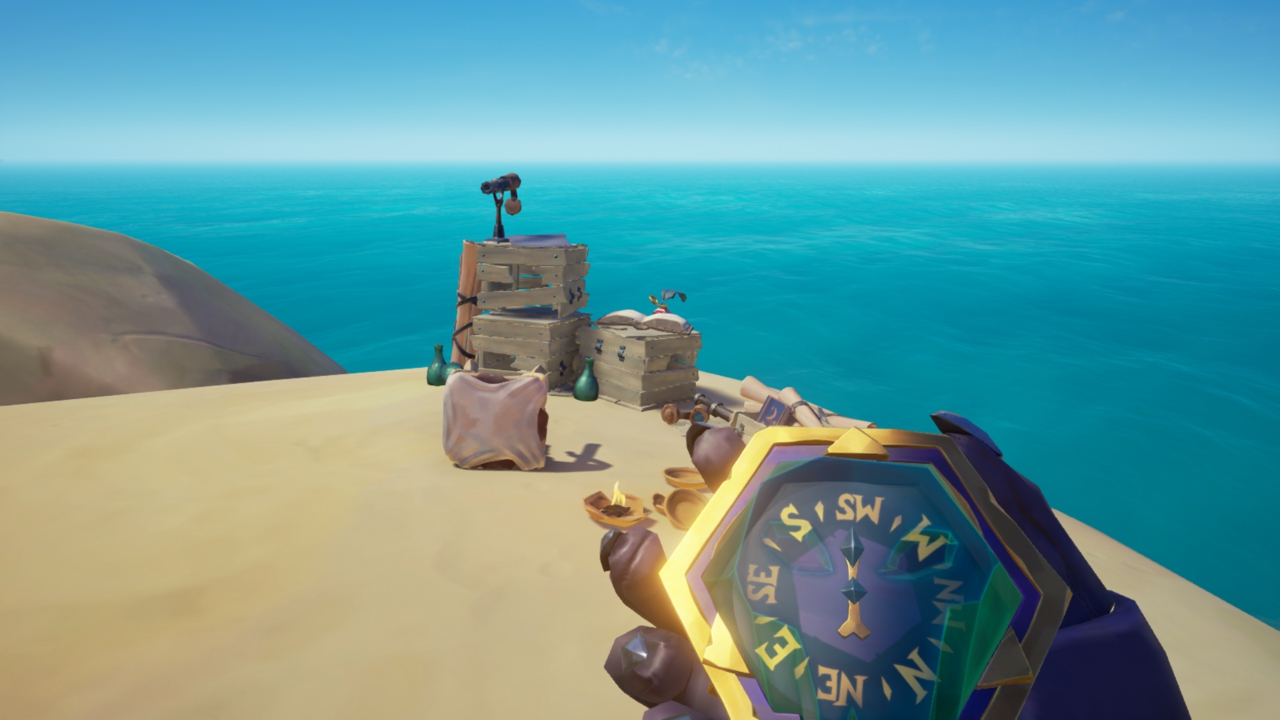
Crescent Isle
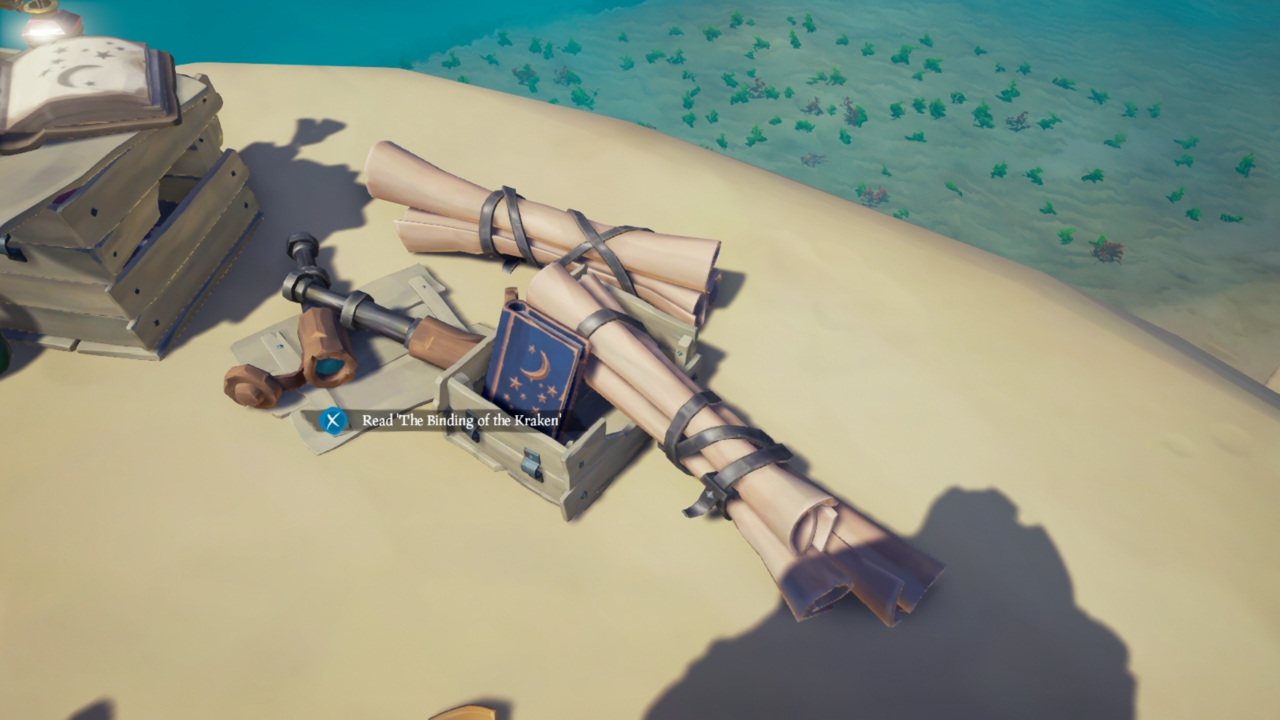
Crescent Isle – Journal Location
The text reads:
Great Warrior took his arrows and went to make war with Kraken, but he had lost a feather along the way. He thought of Singing Snake and the venom it used to bite, and he tipped each of his arrows with the very same. The arrows stung the Old Mother and made her sleepy, so that she sank down to the sea bed. Warrior gave out a great cry. The ancients came, then, with their great chains. Together they bound Kraken rightly to the star above, far out of reach. The Sea Queen was grateful, for her people were saved, and she promised they would always help those lost at sea.
We’ll be posting the next part soon, so be sure to check back! Good luck!


