Sea of Thieves Tall Tales Journal Locations Guide: Part One

The Tall Tales are finally upon us in Sea of Thieves, and they are unlike anything you have experienced so far. The tales span nine different episodes which all lead you to discovering the mystery of the Shroudbreaker and the secrets it reveals on the Shore of Gold.
Each Tale is furnished with a back story told through a number of journals that can be found in the world. Some of them can be pretty difficult to locate, so we’ve put together a handy, multi-part guide to help you find them.
You can find the journals in any order you wish, although most of them lead you neatly on to the next location if you do follow them in the right order. You will need to have the relevant Tall Tale active in order to locate the journals, as they won’t spawn in the locations if you don’t.
TALL TALE #1: THE SHROUDBREAKER
You pick up this tale from the Mysterious Stranger at any Outpost. The Journals are all written by Mercia, a member of Ramsey’s crew.
JOURNAL #1: WHAT IS THE DEVIL’S SHROUD?
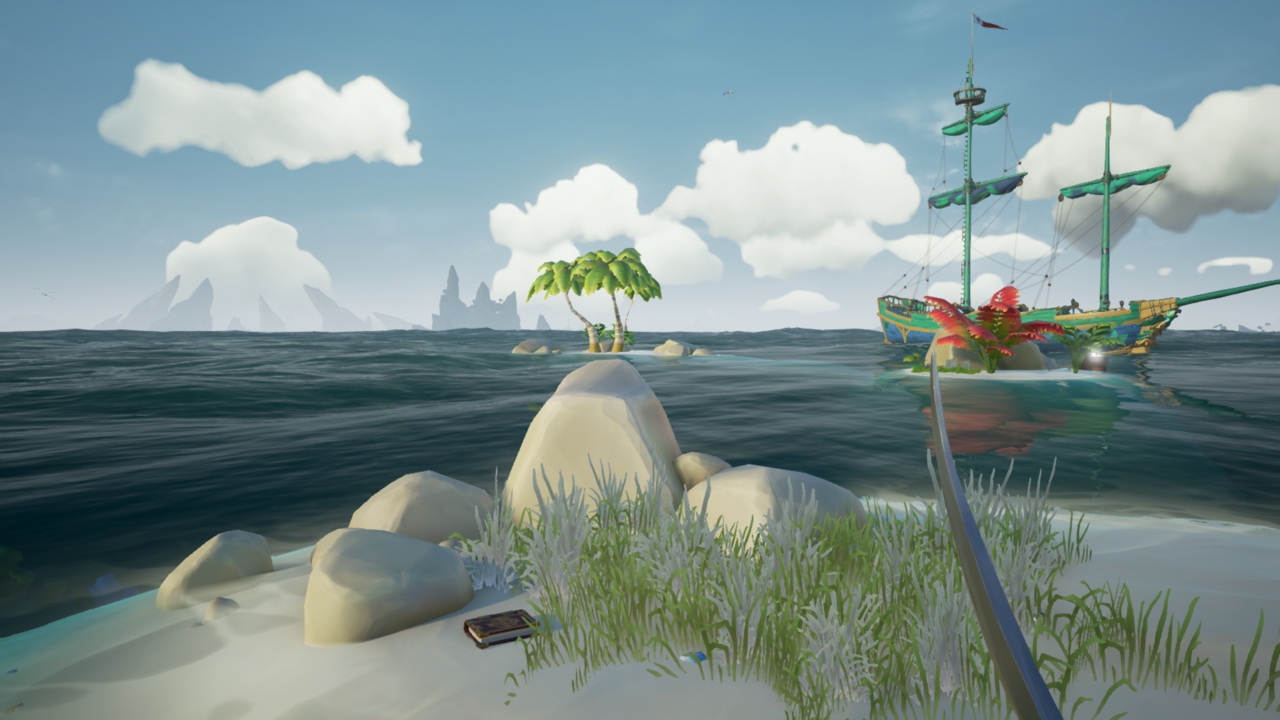
This is located on the uncharted island at N13 on the map. You should know you are on the correct island as it is roughly equidistant to Crooked Masts and Crook’s Hollow. Go to the North West side of the island and you should find it out in the open on the sand.
Crooked Masts
Crook’s Hollow
The text reads:
Finally, a balmy day, and a chance to document my research before it all spills out of my head and overboard. Ramsey has been thinking again, and that usually means I’m the one due for a headache. He called for me late last night… “Mercia. How might we stay safe in the Devil’s Shroud?” I just stared at him. We all know how dangerous that fog is. It surrounds the Sea of Thieves, but it ebbs and flows. Sometimes it swallows whole islands for months or even years at a time. Sail into that mist, and you’ll start to choke. The deck beneath your feet will splinter. The Shroud feasts on ships and sailors alike. Being me, of course I told Ramsey I’d find a way. I’ve left my notes tucked away at Ancient Spire. I’ll see what I can learn.
JOURNAL 2#: AN ANCIENT CLUE?
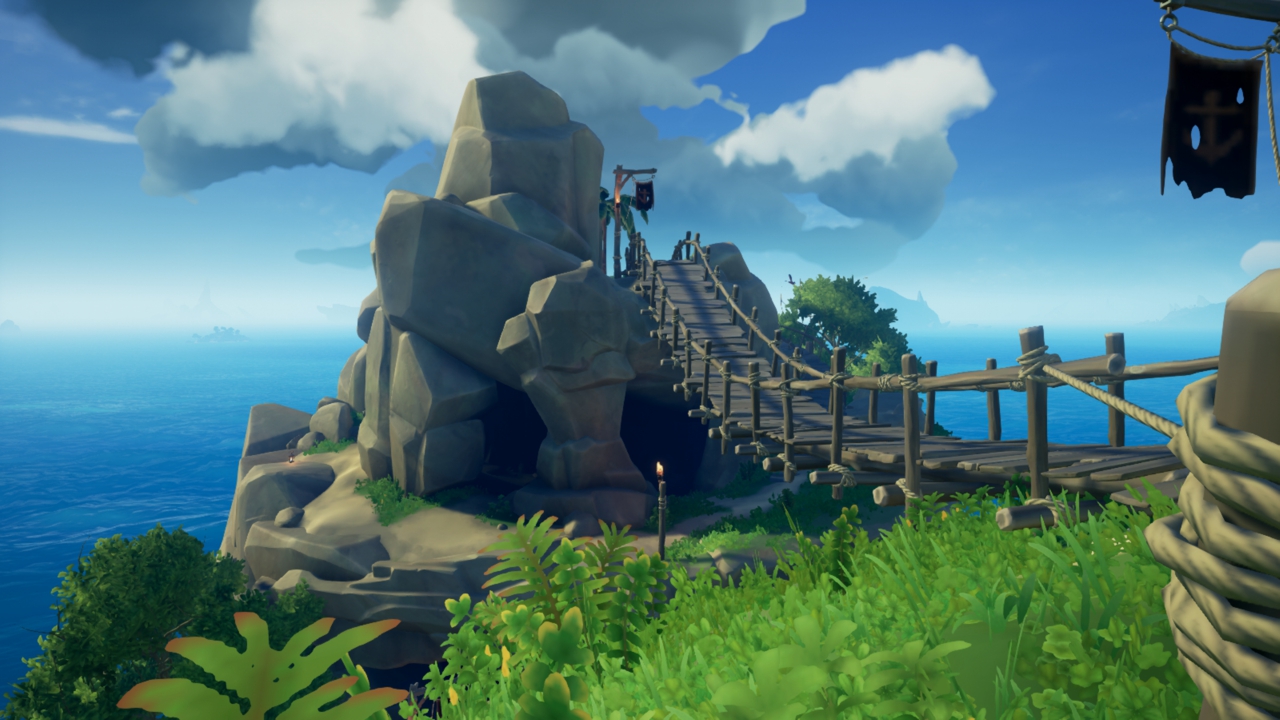
As the previous journal suggests you will need to head to the Ancient Spire outpost. The item is located on the central rock of the opposite peak to that of the Tavern. Climb to the tavern, then cross over the wooden bridge and follow the path down a level. The journal is propped on the rock surrounded by candles.
Ancient Spire

Ancient Spire – Journal Location
The text reads:
Did you ever walk into a room thinking about something so hard, you couldn’t see it right in front of you? The truth is like that, sometimes. While filling my tankard below deck, I happened to glance down at the map table. Ancient Spire. In the Ancient Isles. The truth… I’ve asked to set course for Devil’s Ridge, nearby. If I’m right, the key to breaching the Shroud has been in front of me all along. We like to think of ourselves as being the first to find a way of reaching the Sea of Thieves, but that isn’t the truth. Not one bit…
JOURNAL #3: COMINGS AND GOINGS
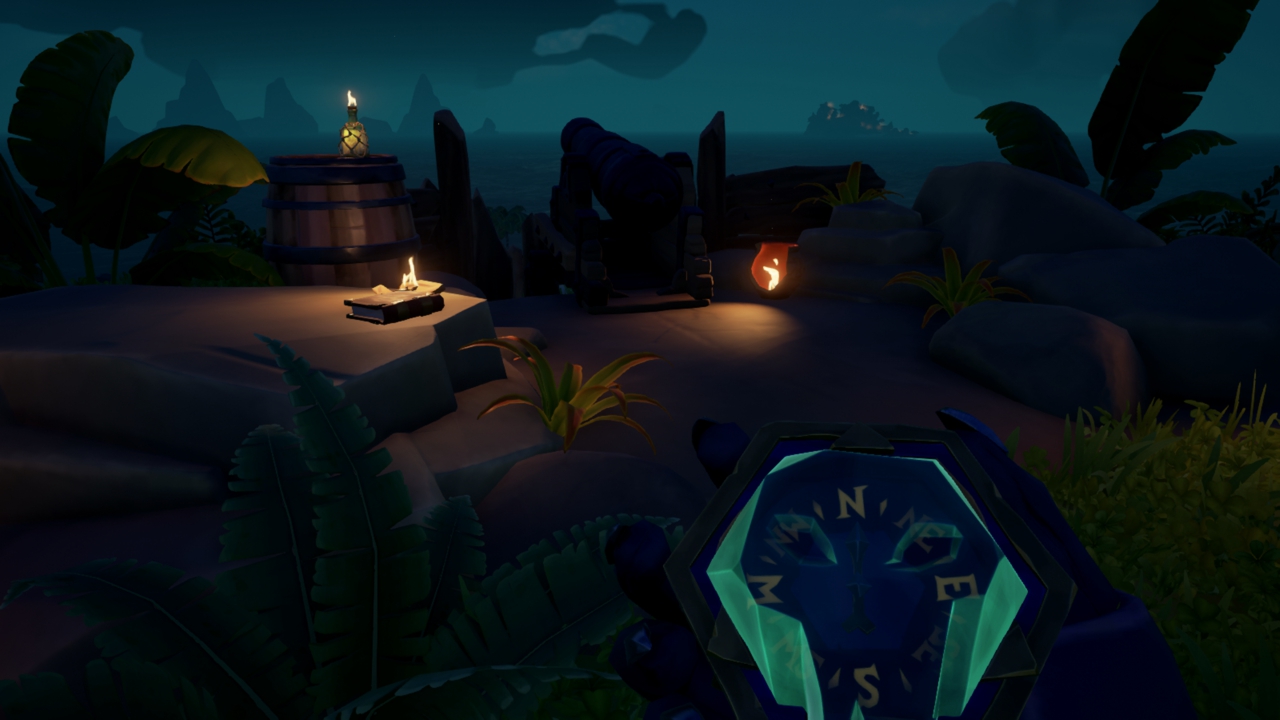
This takes you to Devil’s Ridge. You will need to head to the Northern side of the island and head towards the cannon stationed there. The journal is lying in the open on a rock between the barrels and the cannon.
Devil’s Ridge
The text reads:
The First Ones. The Lost Tribes. The Ancients. Whatever you call them, they lived here, in what we now know as the Sea of Thieves. Signs of their civilisation can be found all over the place, even on islands that were once claimed by the Devil’s Shroud. They built temples, altars – places that were important to them. They couldn’t simply pack up and leave when the fog drew in… I’ll need to cross-reference some of my oldest notes, stashed away back at Thieves’ Haven. Our first hideout! How nostalgic.
JOURNAL #4: THE SHROUDBREAKER
You can find this at Thieves, Haven. This one can be tricky to find, but if you use the wrecked ship in the centre of the island as your anchor point you can locate it pretty easily. With the ship behind you look out and over to your right and you should see a wooden shack. Head over there and the journal is located inside a crate in this shack.
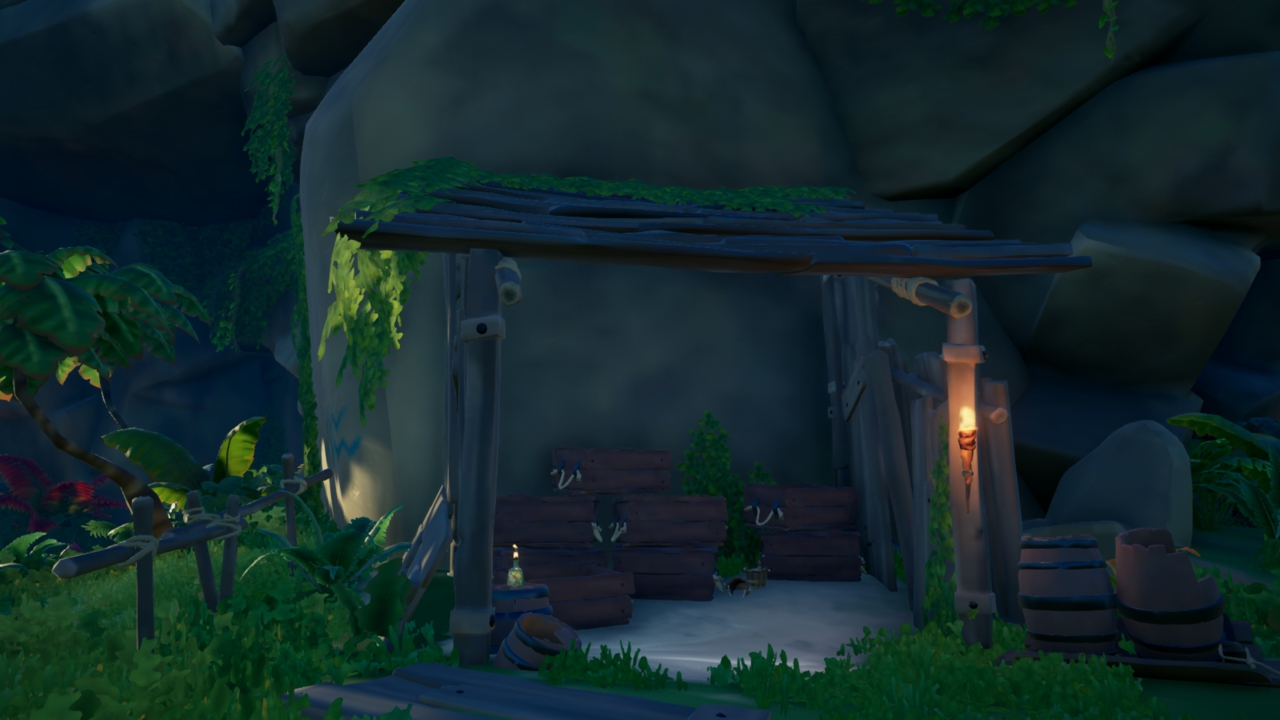
Thieves’ Haven
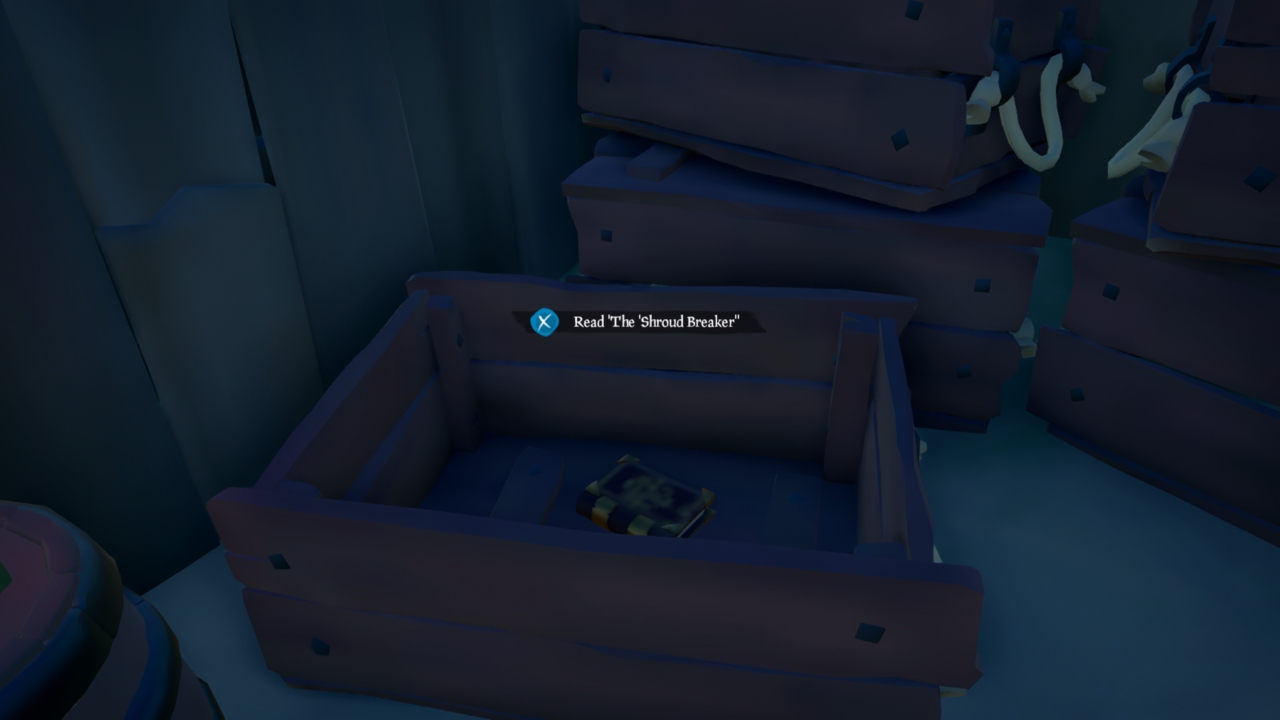
Thieves’ Haven – Journal Location
The text reads:
It exists! Proof lies in some of the most obscure places (Ramsey won’t let me write down where) but the relic’s real enough. As near as I can tell, they used artefact like a beacon to protect their homes and places of worship from the Shroud’s effects. At other times, it was taken to a vault to recover its powers. When I told Ramsey, he replied “Ah, so it’s a shroud breaker, then!” All of this seems to have inspired him. We’re making for Plunder Outpost on Ramsey’s orders, to see a man about a map…
JOURNAL #5: THE SHORES OF GOLD?
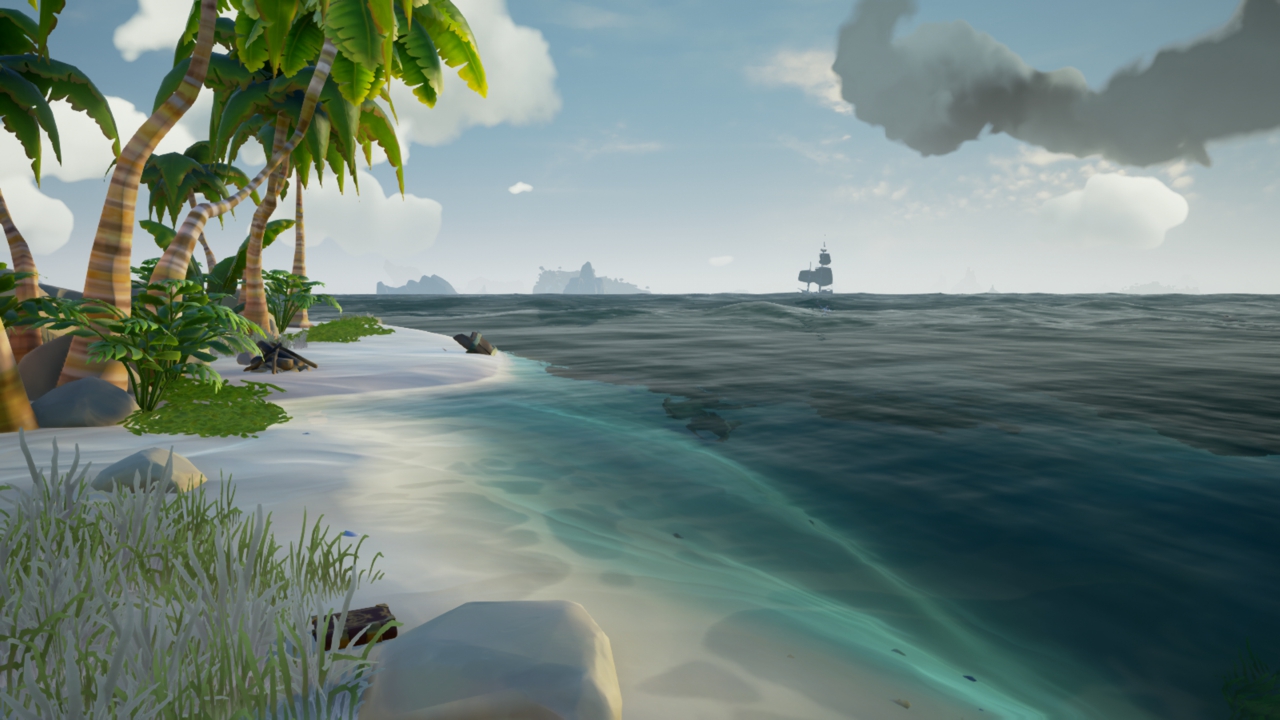
The final journal for this Tale is located at Plunder Outpost. Head to the row-boat that is located near the campfire and you will see it resting on the seat.
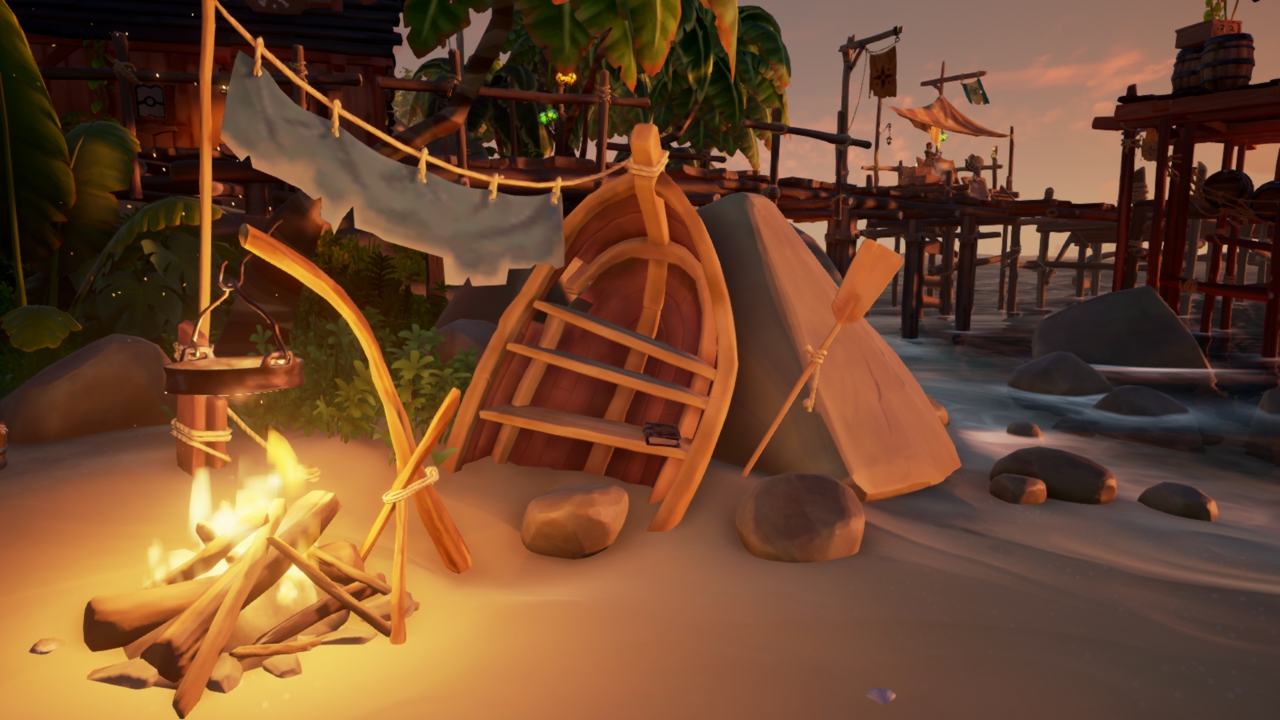
Plunder Outpost
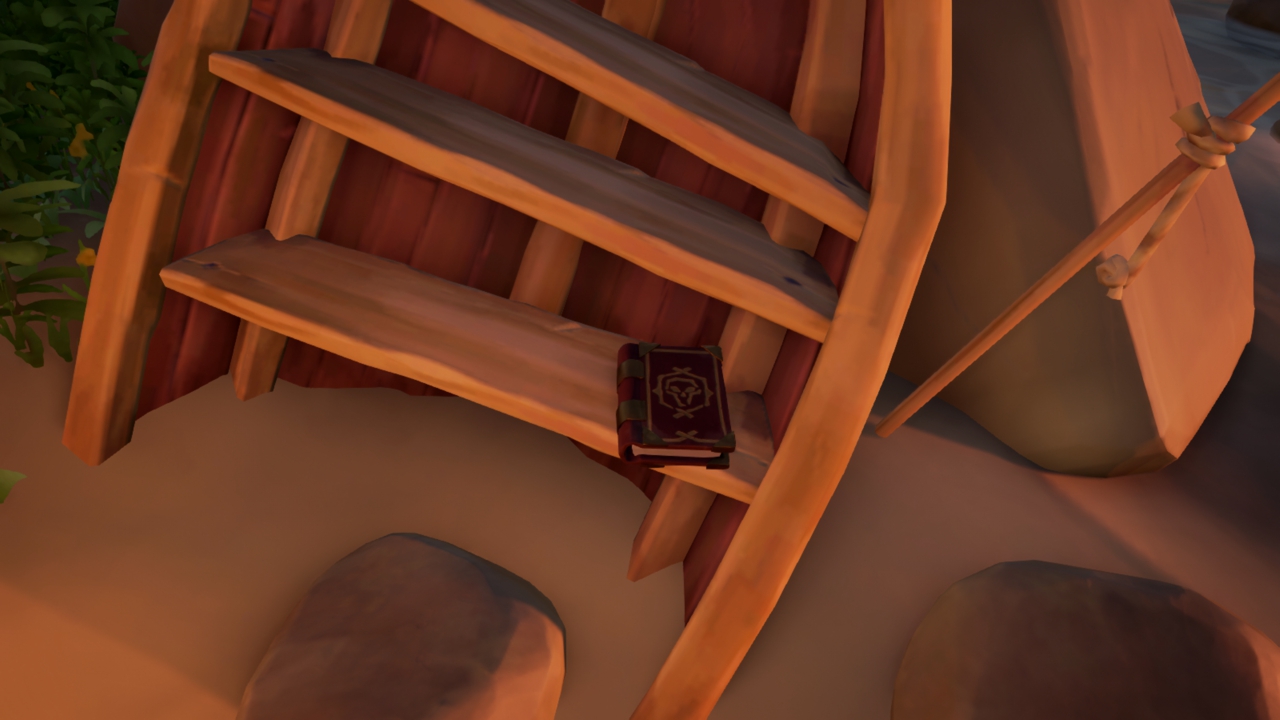
Plunder Outpost – Journal Location
The text reads:
Well. This escalated quickly. Ramsey remembered the drunken ramblings of some old salt who’d sailed too close to the Devil’s Shroud. The old man claimed he’d glimpsed a glittering island… One where the very ground was made of gems and precious metals. It sounds impossible, but as Ramsey likes to say, that’s just another way of describing something we haven’t seen yet. At first light, we’ll be setting out to find that Shroudbreaker. If these Shores of Gold are real, it’s the only way we’ll reach them. I should get to my bunk and try for sleep. From now on, Ramsey’s voyage journal can tell our story…
TALL TALE #2: THE CURSED ROGUE
You pick this tale up from Madame Olivia, the Order of Souls representative at Plunder Outpost. The journals are all written by a mysterious figure simply named “The Bounty Hunter”
JOURNAL #1: A NEW PREY
This is located in Shark Bait Cove. You will need to head into the inner ring of the island. The journal is located on the inside part of the outer ring, hidden in a broken row boat near the tunnel entrance on the southern part of the island.
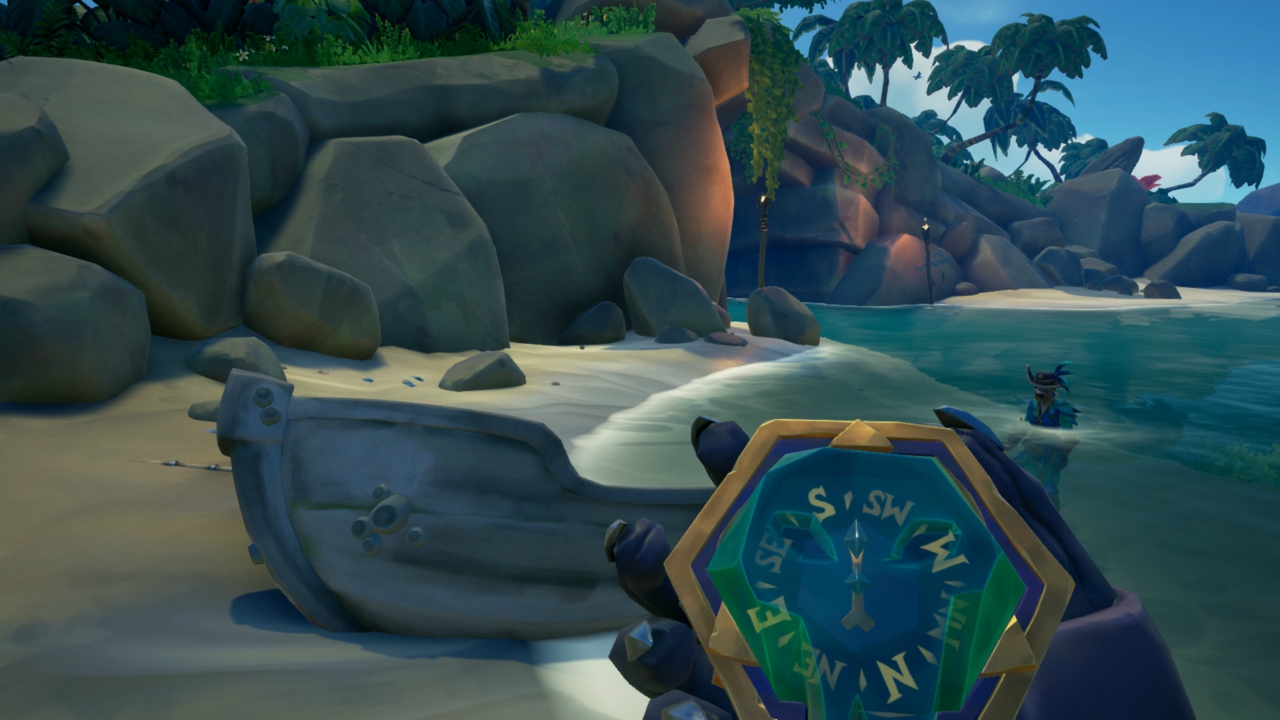
Shark Bait Cove
Shark Bait Cove – Journal Location
The text reads:
Three flagons of brandy and a fine meal claimed the last of my coin. Fortunately, I already have a new bounty in my sights. The simpering woman in her tent at first refused to hand the wretched paper over. “Too dangerous”, she said. What rot! I might well have turned my blade upon her but for my cardinal rule: I never kill for free. The paper is mine now, regardless. And who is this Briggsy? A capering child, it seems; a pirate more concerned with showing off than amassing any great fortune. She is known to make camp at Discovery Ridge. Doubtless I shall catch her there at play. We’ll see how long her humour lasts.
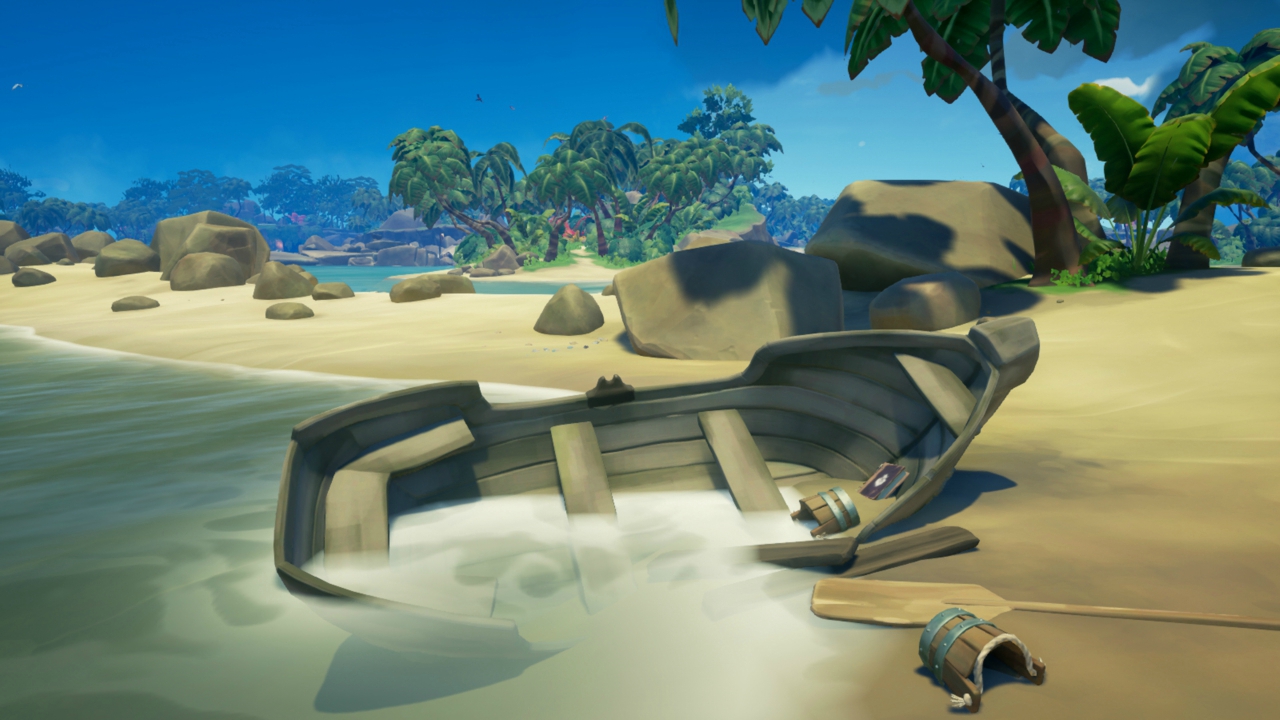
JOURNAL #2: SURROUNDED BY FOOLS
The second journal will see you travelling to Discovery Ridge. It is located on the south-eastern part of the main island on the beach near the wreckage of a row boat and a skeleton.
Discovery Ridge
Discovery Ridge – Journal Location
The text reads:
If there’s one thing pirates love more than their rum bottles, it’s making up ridiculous names for their pitiful fights of fancy. They insisted that Briggsy, my quarry, has been transformed into a ‘Skeleton Lord’ with others at her beck and call. Did they really expect to scare me with this revelation? Whether or not they can walk and talk, bones can be broken just the same. It makes me all the more eager to hunt the rat down and put her in her place. Perhaps we’ll finally meet at Kraken’s Fall…
JOURNAL #3: AT LAST, A CLUE!
This journal is well hidden! You will need to head to the south-eastern part of Kraken’s Fall just across the small inlet of water where the NPC is located. The book is tucked in behind a pile of skulls on the rocks.
Kraken’s Fall

Kraken’s Fall – Journal Location
The text reads:
I reached another of Briggsy’s nests to find it empty, or so I thought at first. That was when I heard the cries for help. His shouting led me to a scrawny little man, whose head fell some way short of my shoulder, mewling from inside a barrel. Having climbed inside when Briggsy and her crew arrived, he had spent the night cowering in his keg, only to find the lid stuck fast. I released him in exchanged for what little coin he had, and he was only too happy to reveal Briggsy’s heading: Wanderer’s Refuge.
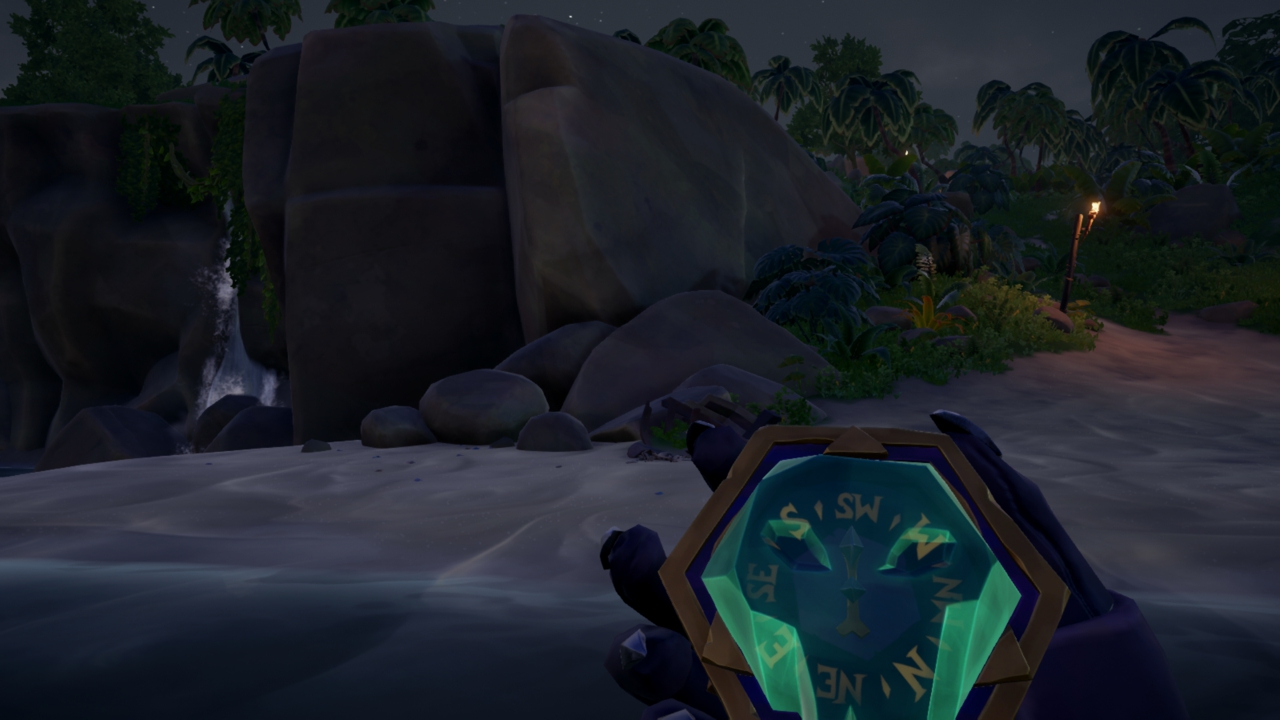
JOURNAL #4: CLOSING IN
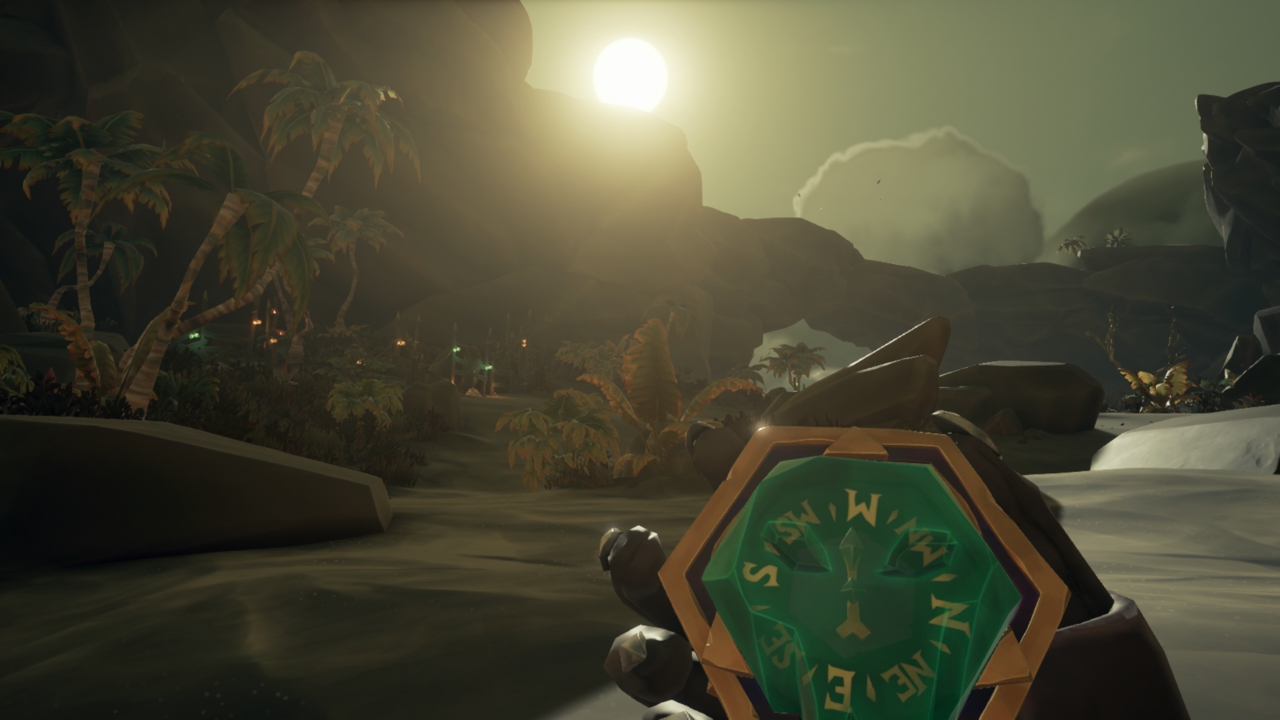
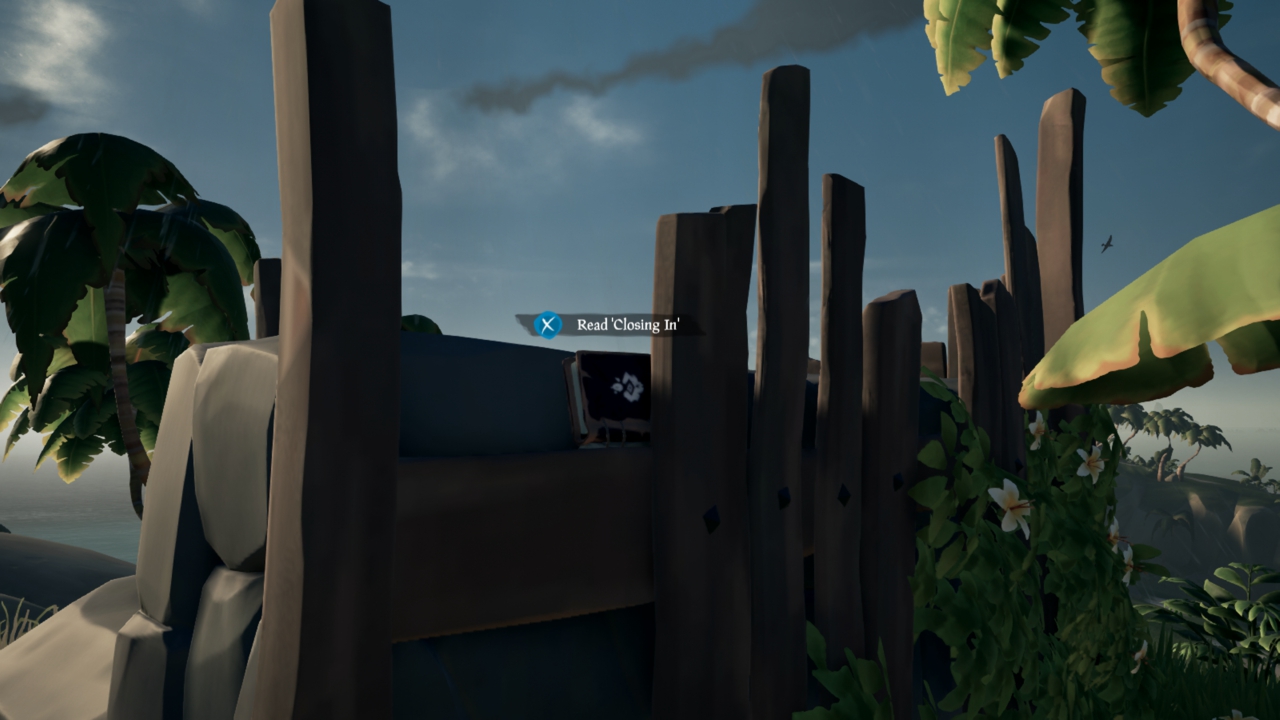
On to Wanderer’s Refuge and another well hidden journal. This one can be located on the southernmost ruin on the top of the island. If you head to the well and walk up the hill the journal is located on that ruin between a plank of wood and a rock.

Wanderer’s Refuge
Wanderer’s Refuge – Journal Location
The text reads:
Too late once again, but by a matter of minutes. The ashes of her campfire were still smouldering, her prints fresh. If the wind remains fair, I’ll make it to Crook’s Hollow in time to introduce myself, and we’ll see how brave Briggsy really is. Her crew deserve no such consideration. I’ll smash them before they even know I’m there. A ”fair fight’ for hunter and prey. Her smart-mouthed skull will fetch a handsome price – that is, if I don’t decide to keep it as a trophy for myself instead…
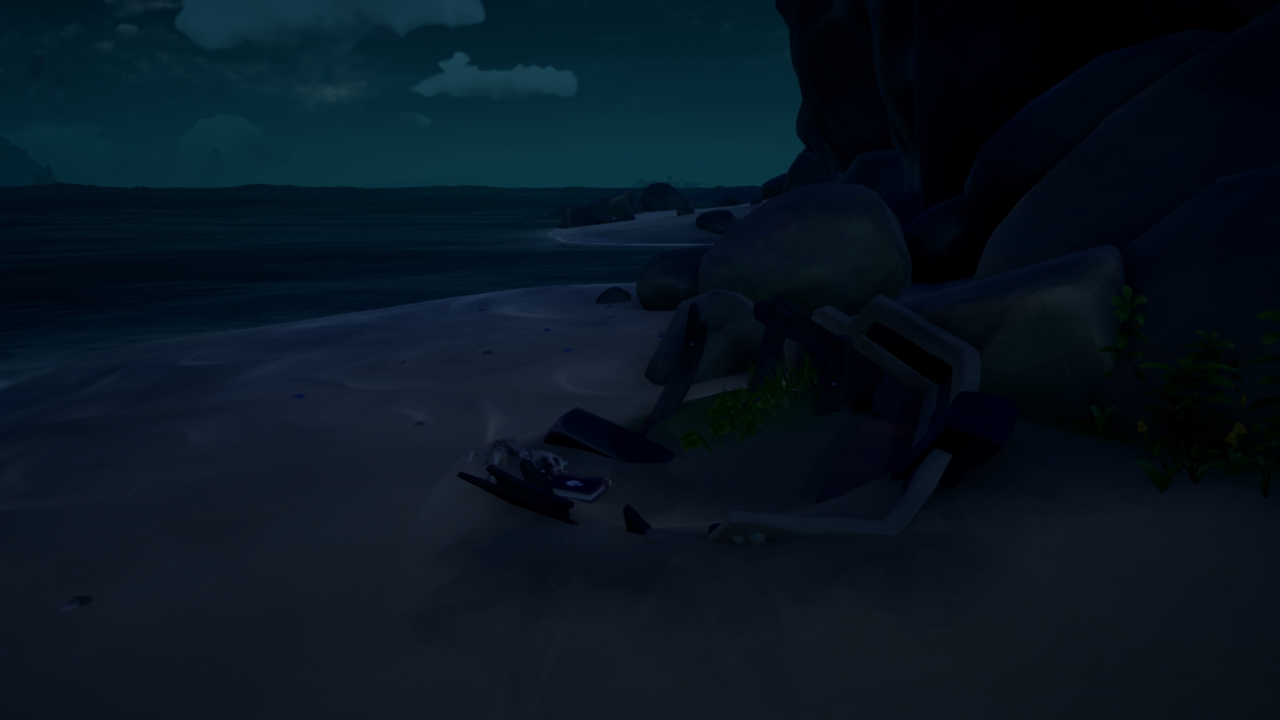
JOURNAL #5: DEFEATED!?
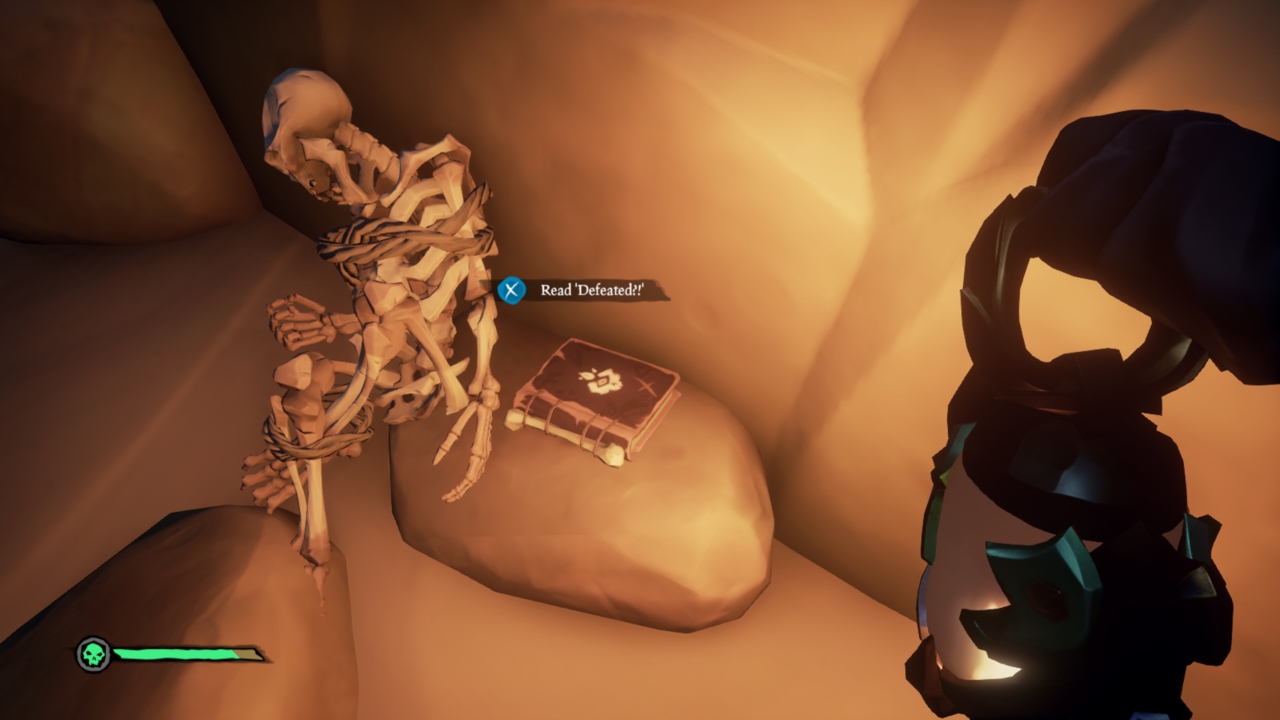
Journal number five is located at Crook’s Hollow. There is a small cave located just off the small lagoon the marks this island. Inside you will find the journal next to the skeleton of the Bounty Hunter.
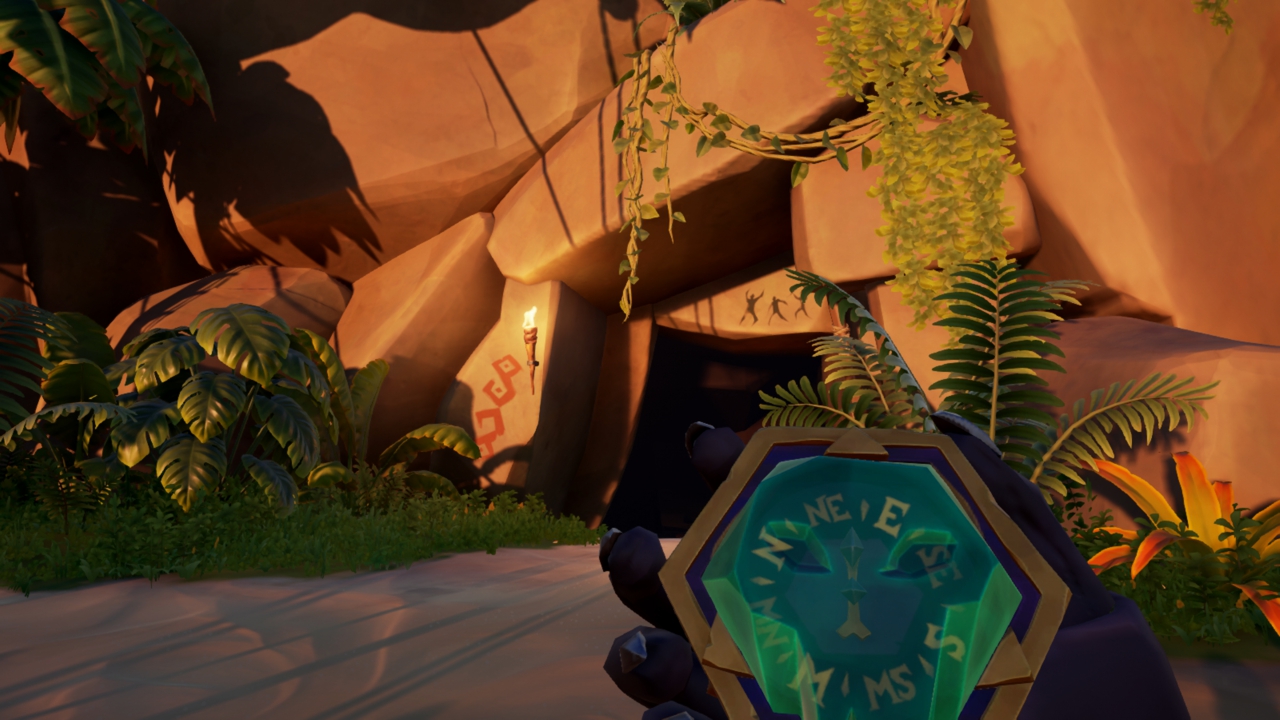
Crook’s Hollow
Crook’s Hollow – Journal Location
The text reads:
To think when I began my hunt at Sharkbait Cove that it would end this way! Beaten and humiliated, my weapons tossed aside. I struggled and spat as her bony fingers knotted my repos together, binding me. Each threat I uttered only made her laugh harder. And yet… She was glorious! I cannot deny it. With every shot she dodged, each blow parried, I realised I had finally met my match. I refuse to board the ferry. I cannot bear to return in shame – to see the faces of those who know me twisted into mocking sneers. Death it is, then. A new kind of journey, and perhaps new bounties? Maybe the Reaper himself needs an apprentice…
For part two which covers The Legendary Storyteller and Stars of a Thief, click here.


