Ori and the Will of the Wisps | Complete Boss Guide: Shriek

Did you really think the end to Ori and the Will of the Wisps would be that easy? It was inevitable, given Shriek has been portrayed as the antagonist for the entire game, that they would end up as the final boss. This is a boss fight in multiple parts that will not only test your skills in various facets of the game but also your awareness of what is on-screen and your reflexes too. As with most bosses, striking the head will inflict damage on Shriek.
Phase One
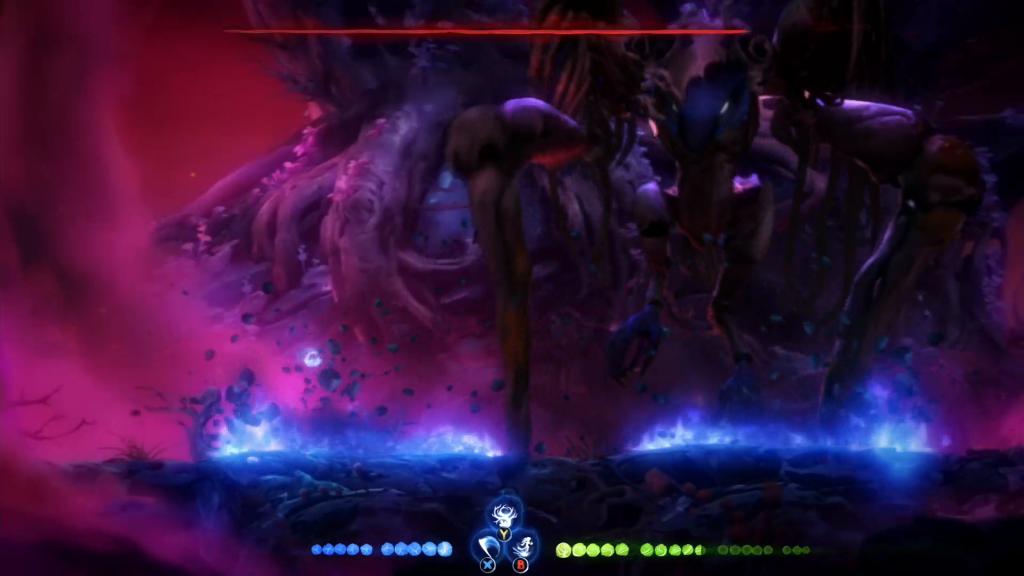
Claw Slam: Shriek will slam its claws down in between its large legs hitting you if you’re underneath. When you see the legs straighten and the claws briefly raise, you know this is coming. Your best bet is to jump and dash to one side and then turn around and get a few quick hits on the head whilst you can.
Leg Stomp: This is Shriek’s move that draws out spikes onto the arena floor. You should be a dab hand at managing these now. Use double-jump and Dash as you have been up to now.
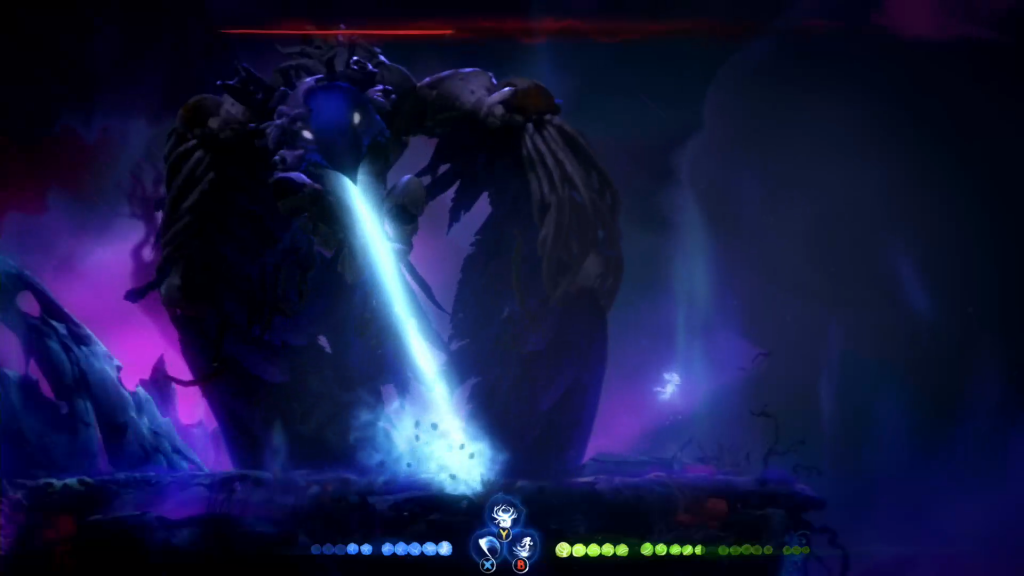
Laser Breath: A laser will fire from Shriek’s mouth that will cover a large portion of the arena but not all of it, so run and dash away from its direction, and you should likely avoid it. Shriek’s head will likely be too high to strike after this move so bide your time.
Jump Slam: Shriek will fly off-screen and then slam down in a more violent version of Claw Slam. There is an indication on screen as to where Shriek will land. This not only signifies where you don’t want to be but also tells you where Shriek will be, meaning you can position yourself to land a few cheeky hits once the Slam is completed.
Fly-By: As birds do, Shriek will take flight and aim to swoop down and charge at you. Luckily there’s a hint on-screen of the direction Shriek will be flying past on so you can avoid that section when it does swoop past. Normally these initial Fly-Bys are swooping along the bottom, but keep your eyes peeled in case that changes.
Homing Missiles: Like other bosses, these are actually your friends. These homing projectiles can be fired back at Shriek with a well-angled Bash move. Remember you’re always aiming for Shriek’s head to do damage.
Dagger Attack: Shriek will fly into the air and hover just above you. It will then fire out numerous dagger-shaped projectiles from its mouth all at once in different directions. One of these will likely hit you, so take advantage and Bash it back towards Shriek’s head.
Swipe: If you’re in close proximity – which you should be if you’re attacking his head – then occasionally Shriek will swipe sideways at you with one of his claws. Like similar moves from other bosses, this can be avoided by jumping away and/or Dashing.
Phase Two
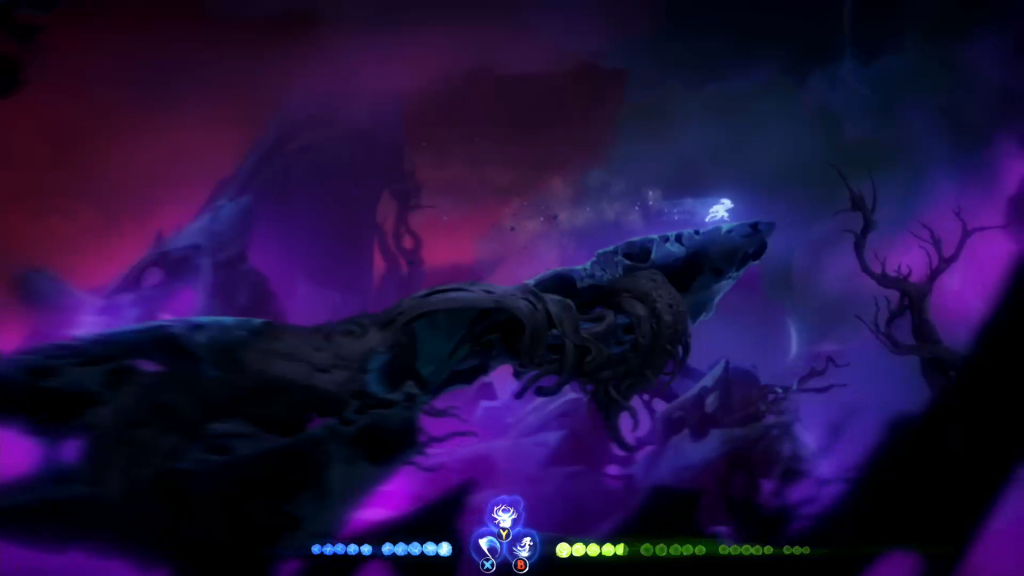
At about 60% of health remaining, Shriek will let out a shriek that has a large blue aura. If you’re in the blast radius it will damage you. He’ll then take flight and swoop around, before plummeting beneath the platform you’re on. This will cause it to start collapsing and beginning an Escape section which you need to navigate.
Run and Jump: Immediately run to the right, and jump between crumbling platform pieces to avoid falling to your death. Some of these platforms will be quite far apart meaning not only will you need double-jump and Dash to get through, but you’ll also need Launch mapped to one of your buttons too to give you extra reach. The platforming here is fairly straightforward compared to what you’ve faced up to now.
Dodge: You’ll soon come to a section of platform where the camera seems to stop moving with your momentum, and there’s a good reason for that. Shriek is about to come flying towards you from the background, through the hole in the back of the platform. Stay near the edge to avoid taking damage at this point.
Dash Burrow: After a couple more jumps, you’ll come across some sand you need to Dash Burrow into and navigate through. Again it’s fairly casual compared to the Sand Worm chase from earlier. The end will break off the sand section revealing an exit. One last jump to the next platform takes you to the next section. Grapple to the moss on the side of the platform if you jump won’t quite make it there.
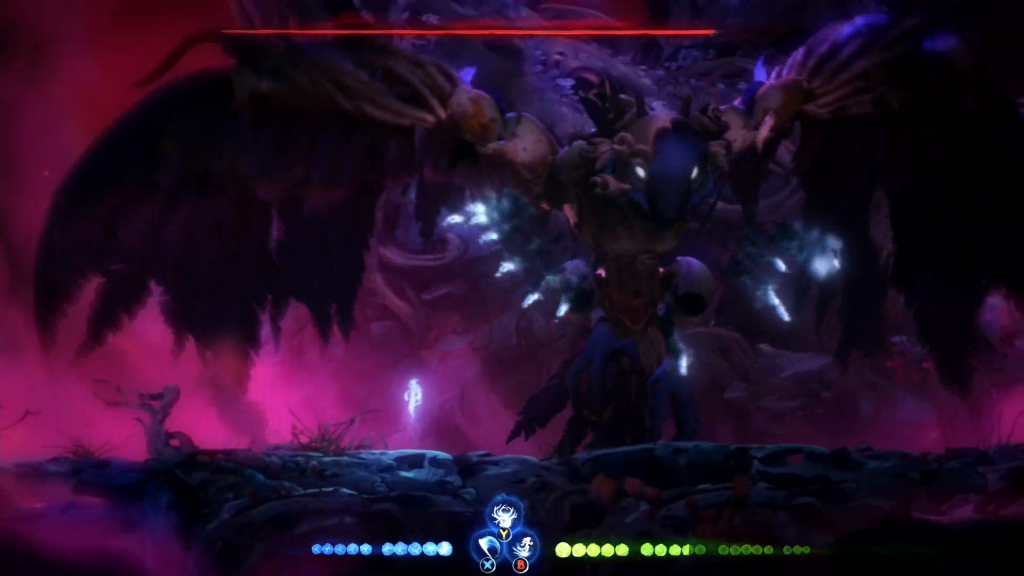
Phase Three
The majority of Shriek’s moves from Phase One are back, just sometimes more extreme versions or delivered from the side instead of in front of you. Either way, the tactics for each remain the same. However, there are some additional moves to now be aware of:
Wing Slam: Shriek slams down with its entire wingspan to cover the entire floor of the arena. This is a very difficult move to dodge effectively, but it does come with a decent payoff. Mainly because it leaves Shriek open to a few attacks before it begins another move, so take advantage of this as much as possible.
Missile Shower: After flying to a separate platform, and expanding its wings in spectacular fashion, Shriek lets out a call which showers down numerous missiles from above. Most of these are blue and travel in a straight trajectory. A few of them will be pink, and these will home in on you. Every single one of them can be Bashed to give you some space if you can’t dodge them.
Triple Jump Slam: Just like the Jump Slam move from Phase One, but this one happens three times in a row. There’s almost no chance to strike Shriek after the first two slam, but there is a window of opportunity after the third. So position yourself accordingly and let them have it.
Swoop Towards: Similar to Fly-By from Phase One except there are no warning signs. Instead, you will see Shriek approach from the horizon. It will always be a ground swoop, so remain above the ground as his swoops by to avoid taking damage.
In this phase don’t forget to keep a lookout for Spirit Crystals on the ground that will appear after a while. You can use to spend on Regenerate if your health is getting low. Also as you dwindle Shriek’s health, some of his Jump Slam moves will remove part of the platform giving you less space to work with. Don’t panic, just keep reacting to his moves, and striking him in the head when you can.
Phase Four
Eventually, Shriek’s Slams will cause the entire platform you’re fighting on to fall way. And initially, it’s not clear what you now need to do to stop yourself from plummeting to your death. But at this point this missile shower is constant. And Bashing them, but this time using them for height to keep yourself from falling is the key to survival.
Shriek will be flying about the place but in all honesty, your focus should be on using your double-jump, Dash and Launch in conjunction with Bashing missiles to keep yourself alive. At various points, Shriek will stop swooping and appear at one side of the arena. Position yourself near his head and let him have it with Spirit Edge.
Keep repeating this until his health bar finally reaches zero. It can be tricky at first, but focusing on your altitude options must be a priority so as not to instantly die. Don’t over-exert yourself for en extra couple of swings at Shriek and let yourself fall to your death. The missiles are random so it can seem harsh at times, but patience and persistence will see you through. By this stage Shriek doesn’t have much health left so doesn’t require many more hits to the head to finally finish him.


