9 things you probably missed in the first 5 hours of Dark Souls 3

Dark Souls 3 is hard. More than likely, that’s why you bought it. But the problem with the Souls series is that sometimes that sublime challenge is too much of a distraction from exploring every nook and cranny – sometimes you just don’t have time to stop and have a nose around when something is trying to bite your face off. It’ll take a while to get into the swing of things, and so it can be easy to miss some of the more helpful items in the early game. Because we’re both lovely and awesome at GodisaGeek, we’ve put together a list of the 9 things you almost certainly missed in the first 5 hours or so. If you found all of them first time, you’re better than we are.
1. The Cell Key
If you explore the area below the Tower on the Wall bonfire, you will eventually come across a lonesome dungeon cell in which a little scruffy urchin dwells. This is Greirat the thief, who will follow you back to the Firelink Shrine if you free him – and all it takes is a bit of exploration.
If you head down the steps from that bonfire and out through the right-hand door, you’ll see the top of a ladder that drops down onto the rooftops. Take it, and then take the next one and go through the door beside it and you’ll find yourself in what looks like a dining hall being patrolled by a Lothric Knight with a spear and tower shield. The corridor on the far side of the room leads to an elevated balcony above a large mess hall in which there are several greataxe-wielding hollows and a hound or two. Kill them, snag the Estus Shard from the far side of the room, and then locate the stairwell in the back left-hand corner. The Cell Key is on a body there, and will allow you to recruit Greirat.
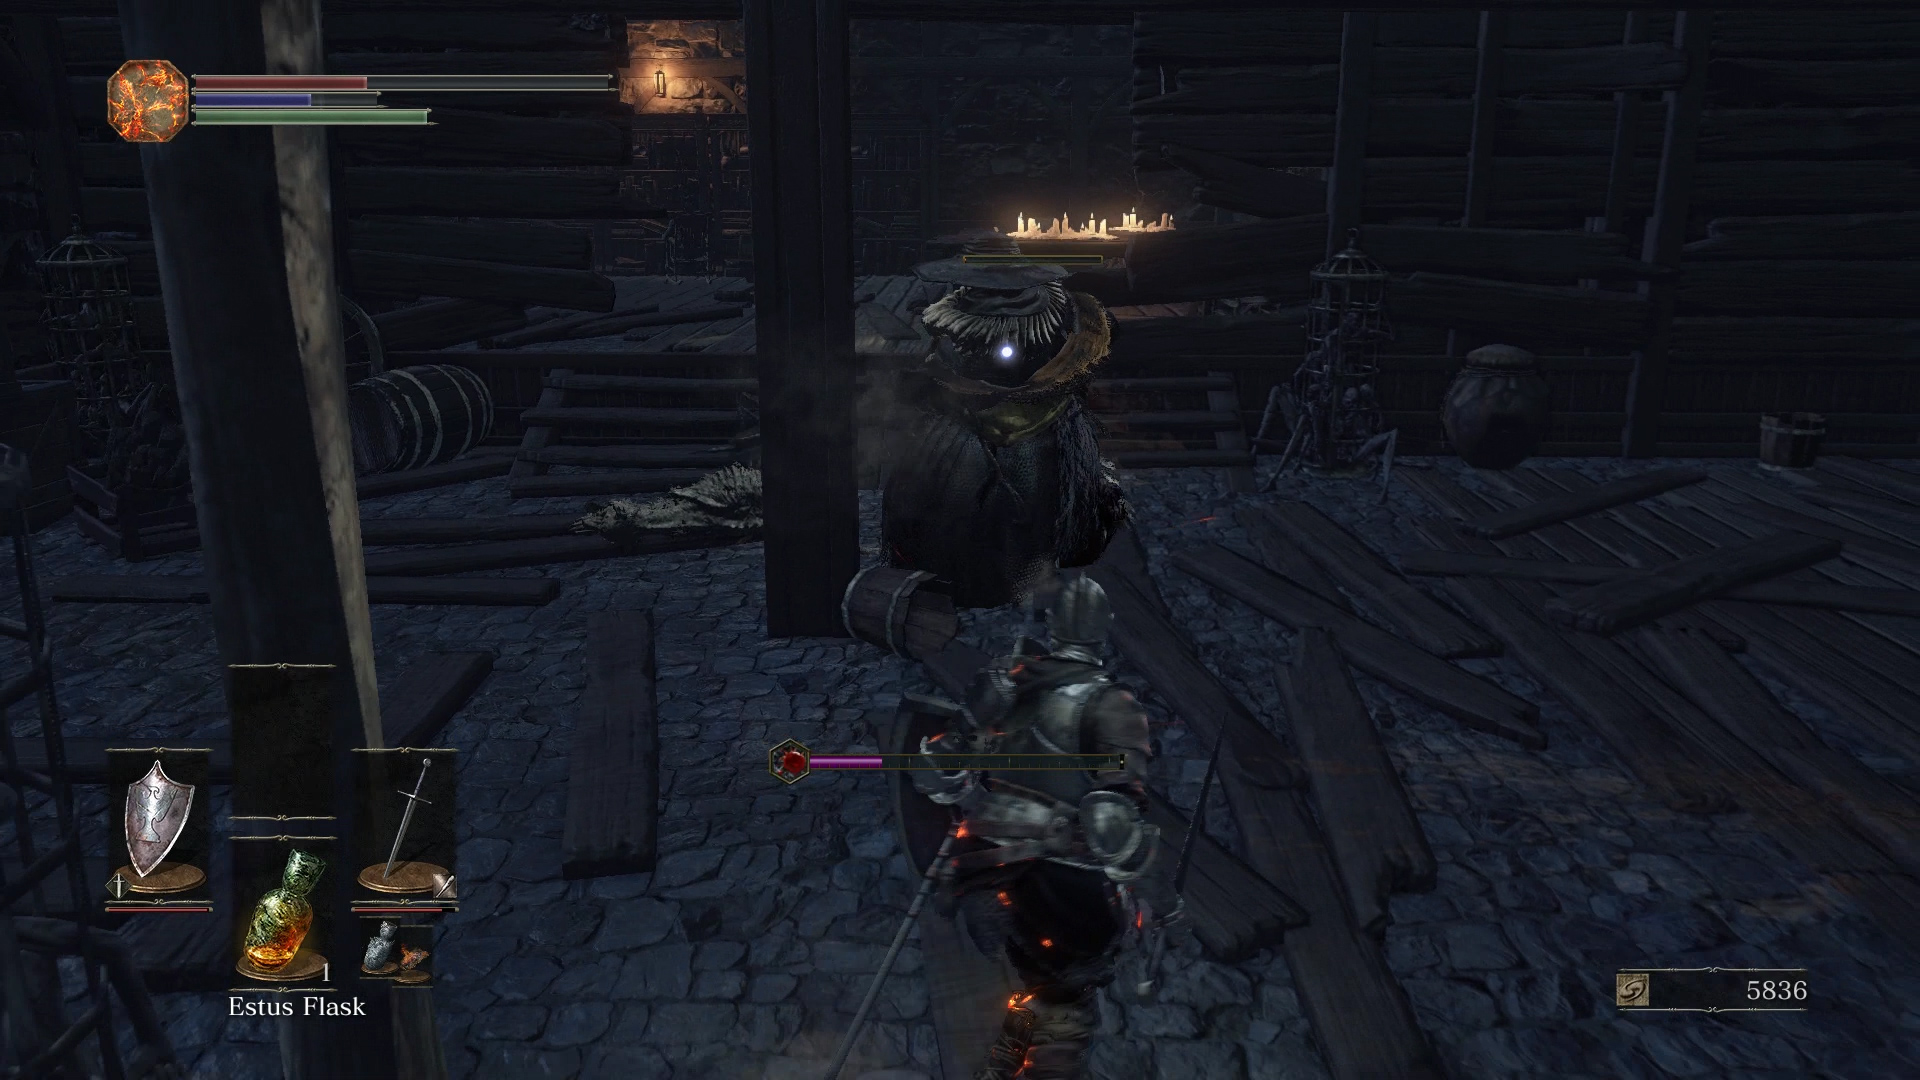
2. Pyromancer Cornyx
This may only really be useful if you choose to play as a firestarter, but Pyromancy is also a solid ranged skill for any melee class. The only way to improve the power of your Flame is to find a Pyromancer and bring them back to the Firelink Shrine – and guess what? There’s one in the Unread Settlement, the area unlocked after beating the second boss, Vordt of the Boreal Valley. He’s easily missed if you’re not looking for him, but you’ll find fairly close to the start of the area.
After leaving the first bonfire of the area, the path will lead you through a building onto a balcony (incidentally, the body hanging in front of it carries Loretta’s Bone, an item Greirat needs you to retrieve) above a huge fire surrounded by hollow workers and a big fat Sage. Head right from this area across the bridge and follow the path until you come to two pale hollows weeping by a bunch of explosive barrels. Explore this area thoroughly and you’ll find yourself on a rooftop to the right where a hanging body holds a Poleaxe. Follow the roof around and you’ll see Cornyx in a cage. Chat him up and he’ll appear in the Firelink.
3. Mortician’s Ashes
Another well hidden one, this. While making your way through the Undead Settlement, you’ll eventually come to a Young White Birch tree being pelted by a spear-throwing giant atop the tower opposite. Head slightly past the tree (but snag a branch on the way past – it’s important!) and up the graveyard path to the left where you’ll find a corpse holding the Mortician’s Ashes.
Pass these to the Handmaiden at Firelink and she’ll sell, among other things, the Grave Key, which will open the side door in the sewer shortcut by the Dilapidated Bridge bonfire. Follow that new path and you’ll find a cleric who will head back to Firelink. Her bodyguard Egryon will also be available to summon for the Crystal Sage boss fight later.
4. Siegward’s Quest
Upon exiting the cleric’s cell, heading left will lead you to a lift and a familiar face. Siegward the snoozy, fun-loving Onion Knight from Dark Souls 1 will appear, complaining about the giant throwing spears at him. Hop on the lift and hop straight off, and another lift will descend. Take it up and present the giant with the tree branch you picked up earlier and he will now only target the enemies every time he shows up throughout the game.
Go back down and Siegward will be gone, but head upwards and jump off the lift onto the sun-kissed ledge when you hear his familiar “Hmm…”. He will now be perched watching a huge fire demon in the distance. Engage it and he’ll help you defeat it and give you a bottle of Siegbrau, a curative that will give you the Solaire armour if you leave it in the crow’s nest above Firelink. And that’s just the beginning of his quest-line…
5. Shiny, shiny
Speaking of which, it’s absolutely worth grabbing the Tower Key from the old woman for 20,000 souls. Head outside from the Shrine’s upper level and explore the tower, where you’ll find the Firekeeper’s Soul. When you reach the roof of the Shrine, there’s a door onto the rafters where you can pick up an Estus Shard and find the crow’s nest. There is a huge variety of things you can leave, some which will grant consumables, others that will give you unique armour and weapons. Experiment away! You’ll also find the Ring of Covetous Silver Serpents behind a secret wall up there, too.
6. Sword Master Summon
When you take the lift down from the tower you’ll be accosted by a half-naked sword master (you can fight him right at the start of you want to, by simply exploring the area around the Shrine). If you kill him you get his awesome Uchigatana sword, but more importantly, he’ll turn up for the fight against Vordt. Handy if you’re a squishy caster who will still likely be weak at that point. Fair warning though, he’s incredibly tough for lower levels. He hits with devastating power and he’s worryingly fast – oh, and he’ll parry like it ain’t no thing. Be careful.
7. Yoel the Pilgrim
After arriving at the Undead Settlement, before heading down to kill the hounds that are slaughtering all the helpless hollows, go left instead. You’ll see a score or so of the pilgrims glimpsed in the opening cinematic, all dead from exhaustion. Poke around a bit and one of them will call out to you. If you speak to him, he’ll head to Firelink and set up shop near Greirat. The first five times you leave and go back, he will offer to “draw out your true strength”, which essentially gives you five free levels. Do it all five times, though, and Yoel will sadly die to be replaced by a new, slightly shadier NPC who sells an item that can reverse the visual effects of Hollowing. In slightly more heartless and pragmatic terms: buy all his embers and useful items before you inevitably let him strengthen you for the fifth time, you meany.
8. Intact Red Eye Orb
The cracked red eye orb lets you invade another person’s game to murder them for fun, but it’s a one-use item. Talk to the Mirrah warrior in the Shrine and he’ll eventually give you a key that unlocks the lift near the thief’s cell. At the bottom is a dark knight whose death will yield the Intact Red Eye Orb, which allows you to invade people as much as you like.
9. Farron Coal
When you reach the Road of Sacrifices after taking the lift down from where you met Siegward, follow the forest road into the Crucifixion Woods (the swamp with the giant crabs). Now you’ll want to head right along the grimy bank of the swamp. Watch out for the red-eyed guys carrying their crucifixes, they’re mean as shit and very fast. Get past them and you’ll find a pile of ruins, inside of which is a dark knight (exactly like the guys you face in the Undead Burg in Dark Souls 1). Kill him and keep going, and there will be a corpse holding Farron Coal. Give it to Andre in the Shrine, and he’ll be able to use all the cool shards and gems you find to add special damage to your weapons.
Support us by buying via these links: