Sea of Stars | Rainbow Conch Guide: Part 1

This is the first part of our guide to find every Rainbow Conch in Sea of Stars. In this part of the guide, we will find 12 Rainbow Conches to add to your collection. This will bring our total Rainbow Conch total up to 12 so far. Read on to help find every Rainbow Conch in Sea of Stars.
Where are we up to in the game?
This part of the guide covers from the point where you first reach Sleeper Island after first being thrown there from Evermist Island Landing.
Sea of Stars | Rainbow Conch Guide
Conch #1
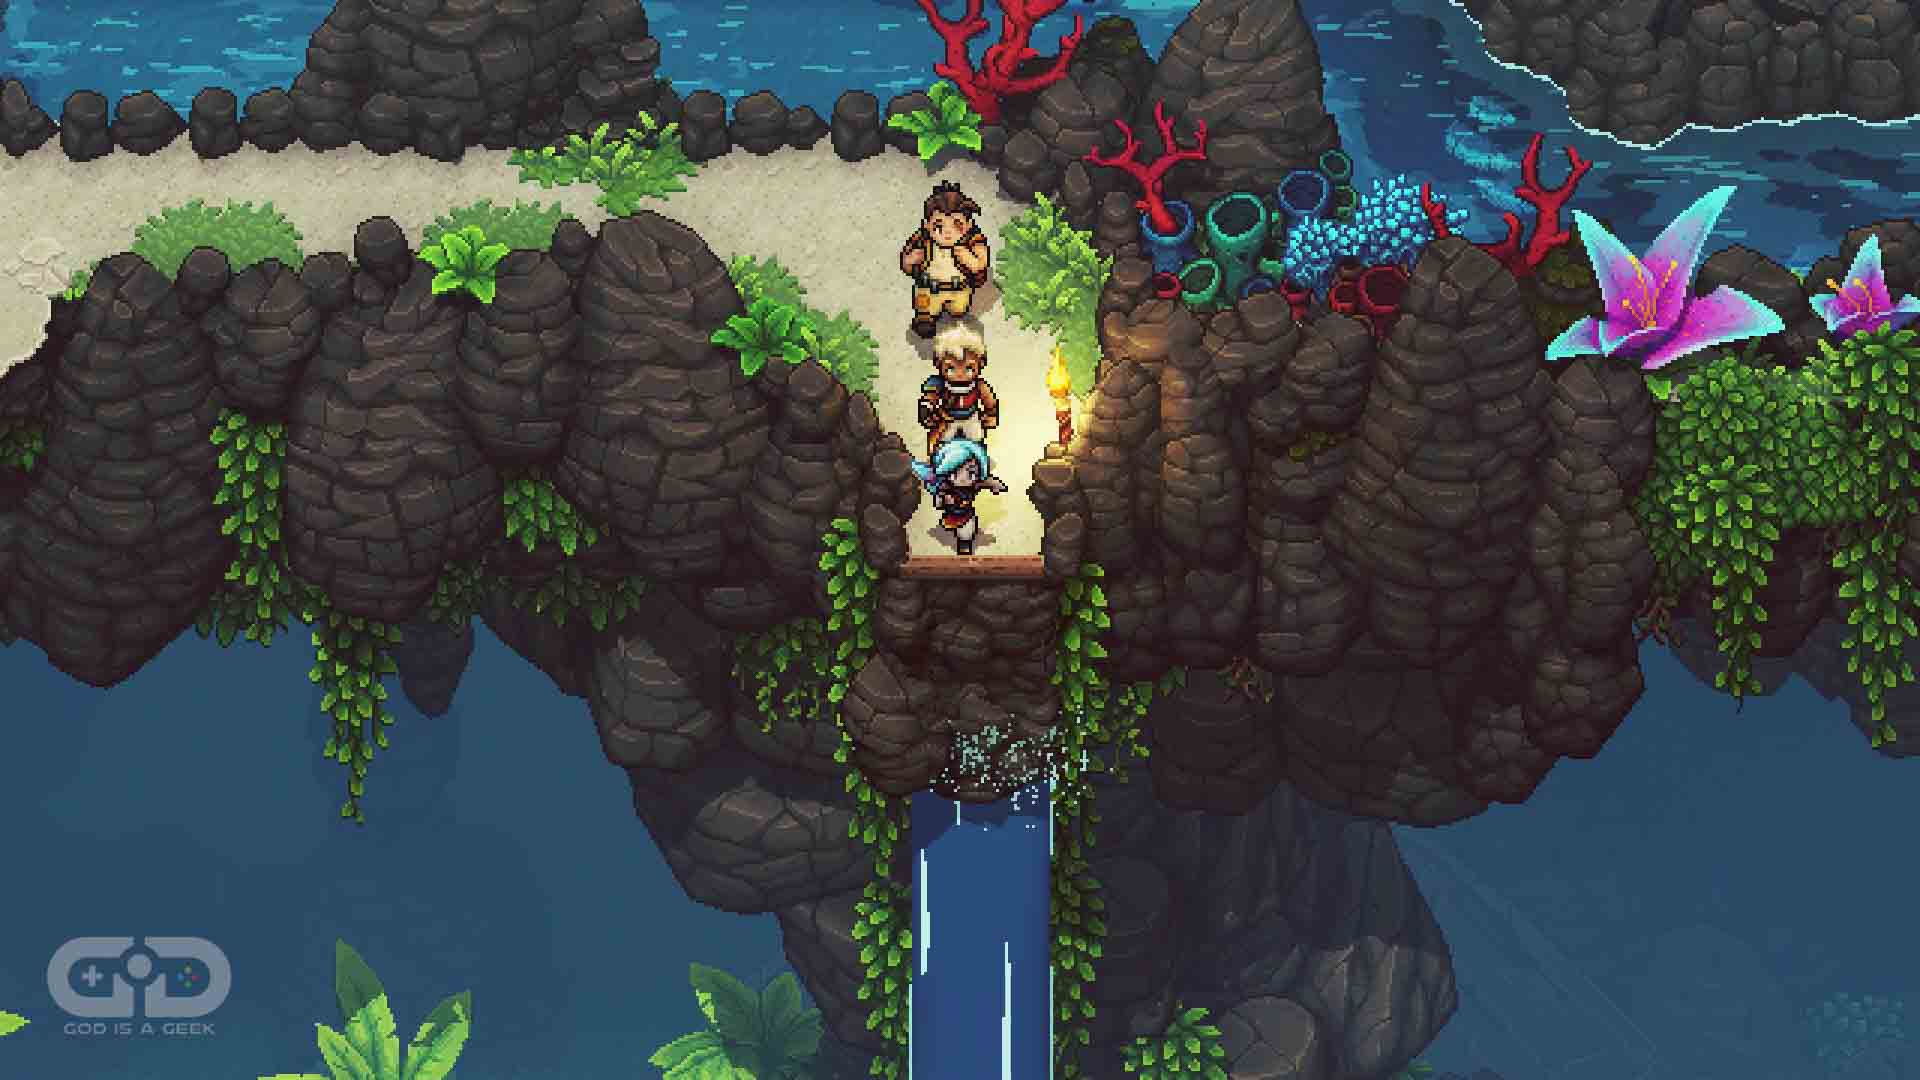
Location: Sleeper Island Cliffs
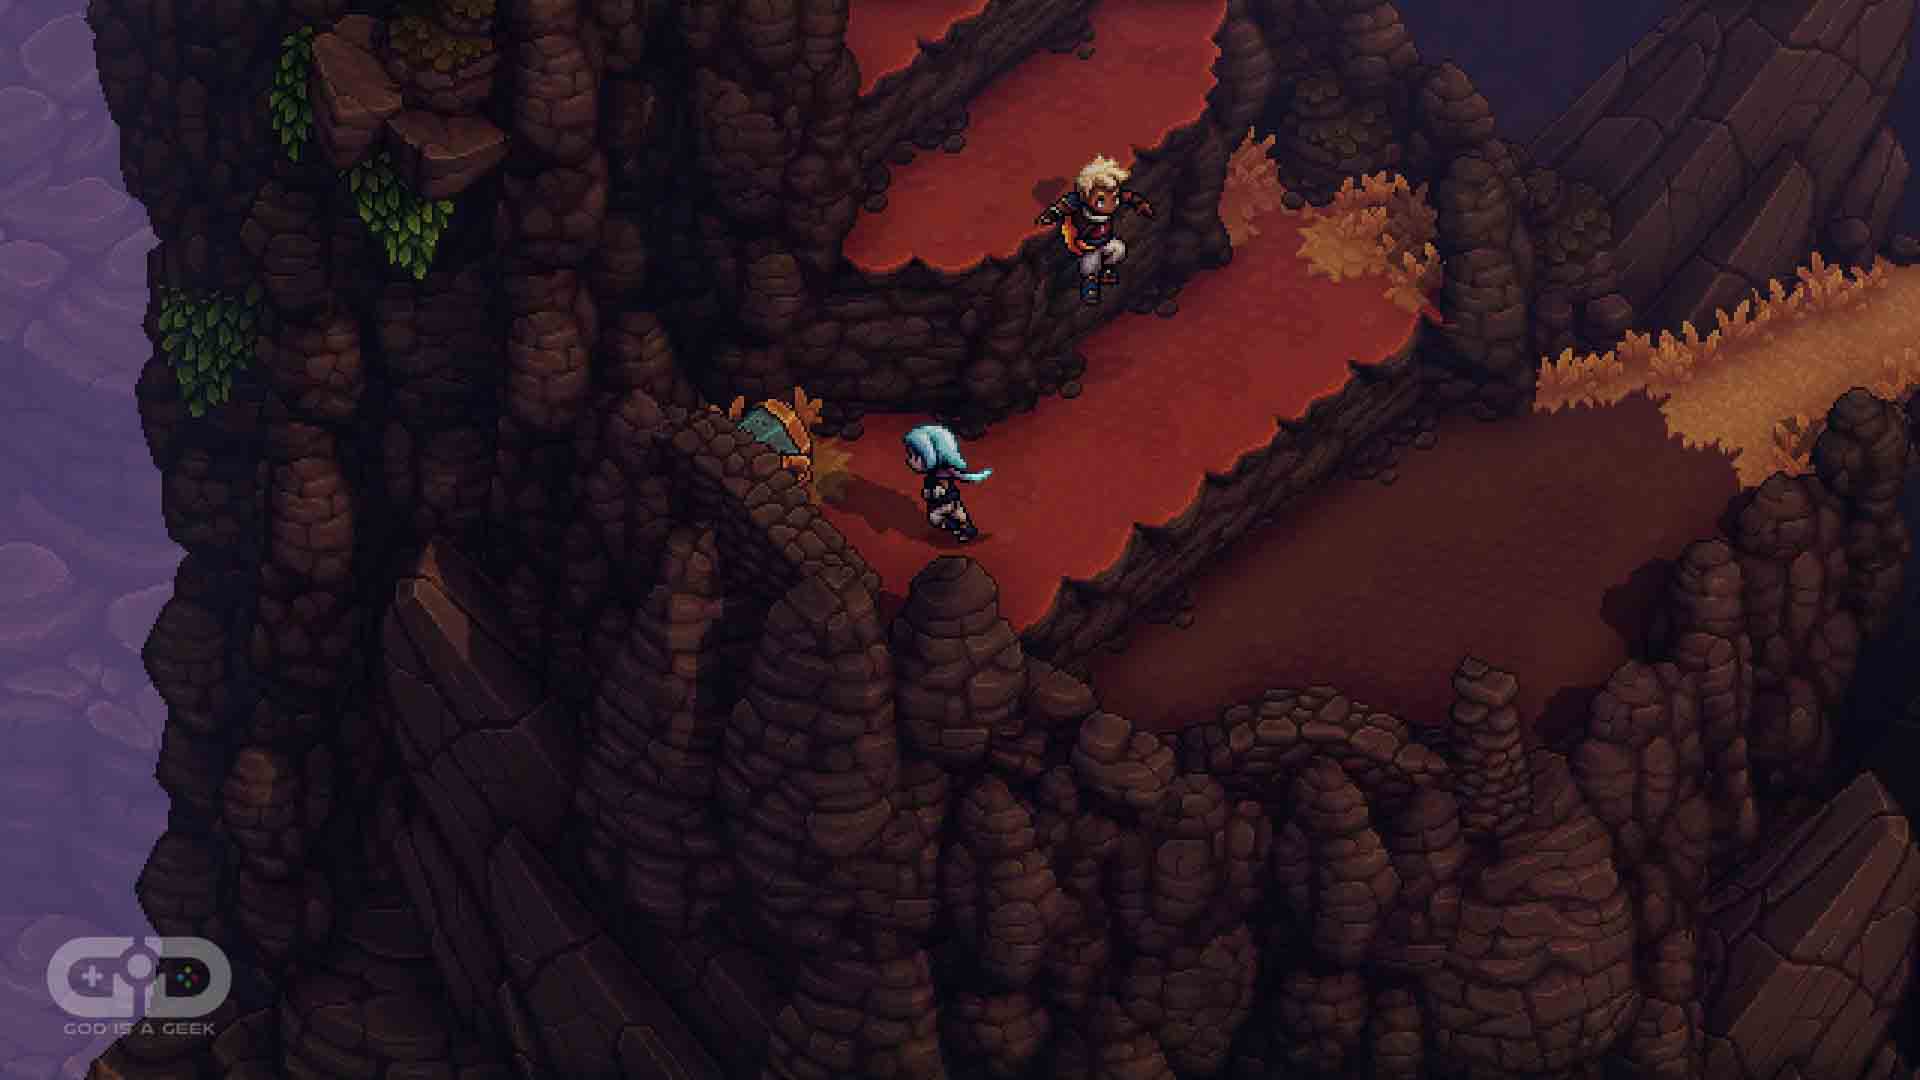
As you descend the cliffs from the top of Sleeper Island, you will come across this chest slightly hidden behind some rocks. It is in the bottom-left of the area, so search there until you have your first Rainbow Conch of the game.
Conch #2
Location: Wind Tunnel Mines
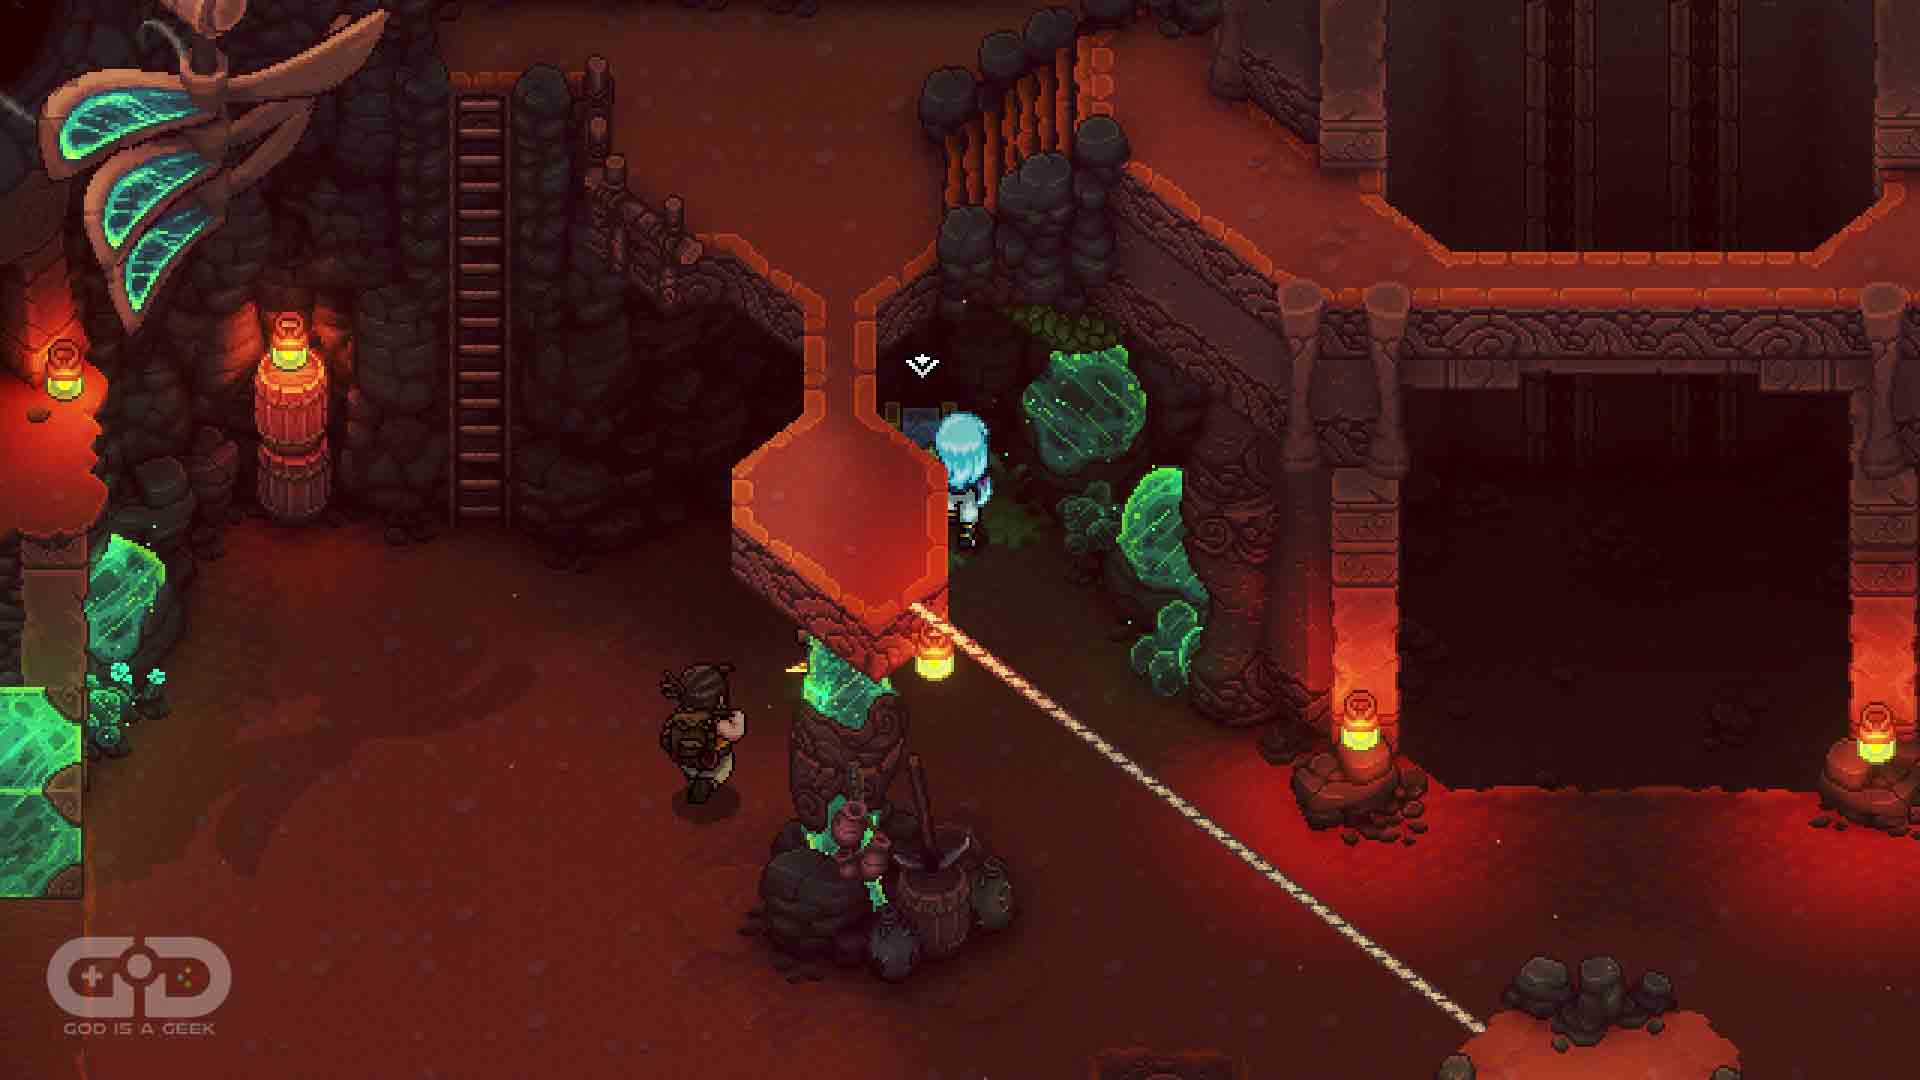
As you descend deeper into the Wind Tunnel mines, you’ll get to this bottom area with ledges and rope walkways above it. Sneakily hidden behind an overhanging rock is your next Rainbow Conch in a chest.
Conch #3
Location: Stonemason’s Outpost
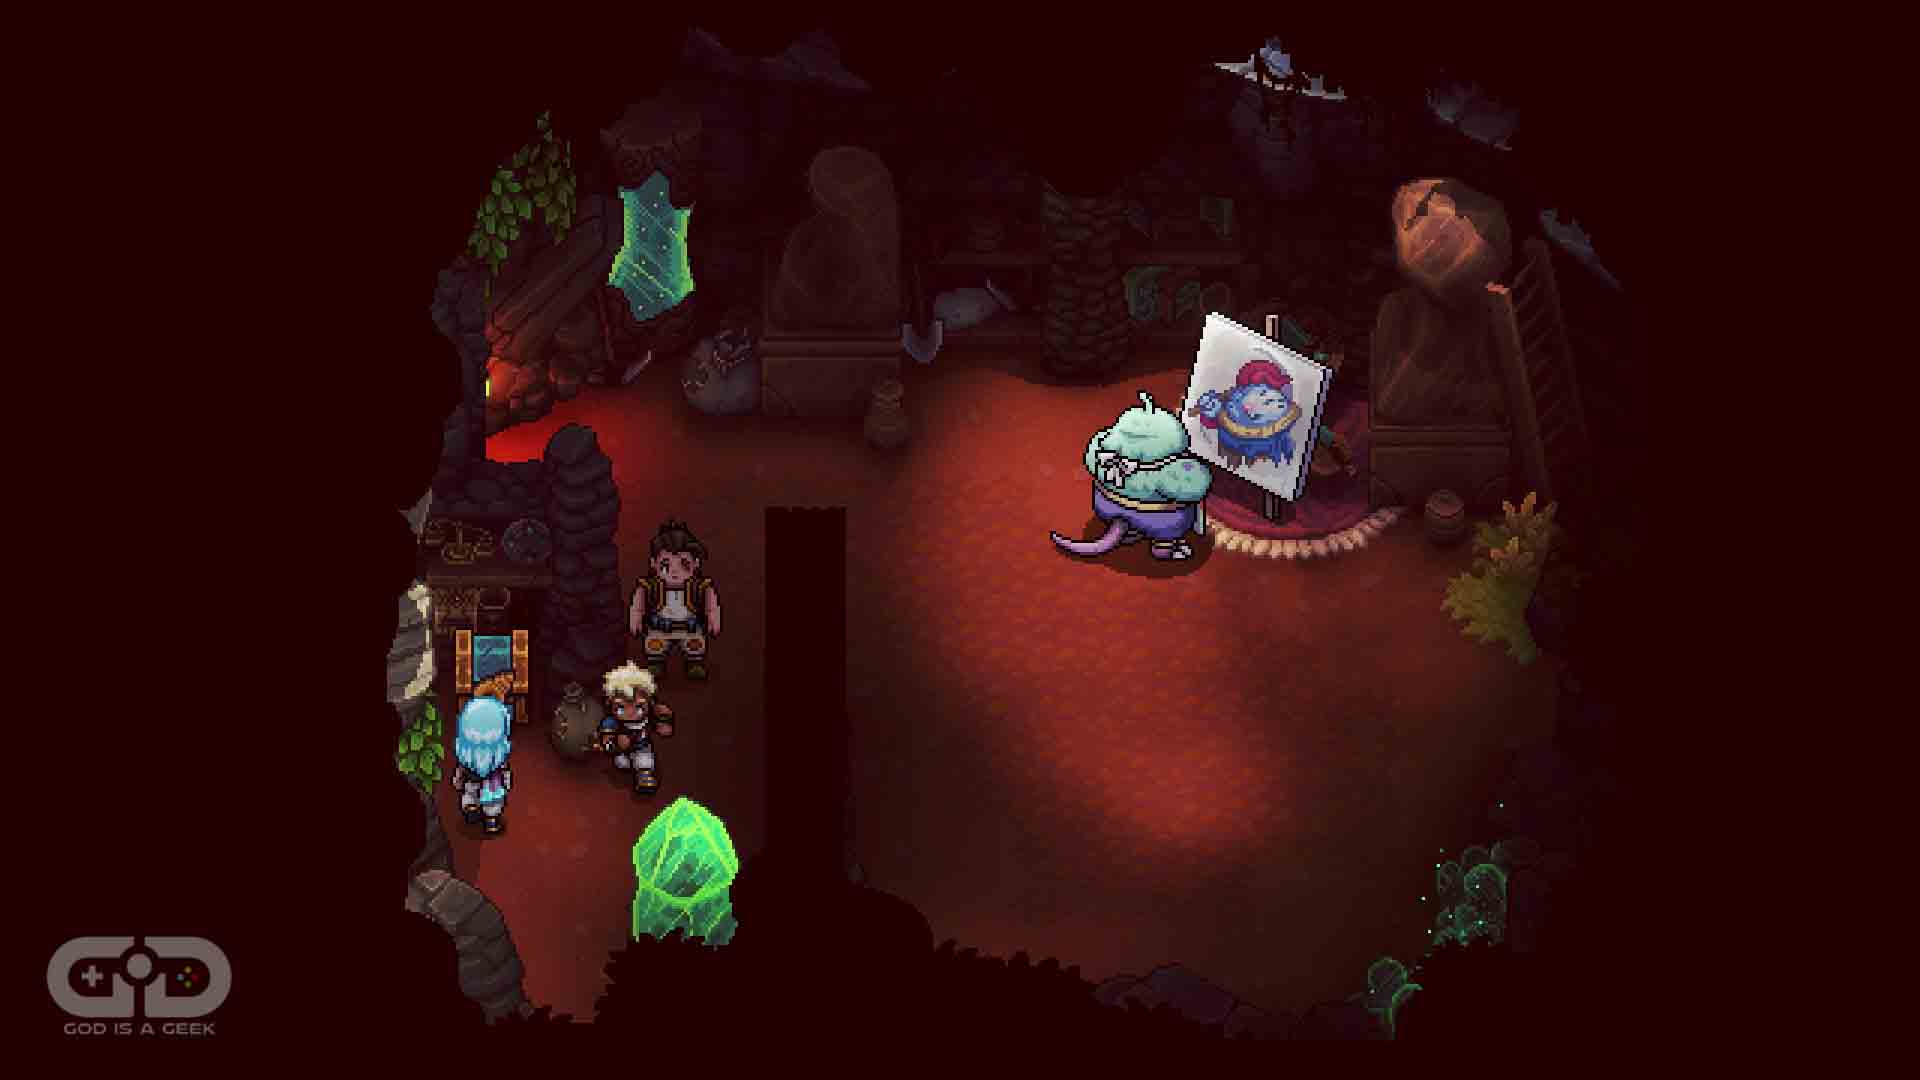
After clearing the Wind Tunnel Mines, return to the Stonemason’s Outpost. Explore the town, and find the artist’s house. The front door to the house is shut, so you’ll need to enter from the door to the left, and then move into the house from the side. Once inside, you can push the green crystal out of the way with your newly-acquired Mistral Bracelet and grab your third Rainbow Conch in Sea of Stars.
Conch #4
Location: Stonemason’s Outpost
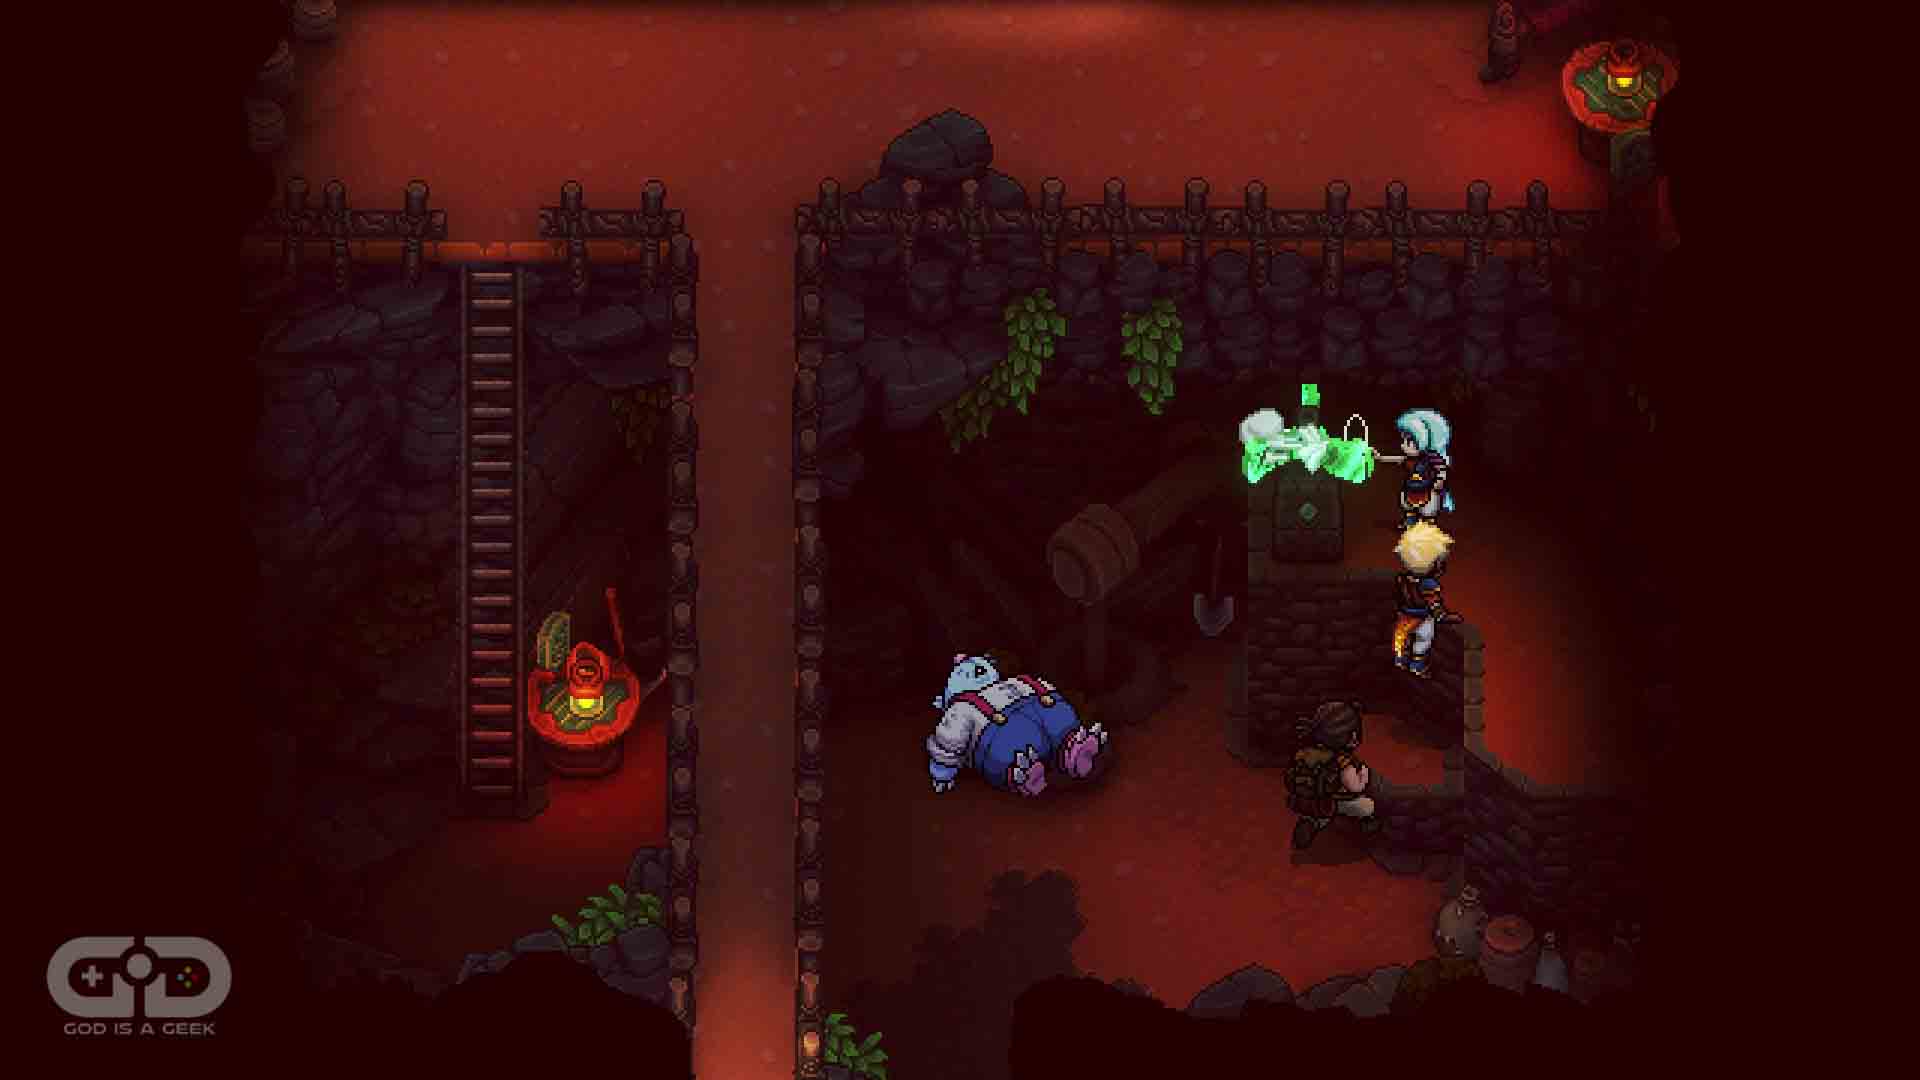
There is another locked door in Stonemason’s Outpost, and to get to that room, you need to enter from the open door above. To get to it you’ll need to drop down from a ledge. Once inside, you’ll spot and wind vane. Use your Mistral Bracelet on it to begin the mill turning again.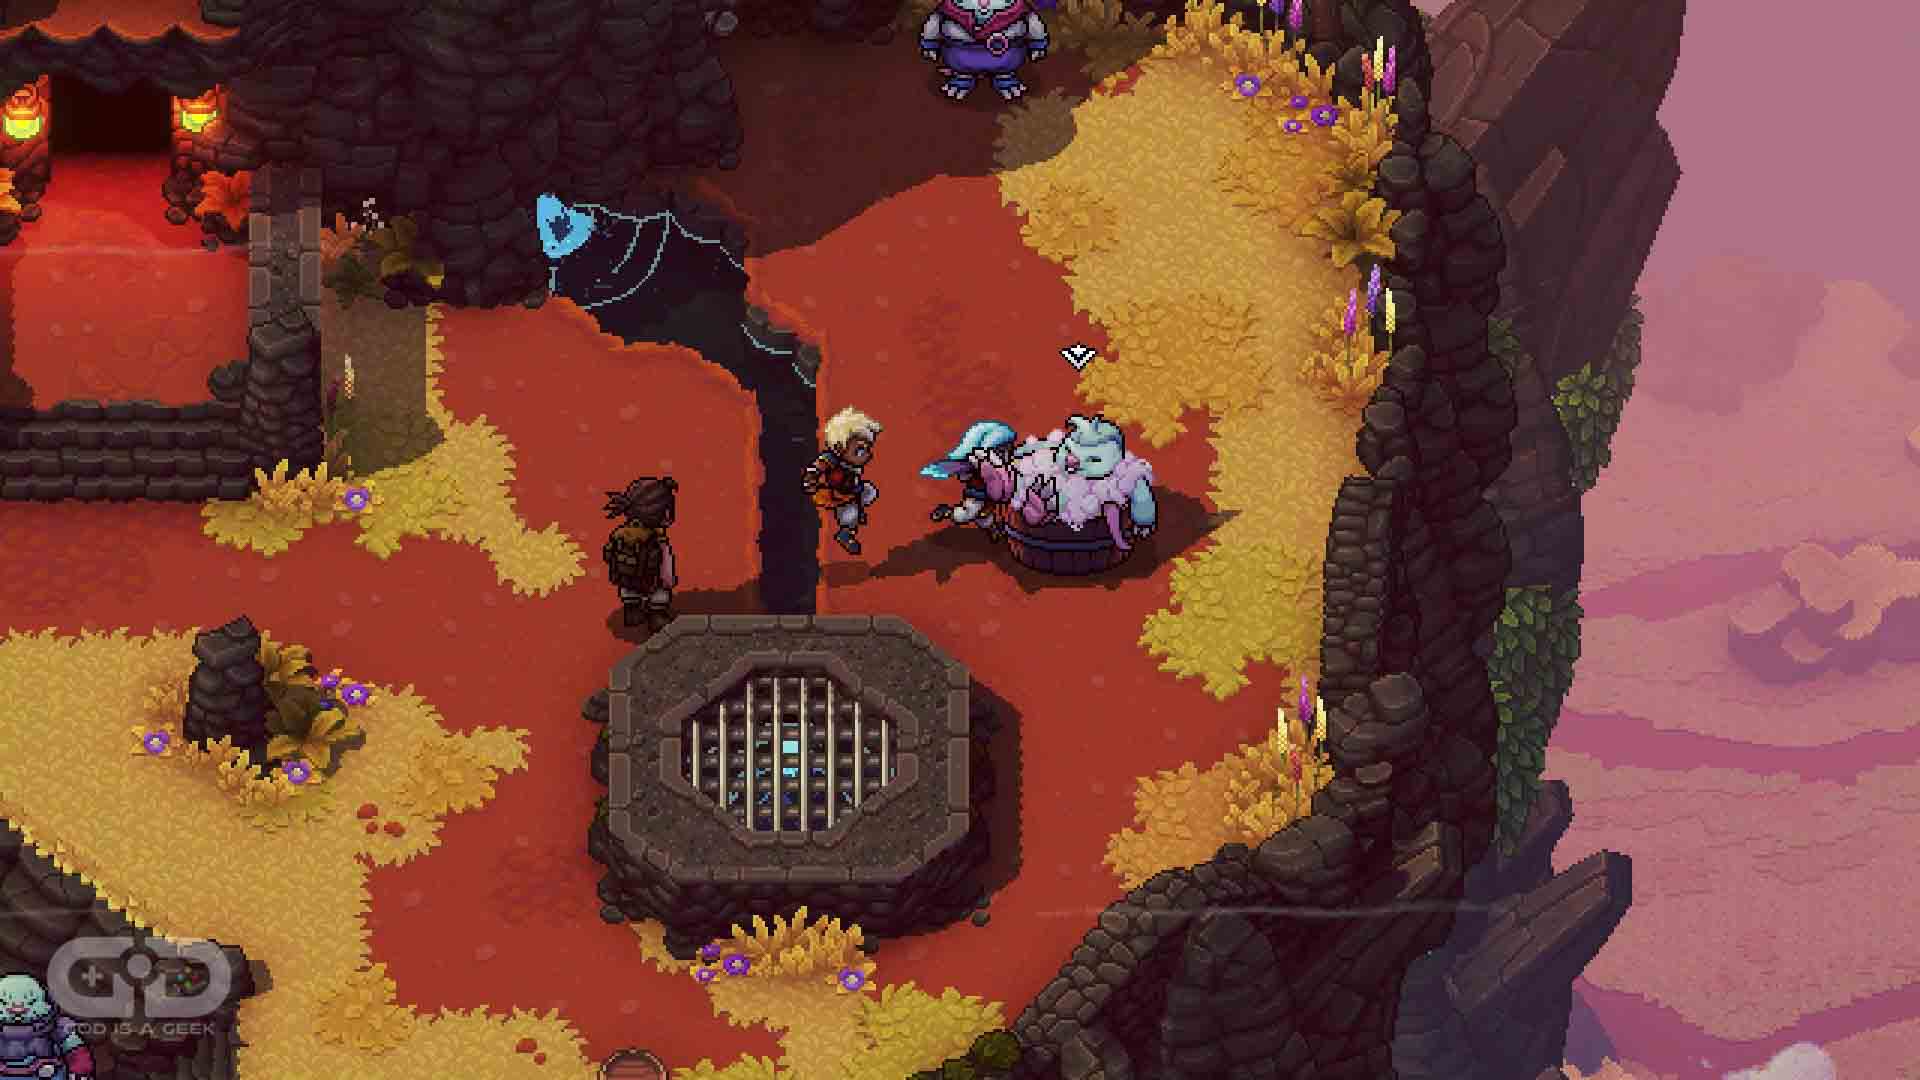
Then head outside and speak to the very happy Chi who is thrilled you have got the water running again. She will reward you with a Rainbow Conch.
Conch #5
Location: Coral Cascades
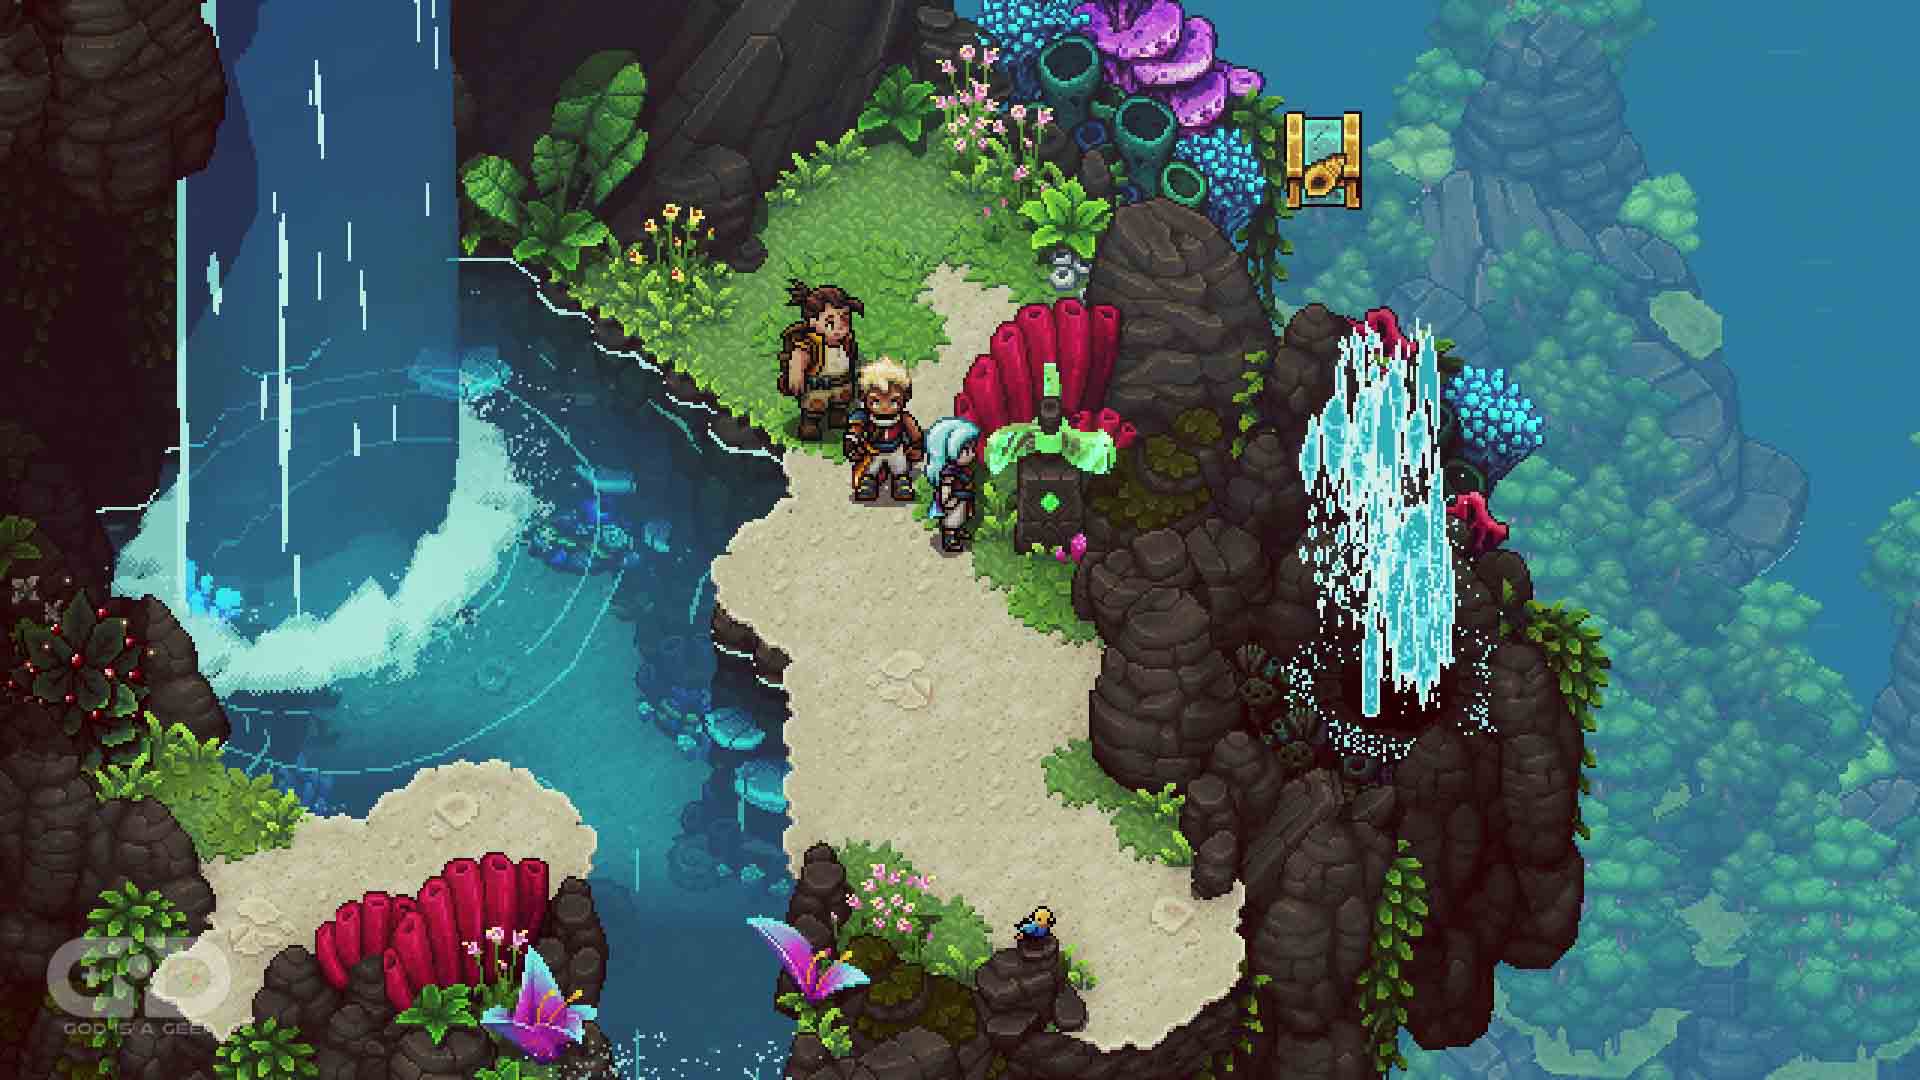 As you make your way down the Coral Cascades, you will get to a point where you can choose to descend down one of three waterfalls. Choose the right waterfall to land in a section with a Rainbow Conch chest. Use the Mistral Bracelet on the Wind Vane to generate a spout of water that will push the chest to a reachable location.
Conch #6
Location: Coral Cascades
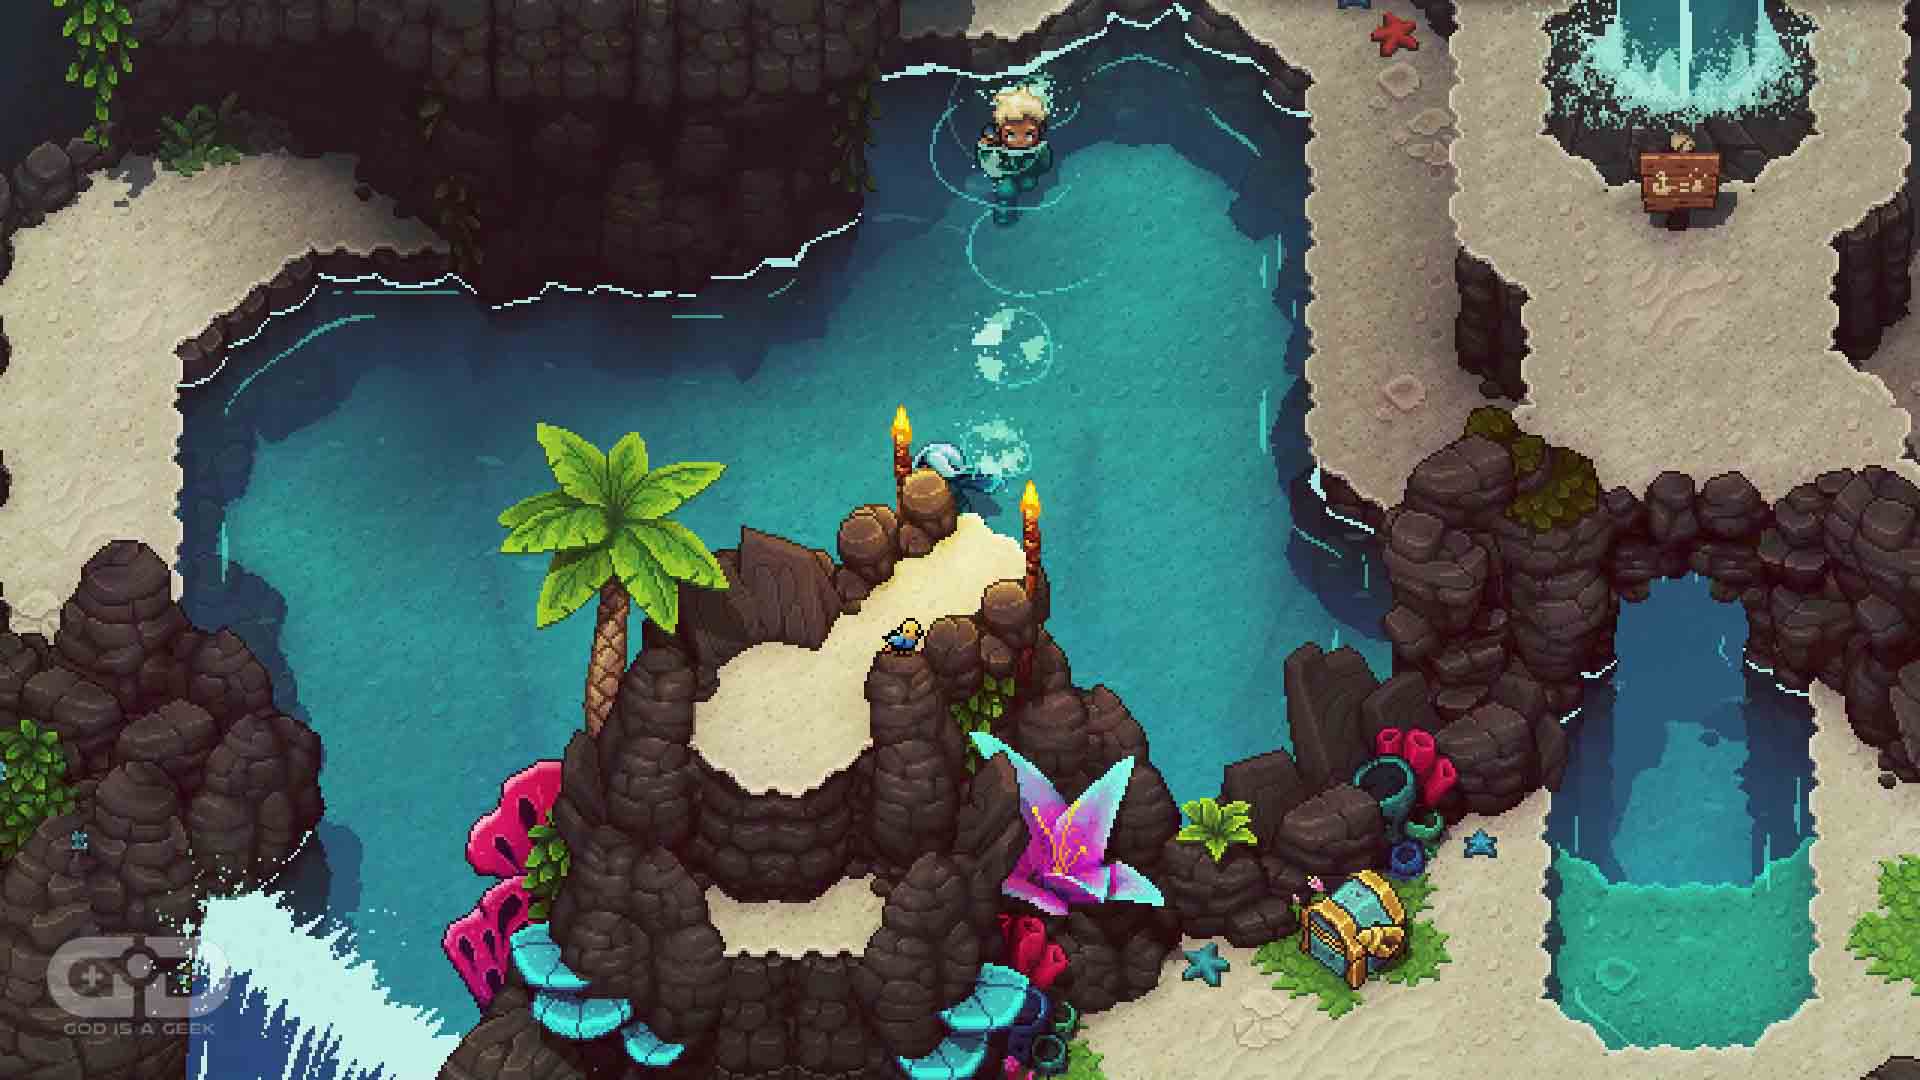 Further down Coral Cascades, you will likely spy this Rainbow Conch chest, but you currently cannot reach it. Head down the waterfall, in the bottom-right of the above image, and then look for a water jet that will propel you upwards.
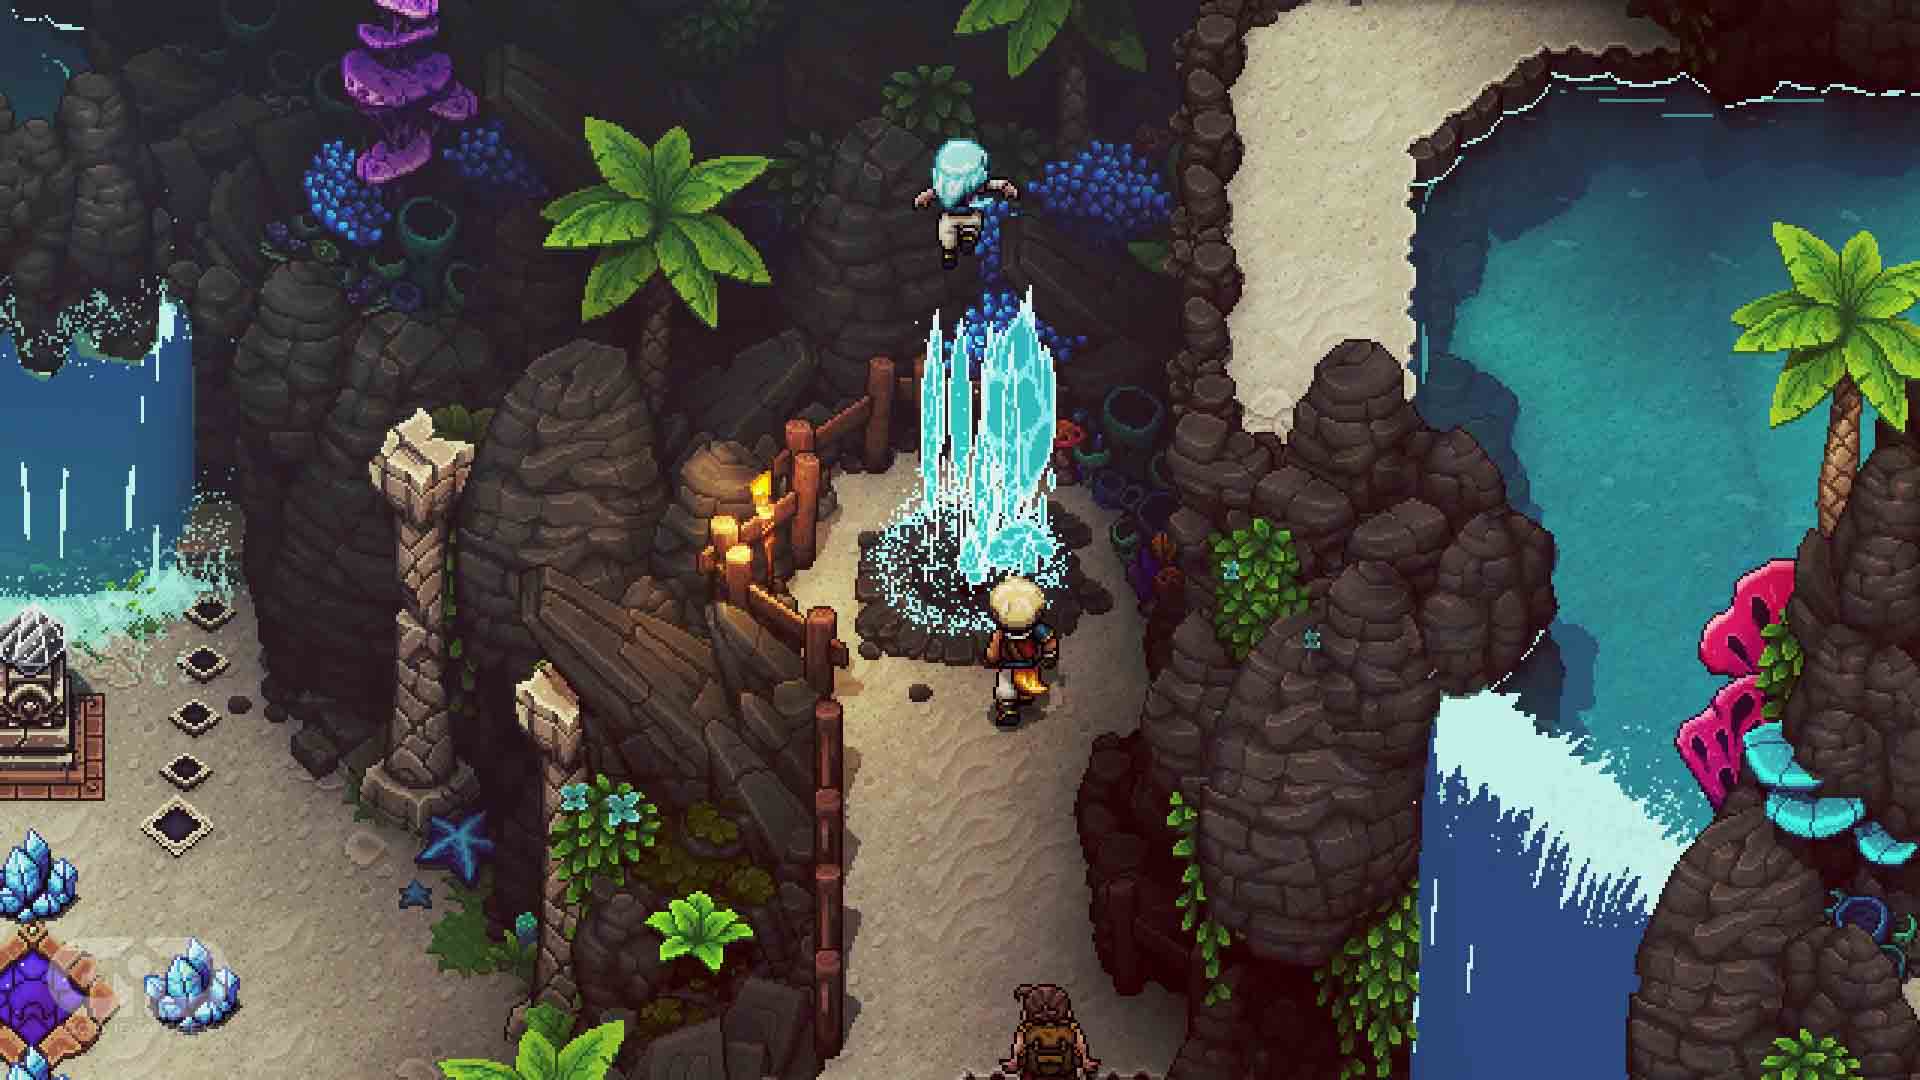 Take it and you will ascend to a new ledge, with another jet that will take you even higher. Once you are there you will find yourself on a long ledge.
Head to your right, and you will see a point where you can drop down. Do so and you will smash through some rock and end up in the water next to the Rainbow Conch chest. Pull yourself out and open it.
Conch #7
Location Brisk
 This is a fairly simple Rainbow Conch, as a villager even helps you to find it. Head to the bottom-left corner or the mainland in Brisk and you should see a villager who mentions a Conch. Look just above you, and you should see the chest.
Conch #8
Location: Brisk
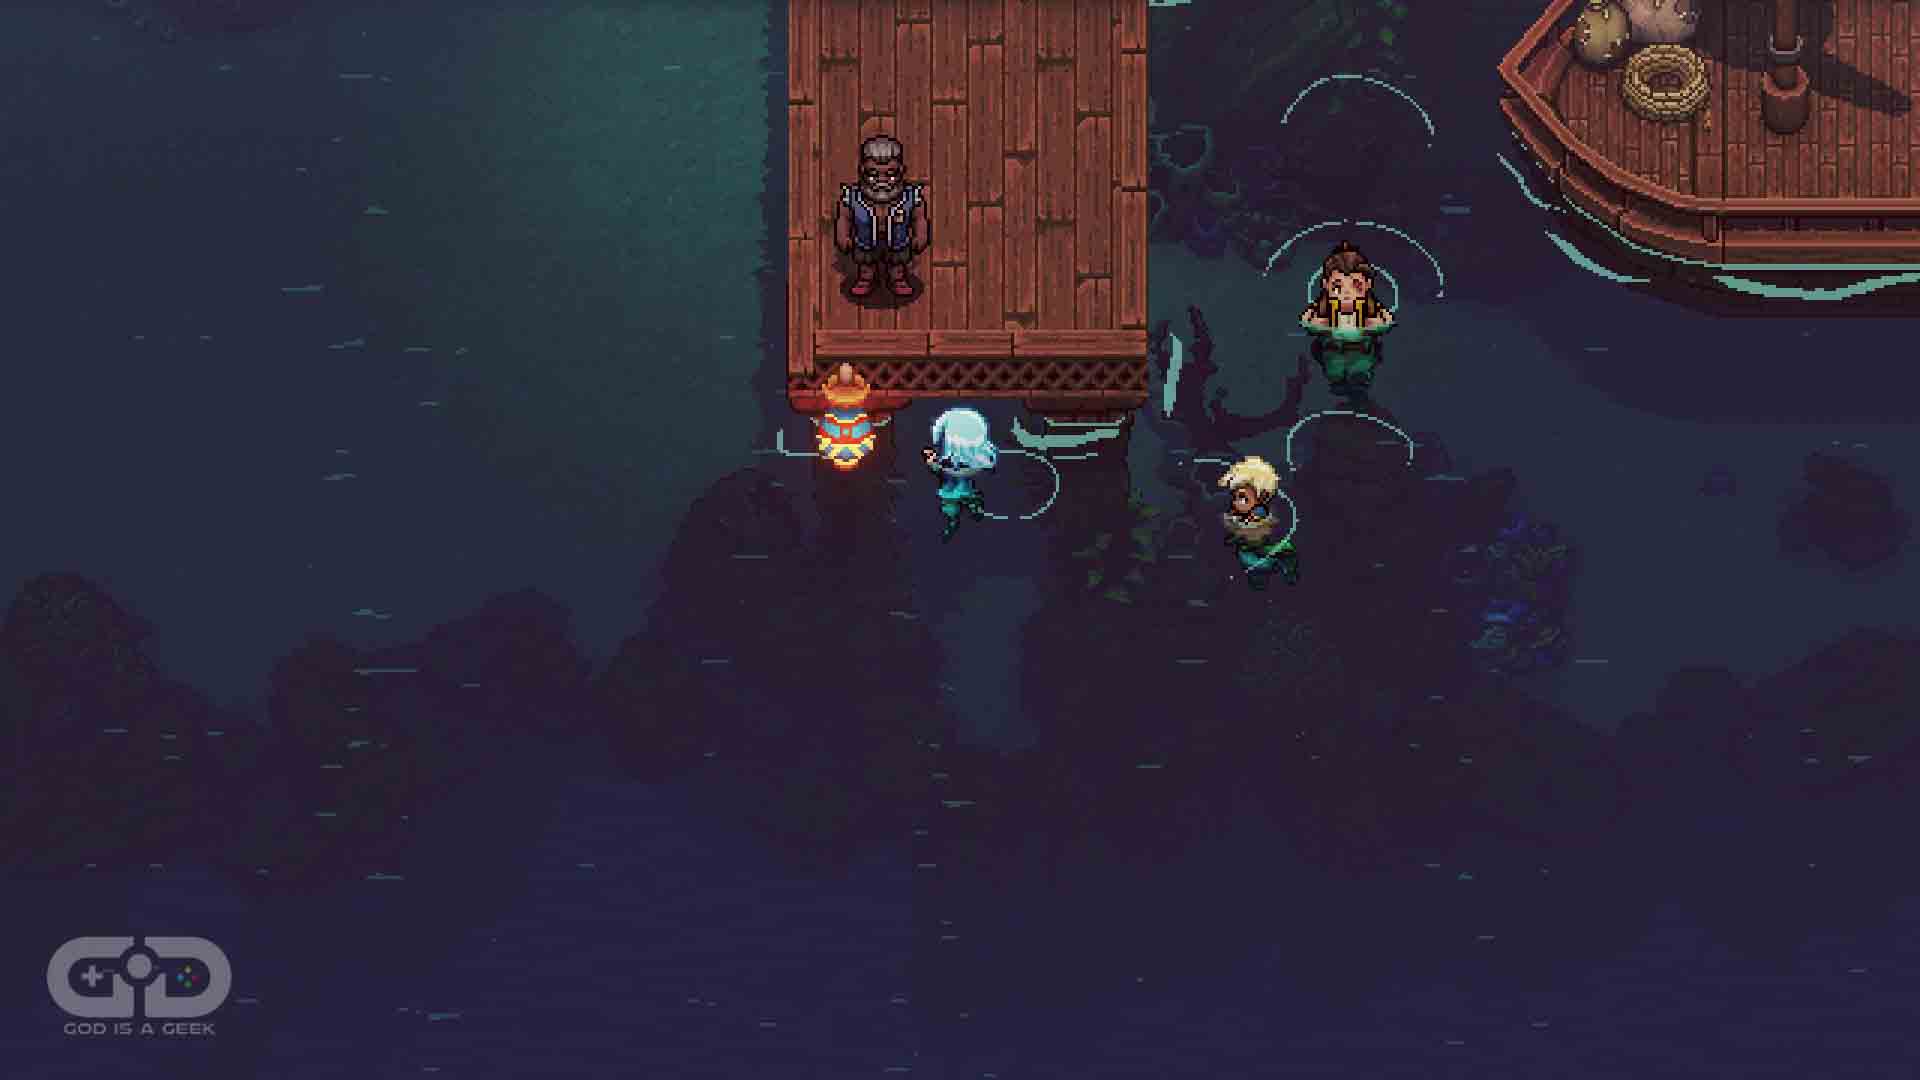 Firstly you’ll want to jump into the water to the south of town. Then swim until you reach the area in the picture above. You can actually swim up and under this pier, to find a secret area.
Inside is a secret hideout with a unique selection of wares for sale if you have the right item. But what we’re here for is the Rainbow Conch chest on the left.
Conch #9
Location: Brisk
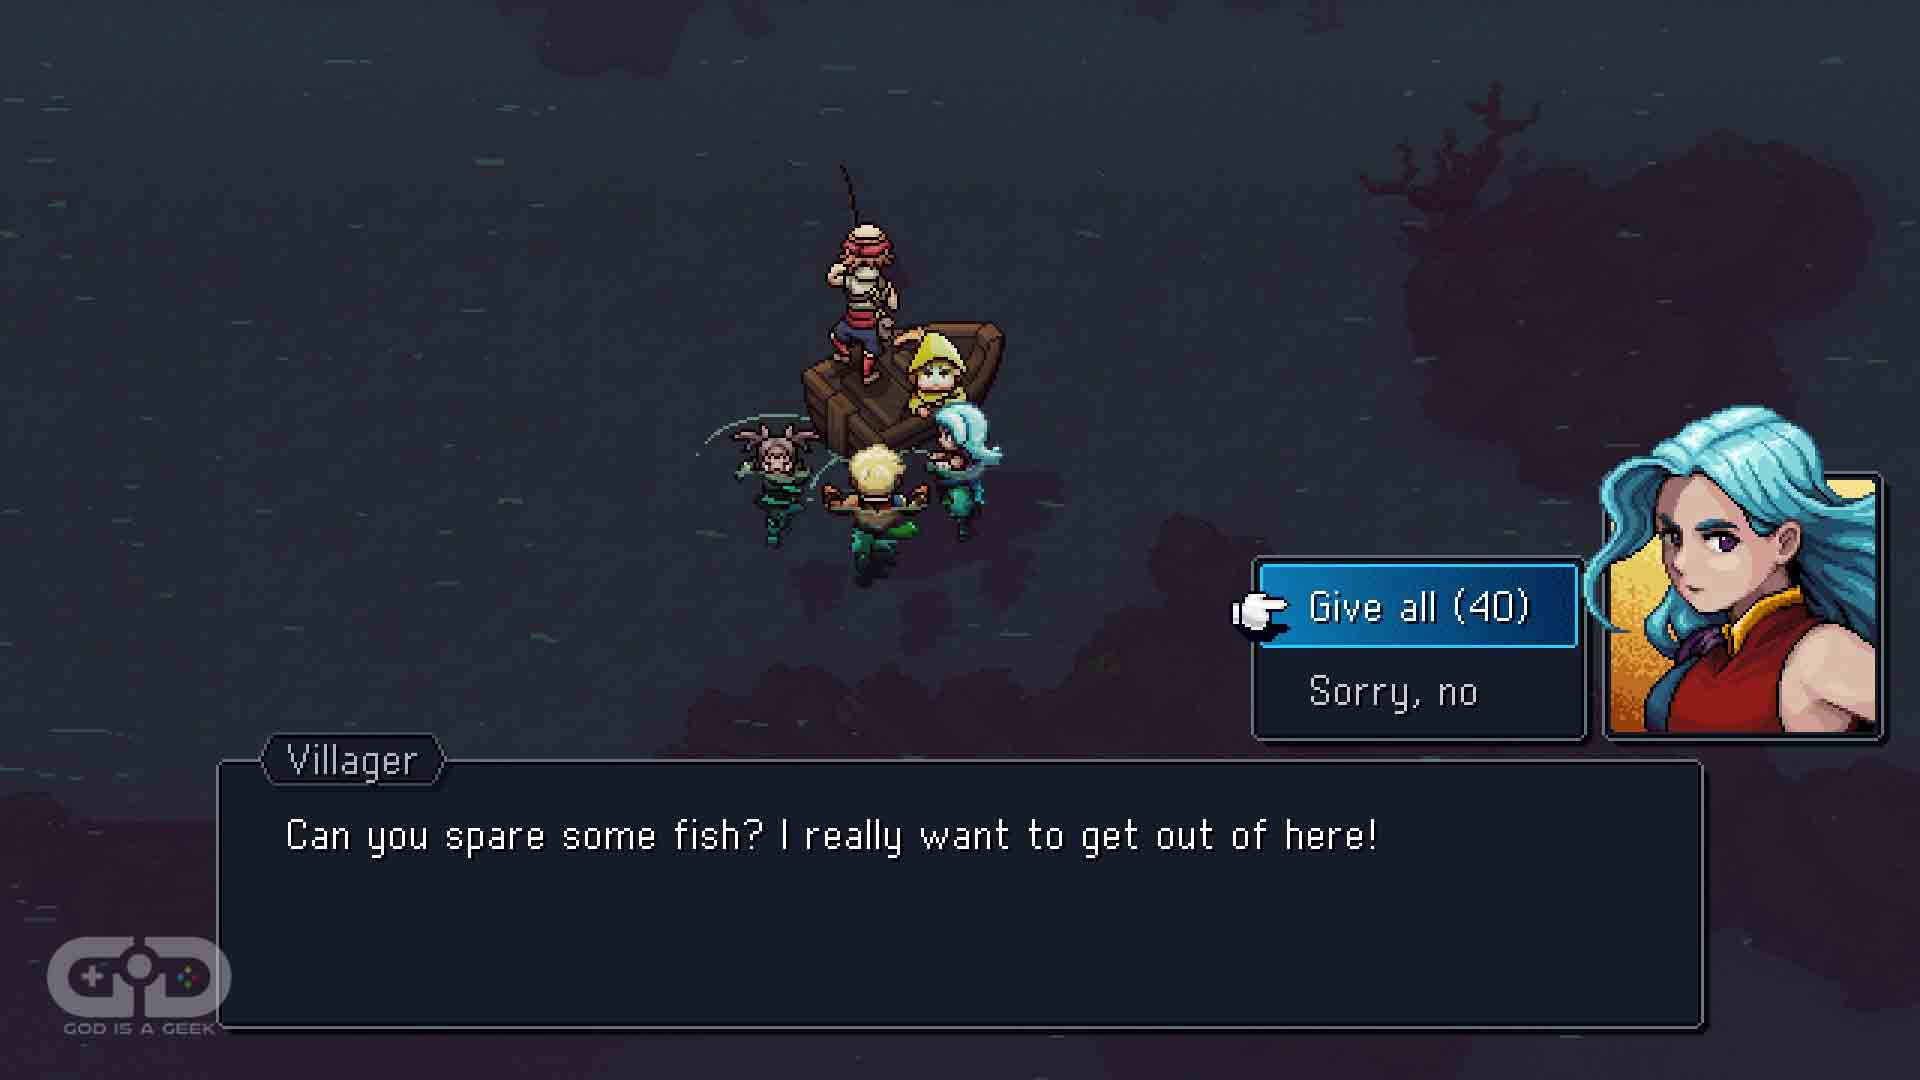
For the next Rainbow Conch in Sea of Stars, we need to stay in the water. Head to the bottom-left area of the water in Brisk and you should come across a father and his son fishing. The son really wants to leave but they can’t leave until they have 40 fish. If you can give them 40 fish, he’ll reward you with a Rainbow Conch. You definitely want this trade.
If you’re struggling to get 40 fish, head over to our Sea of Stars Fishing Guide for all the help and advice you need.
Conch #10
Location: Brisk
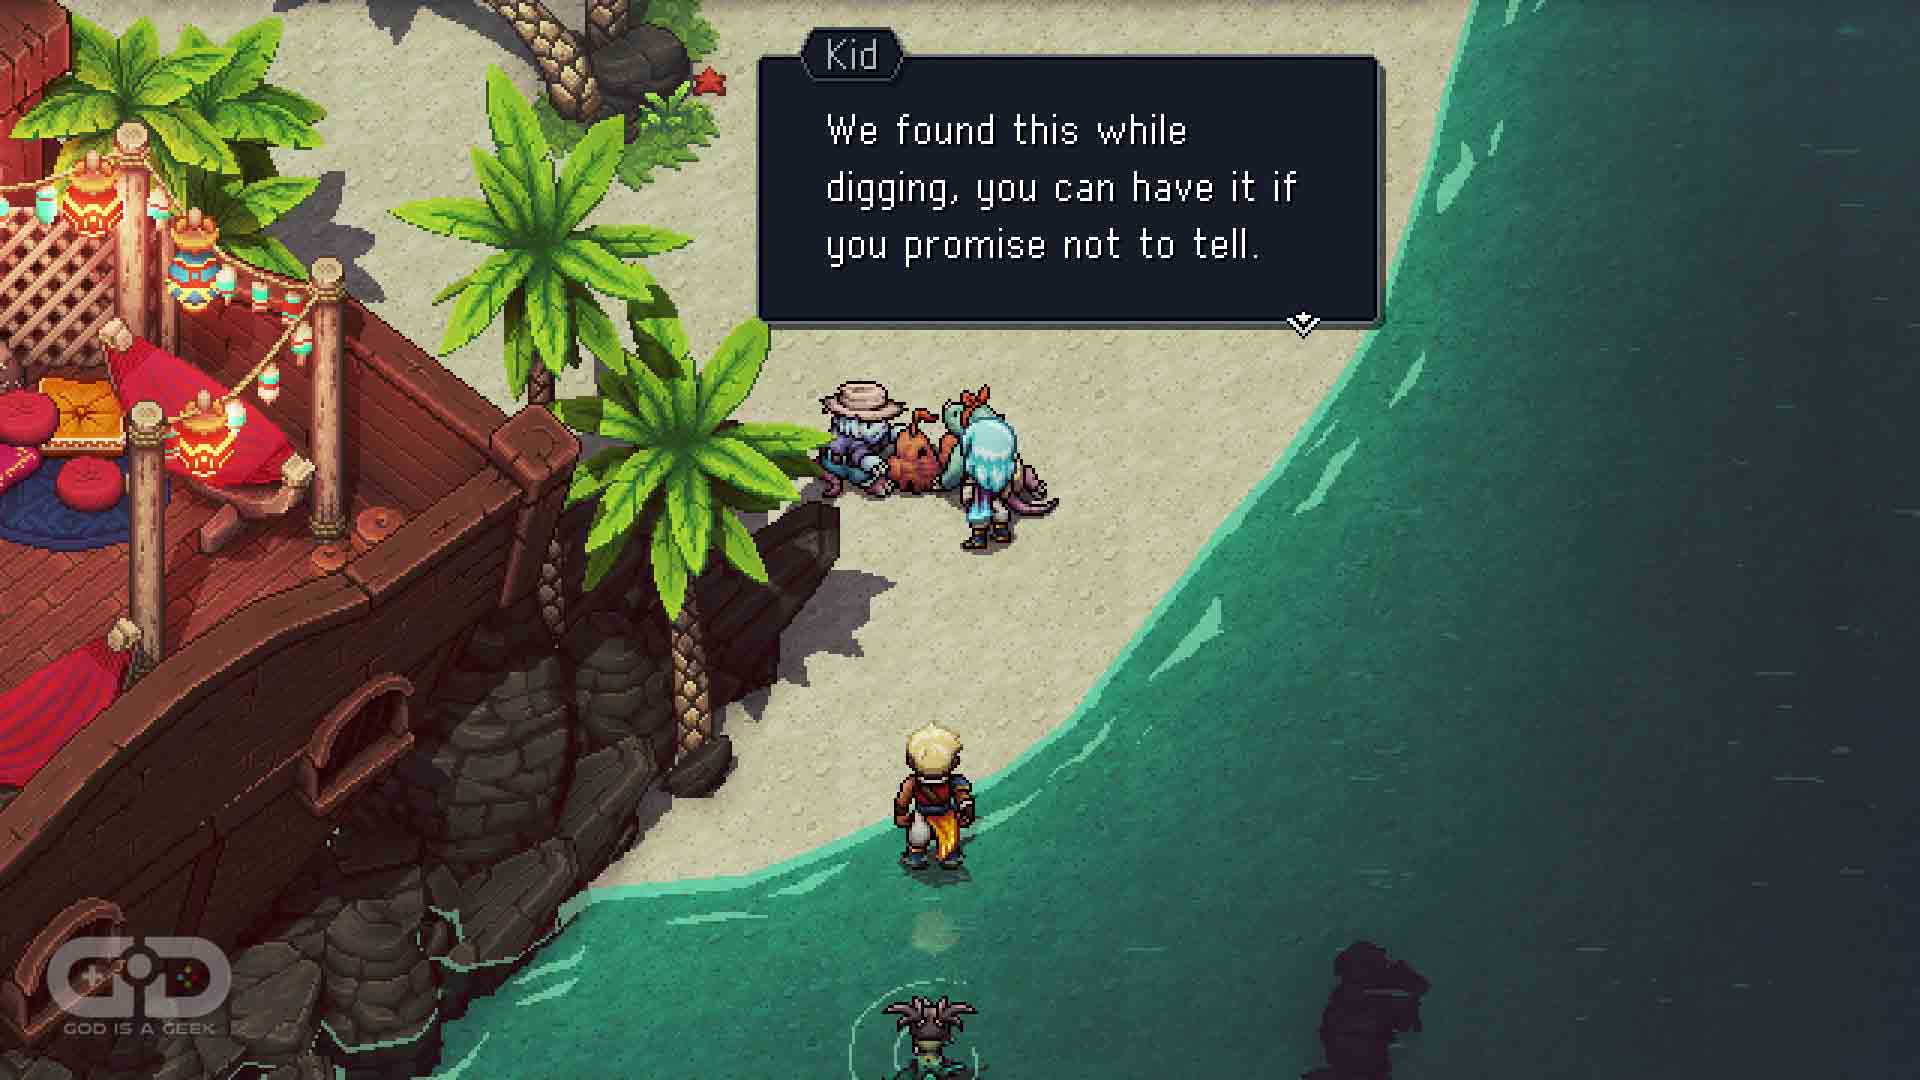
Head now to the bottom-right beach area of Brisk, and you should find two young children building a sandcastle. If you promise not to tell anyone about their secret place, they’ll reward you with a Rainbow Conch.
Conch #11
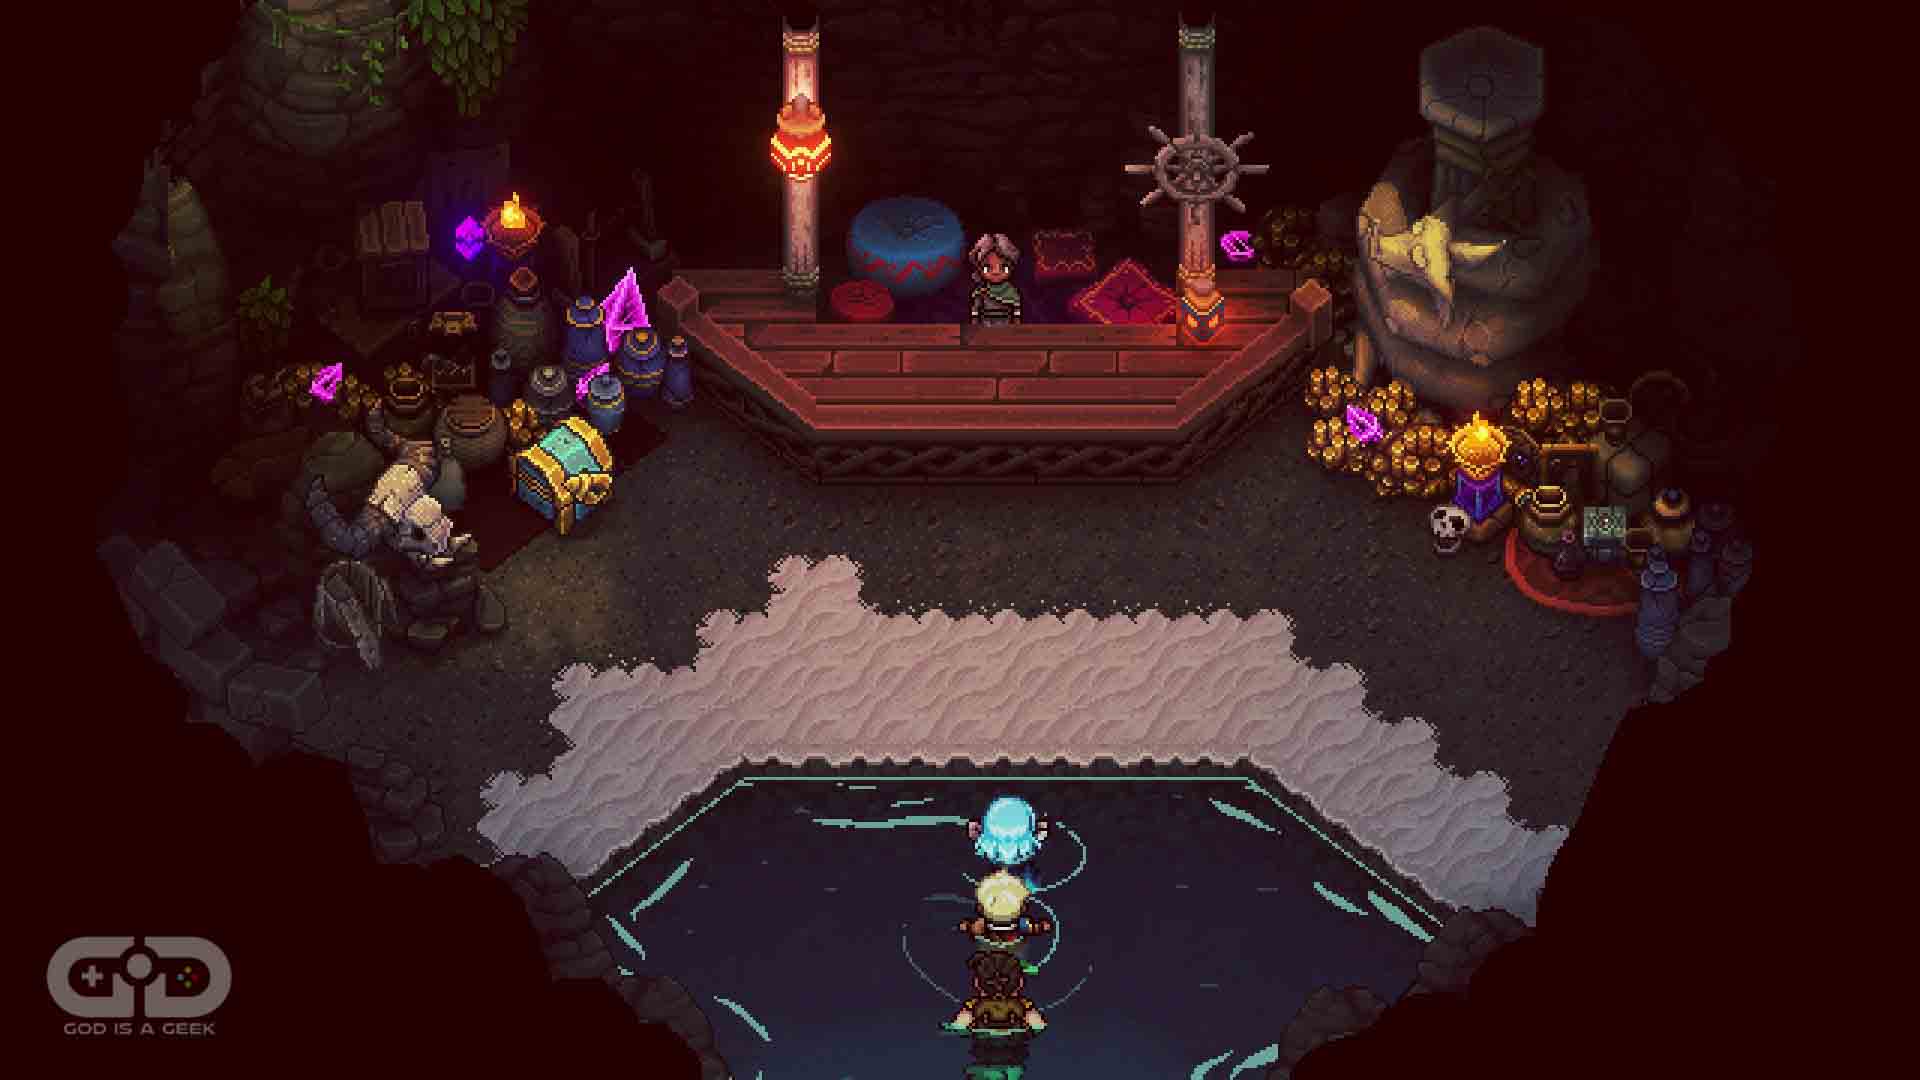
Location: Abandoned Wizard’s Lab
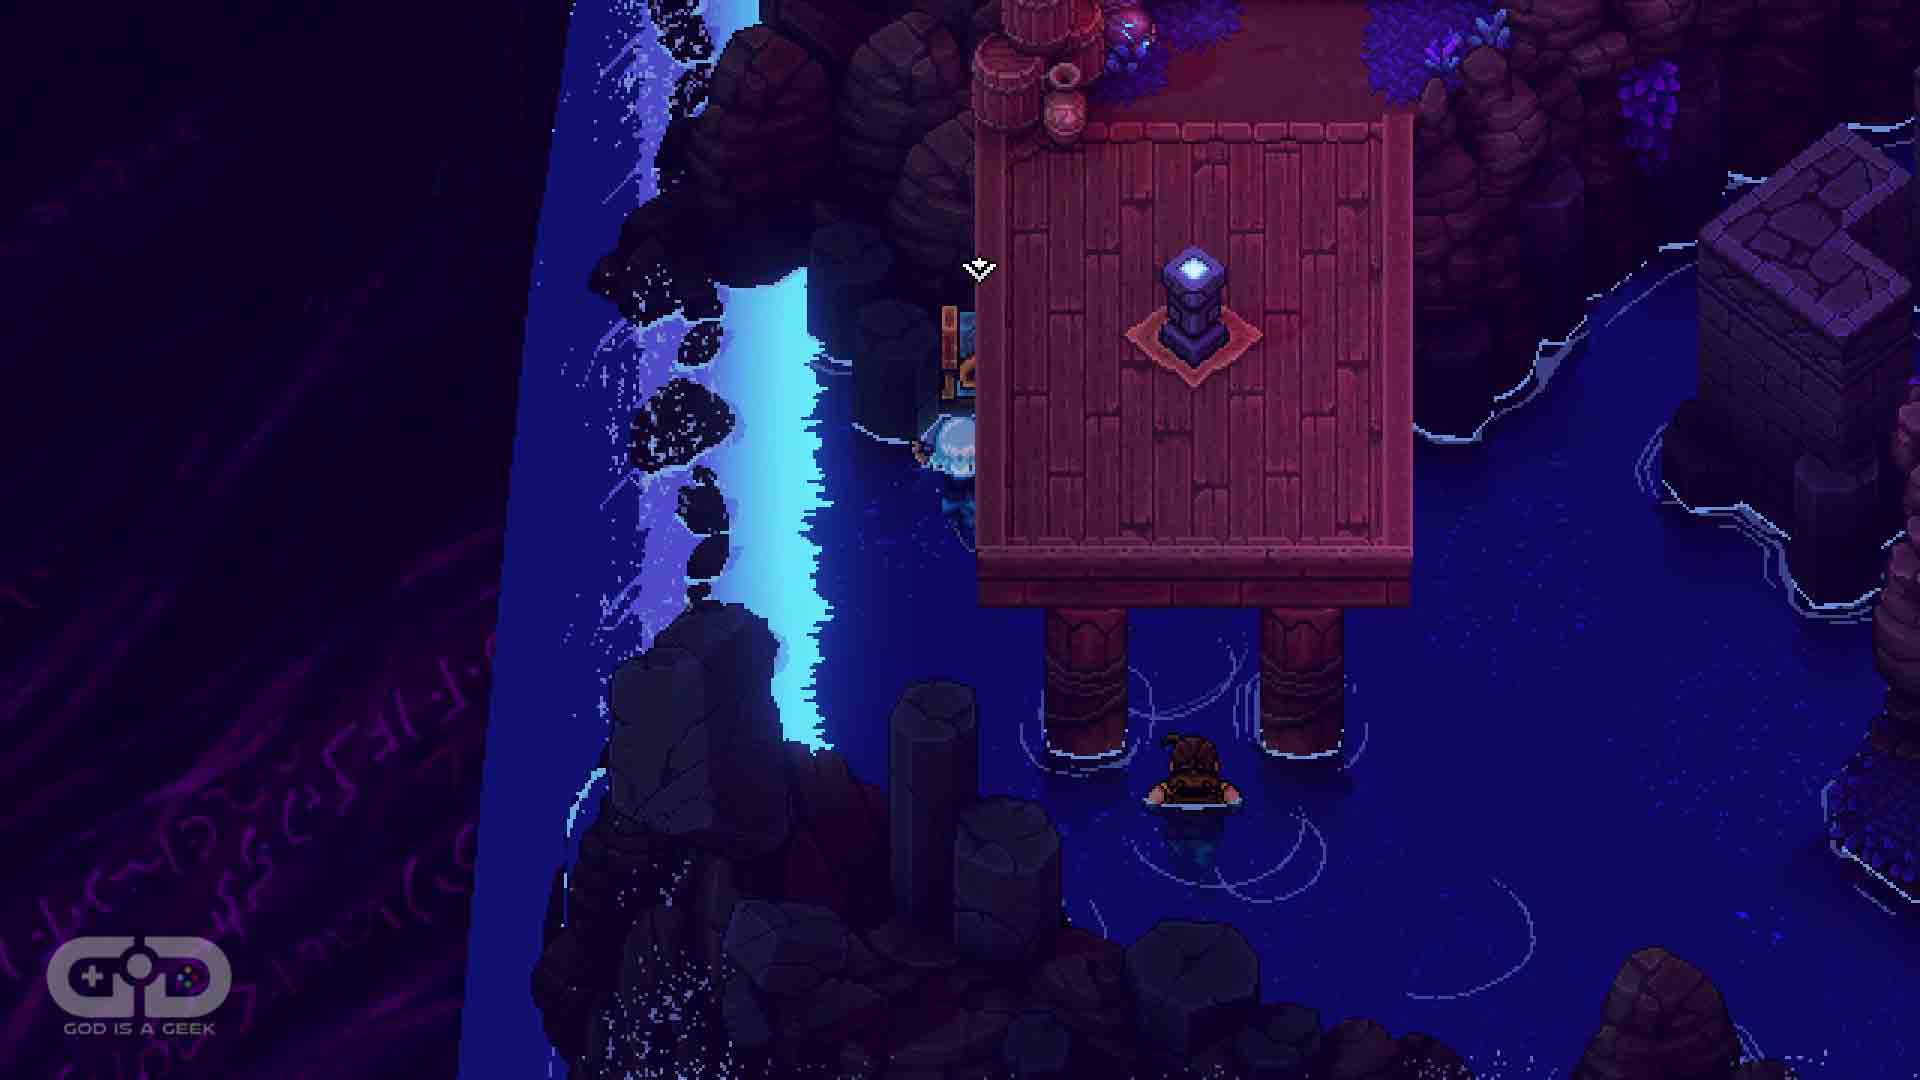
In the Cyan area of the dungeon (made by mixing the Green and Blue crystals together) you can find the next Rainbow Conch. When you can, jump in the water to your left, and you’ll notice the chest, hiding underneath an overhanging pier.
Conch #12
Location: Abandoned Wizard’s Lab
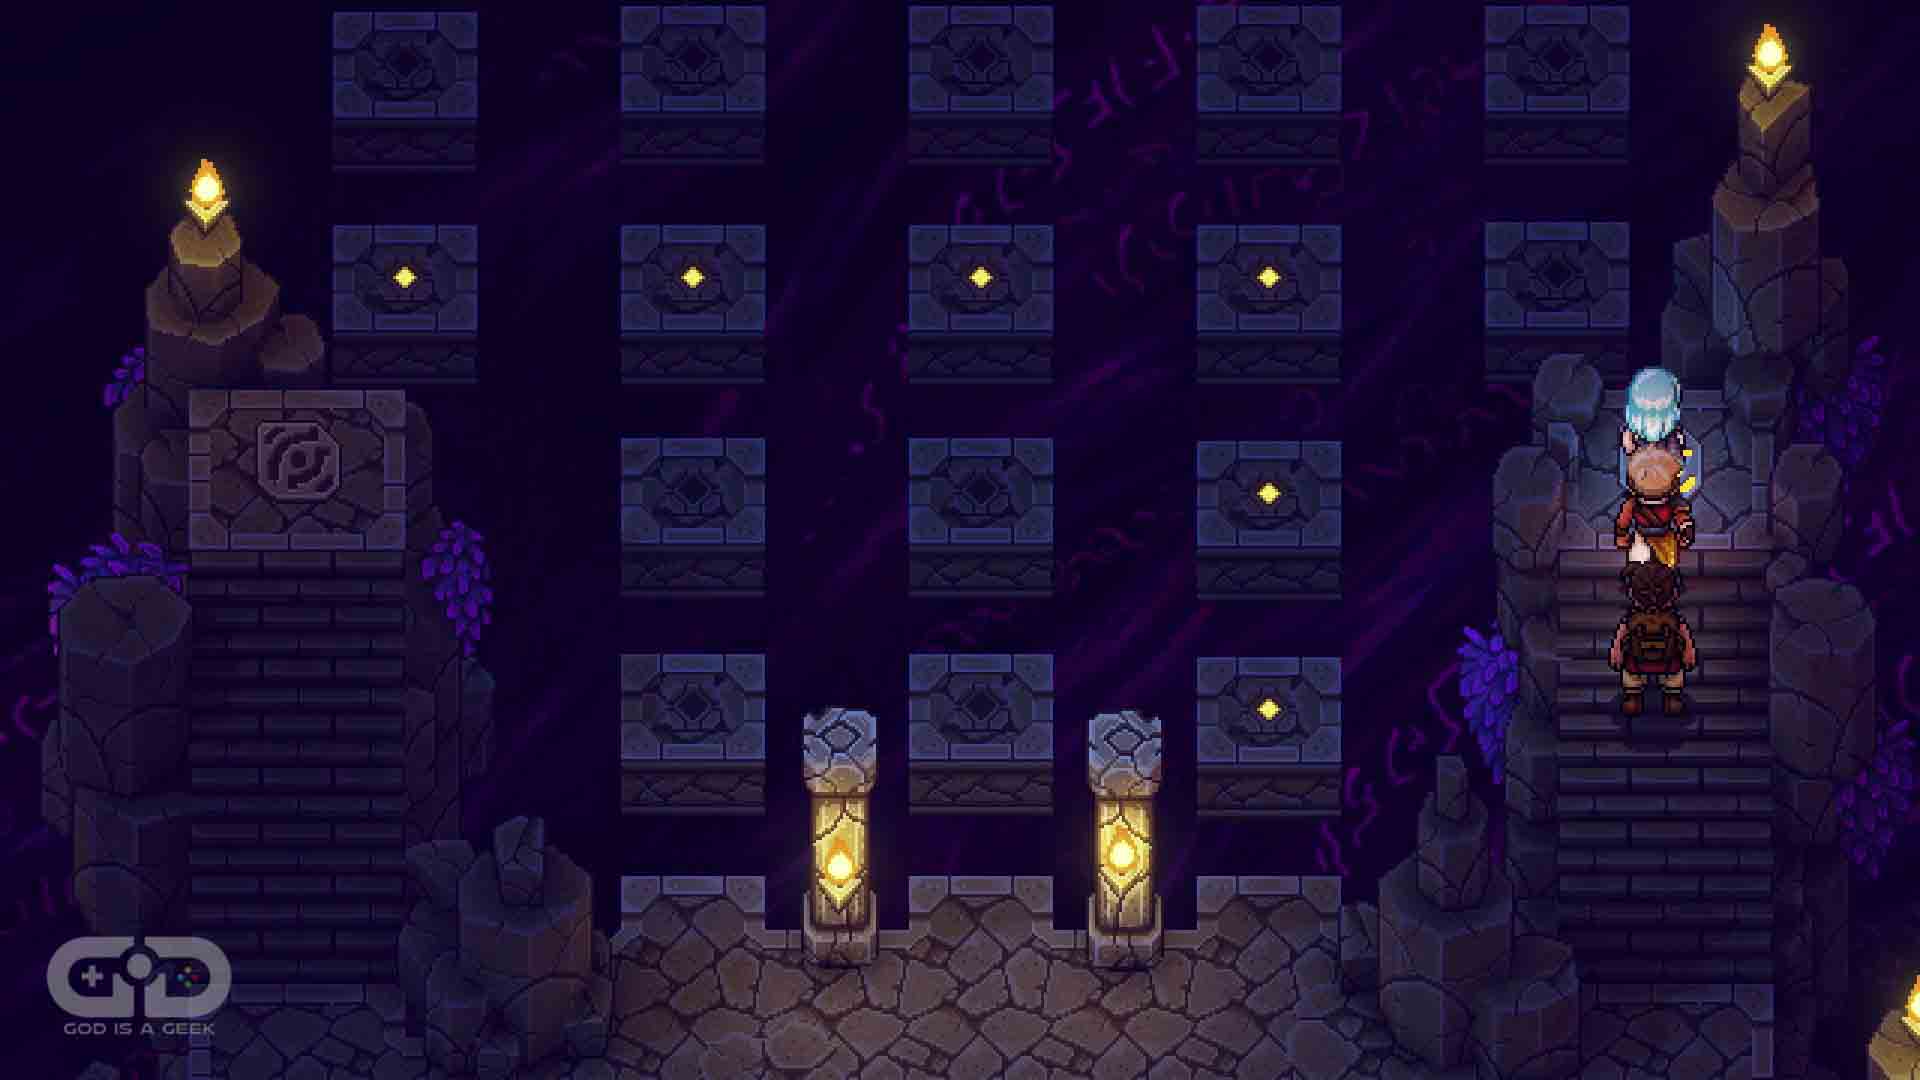
There’s another Rainbow Conch here, but this time in the Yellow area (made by mixing Red and Green crystals together). Head in here, and hit the first switch on the right. To see the pattern of blocks above. You’ll need to remember this pattern.
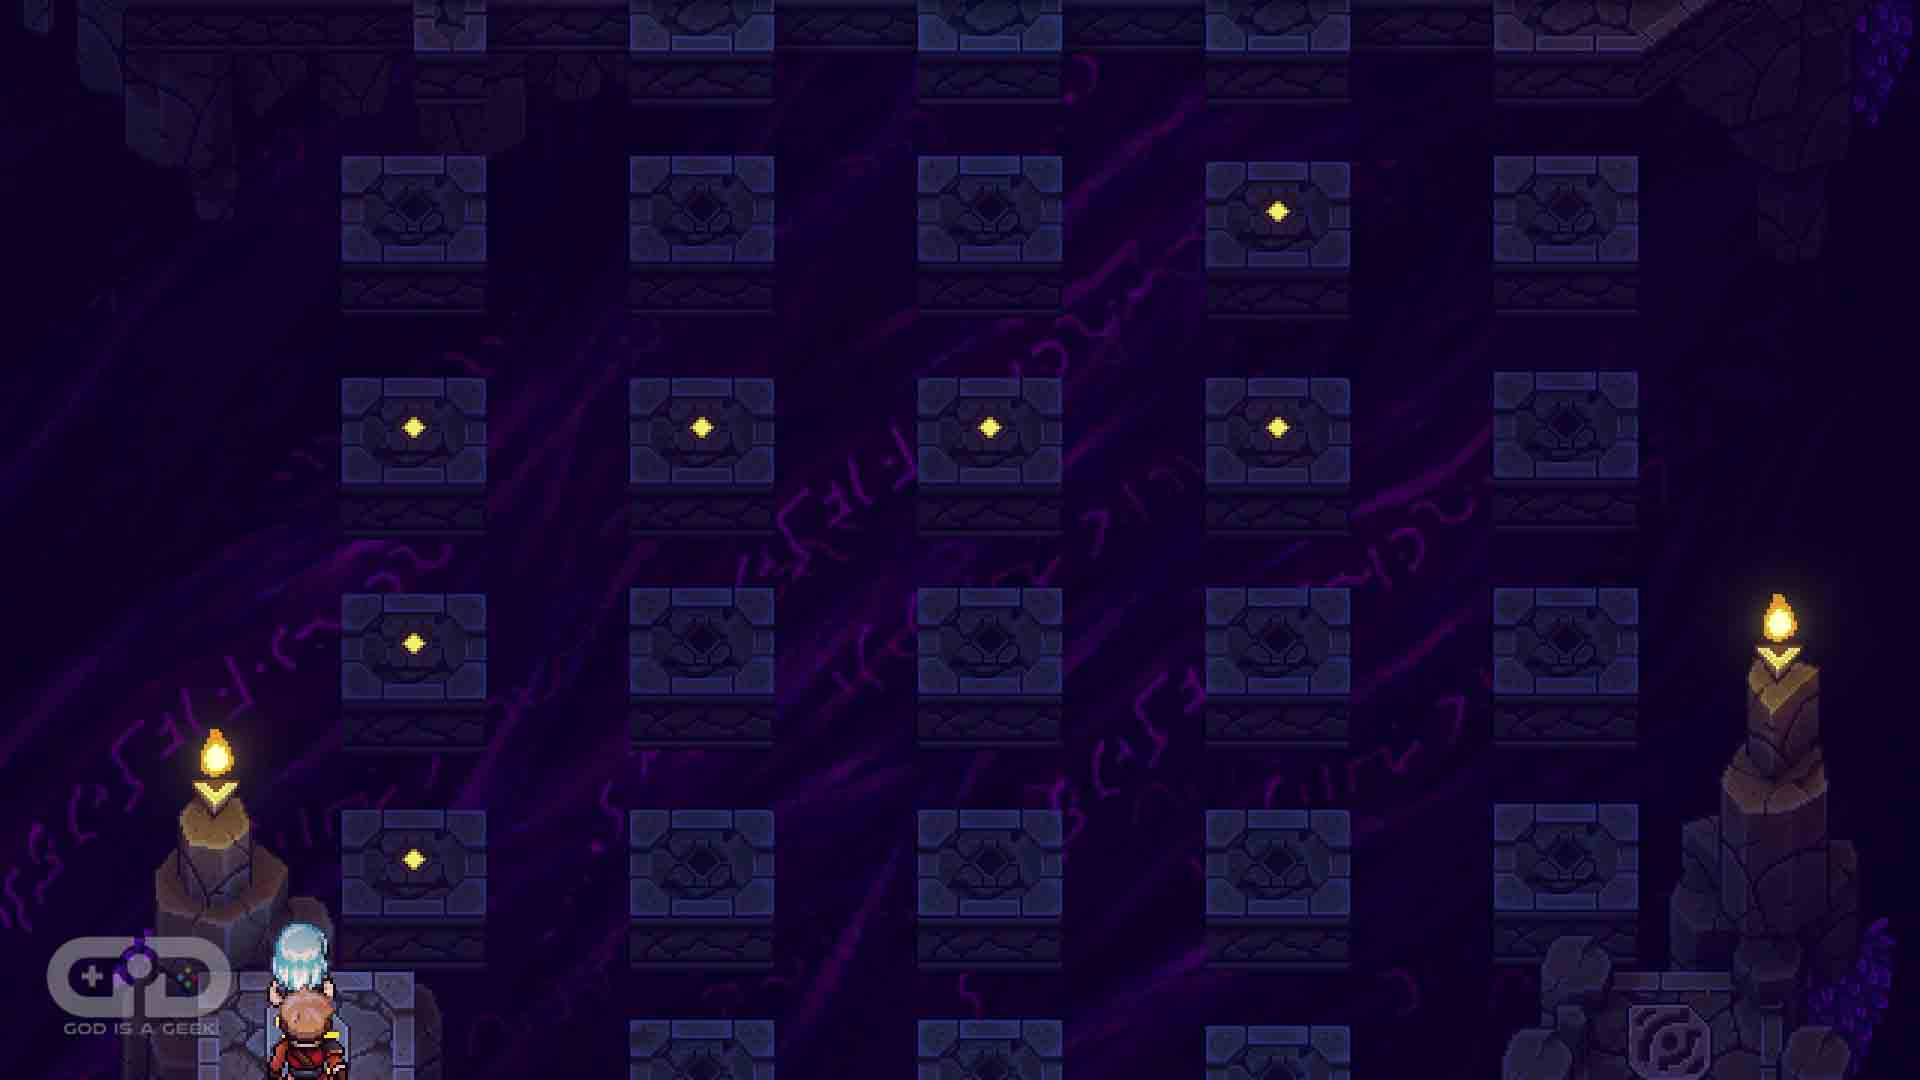 Then head on over to the left switch to reveal the second half of the pattern. Now you need to head across the block in the pattern they were lit up in. Doing so means you will get over to the other side safely and can open the chest to reveal another Rainbow Conch.


