Sea of Stars | Rainbow Conch Guide: Part 3

This is the third part of our guide to find every Rainbow Conch in Sea of Stars. In this part of the guide, we will find 15 Rainbow Conches to add to your collection. This will bring our total Rainbow Conch total up to 34 so far. Read on to help find every Rainbow Conch in Sea of Stars.
Where are we up to in the game?
This part of the guide covers from the point after defeating the Dweller of Woe. Some key story beats will happen and you’ll have access to some new areas. We’ll also be revisiting a couple of areas to get some easy Conches now to save time later. This part covers up to the point before you head to Mesa Island.
Sea of Stars | Rainbow Conch Guide
Conch #20
Location: Ancient Crypt
Whilst helping to rebuild Mirth, you get called to investigate the Ancient Crypt on the island. Once inside and having spoken to an NPC there, look to the right side of the first room, to see a chest, half concealed by a pillar.
Conch #21
Location: Mirth
When you return you’ll be able to freely explore Mirth. When you do you should head into the pub in the middle of town. Head inside and up the stairs, and then back out onto the balcony. Look to the right of where you came onto the balcony to find another partially-hidden chest in the shadows.
Conch #22
Location: Stillpond Island
There’s nothing you can actually do in Stillpond Island yet, but there’s an easy chest to grab here now that you can sail on the Vespertine. Head to the fishing pond, and then make your way around the right-hand side and go right to the back. Here you will find another Rainbow Conch chest partially concealed by bushes.
Conch #23
Location: Brisk
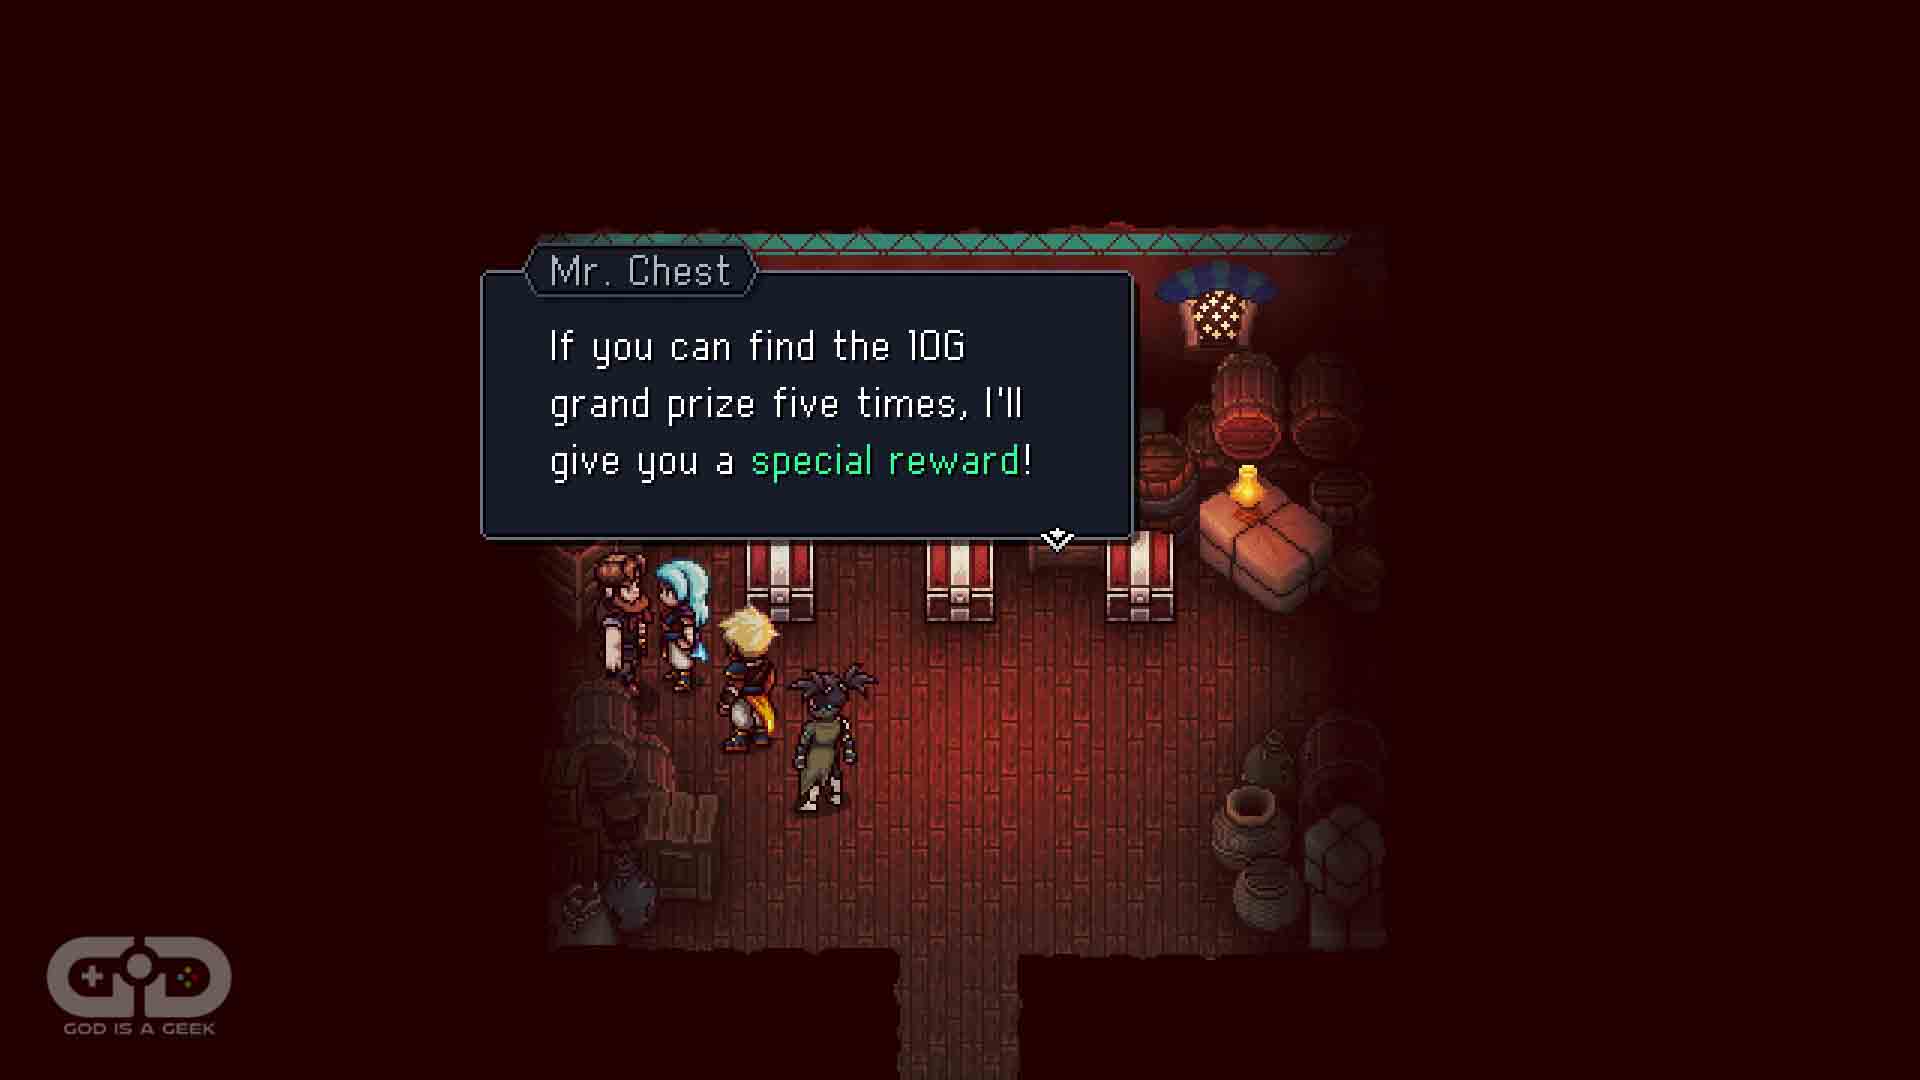
Head back to Brisk. Entering and re-entering Brisk will cause it to seamlessly restore itself almost to its former glory. There is still some building work but you can explore most of it freely. For this chest, head into the shop with the chest minigame. You pay 5G and have a chance of winning 10G, 2G, or 0G from a chest. But most importantly, if you get 10G five times, you get a special reward from the shopkeeper.
Keep playing this game over and over (you may lose a bit of money but not much) until you have found the 10G five times. Then the shopkeeper will hand over a Rainbow Conch.
Conch #24
Location: Brisk
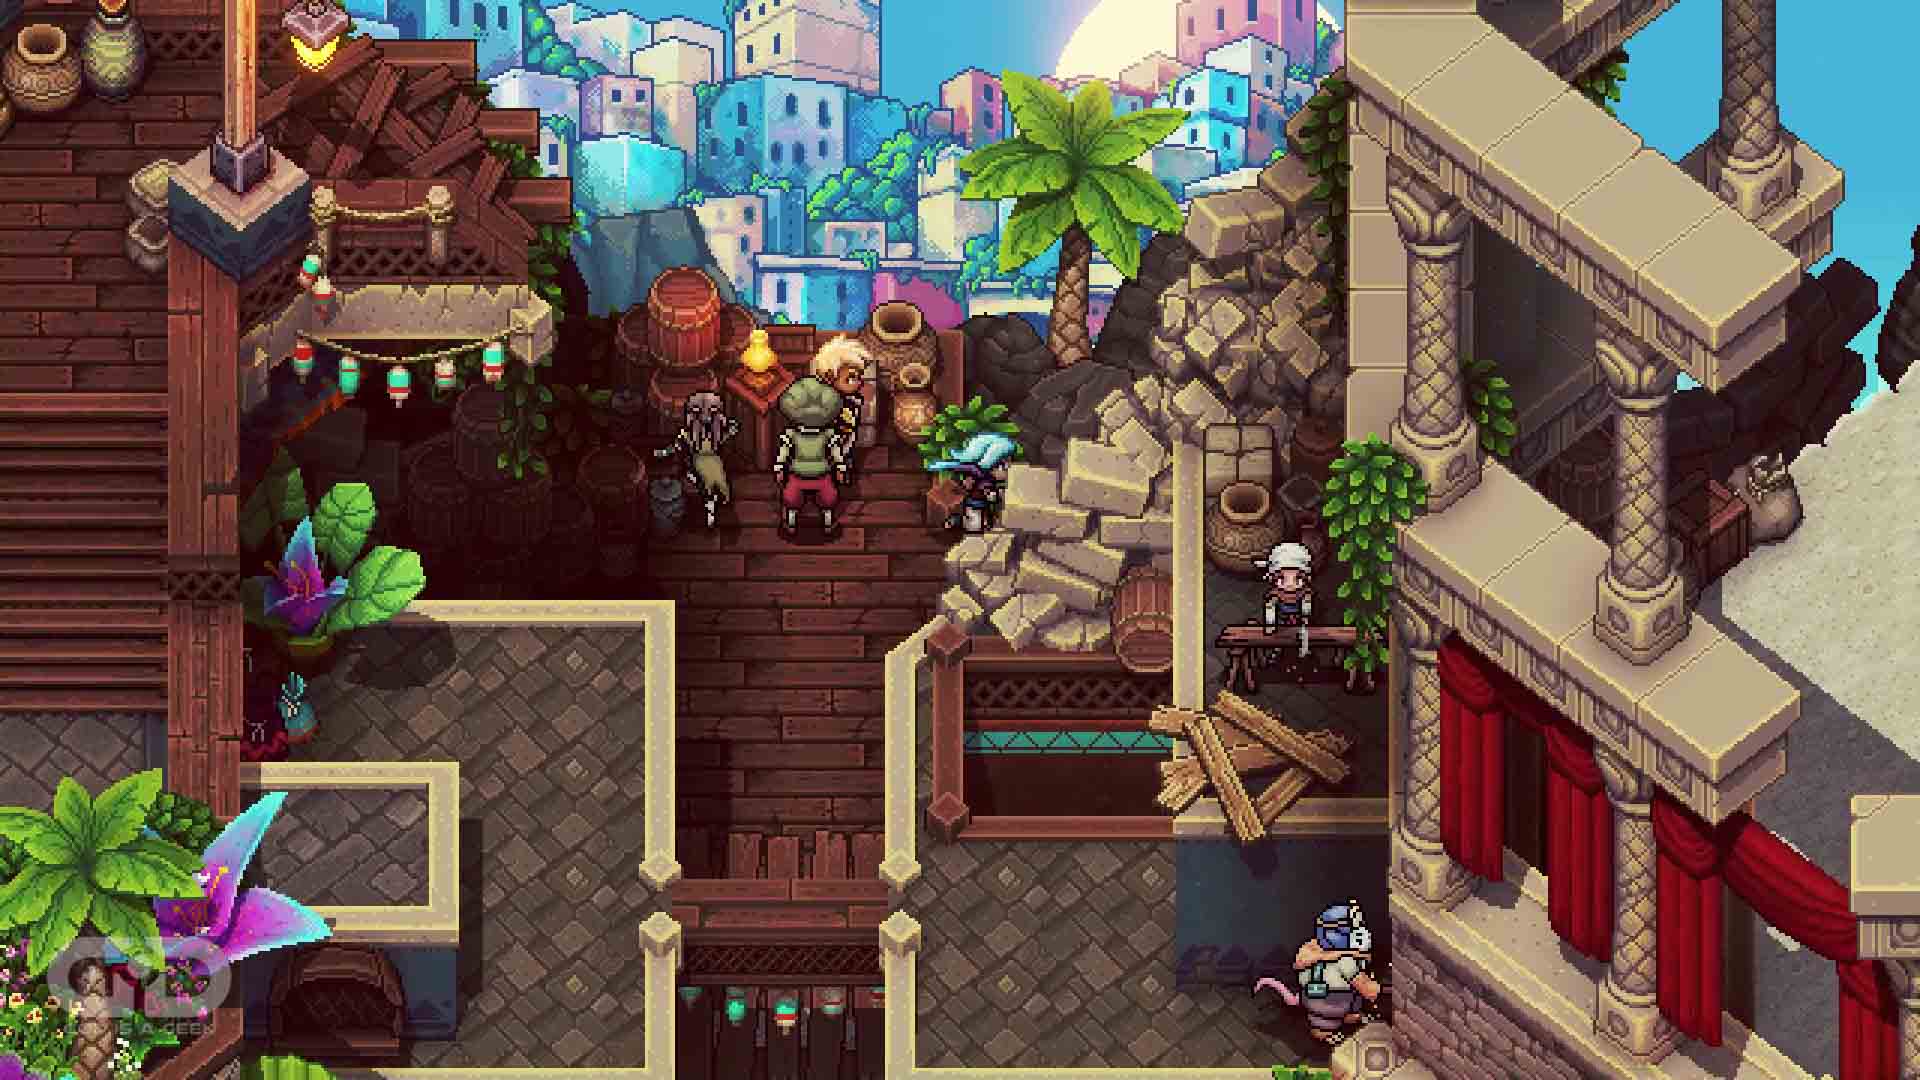
Technically, you can get this Rainbow Conch when you first arrive in Brisk, but it’s very well hidden, and easier to show you where it is when part of the town is destroyed. Head to the area of the town in the image above, and then as shown head to your right. You will then be able to head down into a secret room, which loads of bananas inside. But crucially it also has a Rainbow Conch Chest for you, arguably the most well-hidden one in Sea of Stars.
Conch #25
Location: Brisk
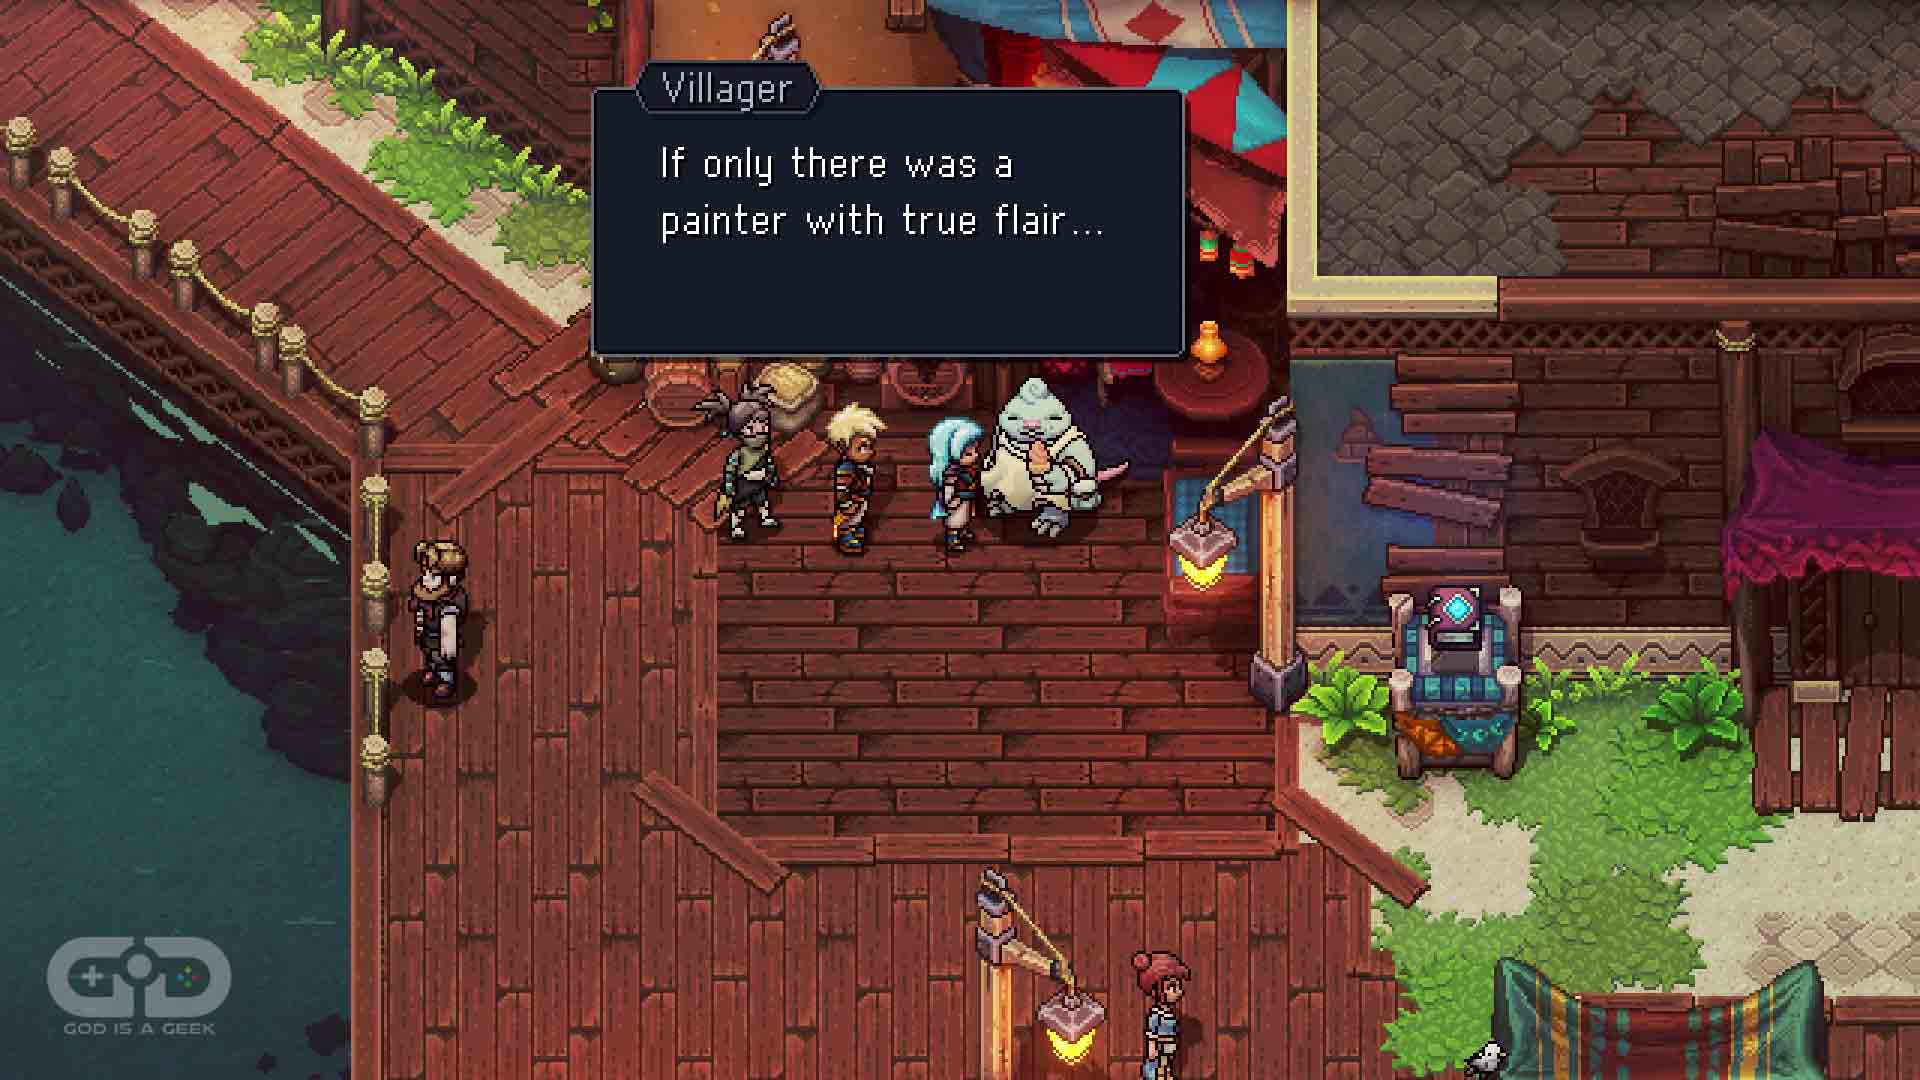
Towards the entrance to Brisk, you will see a Molekin eating an ice cream. Speak to her and she’ll long for a painter to commit her image to canvas. Luckily, if you remember, we know just the person.
 Head back to the Stonemason’s Outpost and speak to the artist there – the one with the locked front door – and he will be thrilled to travel to Brisk to paint this model.
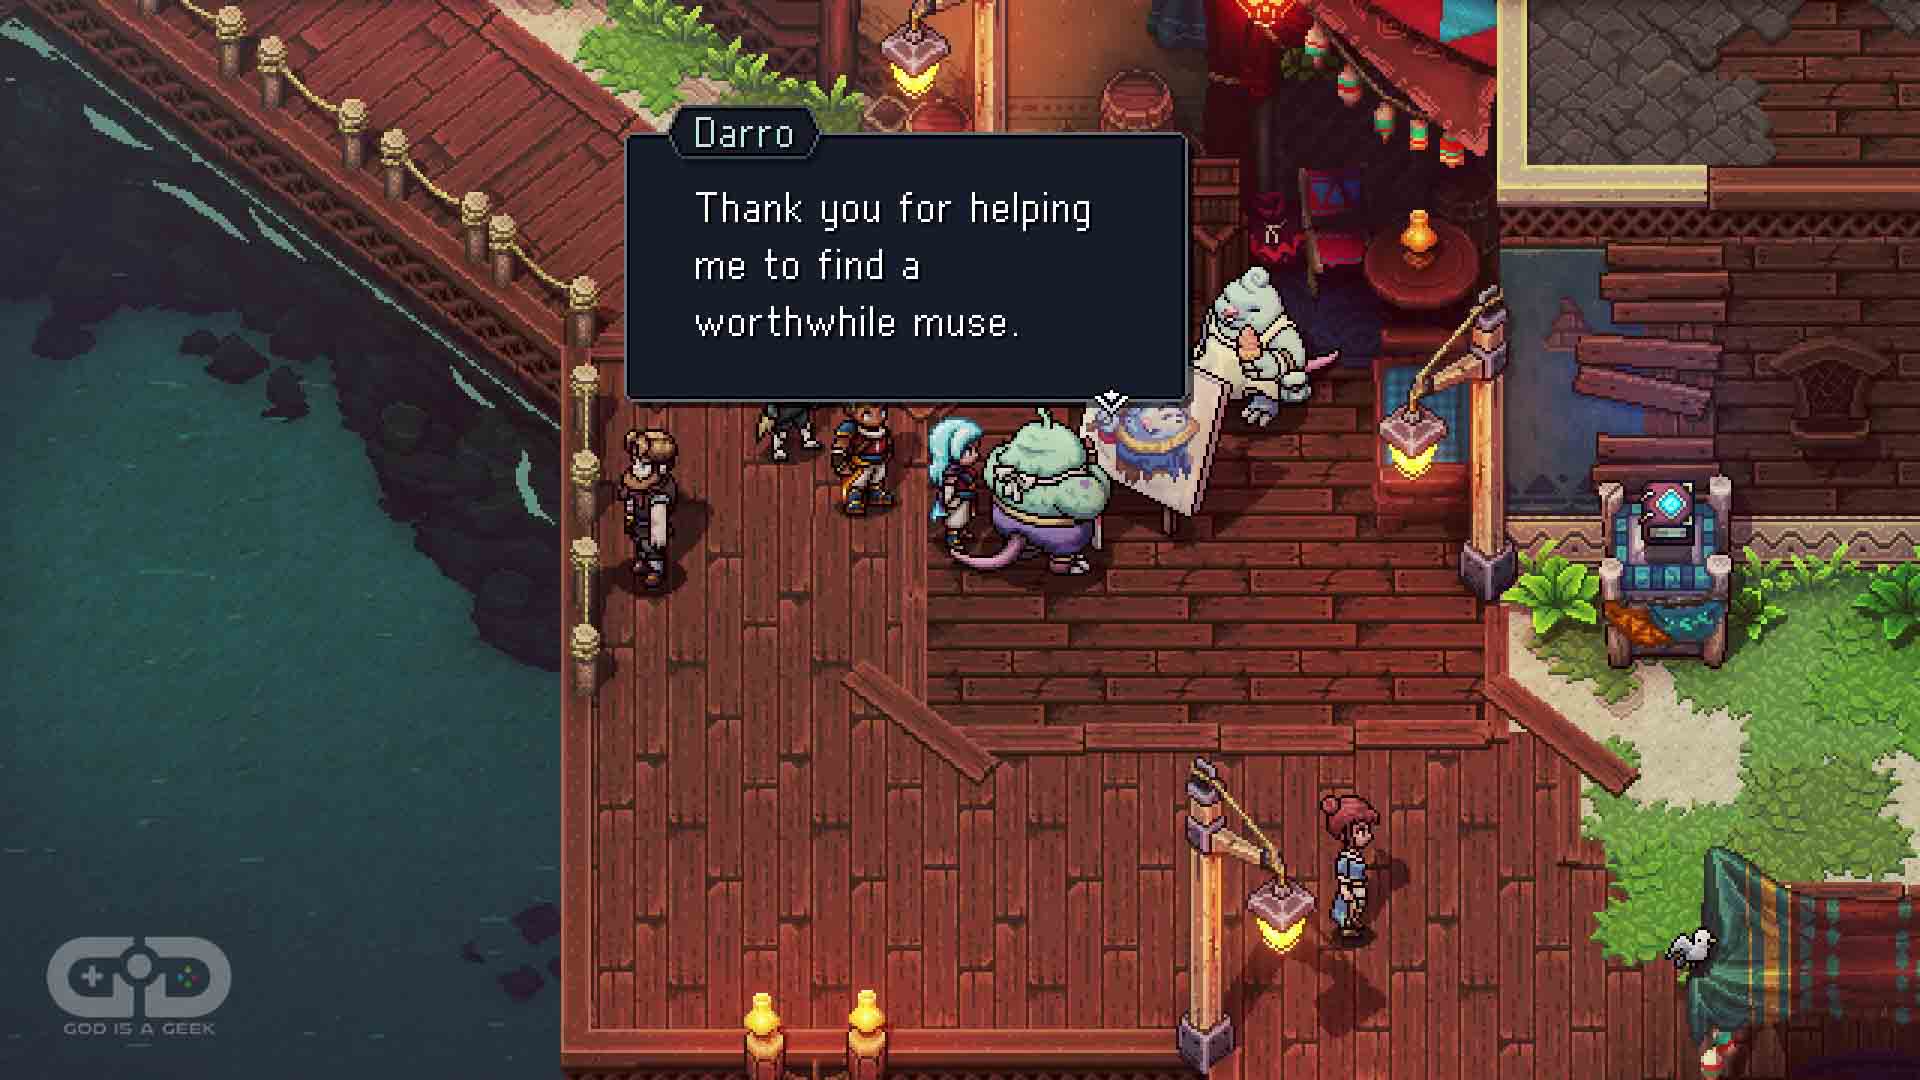
Finally, head back to Brisk to find the artist happily painting away with his new muse. Speak with him and he will give you a Rainbow Conch.
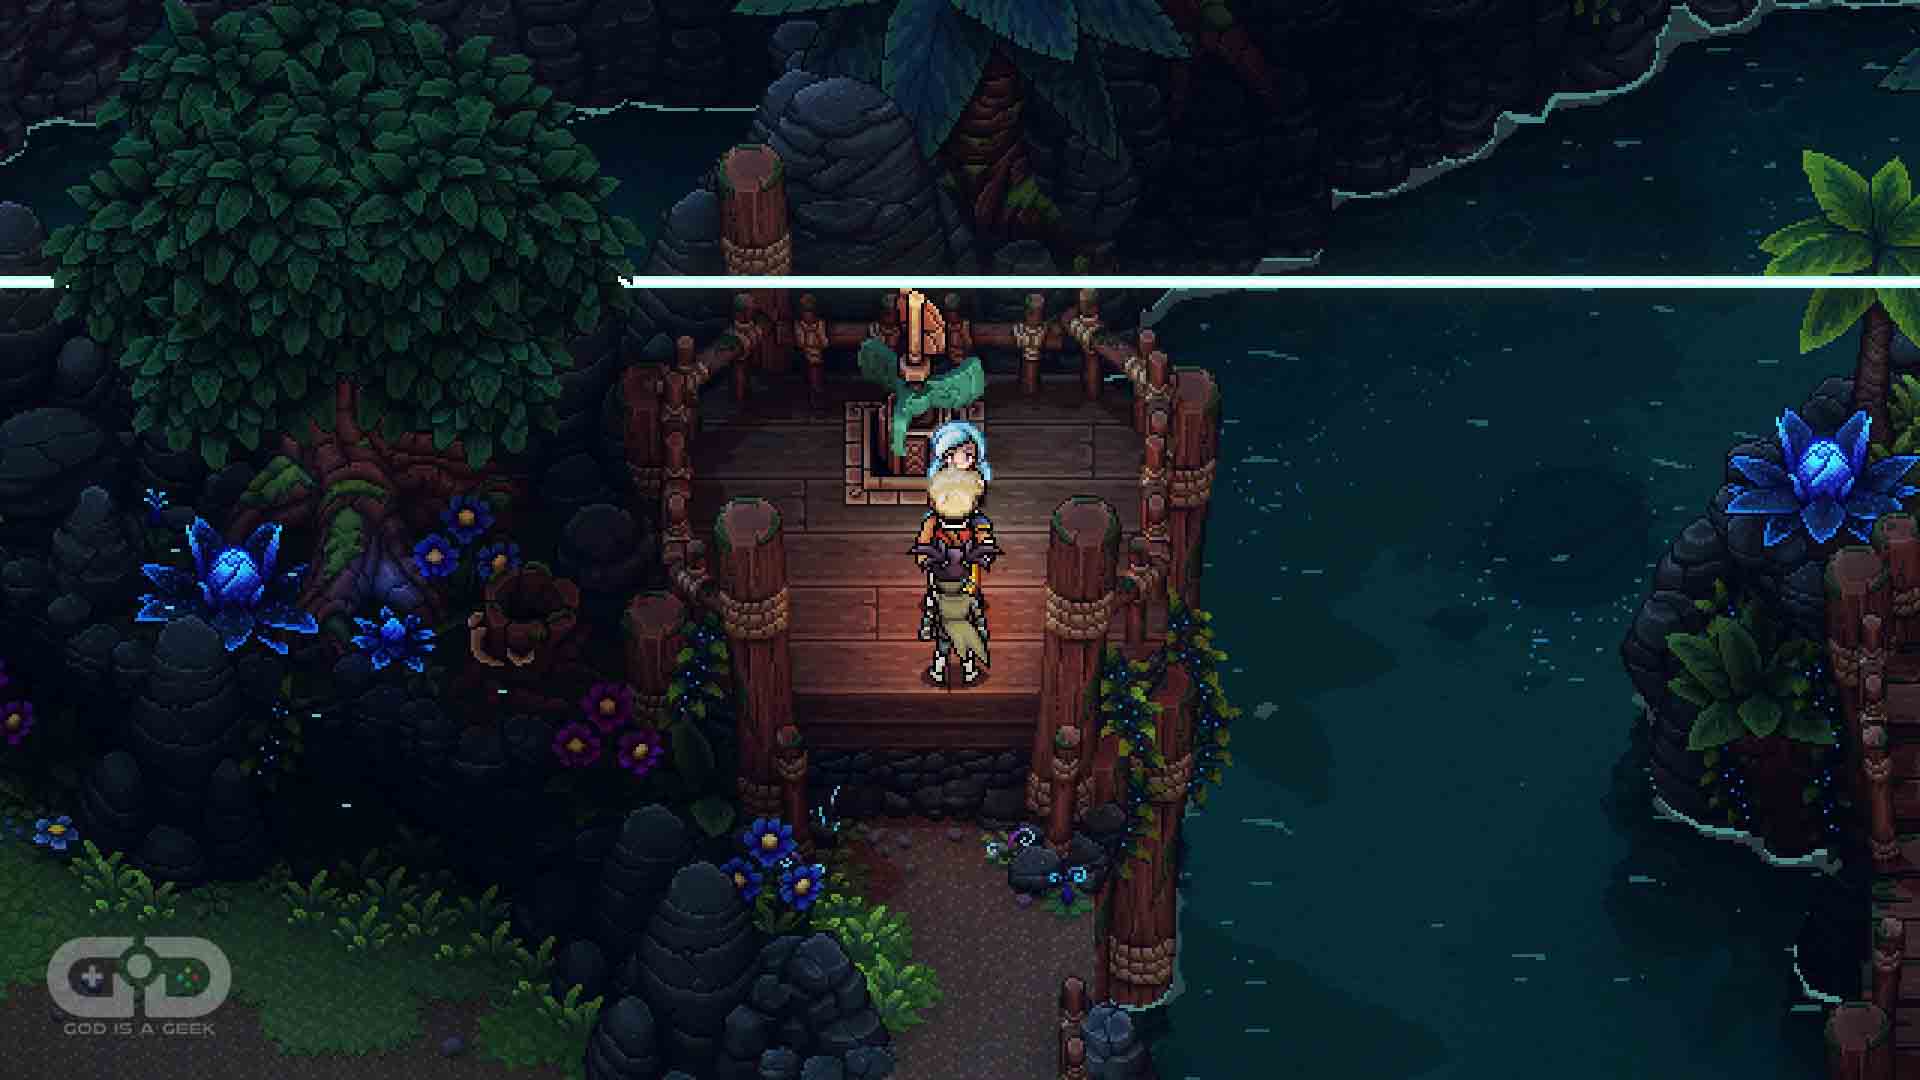
Conch #26
Location: Sacred Grove
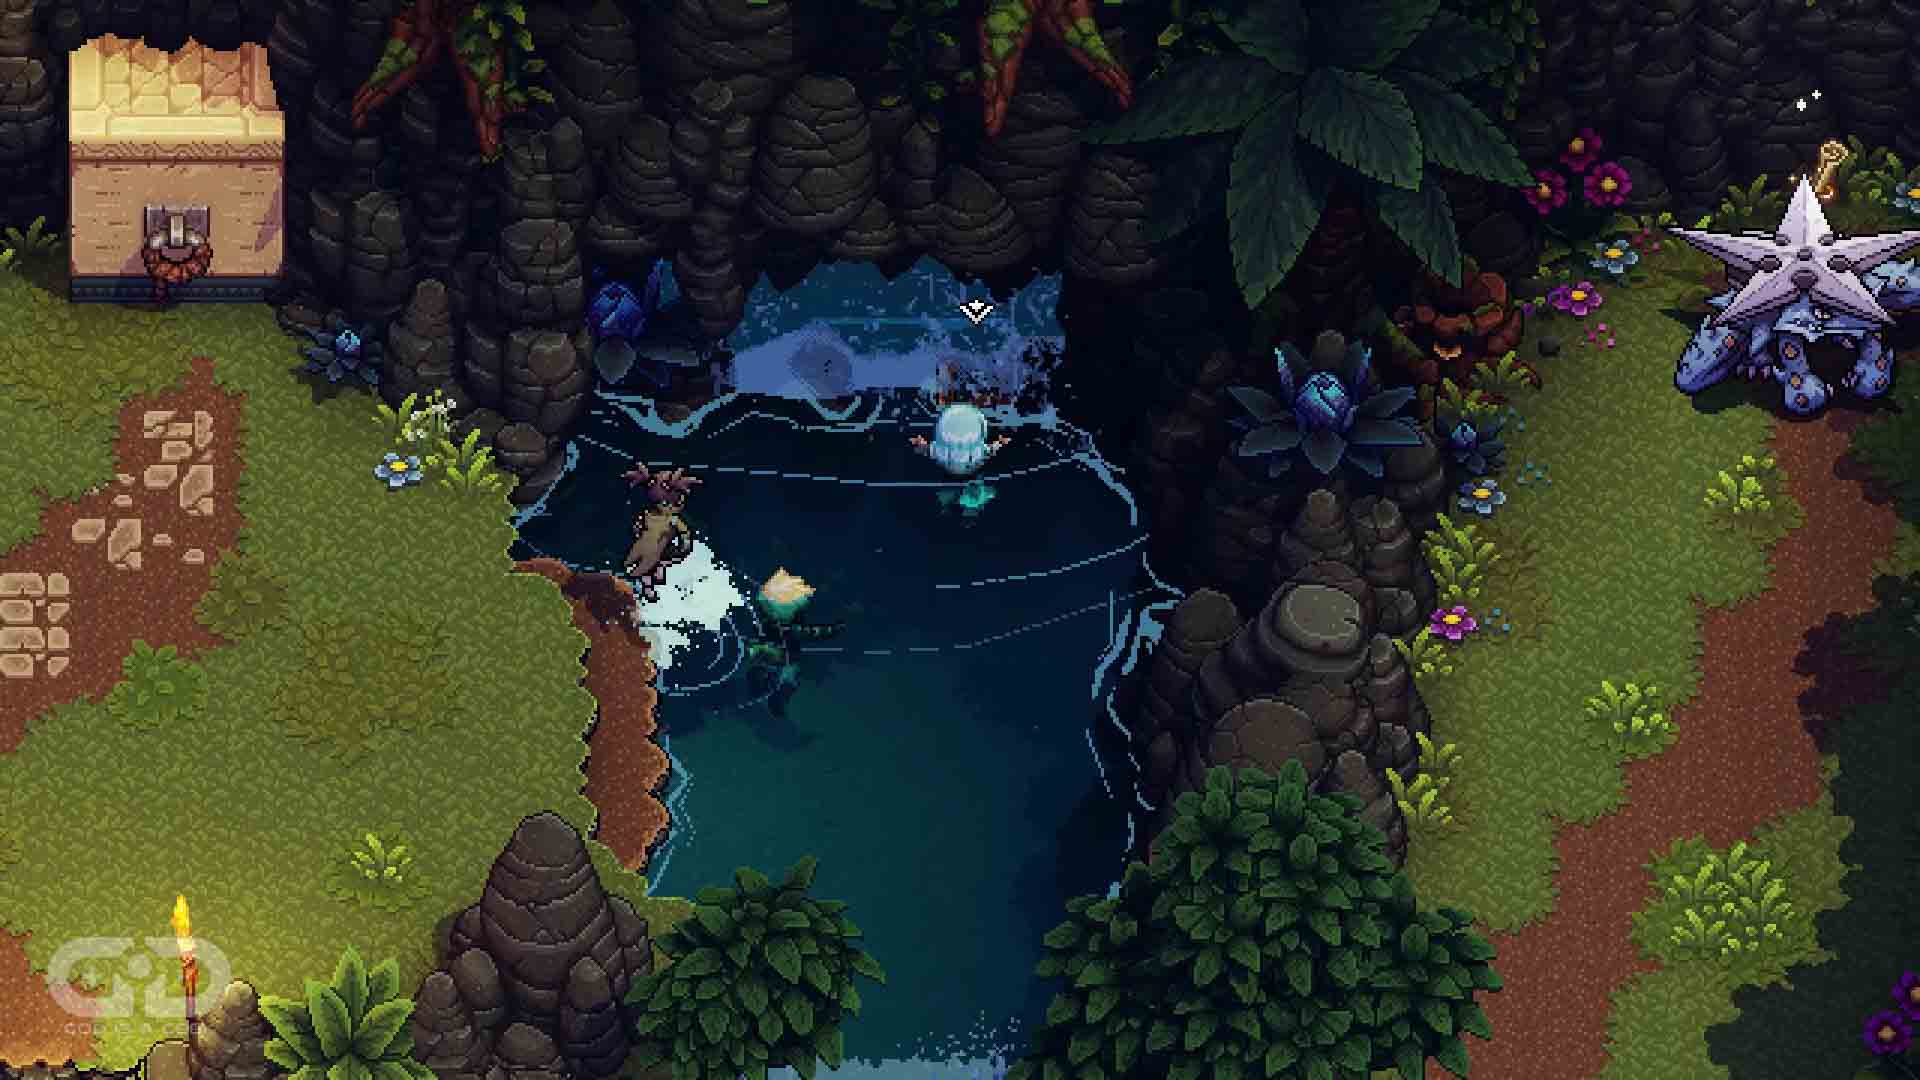
After our brief stopover in Brisk, it’s back to the main story. We need to head to Watcher Island. There’s actually not another Rainbow Conch until we get to the Sacred Grove area after Lake Docarri. Once there, looked out for this chest under a waterfall in the image above.
Conch #27
Location: Lake Docarria
For this Rainbow Conch, you’ll need to use the whirlpool in the house in the bottom-right of the village to access this chest.
Conch #28
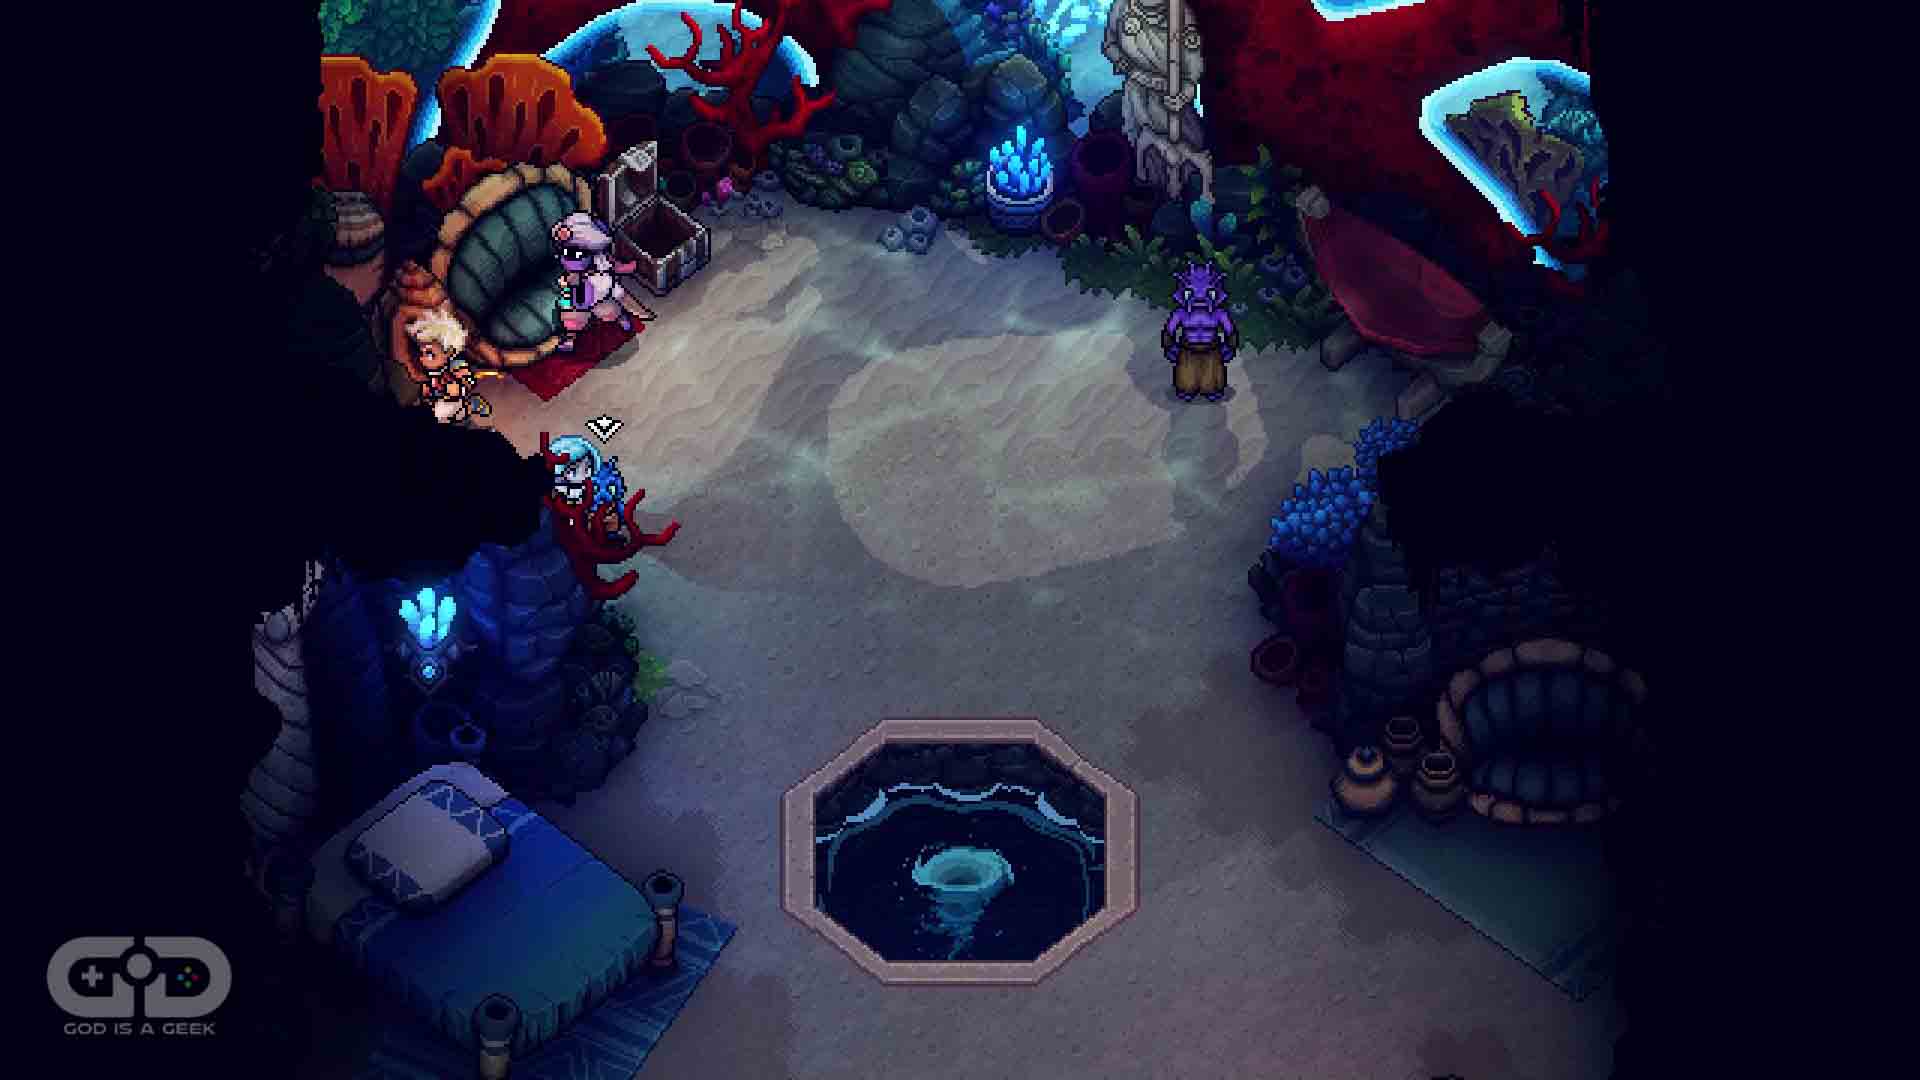
Location: Lake Docarria

This time head into the top-left house in the village. Use the whirlpool here, and this time you’ll notice there are actually two exit whirlpools. One is to the left of where you entered, whereas the other is through a small gap upwards from this one. Take this second whirlpool and exit the house to appear next to this chest.
Conch #29
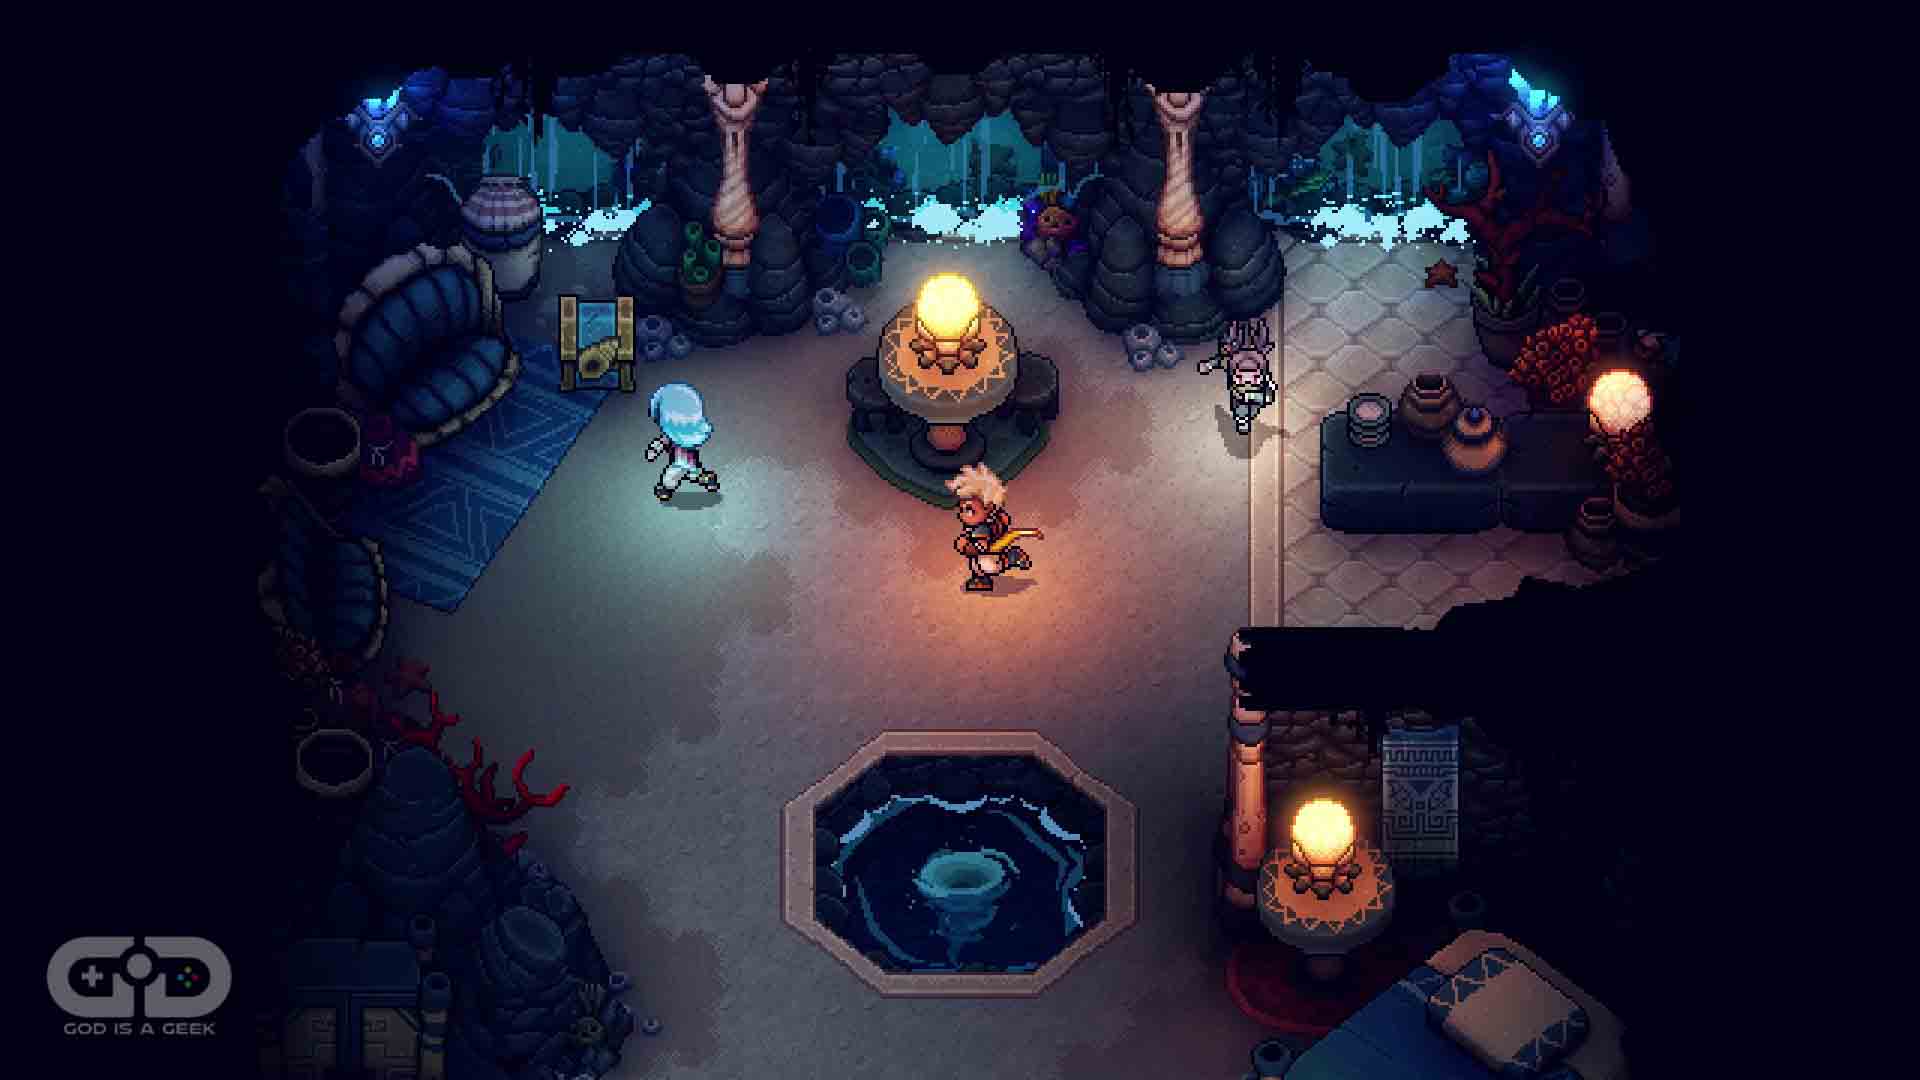
Location: Lake Docarria
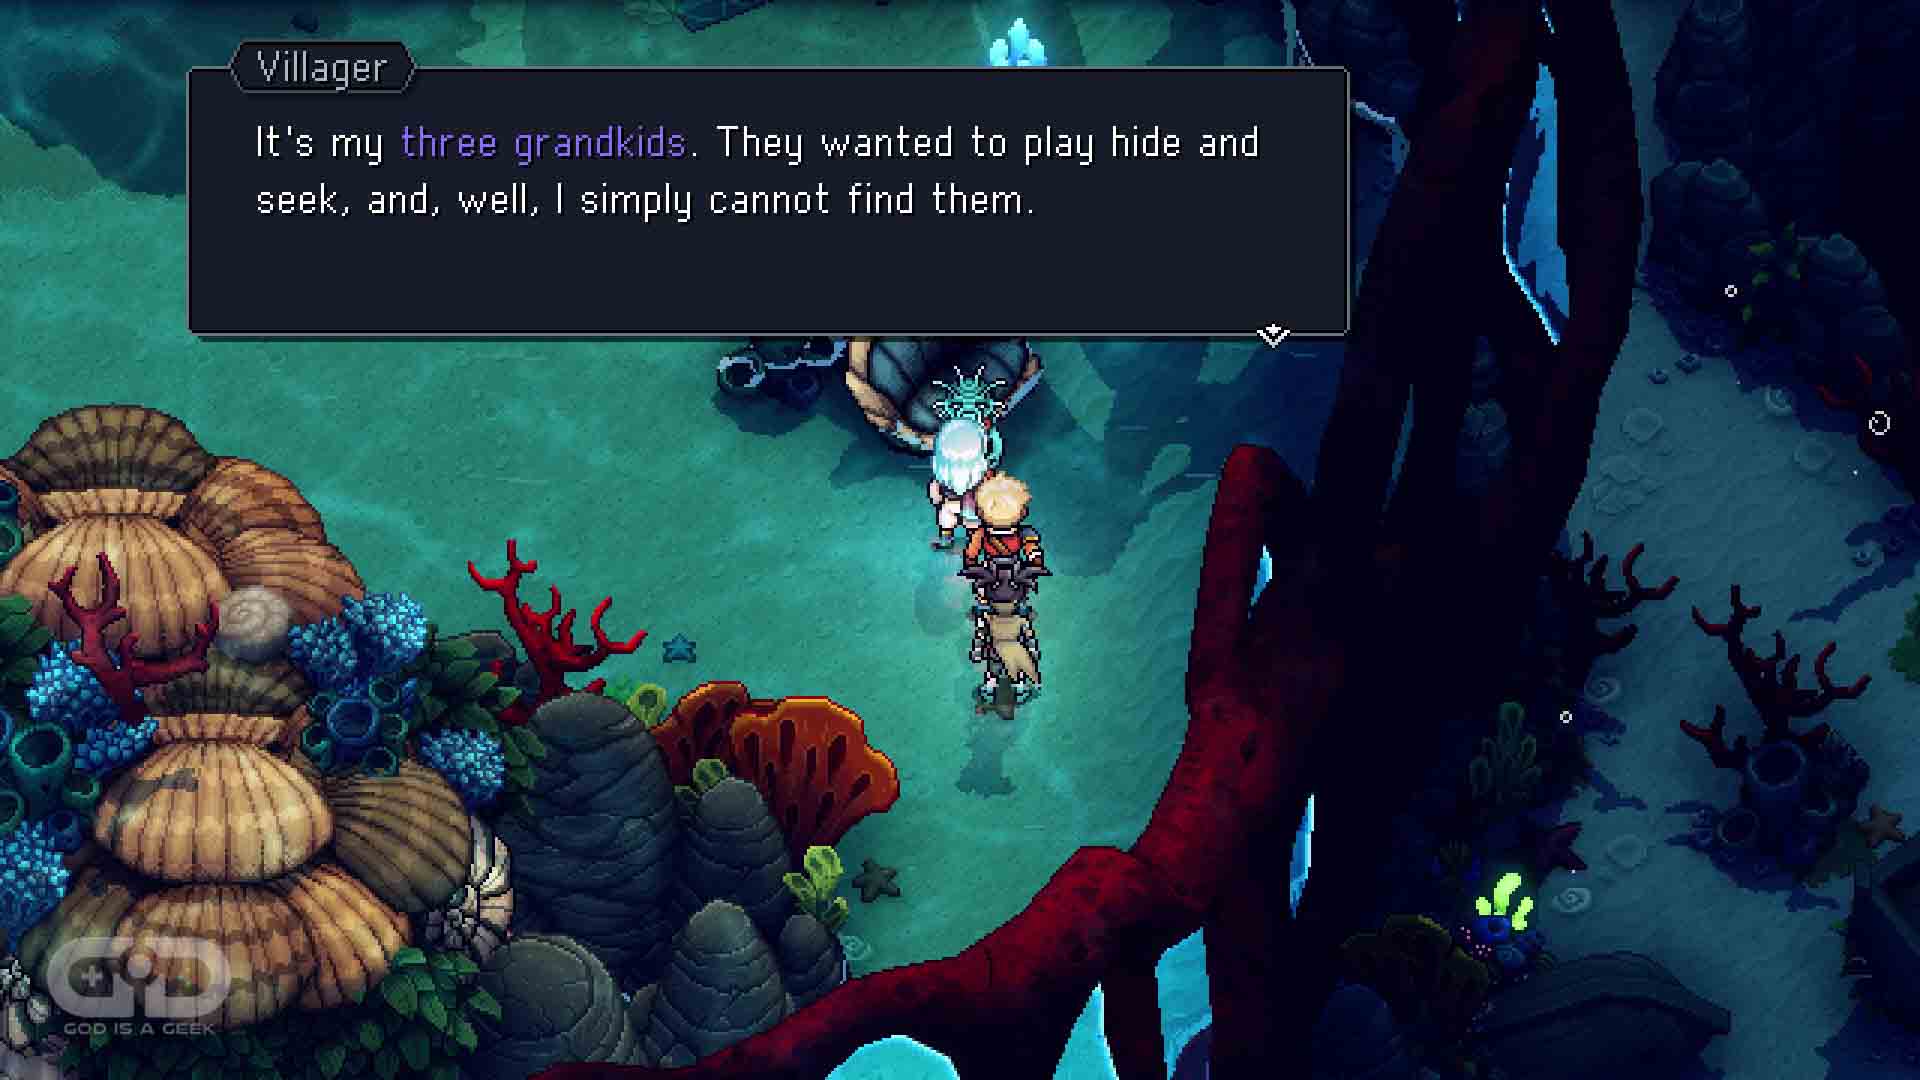
For this Rainbow Conch, you’ll need to undertake a Sea of Stars side quest, in the form of a game of hide and seek. Go ahead and speak to the Docarri to the right of the village and he will ask you to find three children for him.
Child 1: The first child can be found if you head into the house next to Mirna’s Market of Marvels and use the whirlpool. You will find it to the left.
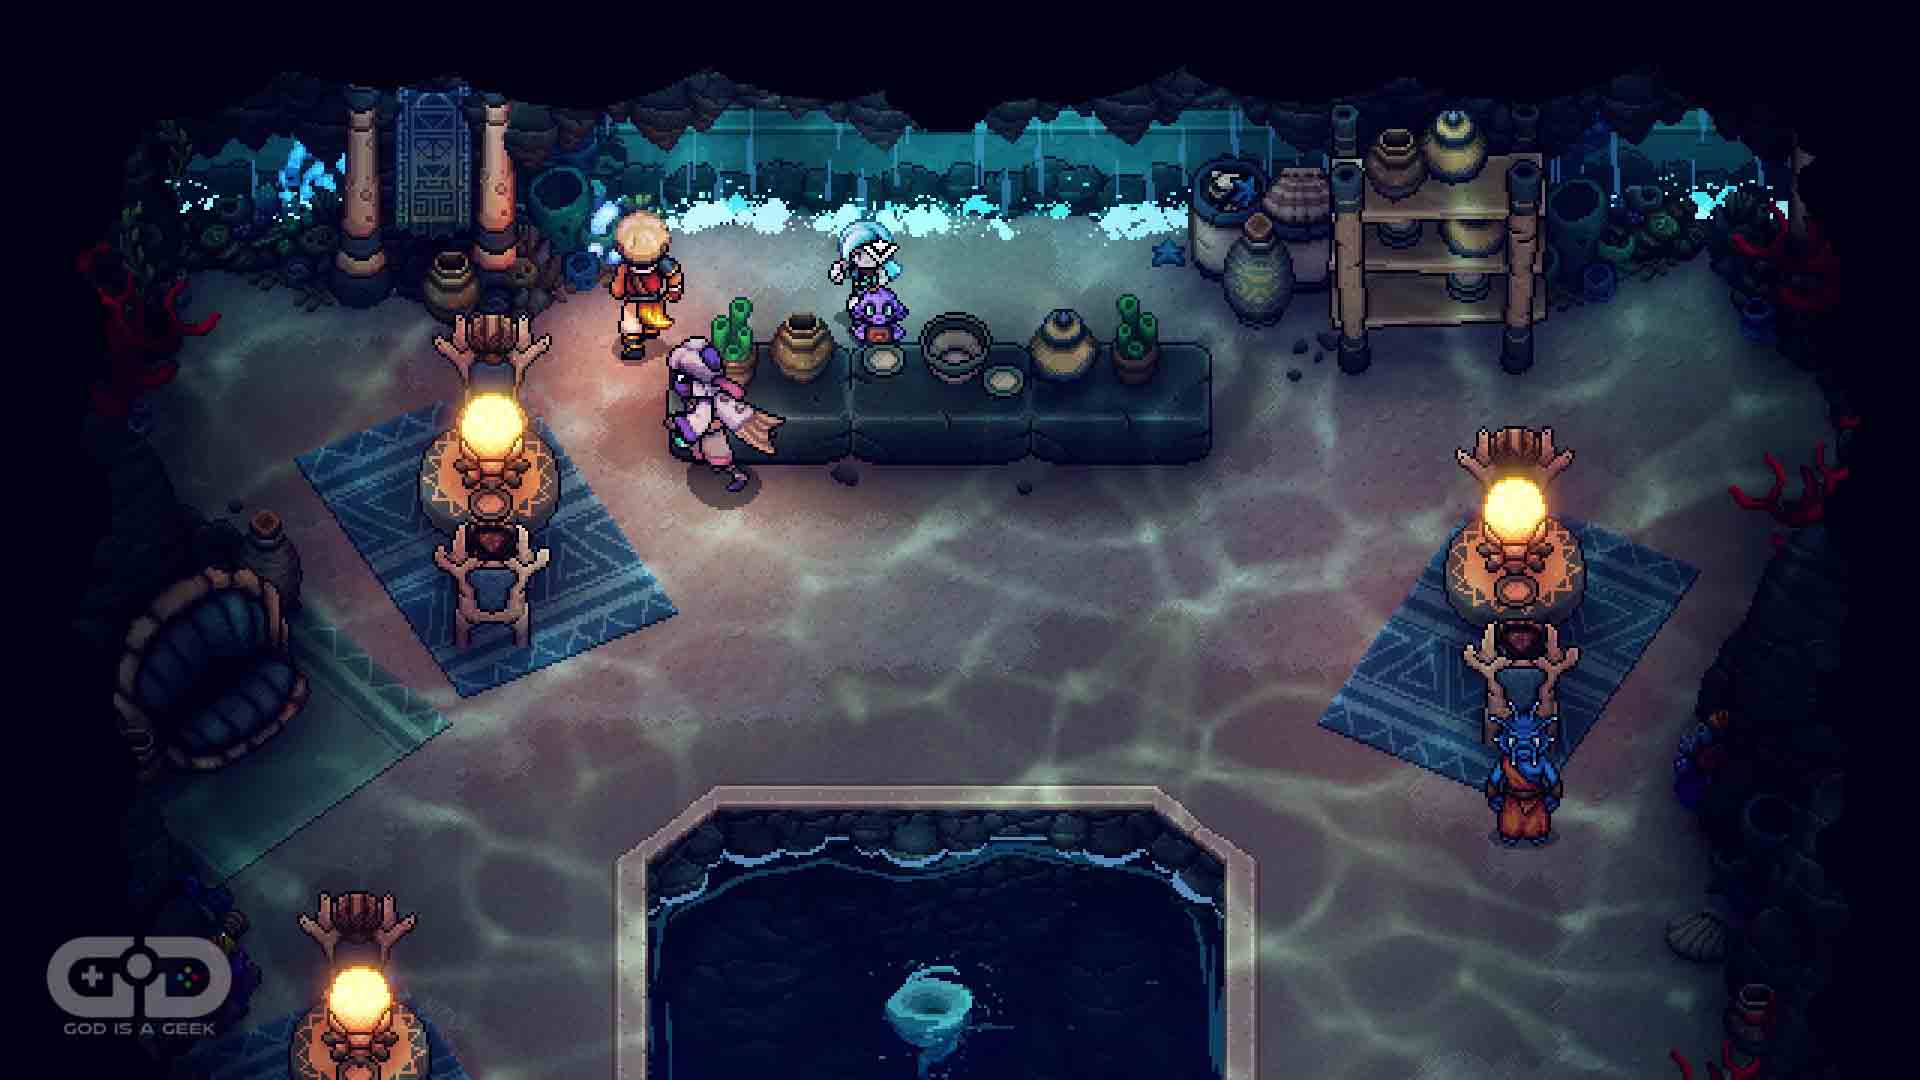
Child 2: This can be found by heading into the whirlpool in the back of the shop (similar to the previous Rainbow Conch). The second child is up through the first whirlpool you come across, behind a table.

Child 3: For the third child, redescend the whirlpool you just came from and head towards the whirlpool you used to find Conch #28. Here you will find the third child to the left.
Now return to the Docarri looking for the children and he will reward you with a Rainbow Conch.
Conch #30
Location: Antsudlo
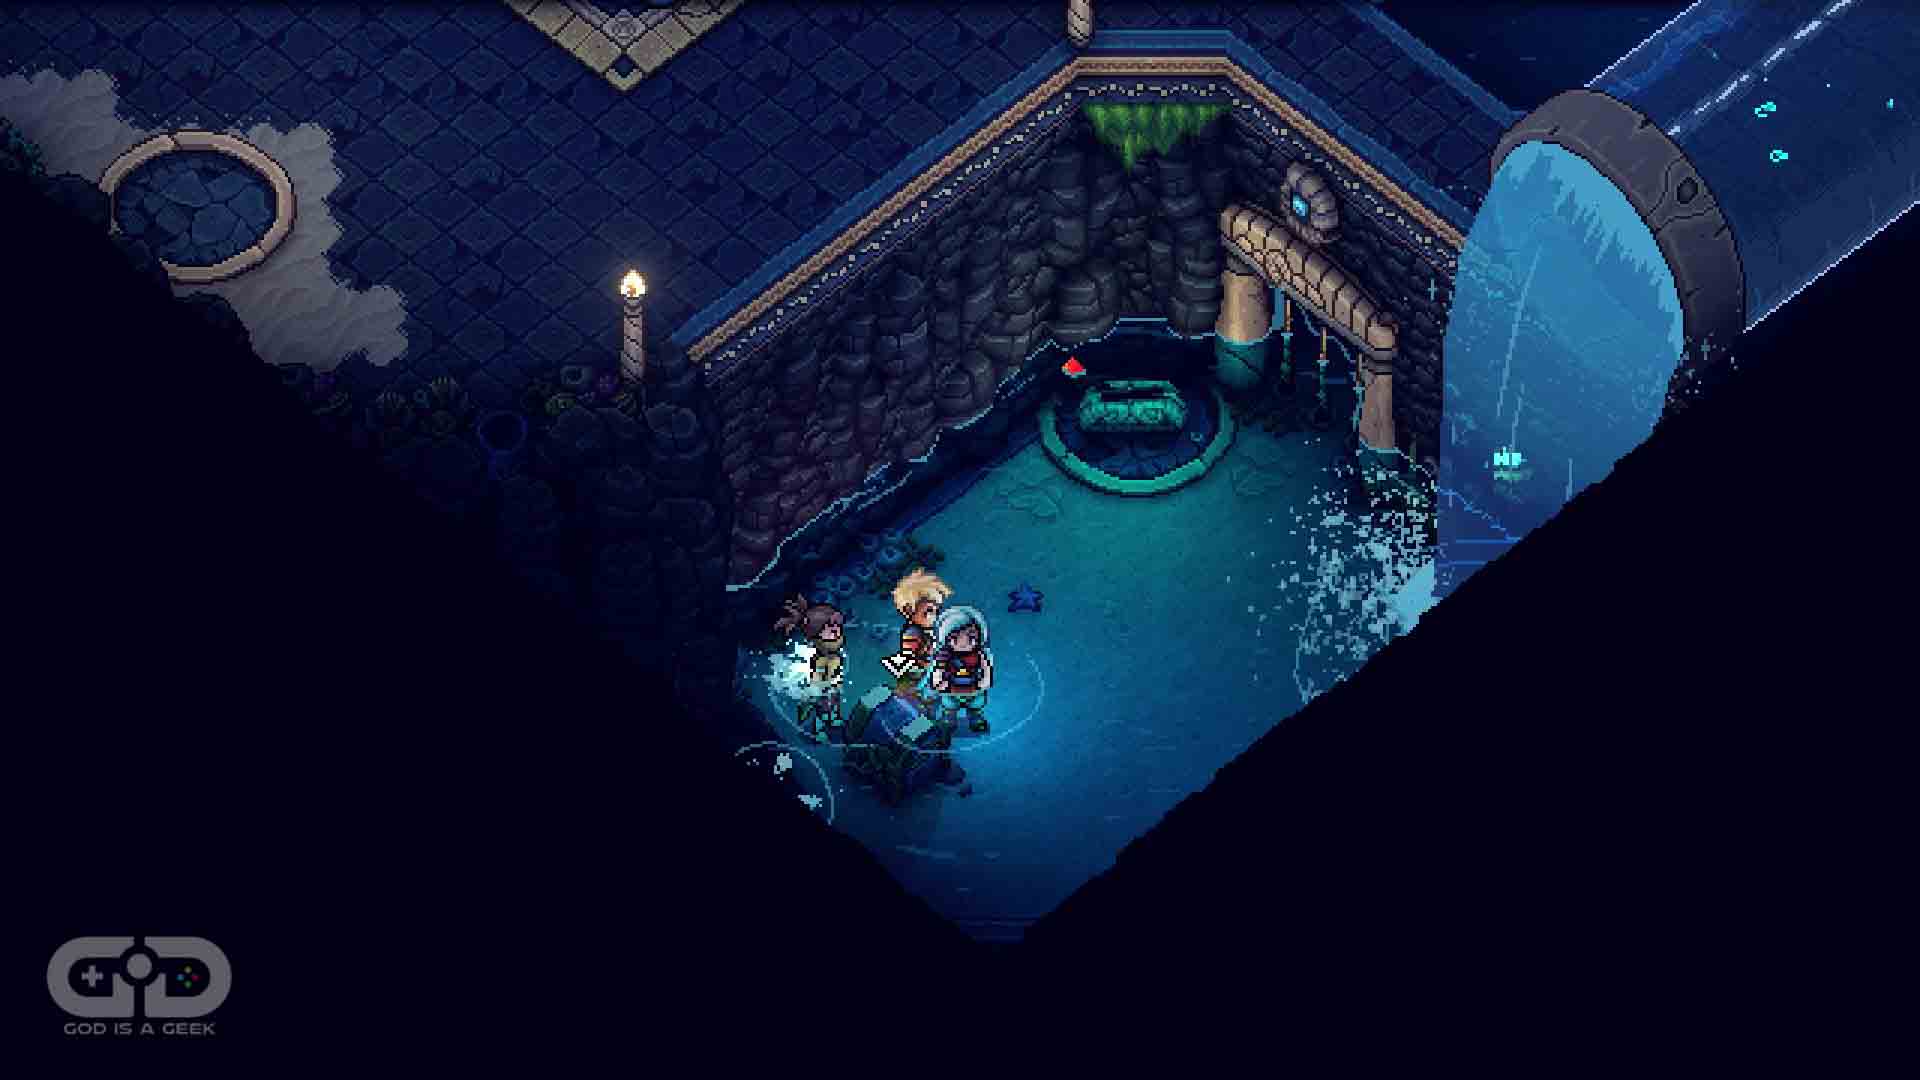
In the final puzzle before the final door, once you have the Blue Orb, go back to the Valves and turn them both back. Re-enter the water pipe to get to this chest. You’ll now be able to pick it up as the water is lowered. You can use the lever to exit the room.
Conch #31
Location: Glacial Peak
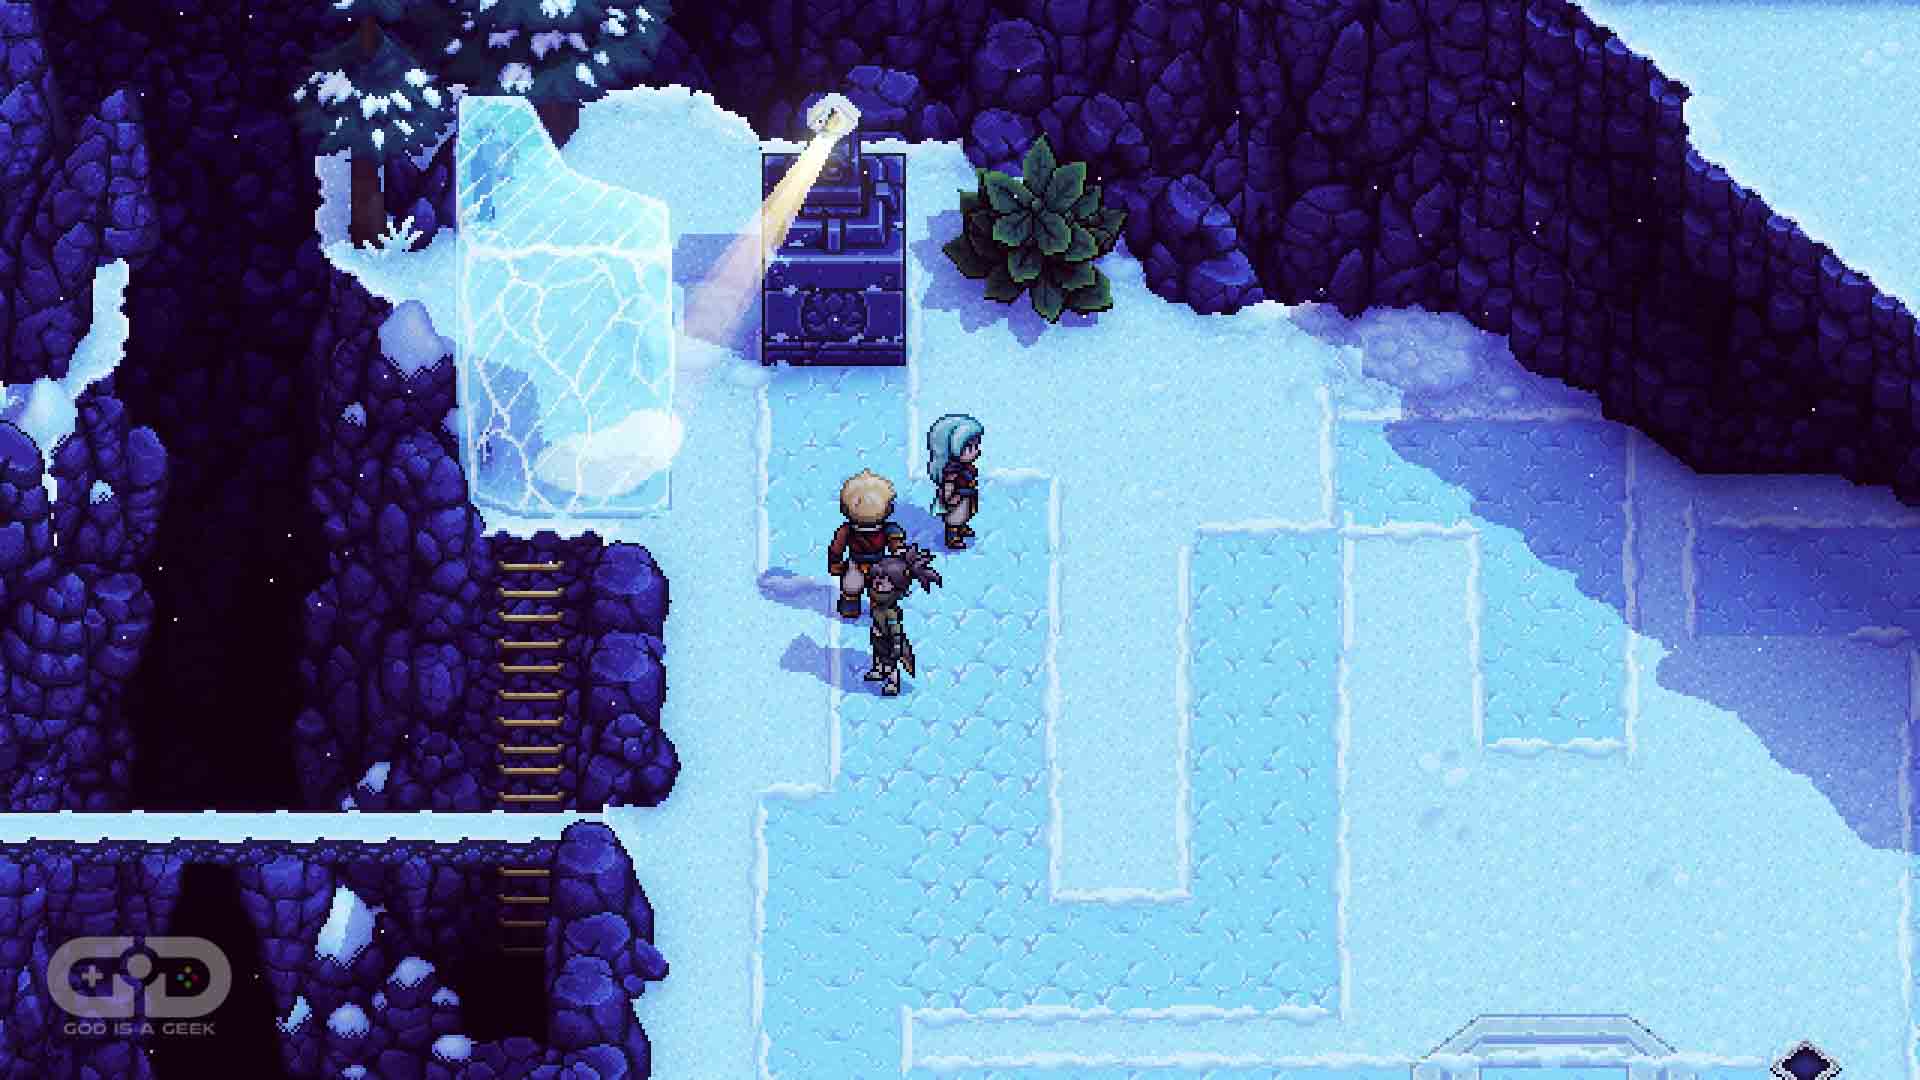
Once you have acquired the Solstice Amulet, use it on the large block of ice above to melt it. This will reveal a set of stairs which you can now climb down.
 Descend the ladder into a cave network that is linear and leads you out to the chest in the image above. It’s likely you will have spotted this chest originally on your ascent up Glacial Peak.
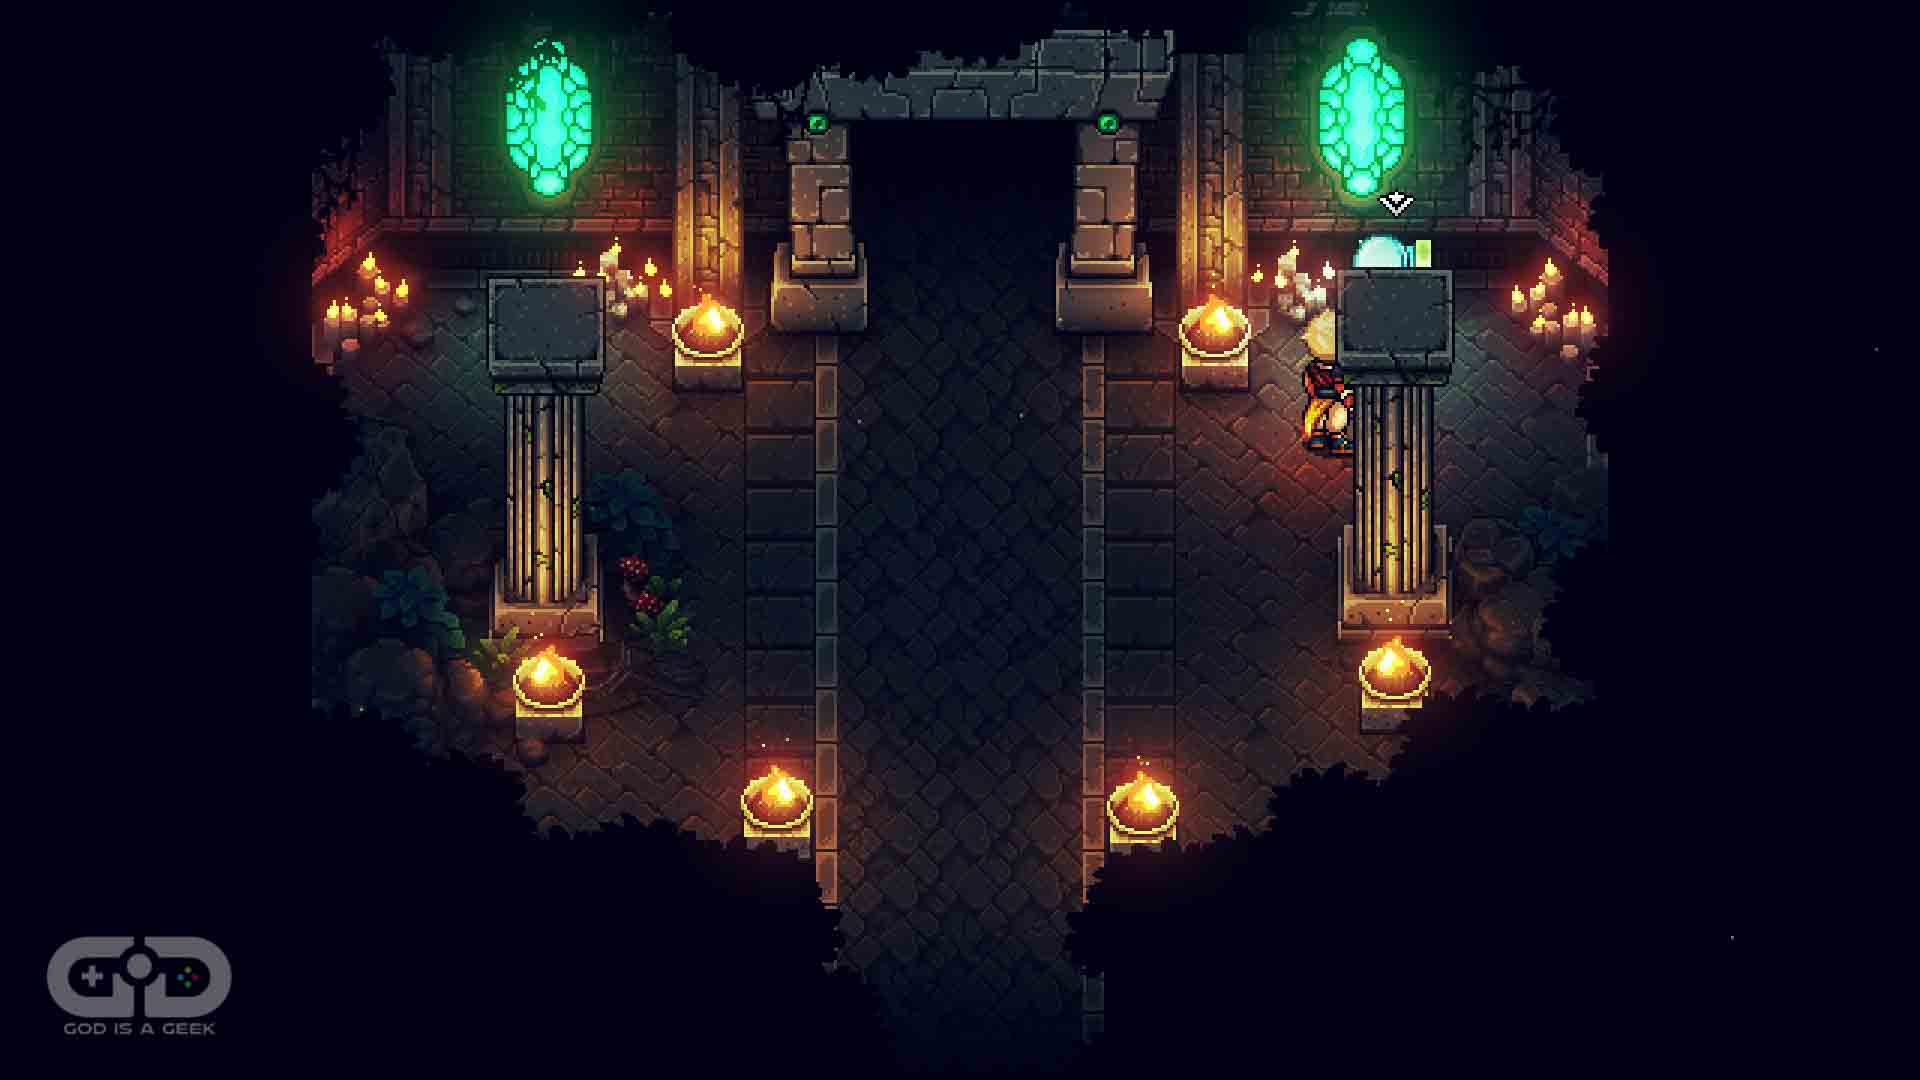
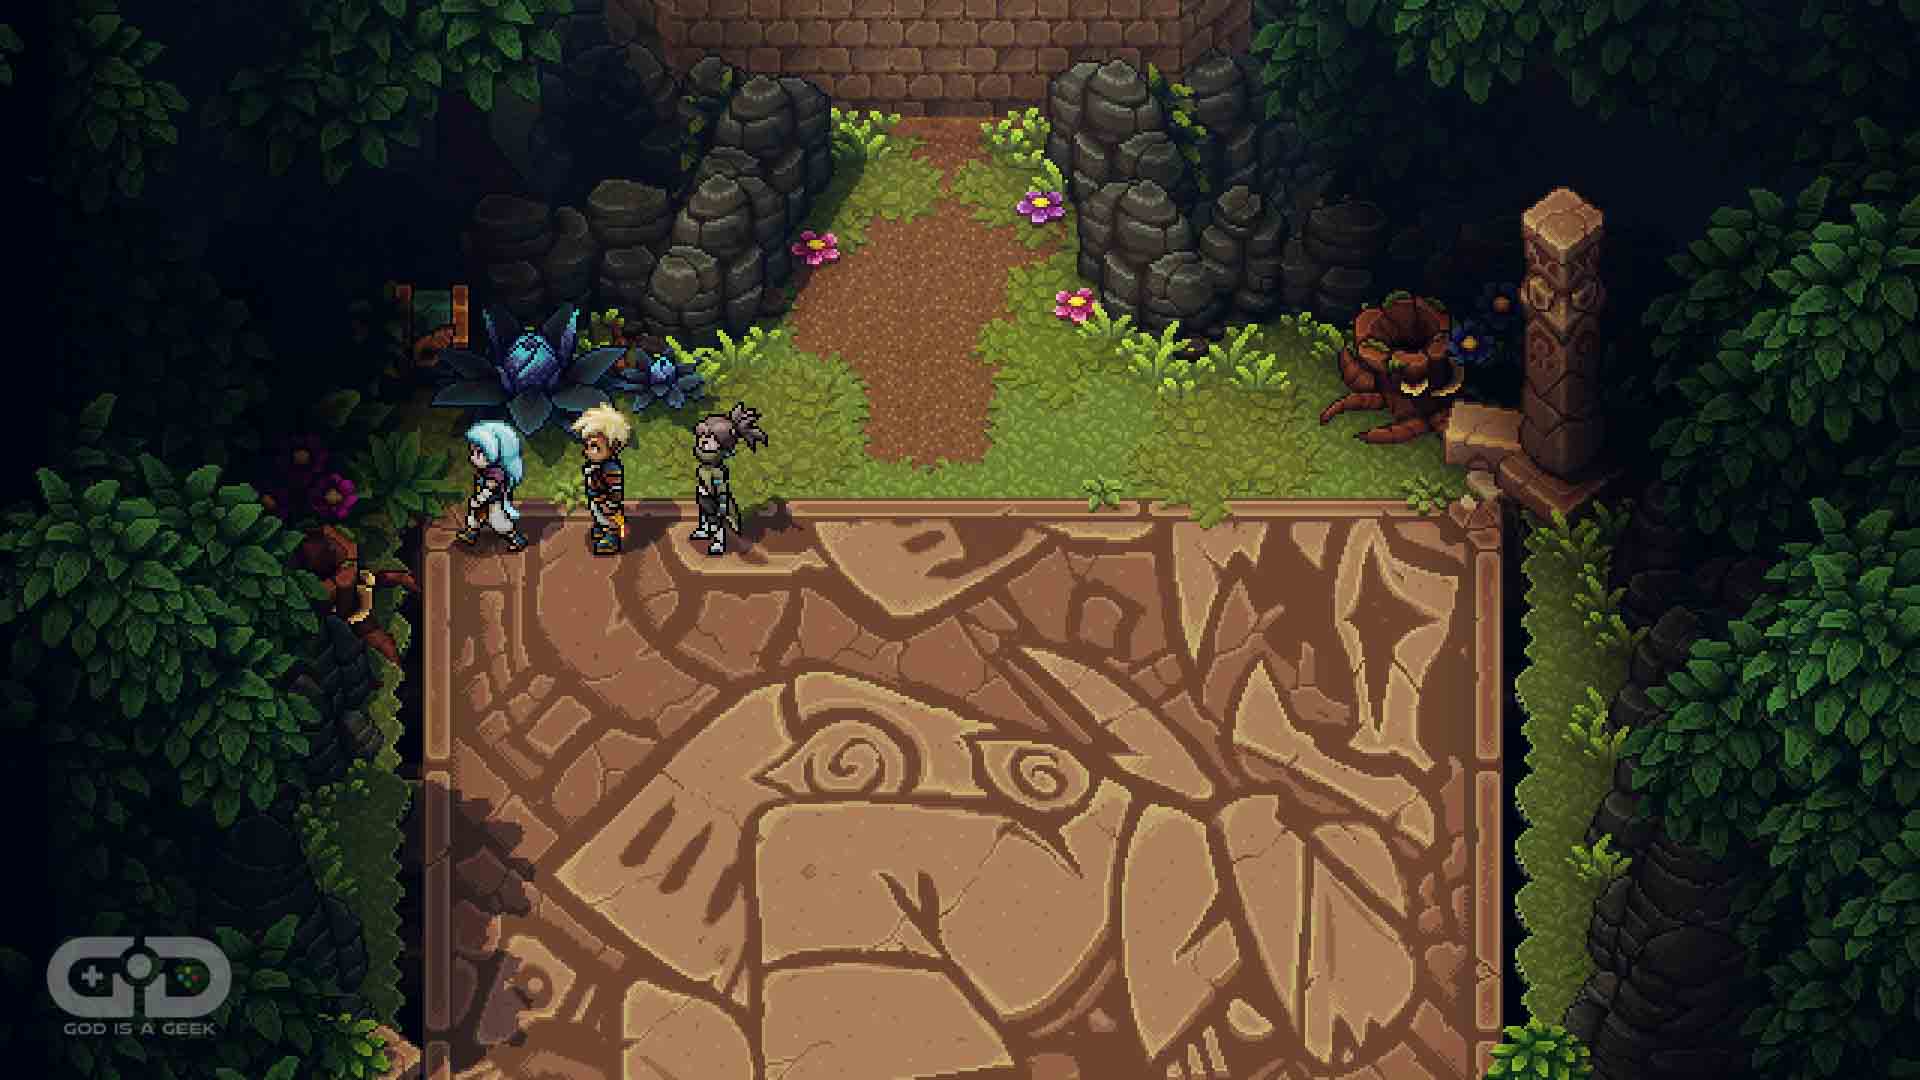
Conch #32
Location: Jungle Path
 Armed with the Solstice Amulet, you can now solve the puzzle in Jungle Path with mirrors that has likely been stumping you up to now. First off head back to the first mirror and angle it as shown in the image above.
Then head back up and ensure these mirrors are positioned like the above image. Now with everything in place, head on over to the crystal and change the light direction with the Solstice Amulet. Firstly, light up the right-hand icon to raise the mirrors, then the left icon to shoot the laser.
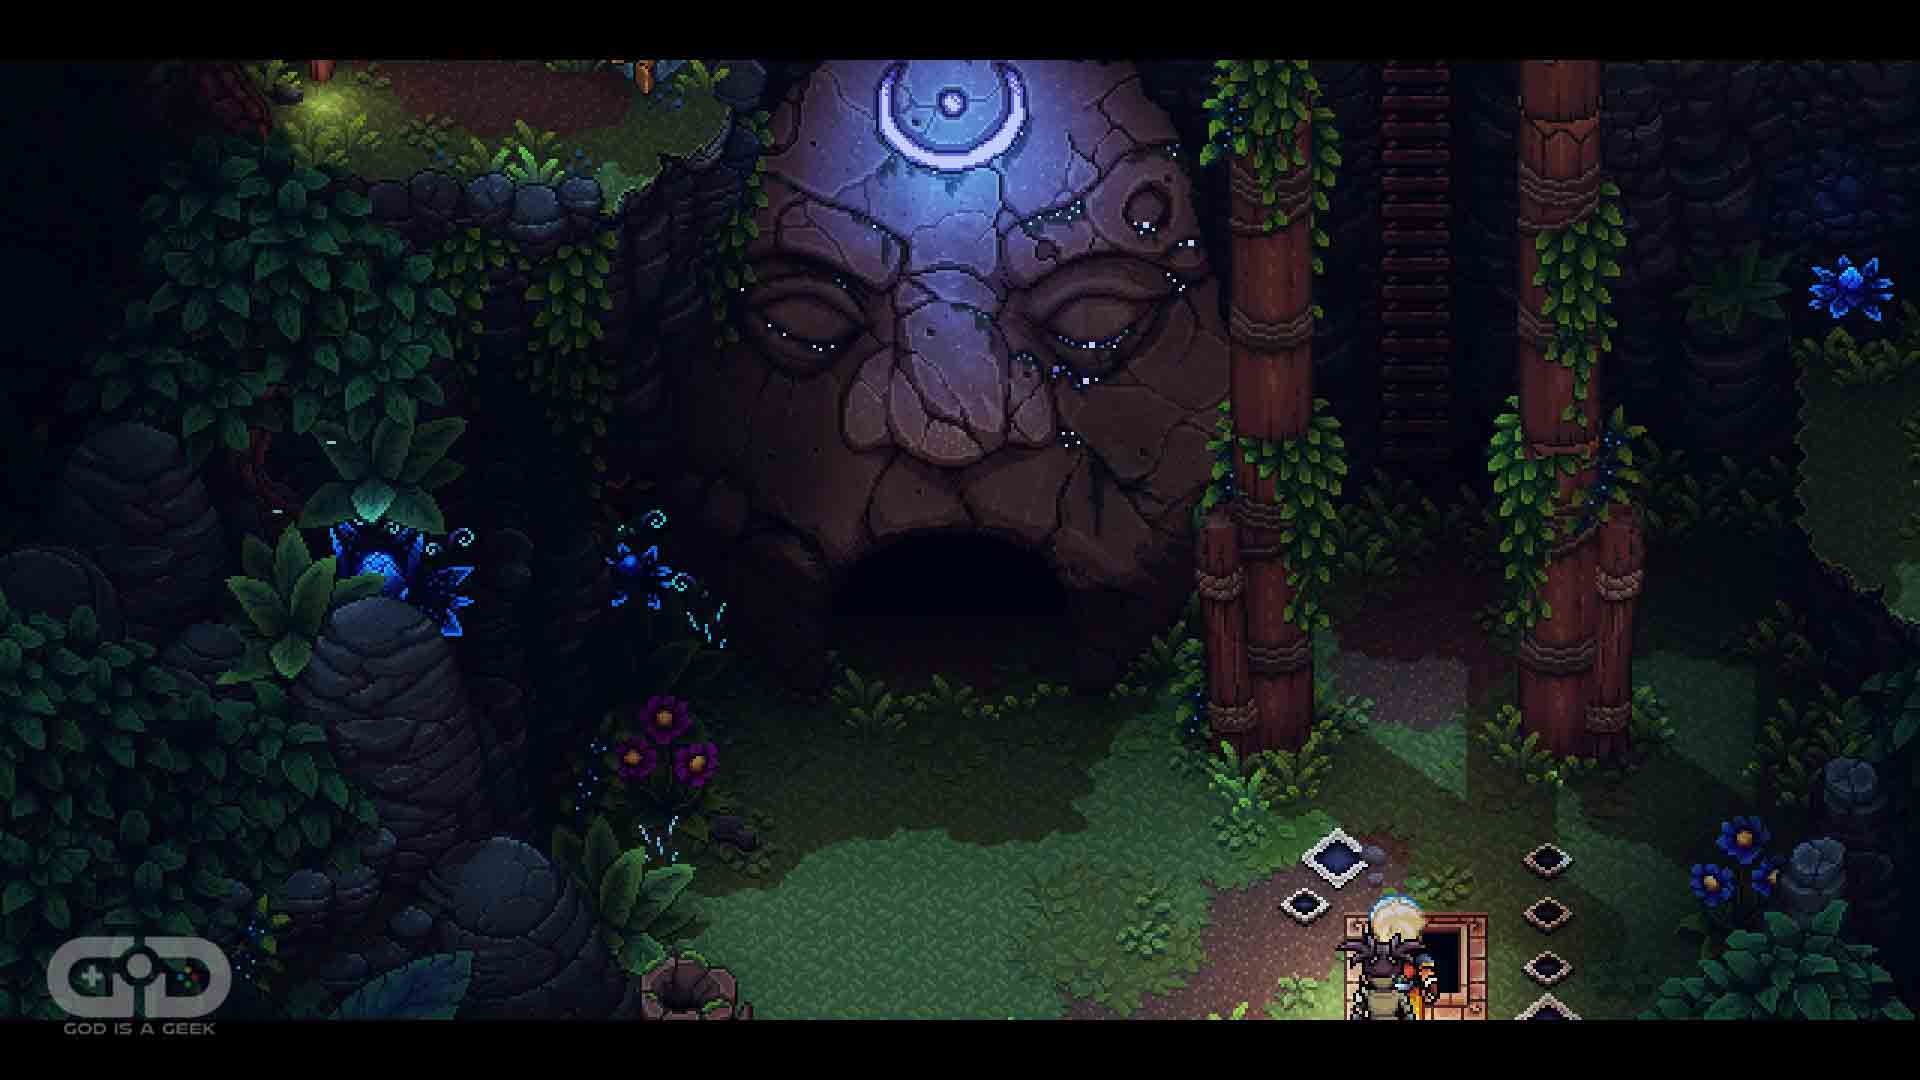
With everything lined up the laser will shoot into the large rock face and light it up causing it to open its mouth. Enter into this new area.
Head on through this new cave, until you come out on a ledge containing that elusive Rainbow Conch chest.
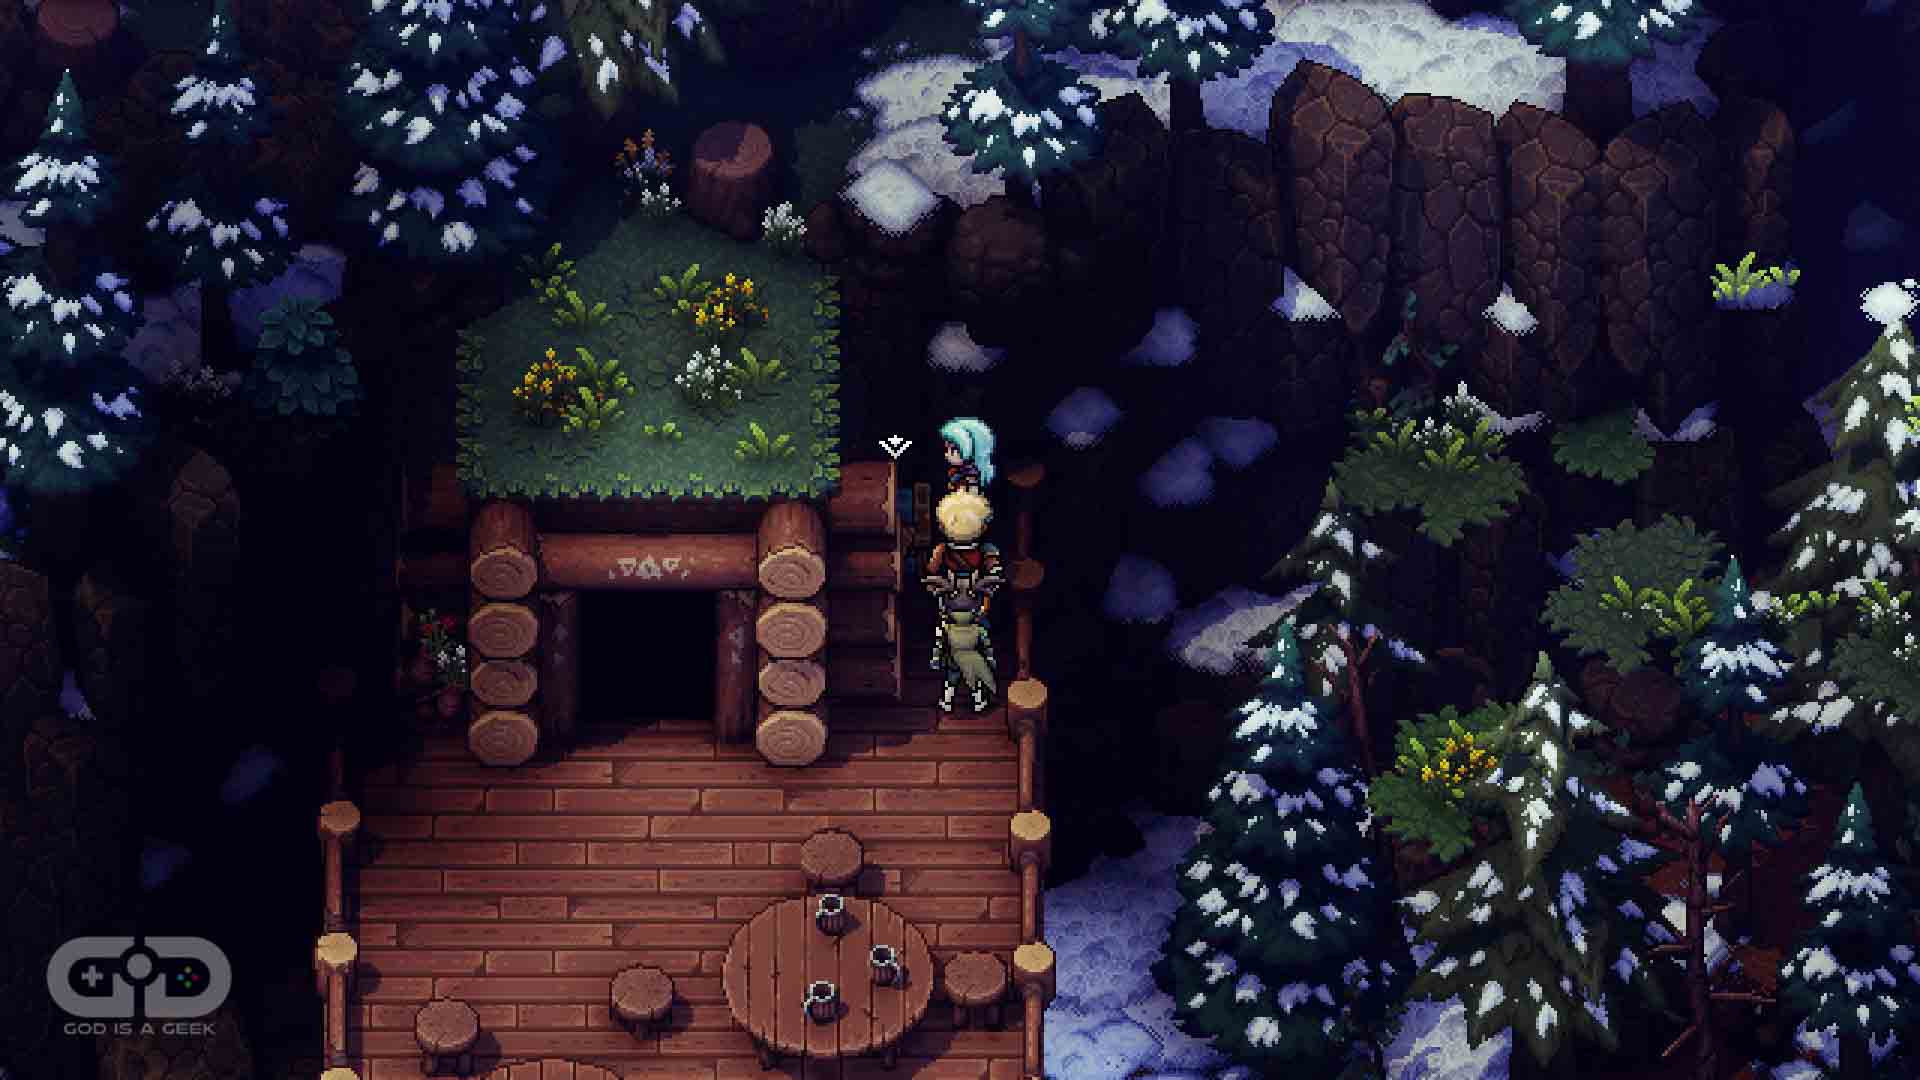
Conch #33
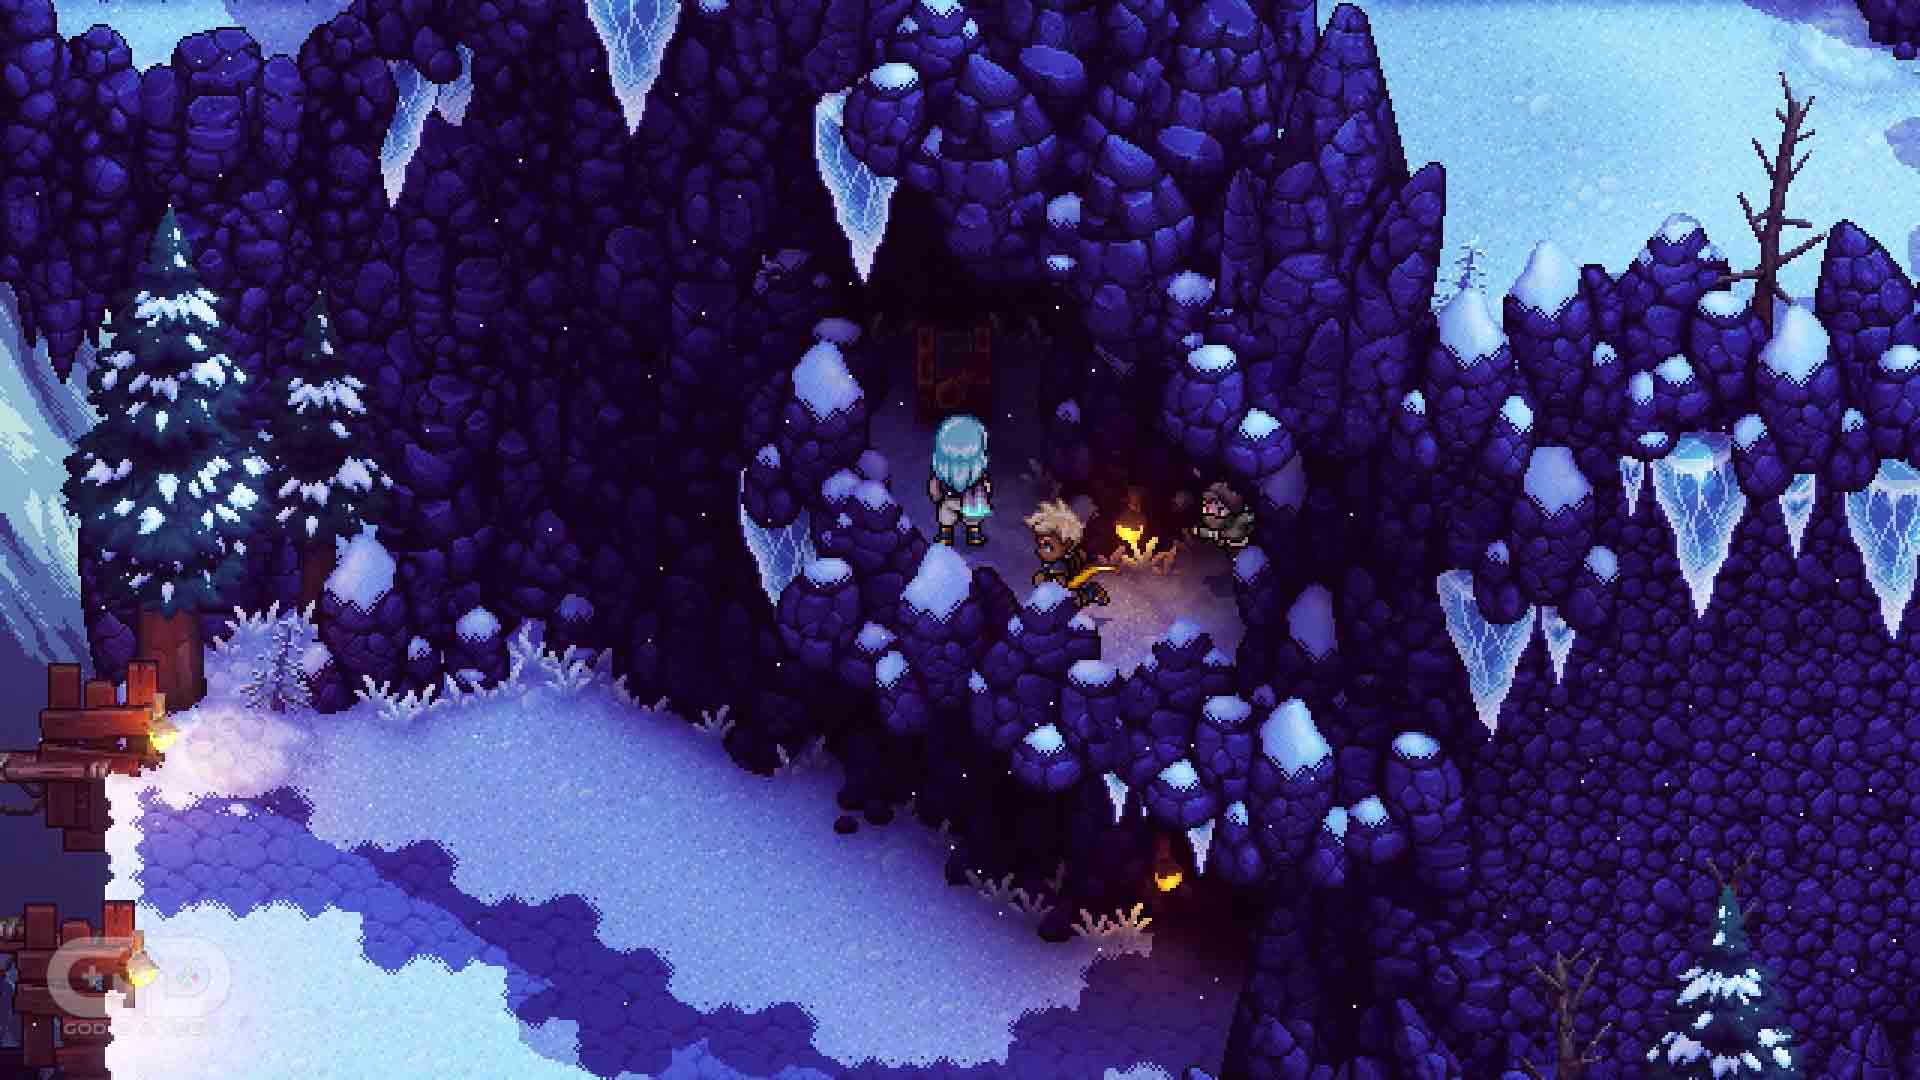
Location: Torment Peak
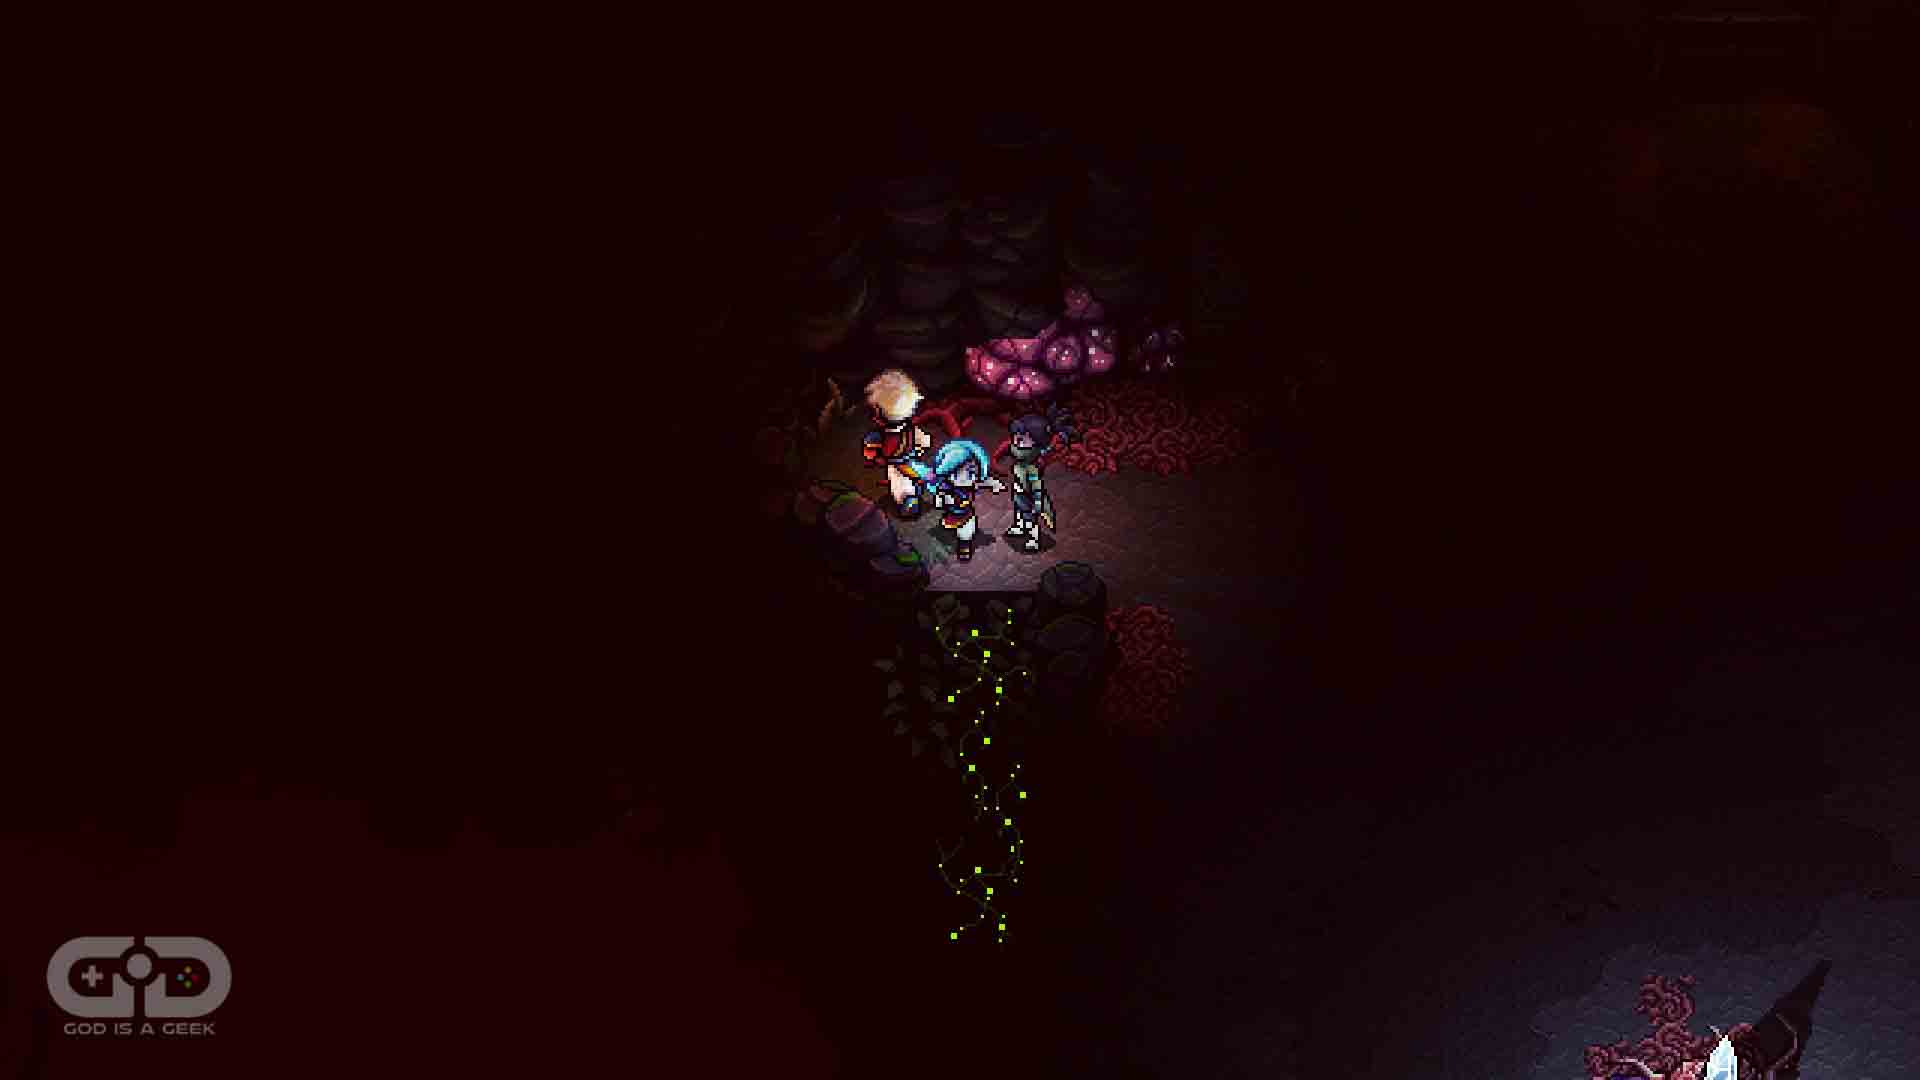 As you are making your way through the dark Torment Peak, you will come across some vines on the left-hand side that you can climb down. You definitely don’t want to ignore these.
Climbing down them will reveal a hidden cave with another Rainbow Conch chest inside.
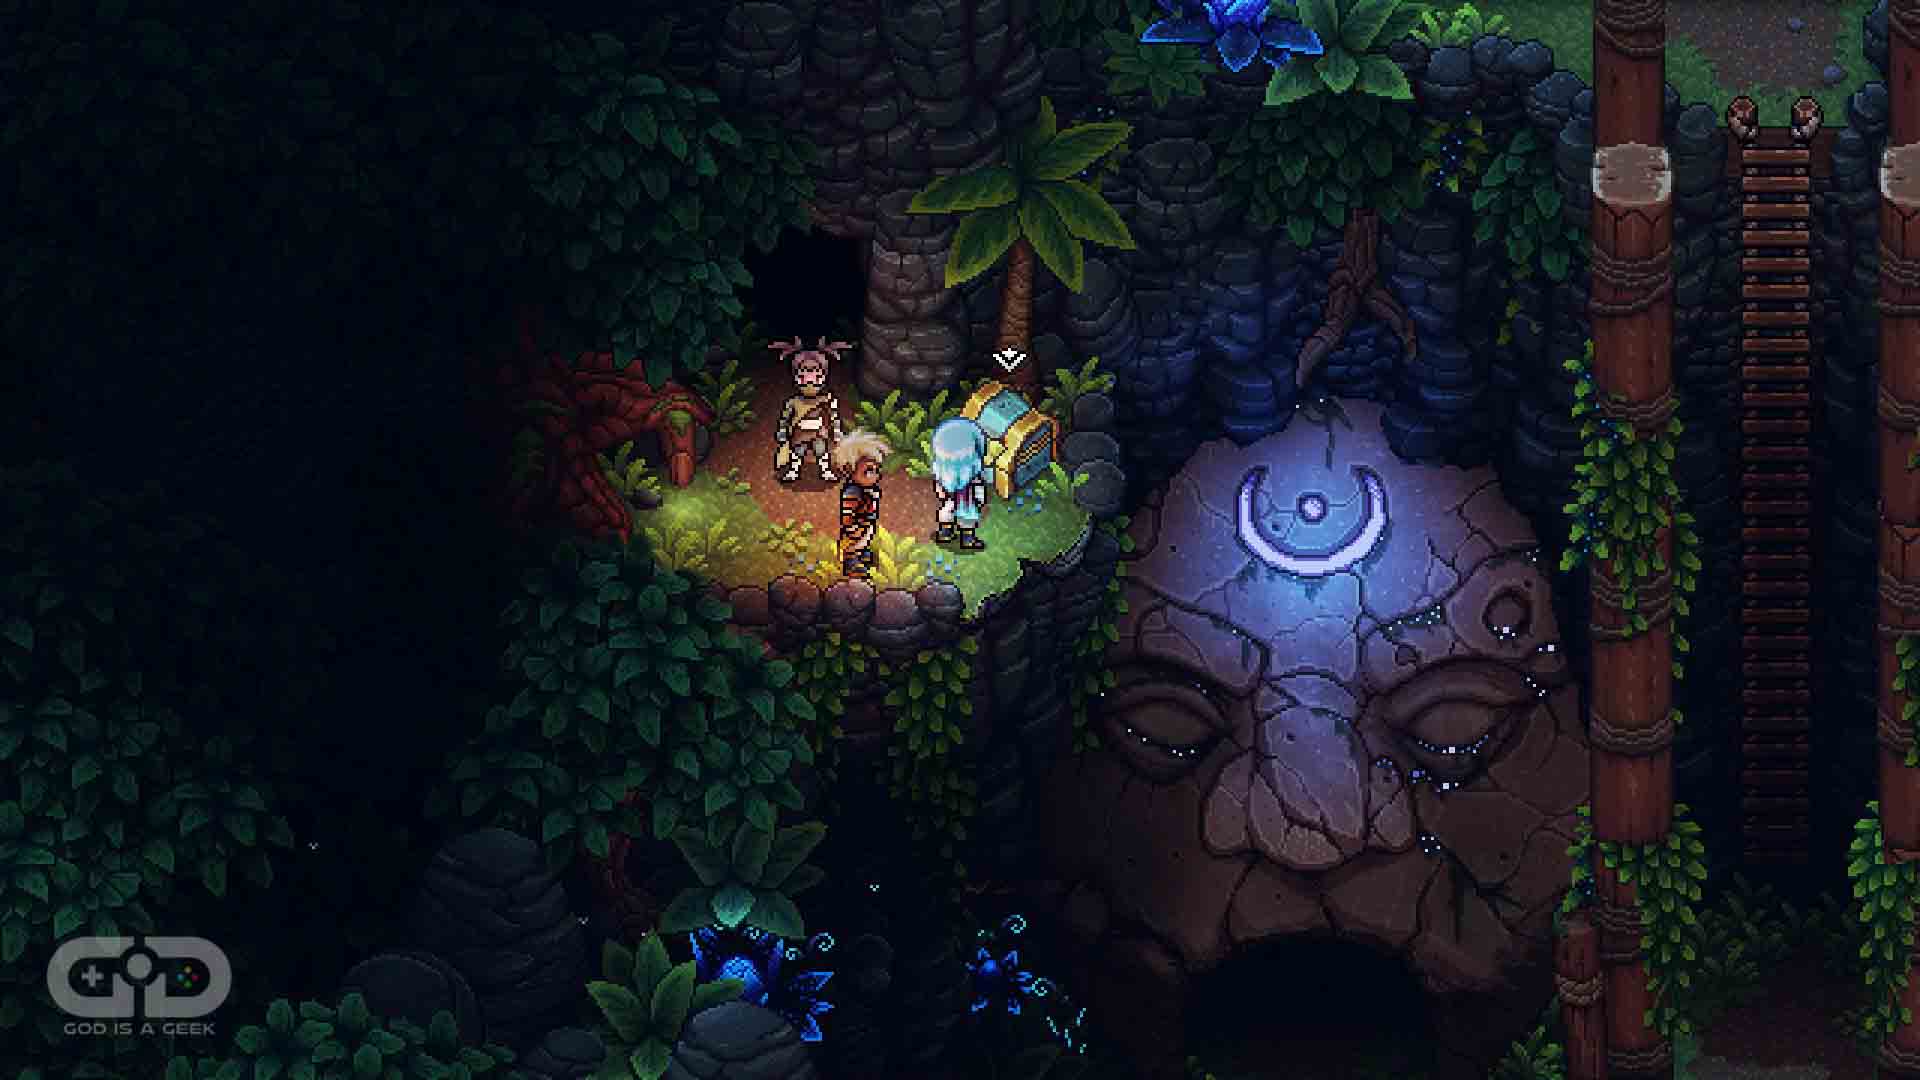
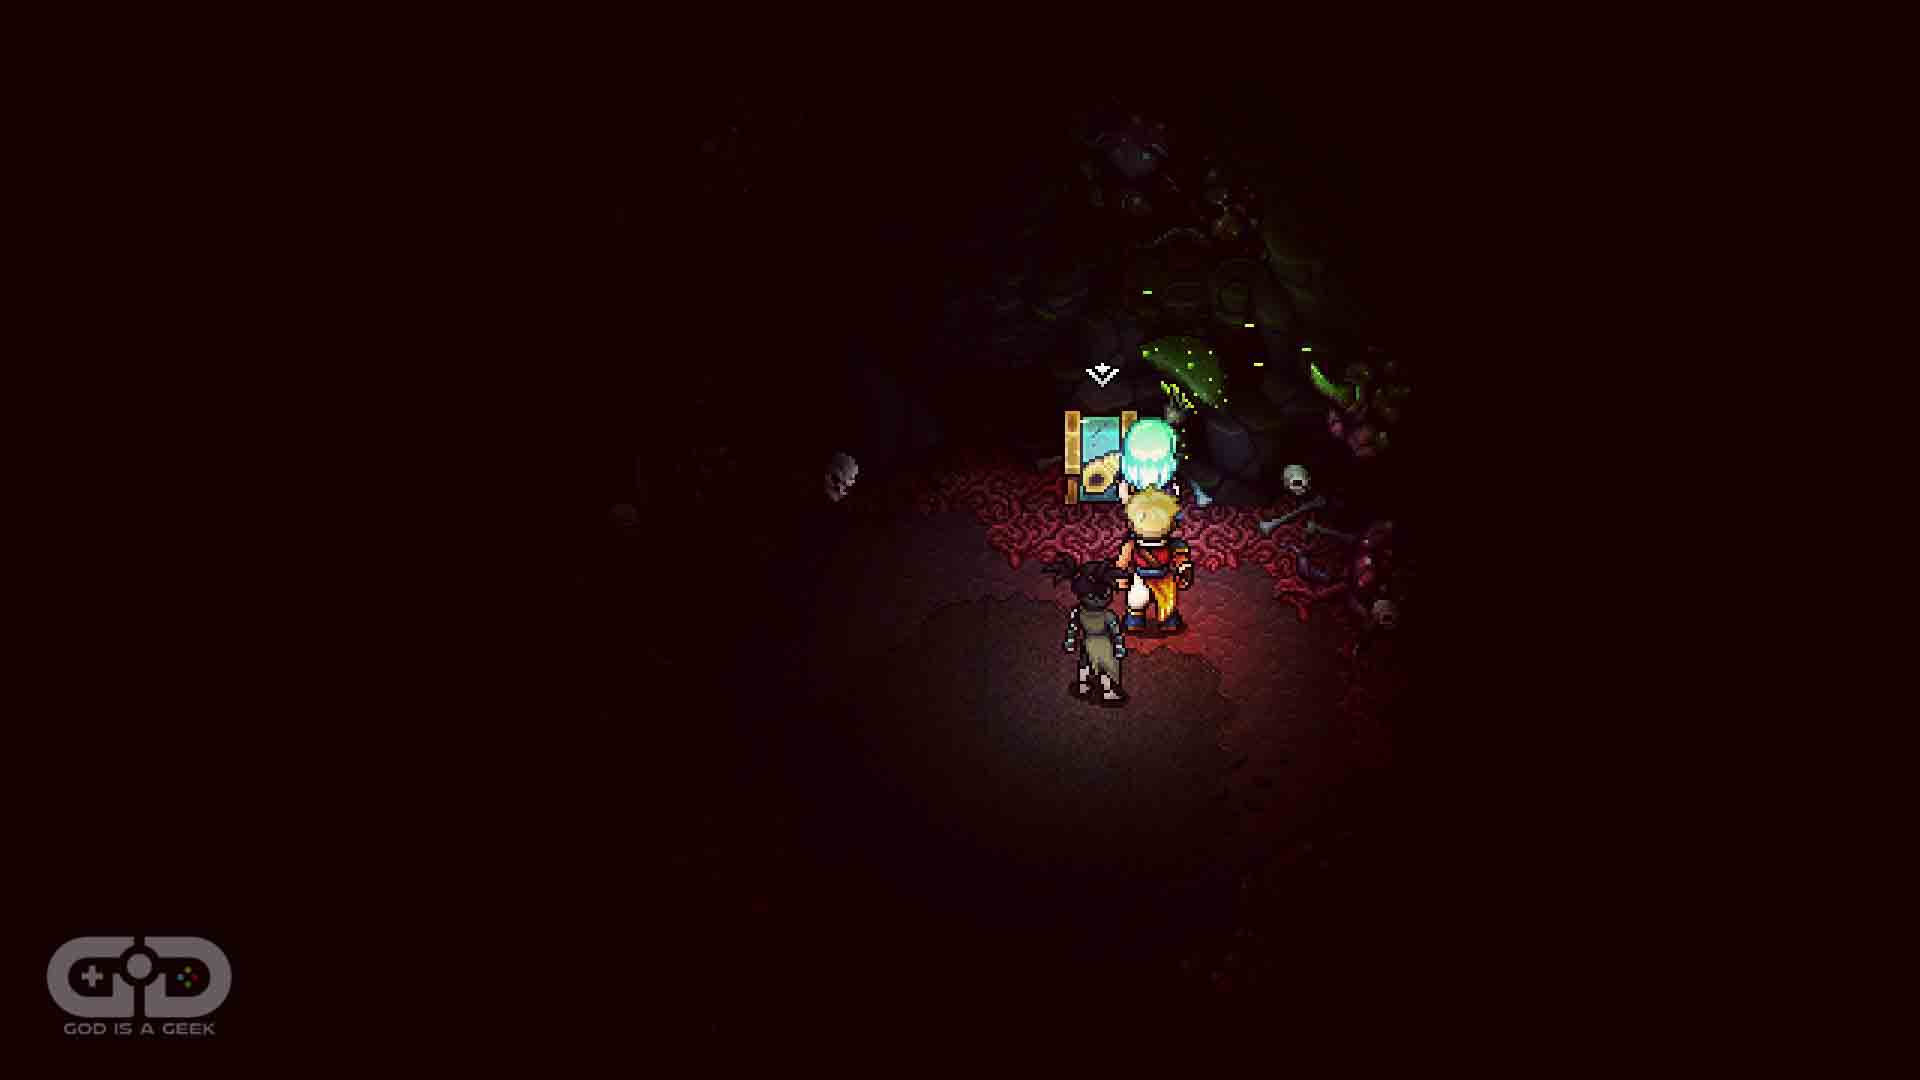
Conch #34
Location: Mossy Cache
After you have solved the tile puzzle in Mossy Cache, head on over to the left, to find the next Rainbow Conch chest.


