Sea of Stars | Rainbow Conch Guide: Part 6

This is the sixth and final part of our guide to find every Rainbow Conch in Sea of Stars. In this part of the guide, we will find 11 Rainbow Conches to add to your collection. This will bring our total Rainbow Conch total up to 60. Read on to help find every Rainbow Conch in Sea of Stars.
Where are we up to in the game?
This part of the guide covers from the point you defeat the Dweller of Dread, and gain the ability to fly, which unlocks areas previously inaccessible as well as making traversal a lot quicker than before.
Sea of Stars | Rainbow Conch Guide
Conch #50
Location: Mountain Trail
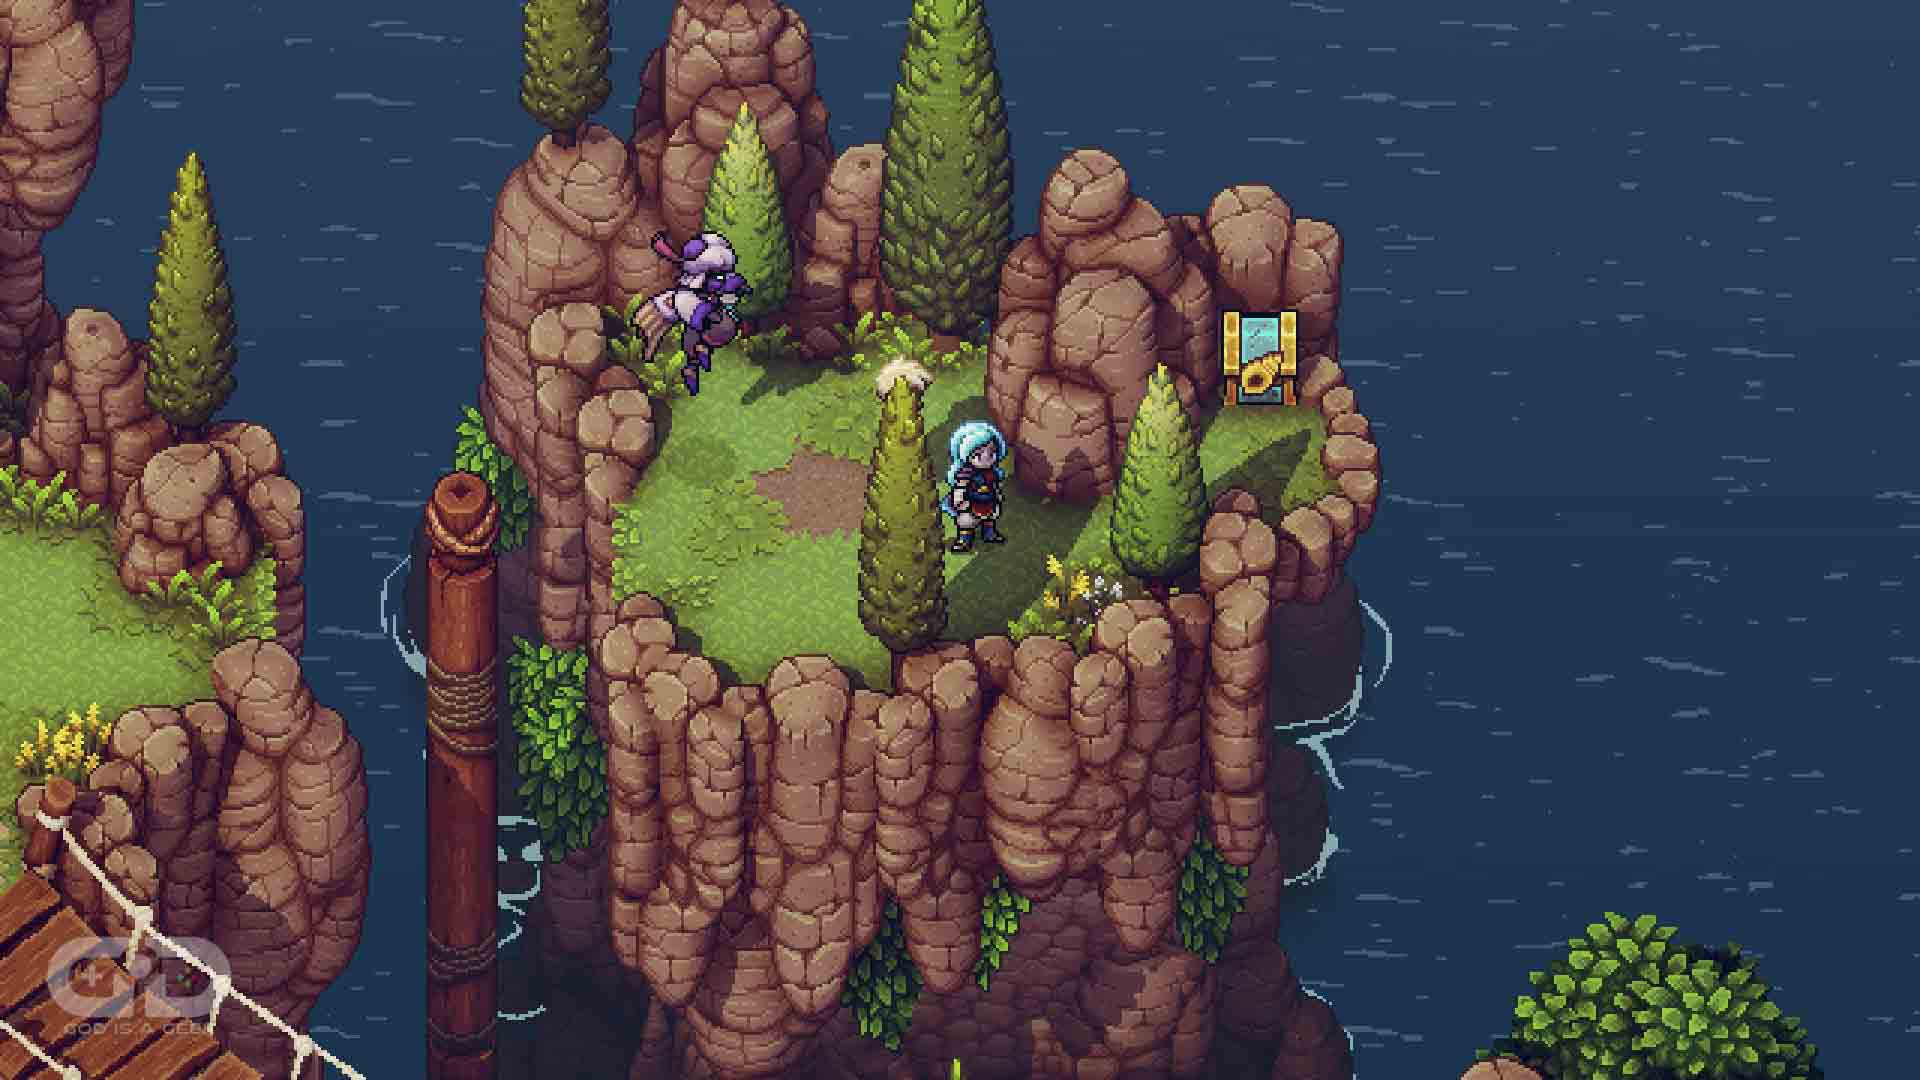
The first of our backtracking conches, head all the way back to the Mountain Trail to where we started our adventure. To the right of there is a Graplou point that leads to a Rainbow Conch Chest.
Conch #51
Location: Elder Mist Trials
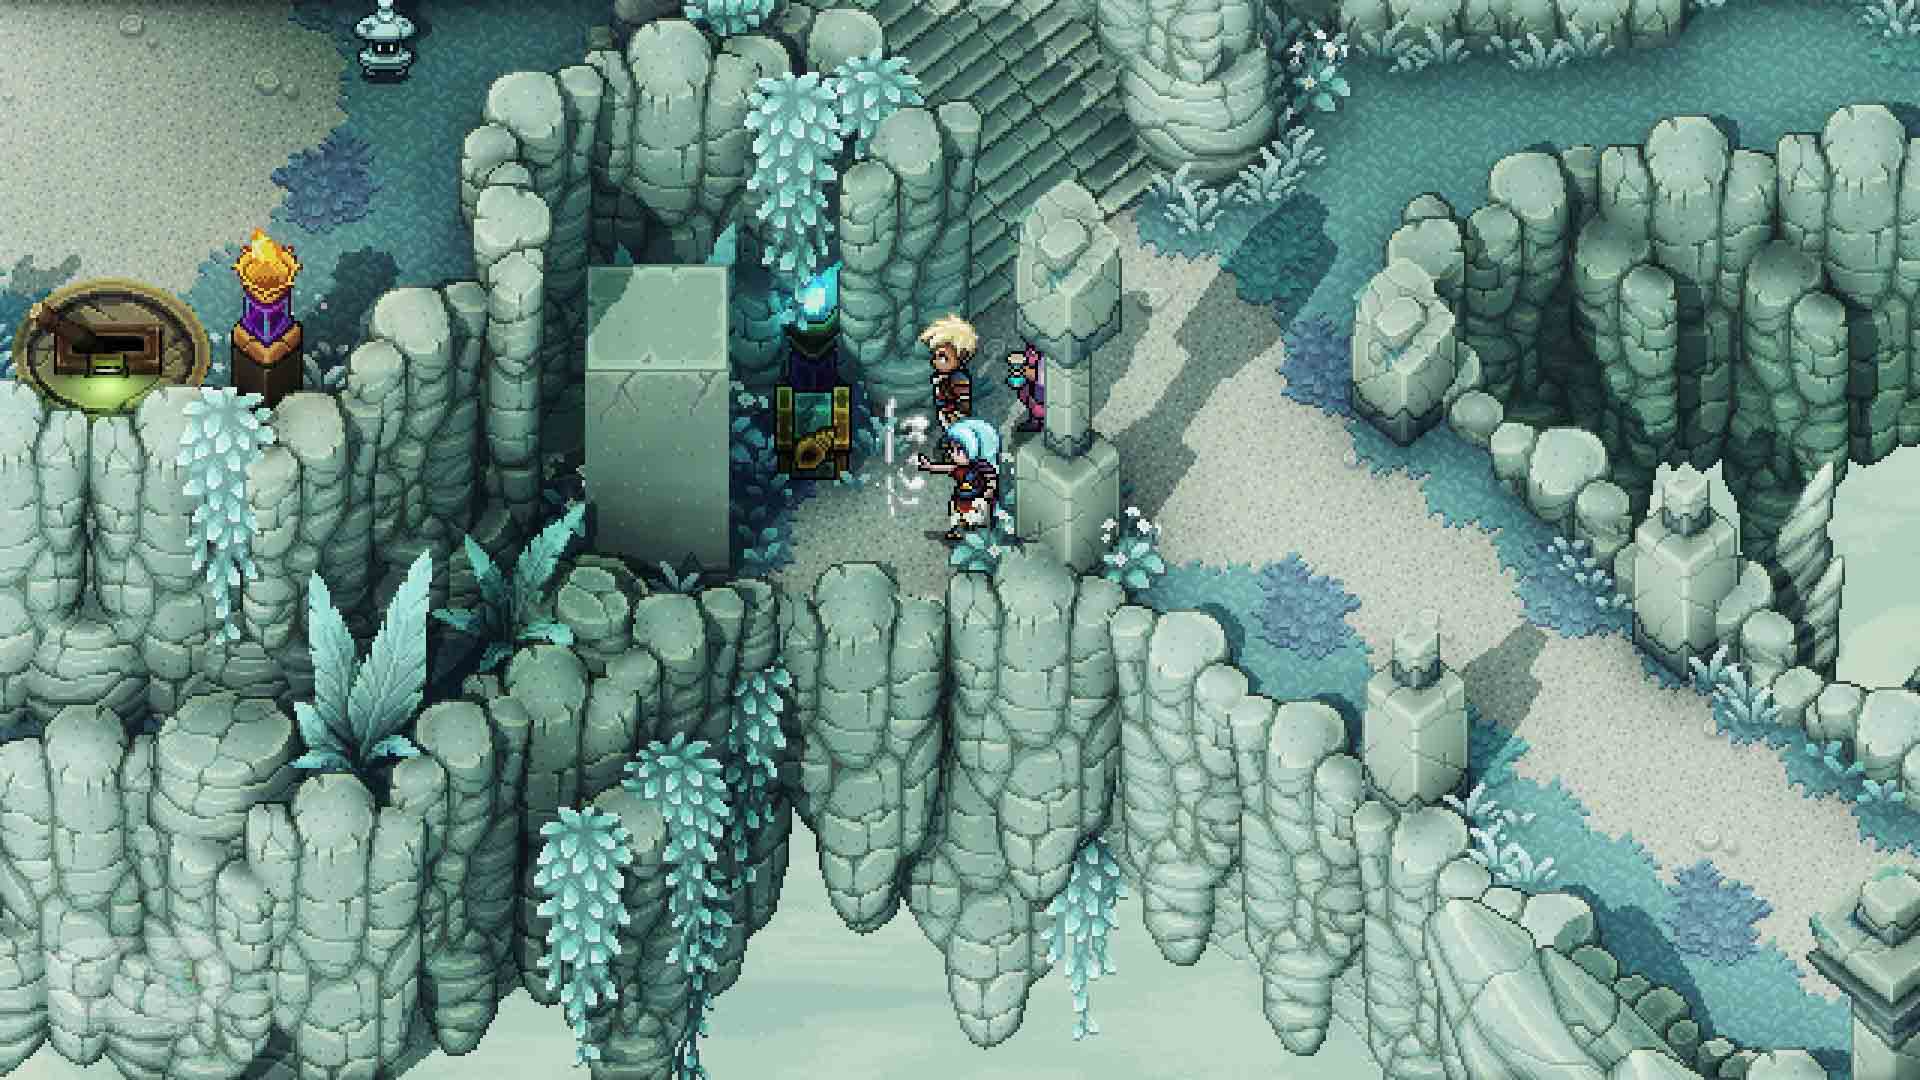
Return to the Elder Mist Trials and enter the left of the three Trial portals. Head down the walkway in front of you and you should see a stone pillar. Use the Mistral Bracelet to move the pillar out of the way to reveal the chest behind.
Conch #52
Location: Mooncradle
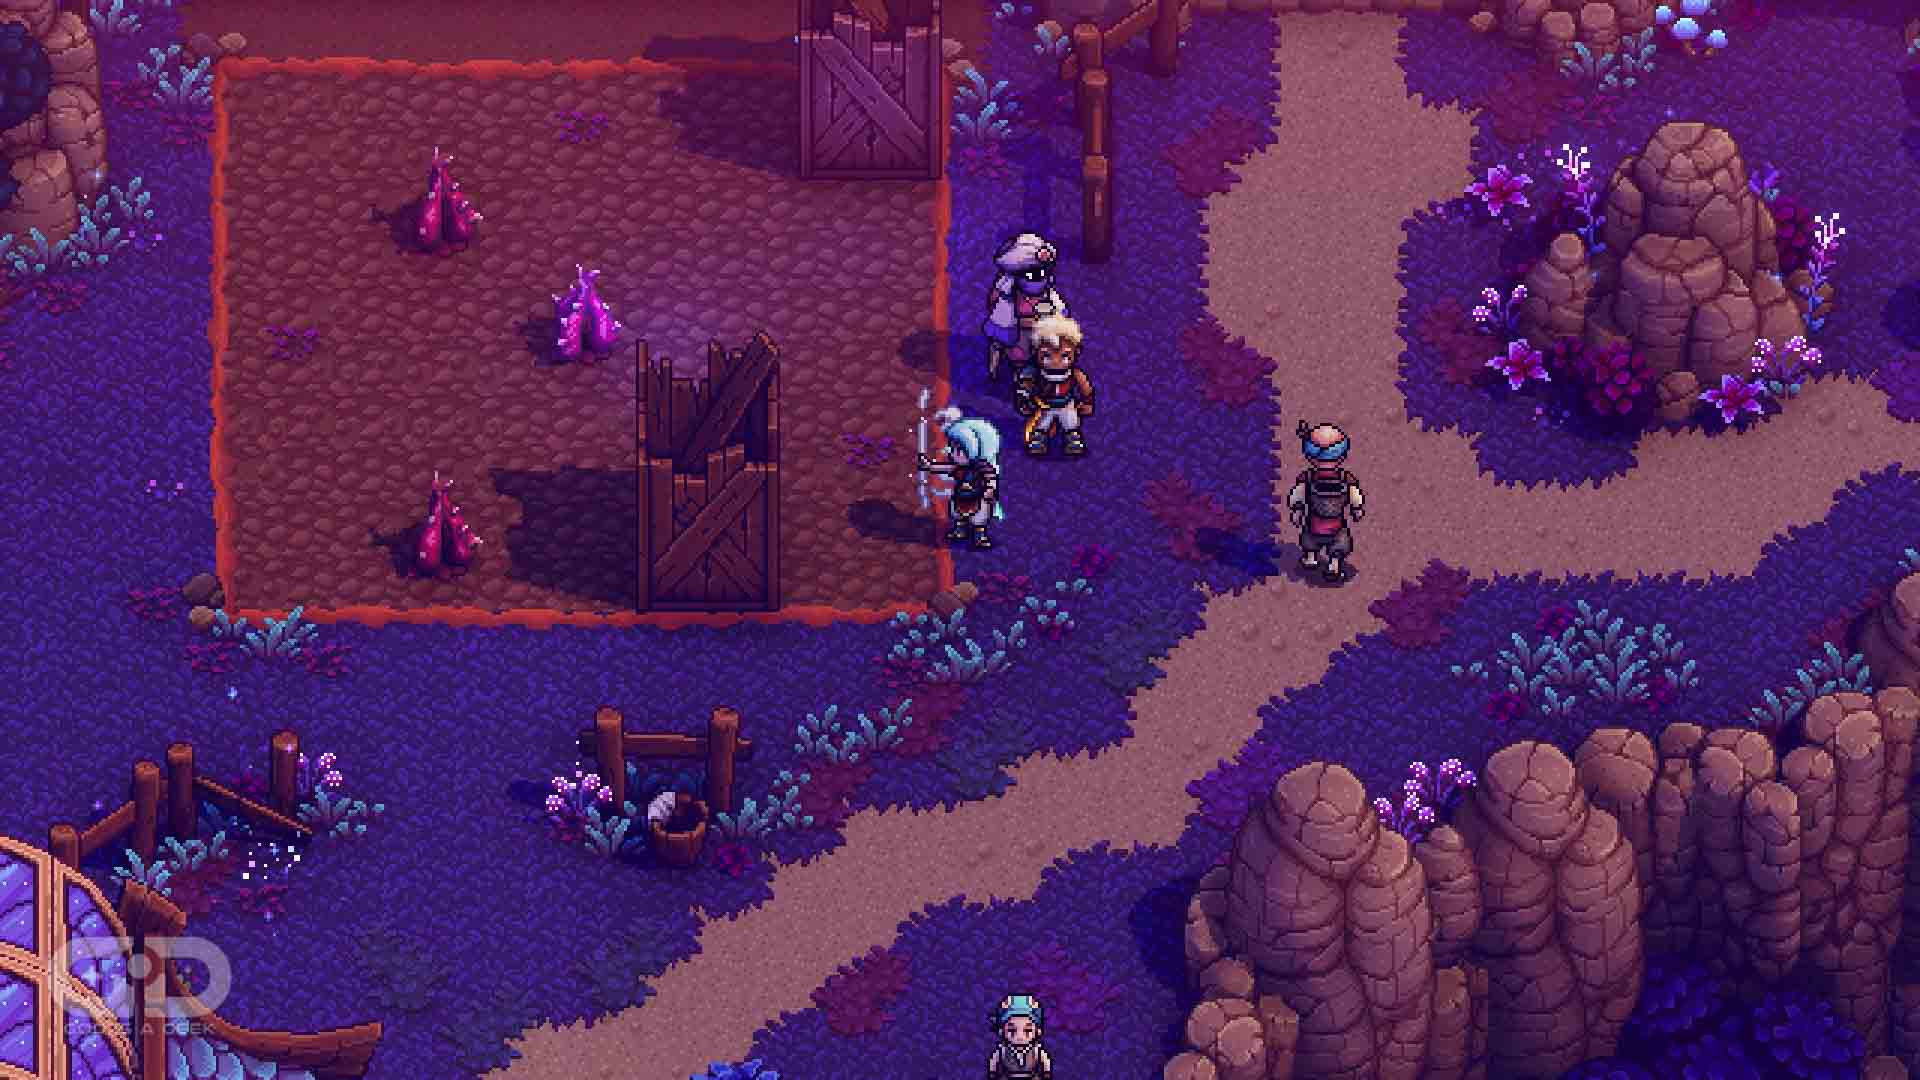
Return to Mooncradle, and head to the left-hand side. Here you will see a patch of first covered in pink thorns. Use your Mistral Bracelet to push the wooden crates over them, destroying them.
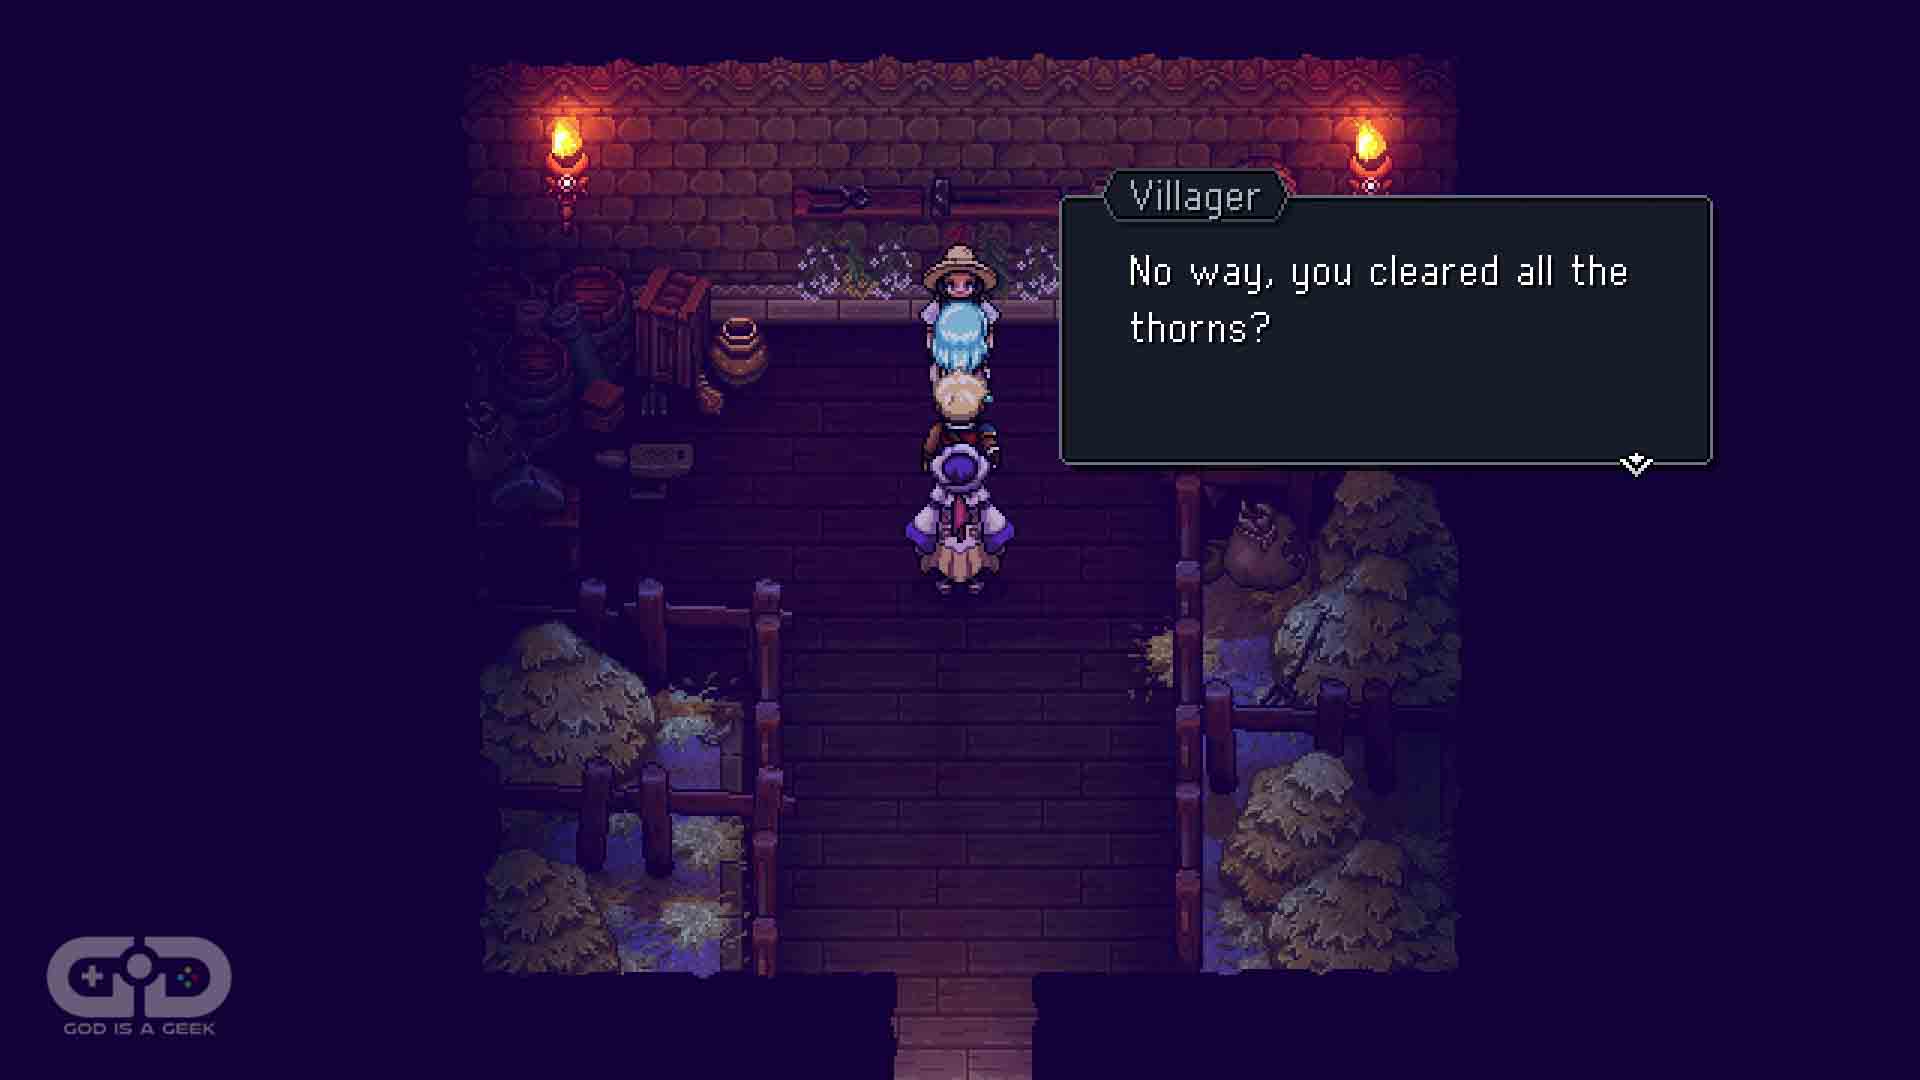
Once all the thorns are gone, head down and left to the barn building and speak to the villager inside. They will be grateful for your help and reward you with a Rainbow Conch.
Conch #53
Location: Mooncradle
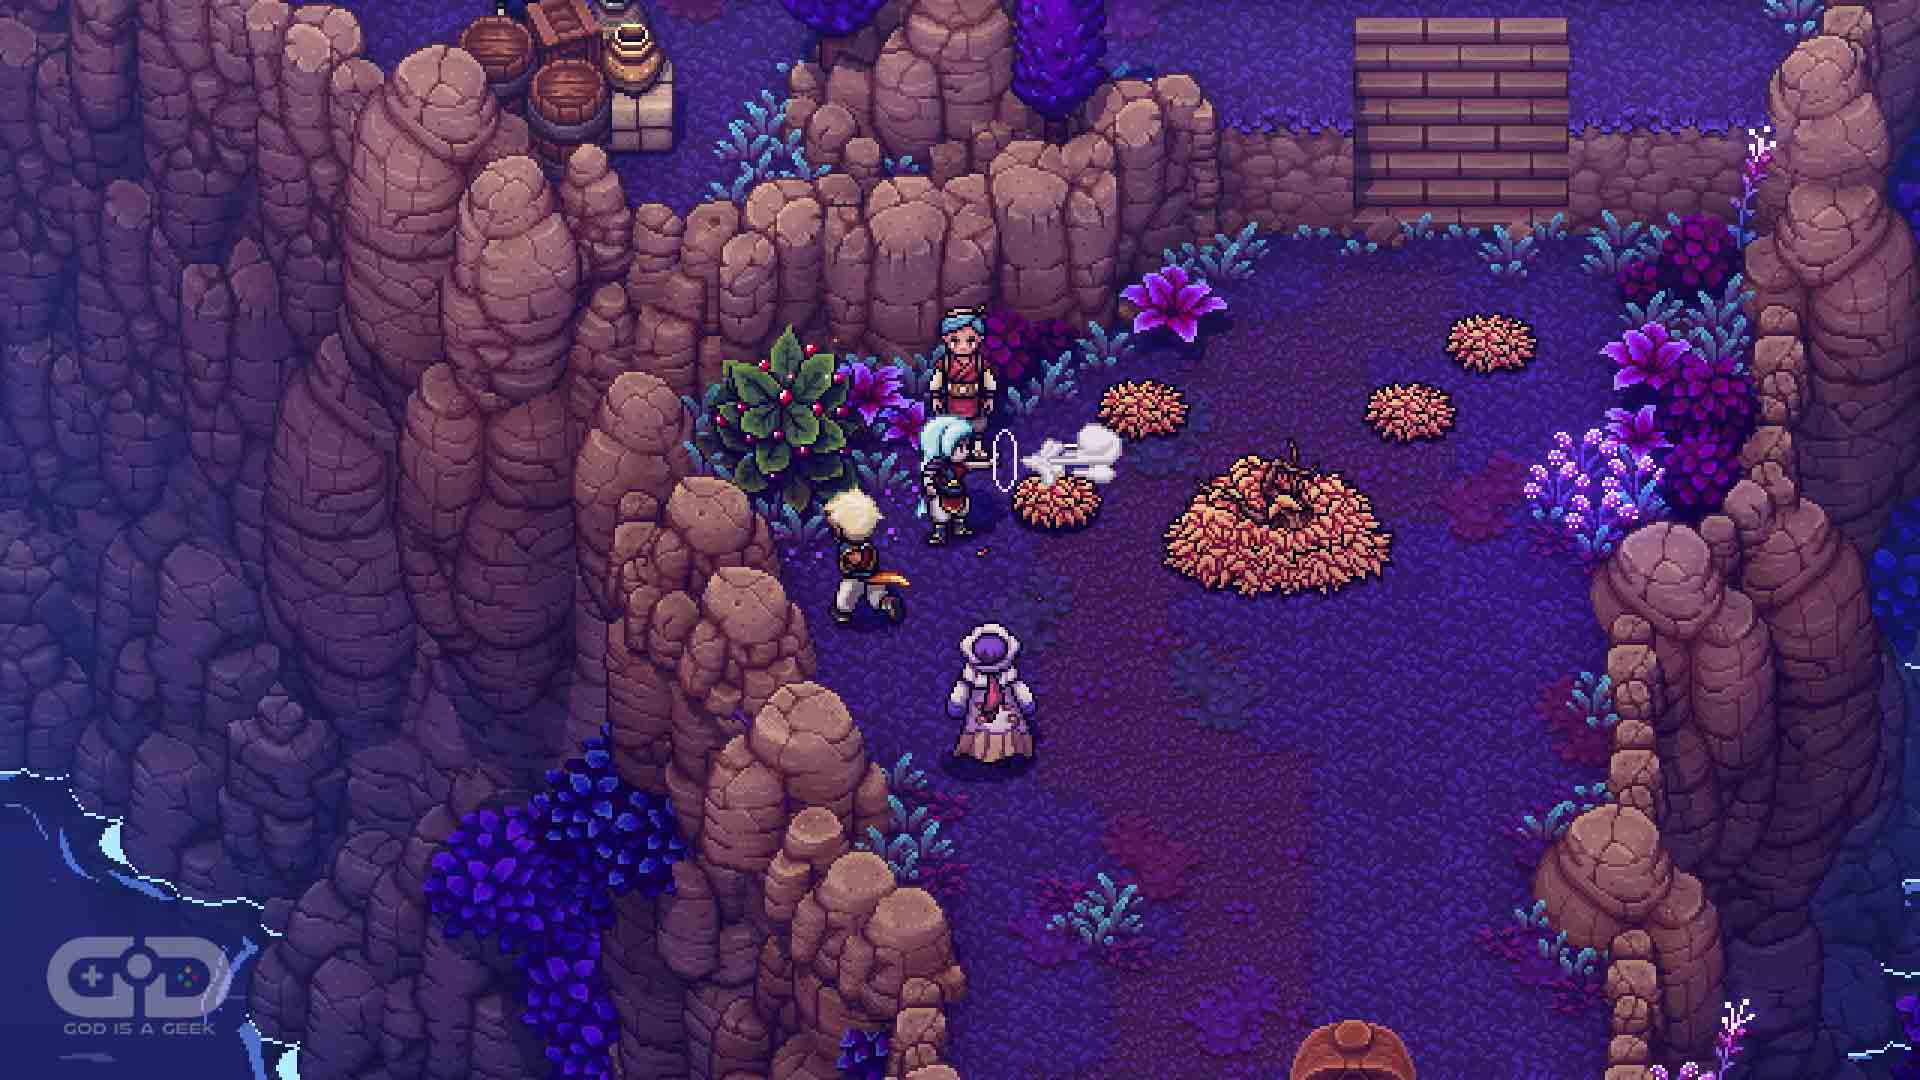
To the right of Mooncradle is a load of leaf piles. You can use your Mistral Bracelet to sweep them all up into one big pile. Once you’ve done so, speak to the blue-haired village next to you and they will give you a Rainbow Conch.
Conch #54
Location: Forbidden Cavern
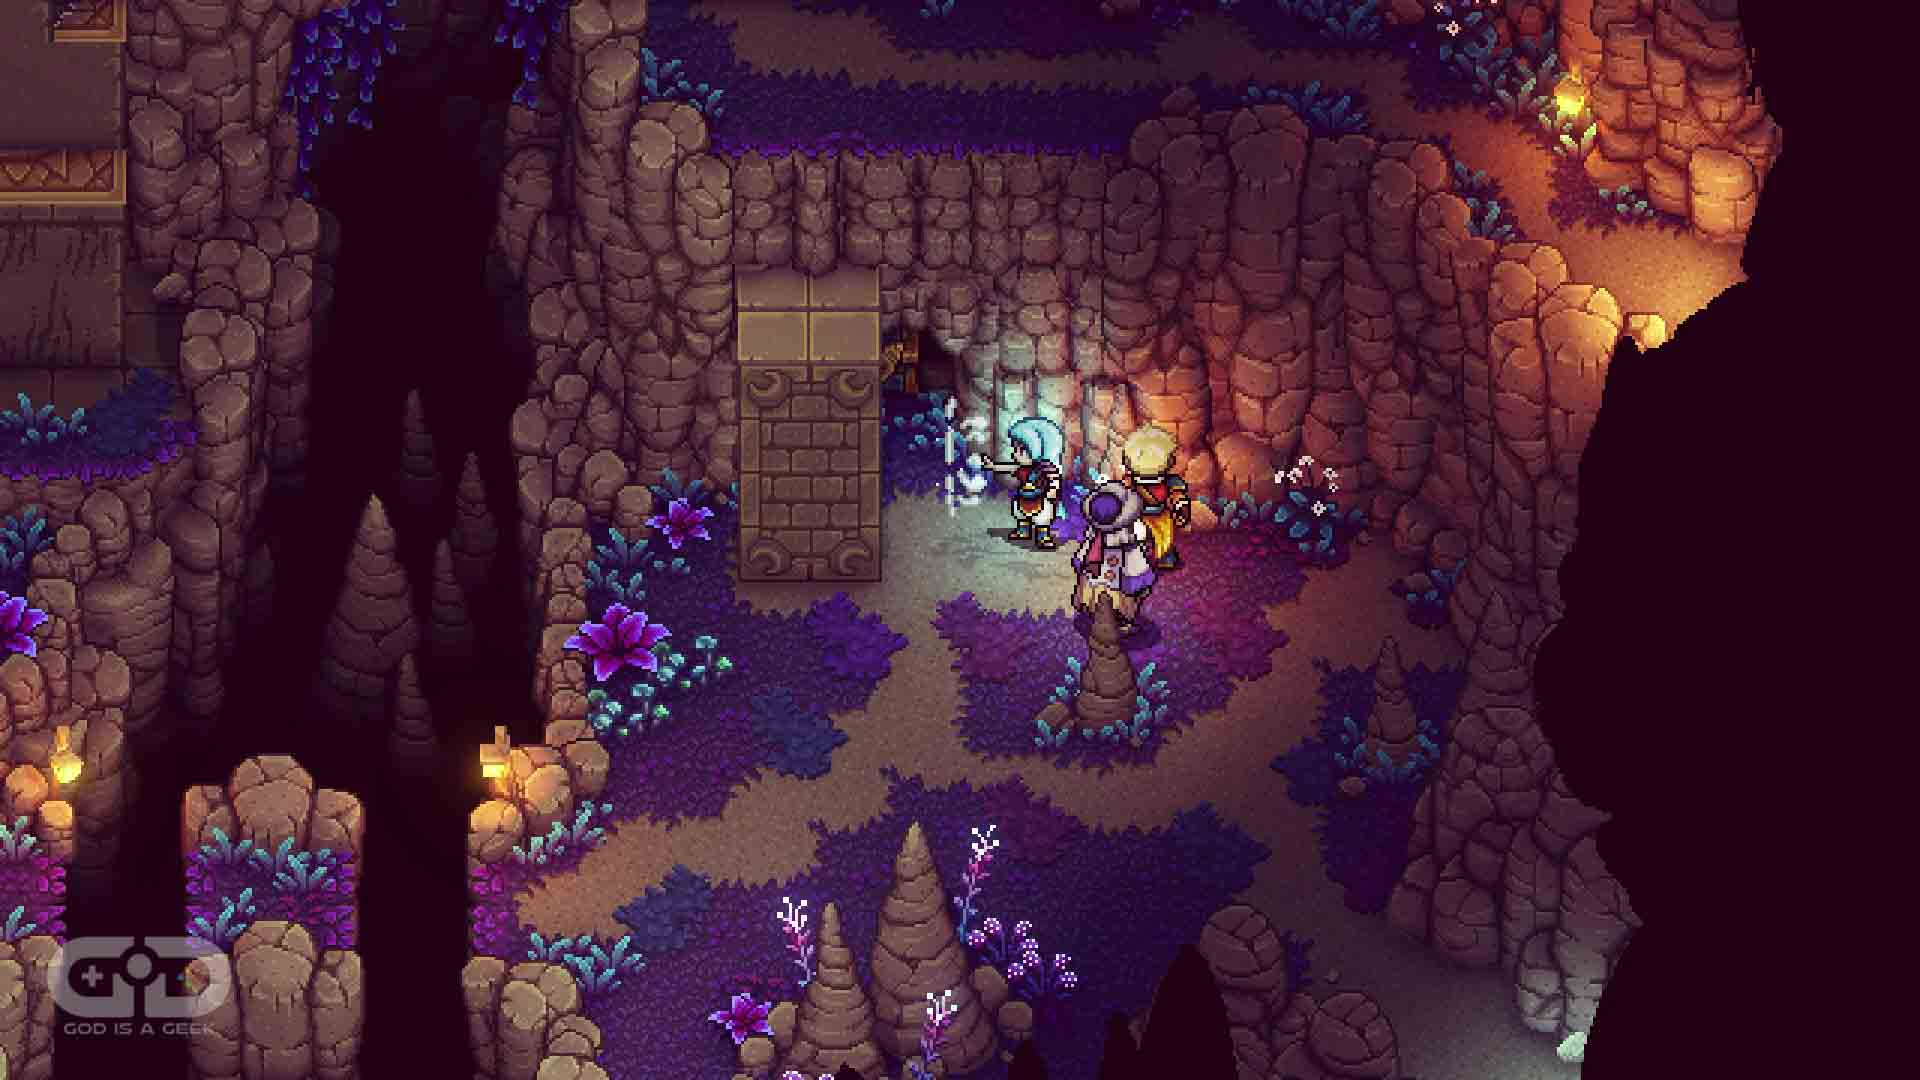
Head back into the Forbidden Cavern from Mooncradle. Once in the cavern proper, head left into the room. You should see a stone pillar in the room. Use your Mistral Bracelet on it to move it and find the chest behind.
Conch #55
Location: Moorlands
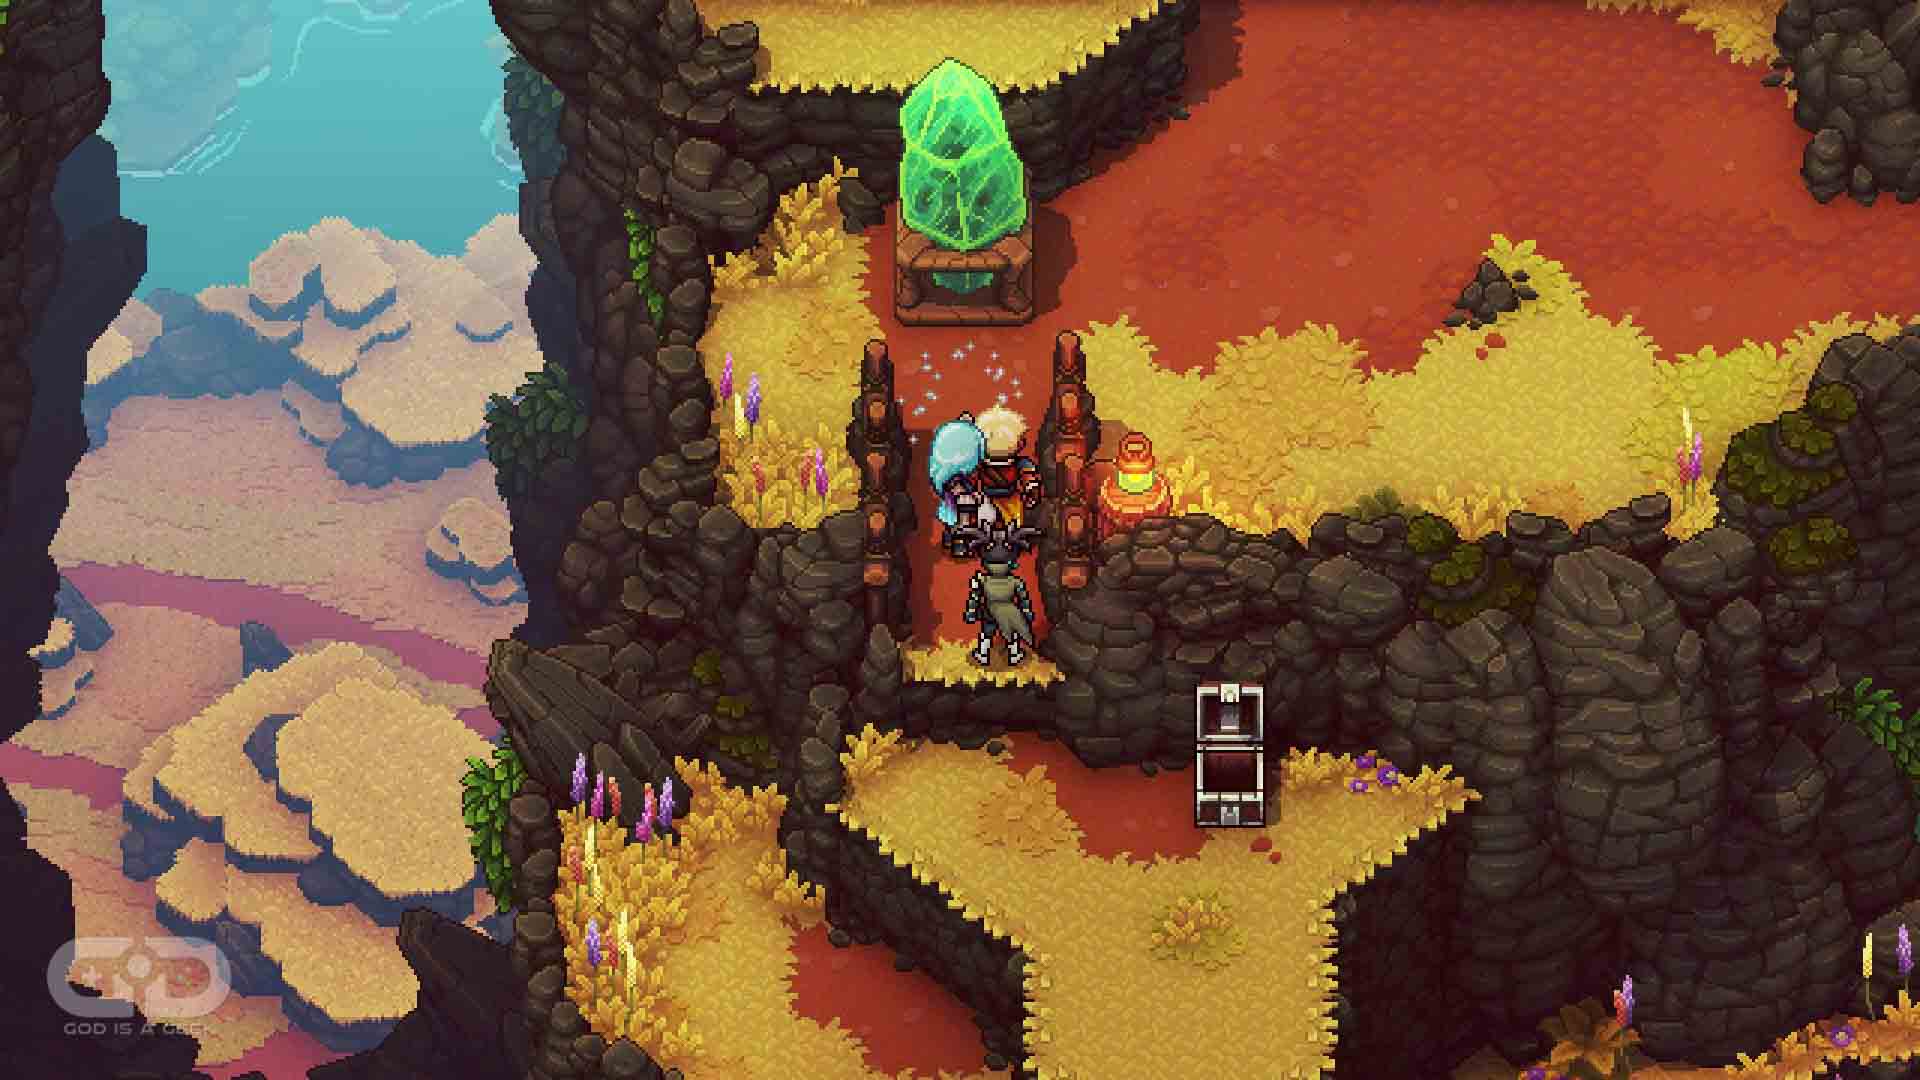
Head back to Moorlands, where you’ve likely passed this crystal before. Move it upwards with your Mistral Bracelet, and then right, and then up to sit in its designated spot.
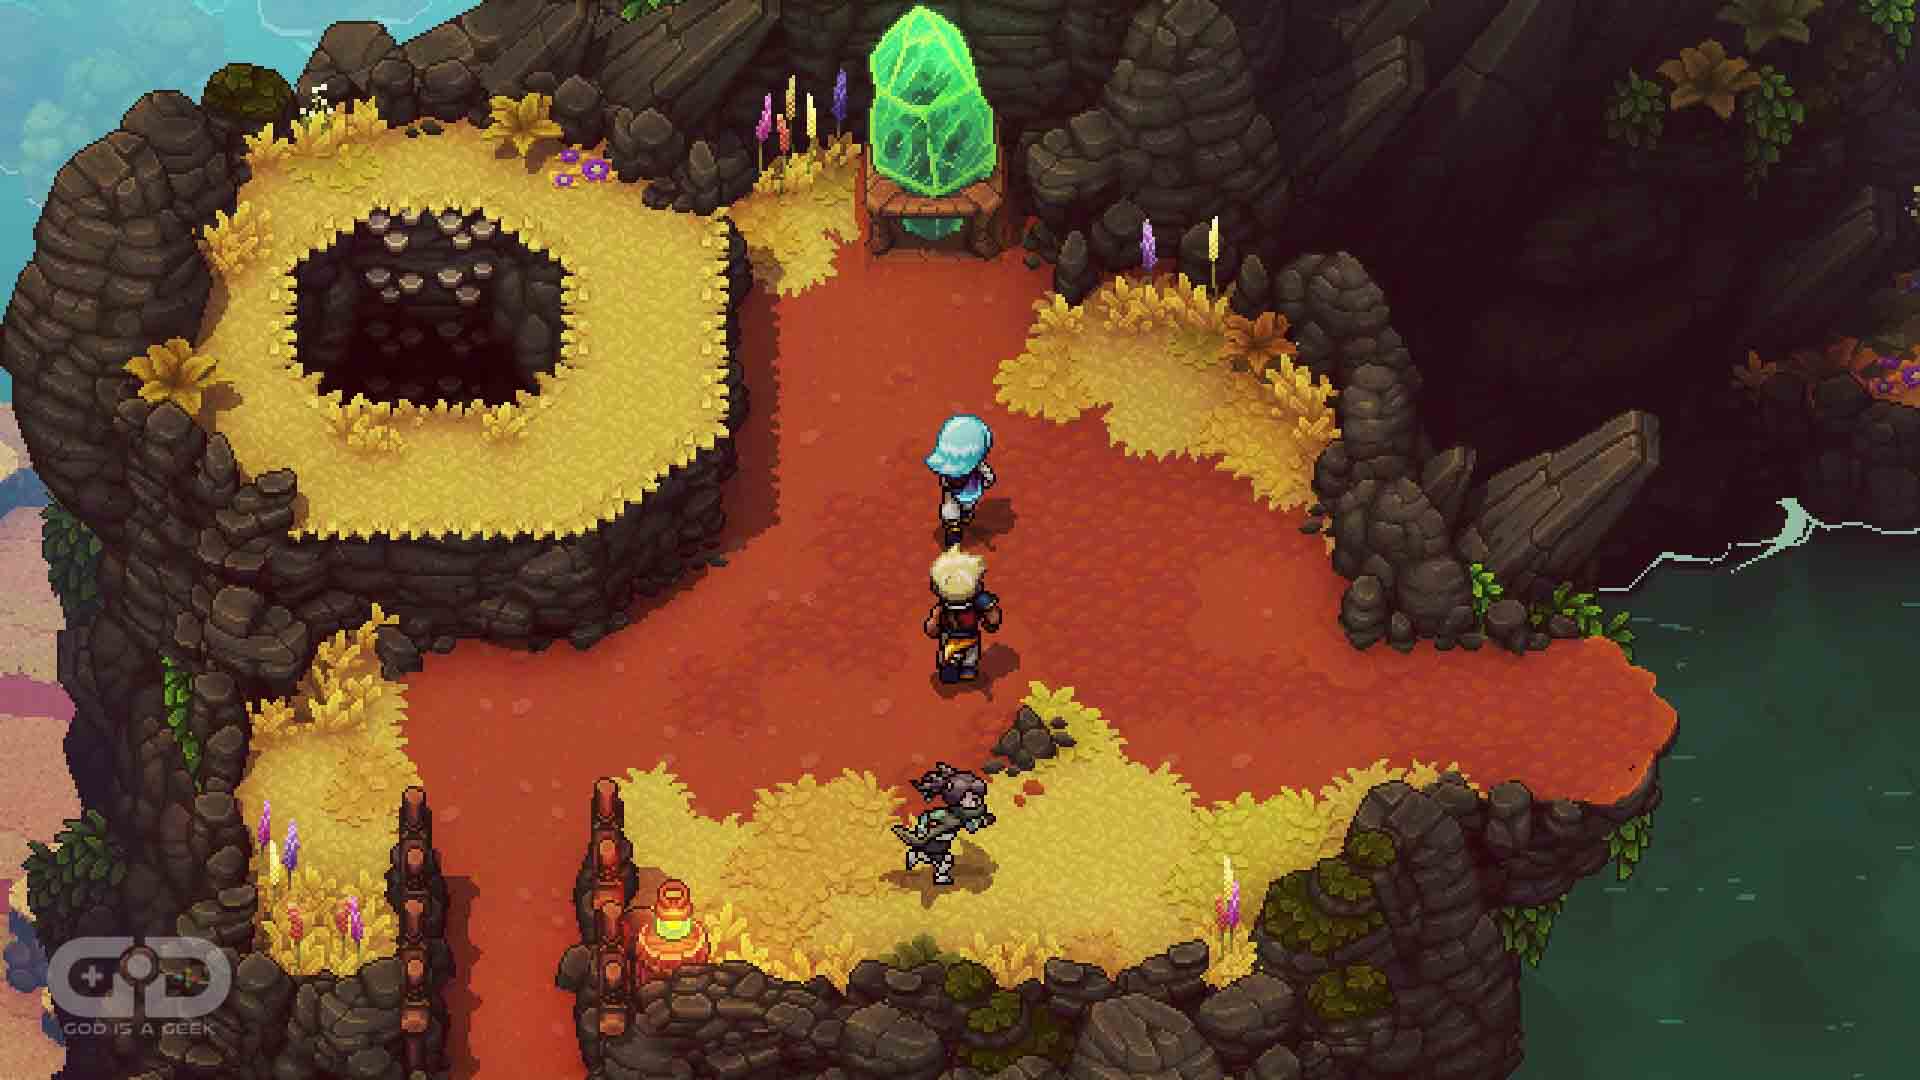
This will cause the crystal to sink into the ground and then re-emerge as a crystal pillar.
You can then climb up the crystal pillar and then onto the ledge above to access the Rainbow Conch chest.
Conch #56
Location: Moorlands
You will almost certainly have passed this blue crystal formation during your first walk through Moorlands earlier in the game. But back then you didn’t have the item you needed.
Well now, armed with the Cobalt Hammer we can smash through the crystal to reveal the Rainbow Conch chest behind it.
Conch #57
Location: Mirth

For this Rainbow Conch, you actually need to have done a couple of things. Firstly, you need to have handed in at least 22 Rainbow Conches to Mirna and she will give you the Fisherman’s Plans. You can then turn these plans into Jirard the Constructionist at Mirth and he will build the Fishing Hut for you.
To occupy it you will need to head to Mooncradle and recruit the Fisherman who is in the communal dining hall. Once both of these things are done you can enter the Hut in Mirth and more importantly the fishing lake beyond. Once there make your way to the far right of the pond to access another Rainbow Conch Chest.
Conch #58
Location: Sealed Docarri Ruins
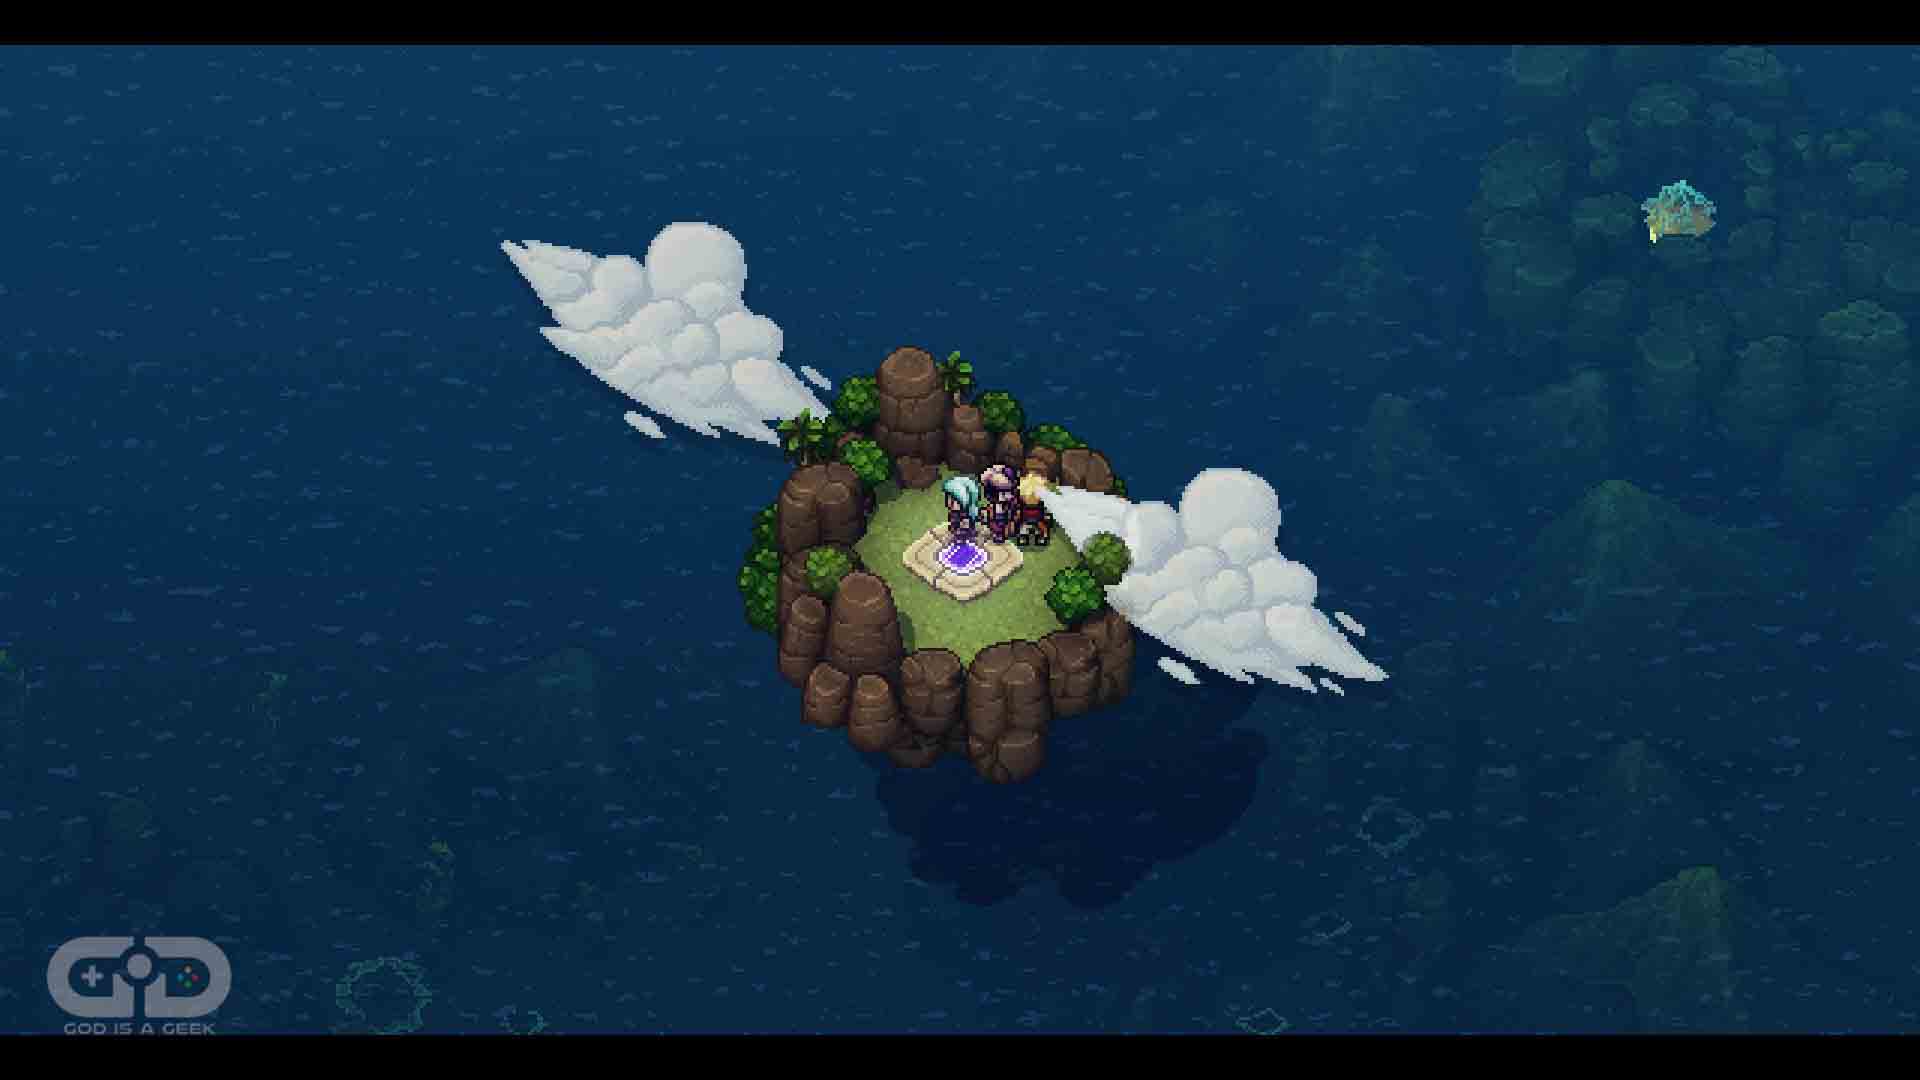
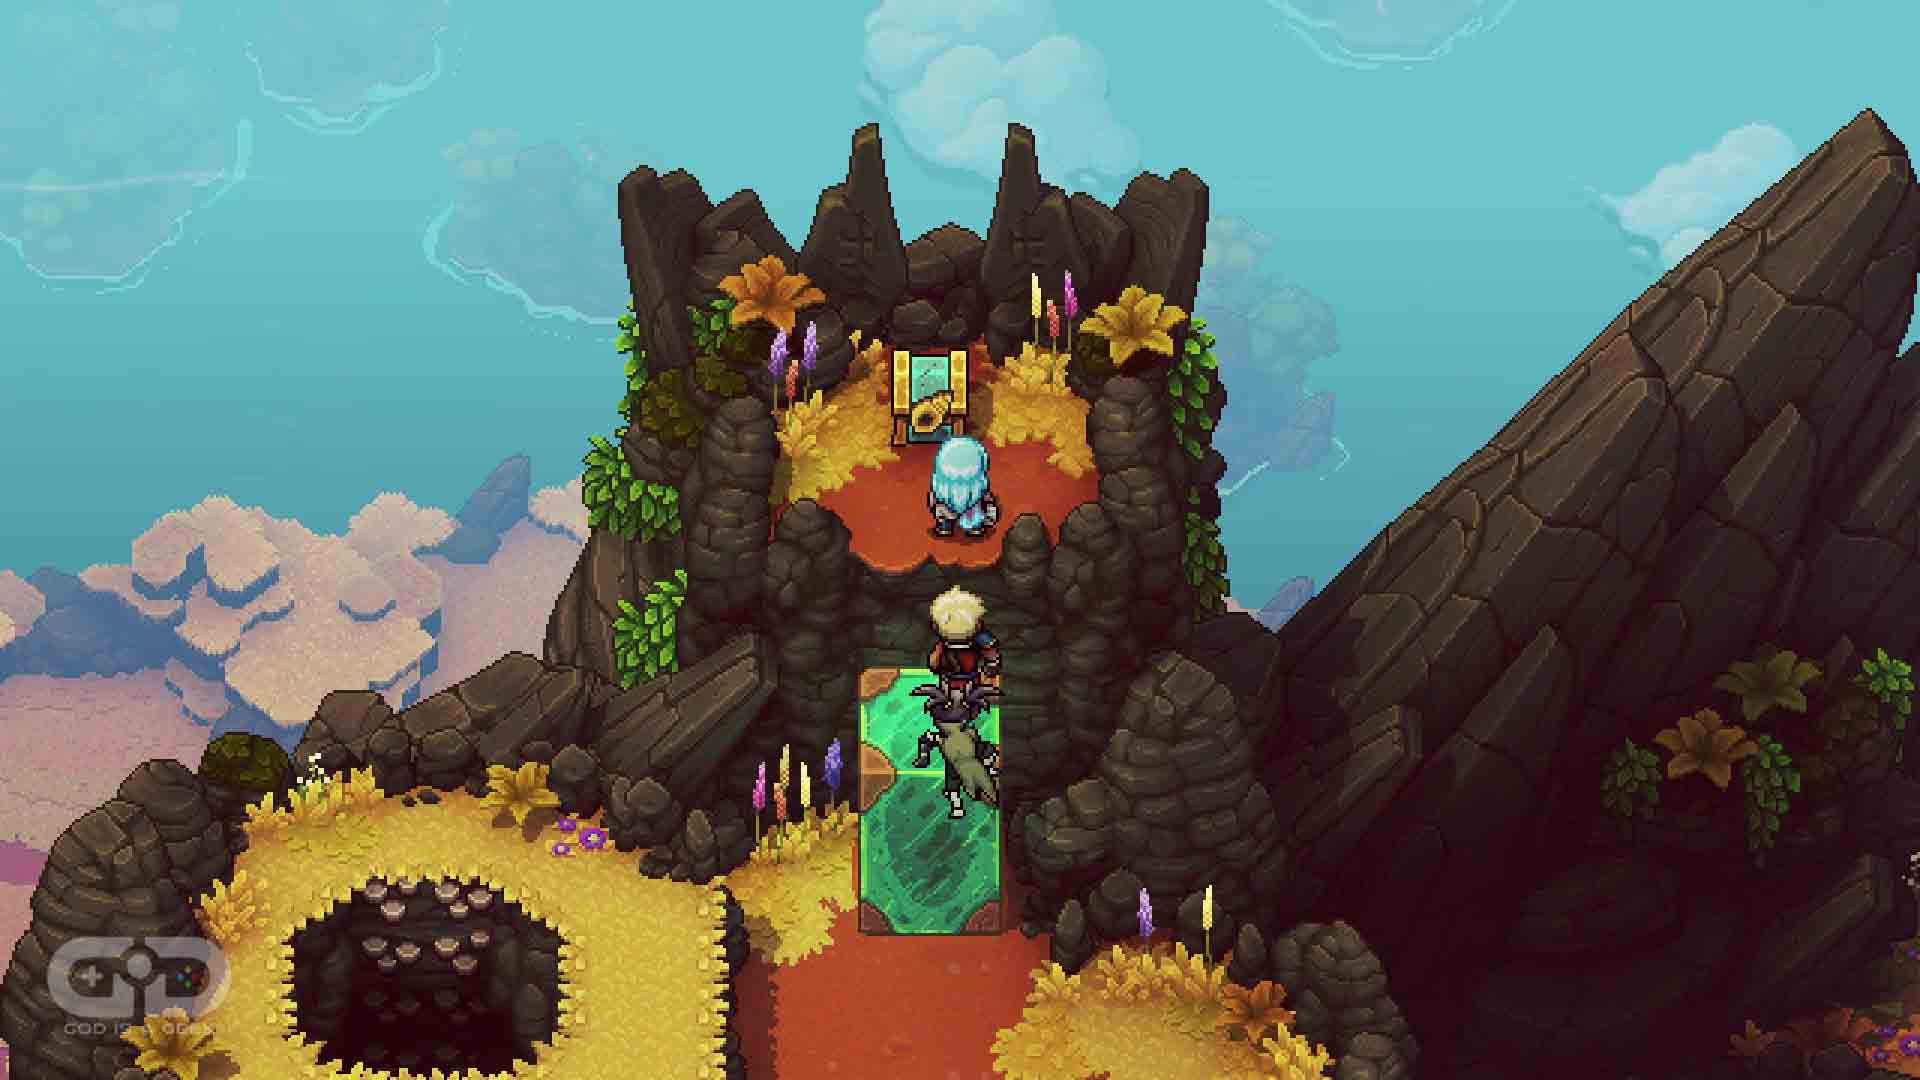
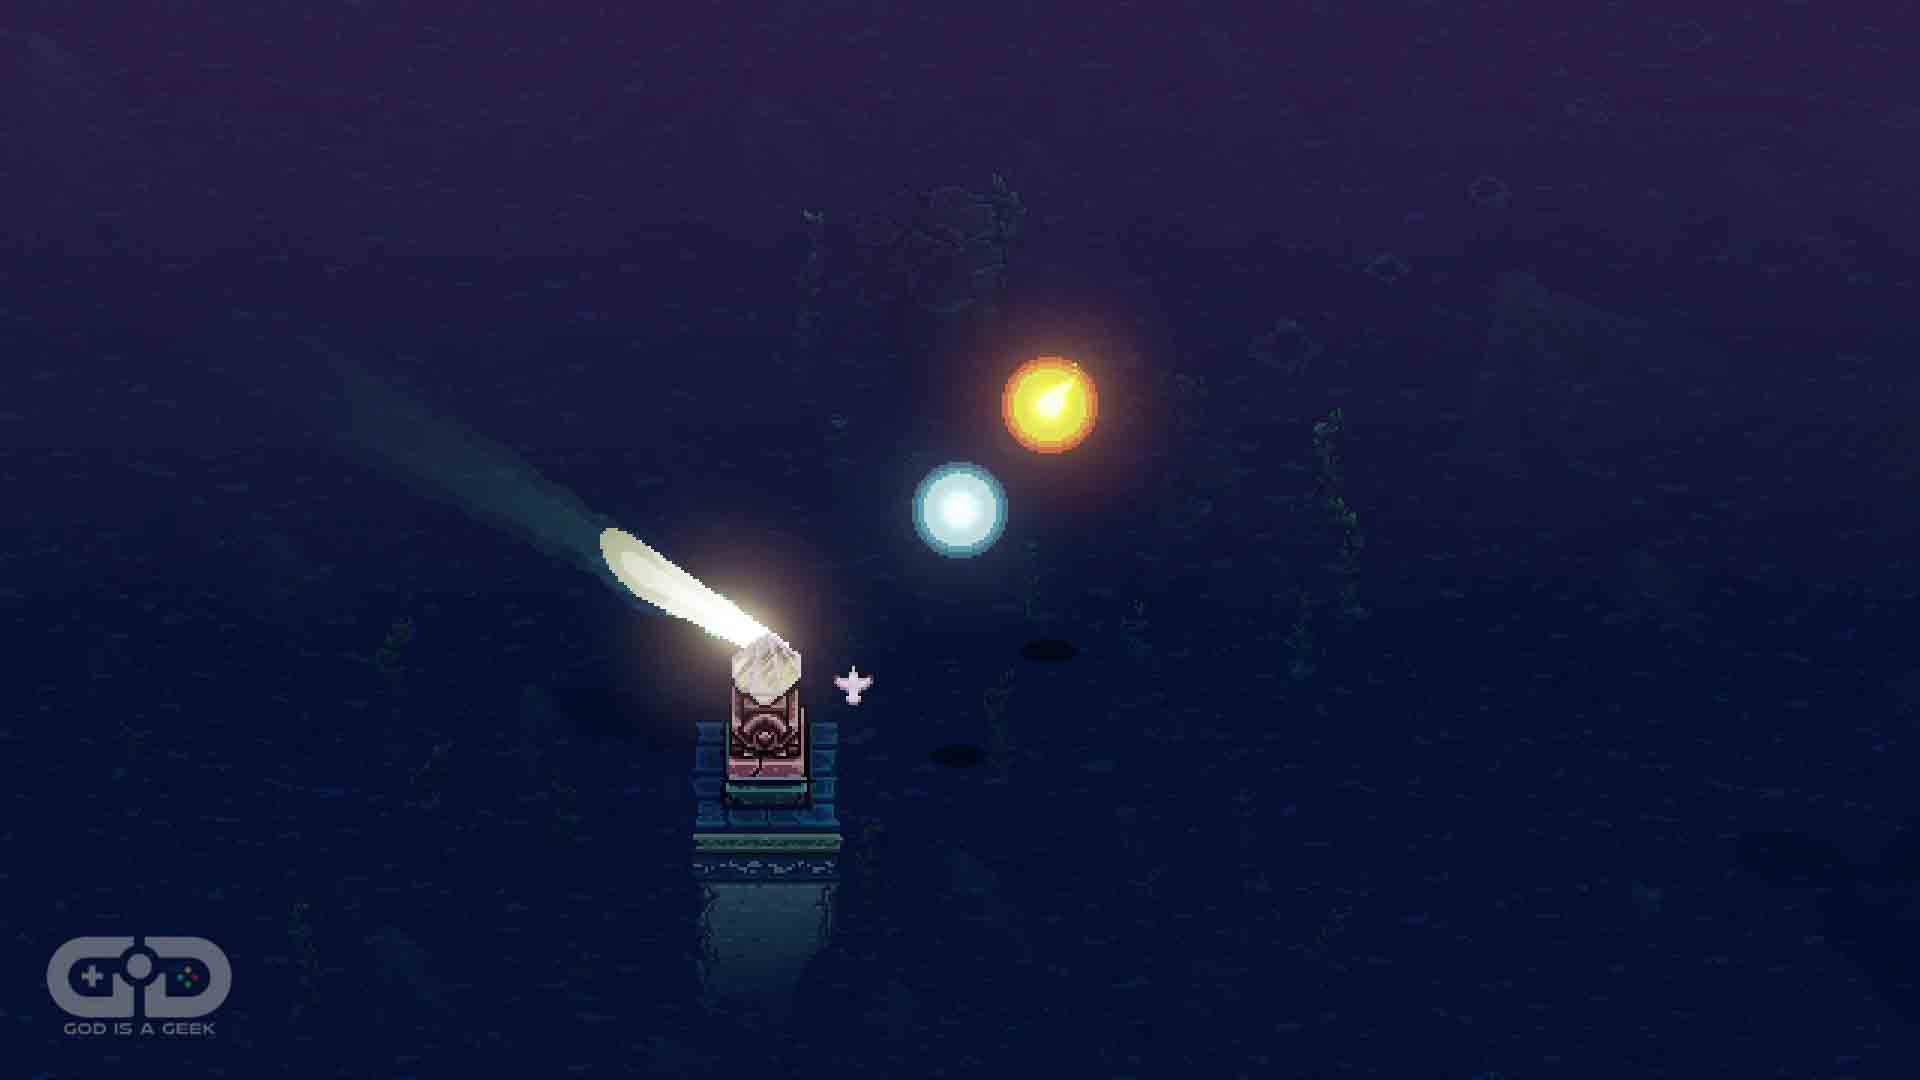
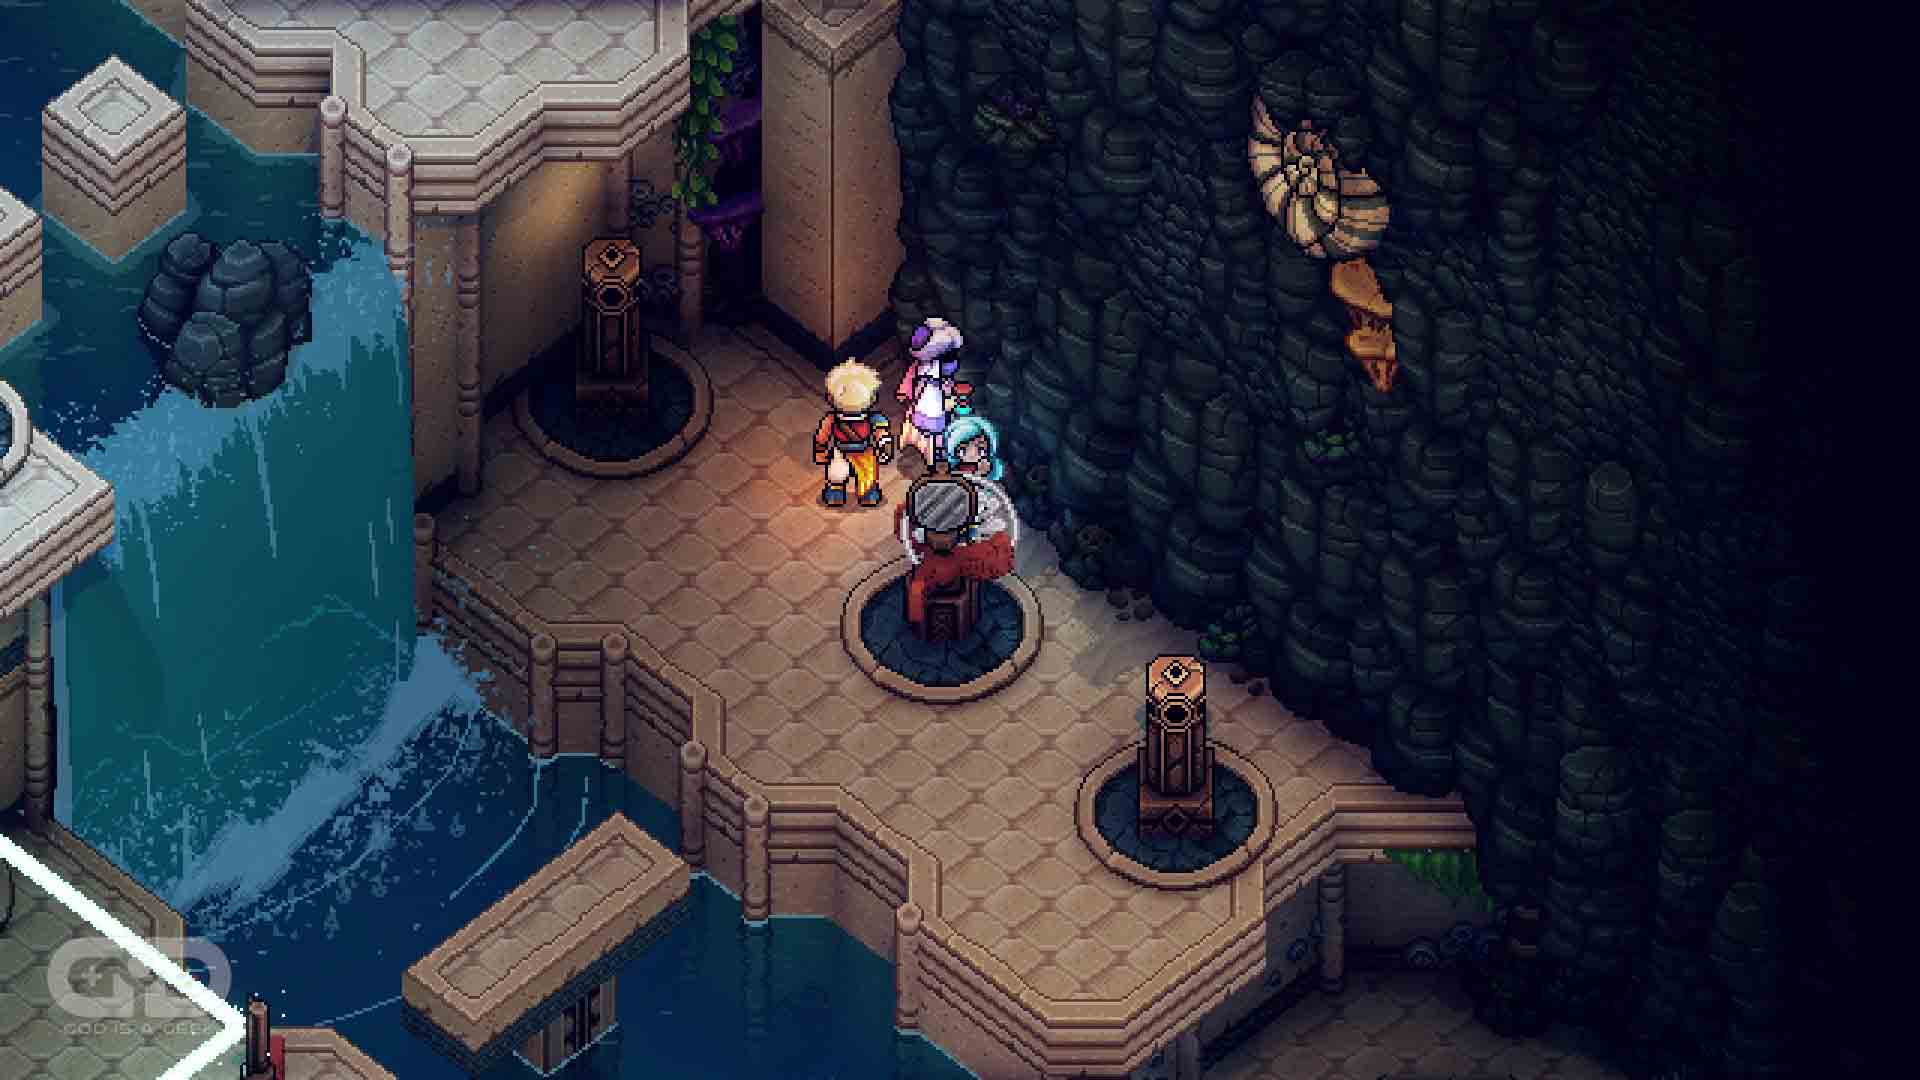
Strap in because this is a long one. This Rainbow Conch is tied behind Re’Shan’s end-game content and requires you to solve a variety of puzzles and beat a boss to obtain. Firstly, head to the floating isle above Sleeper Island to activate the light prisms in the water across the home world map.
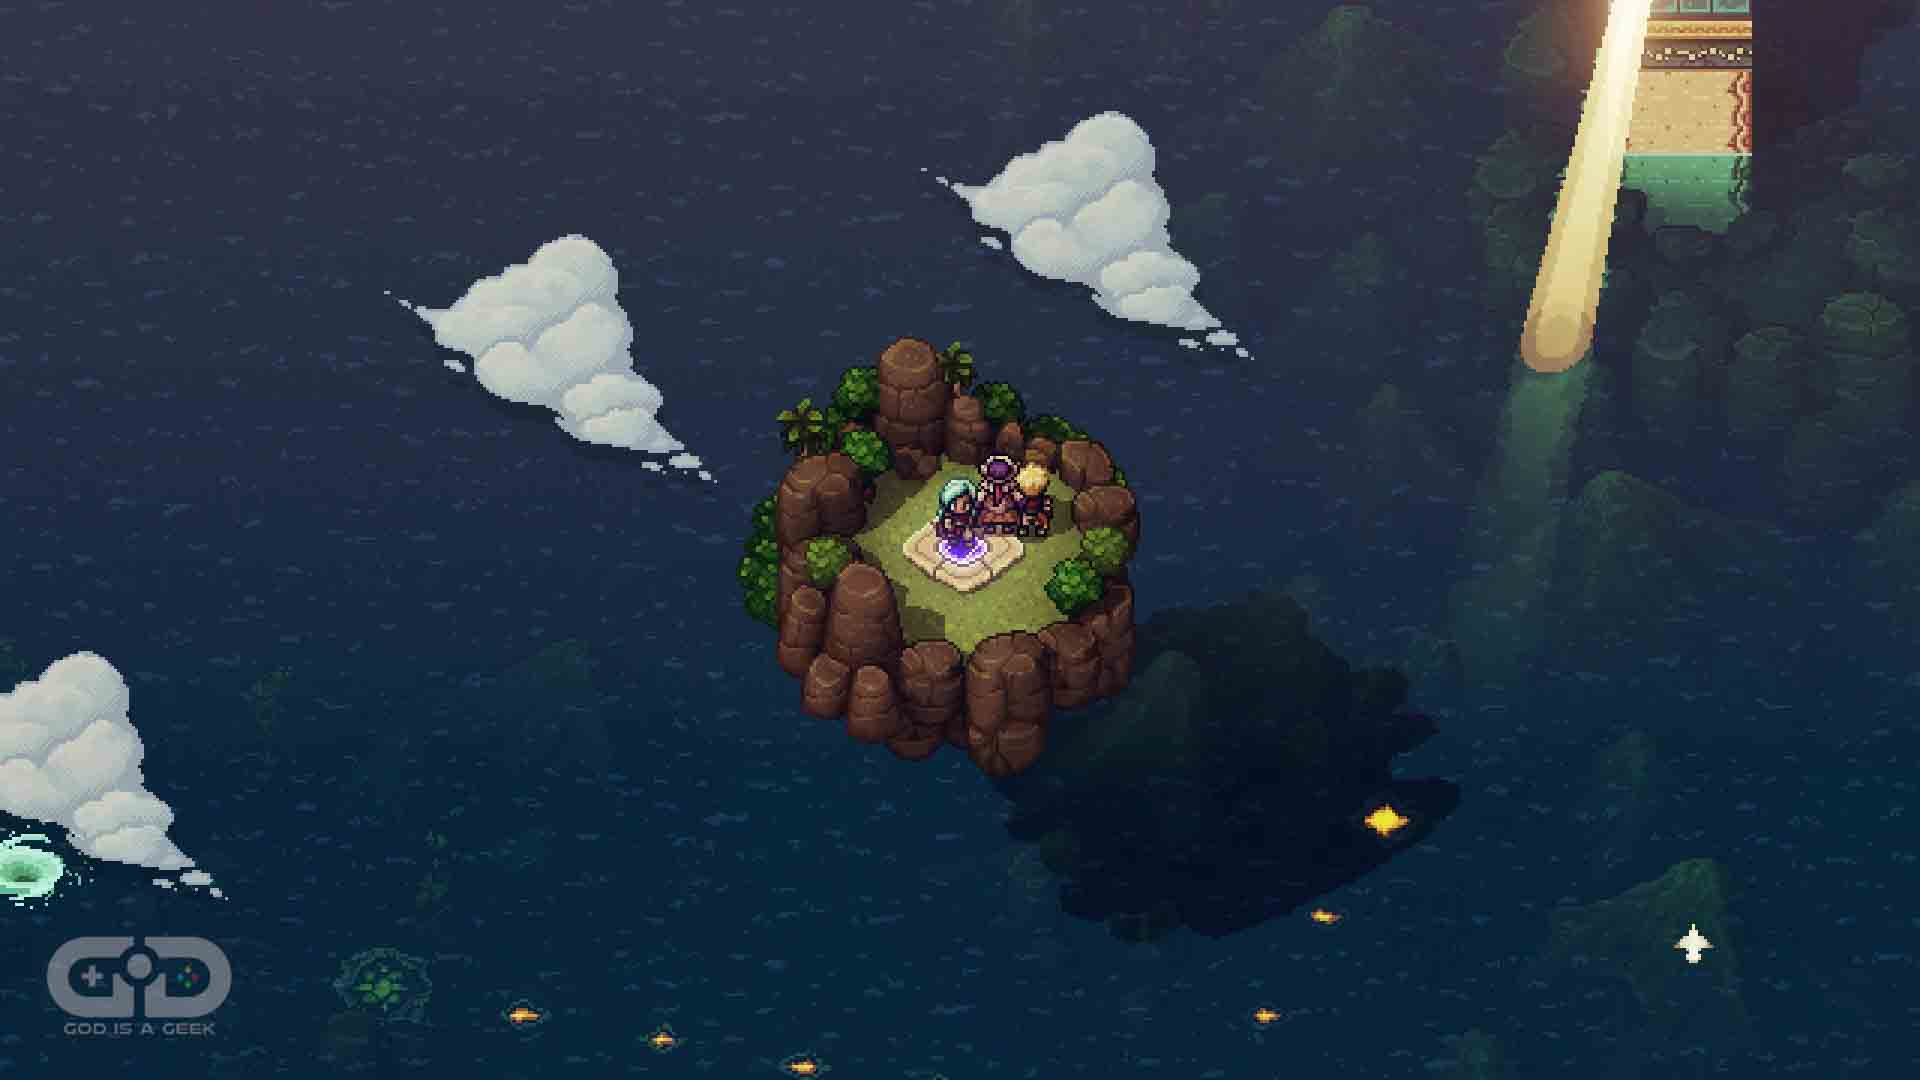
Then, you will want to guide the light from the prism to hit the panel and fill up the trail to make a whirlpool appear (you can see it on the left-hand side of the screen above.)
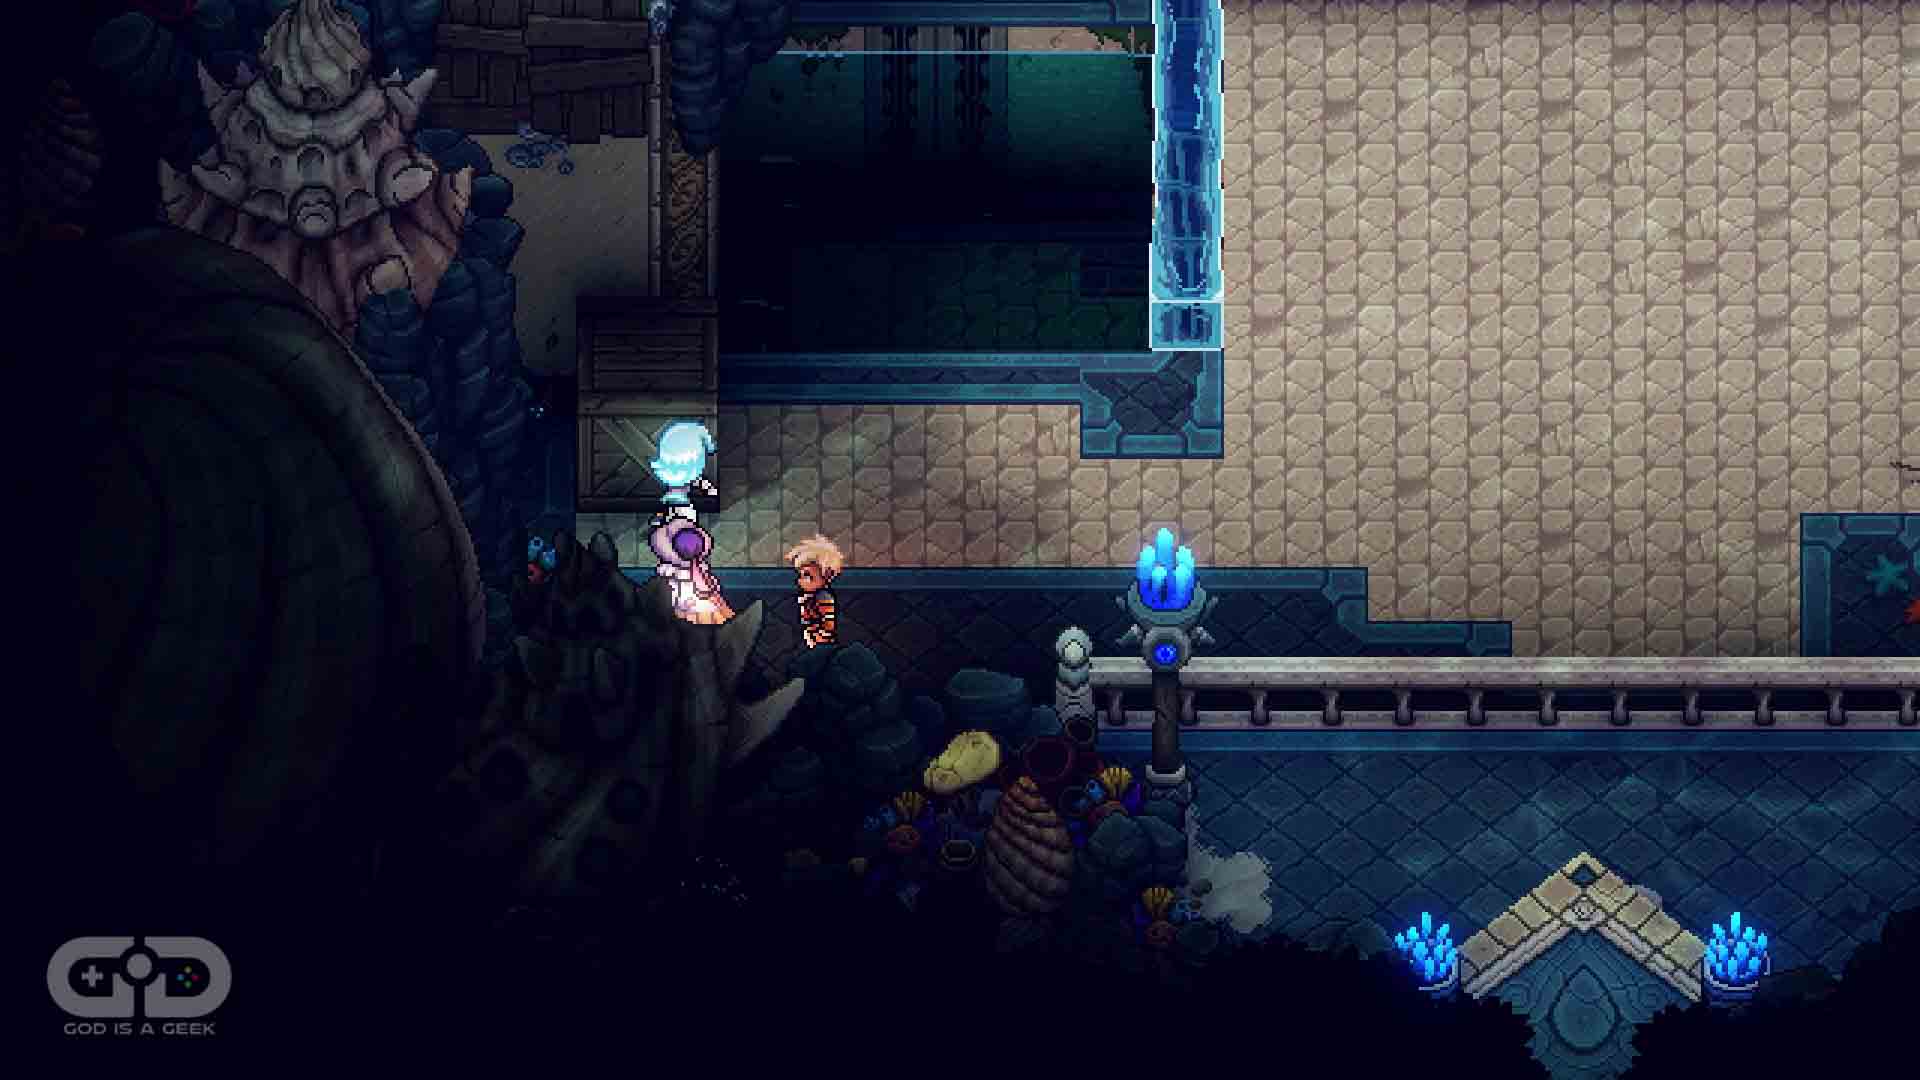
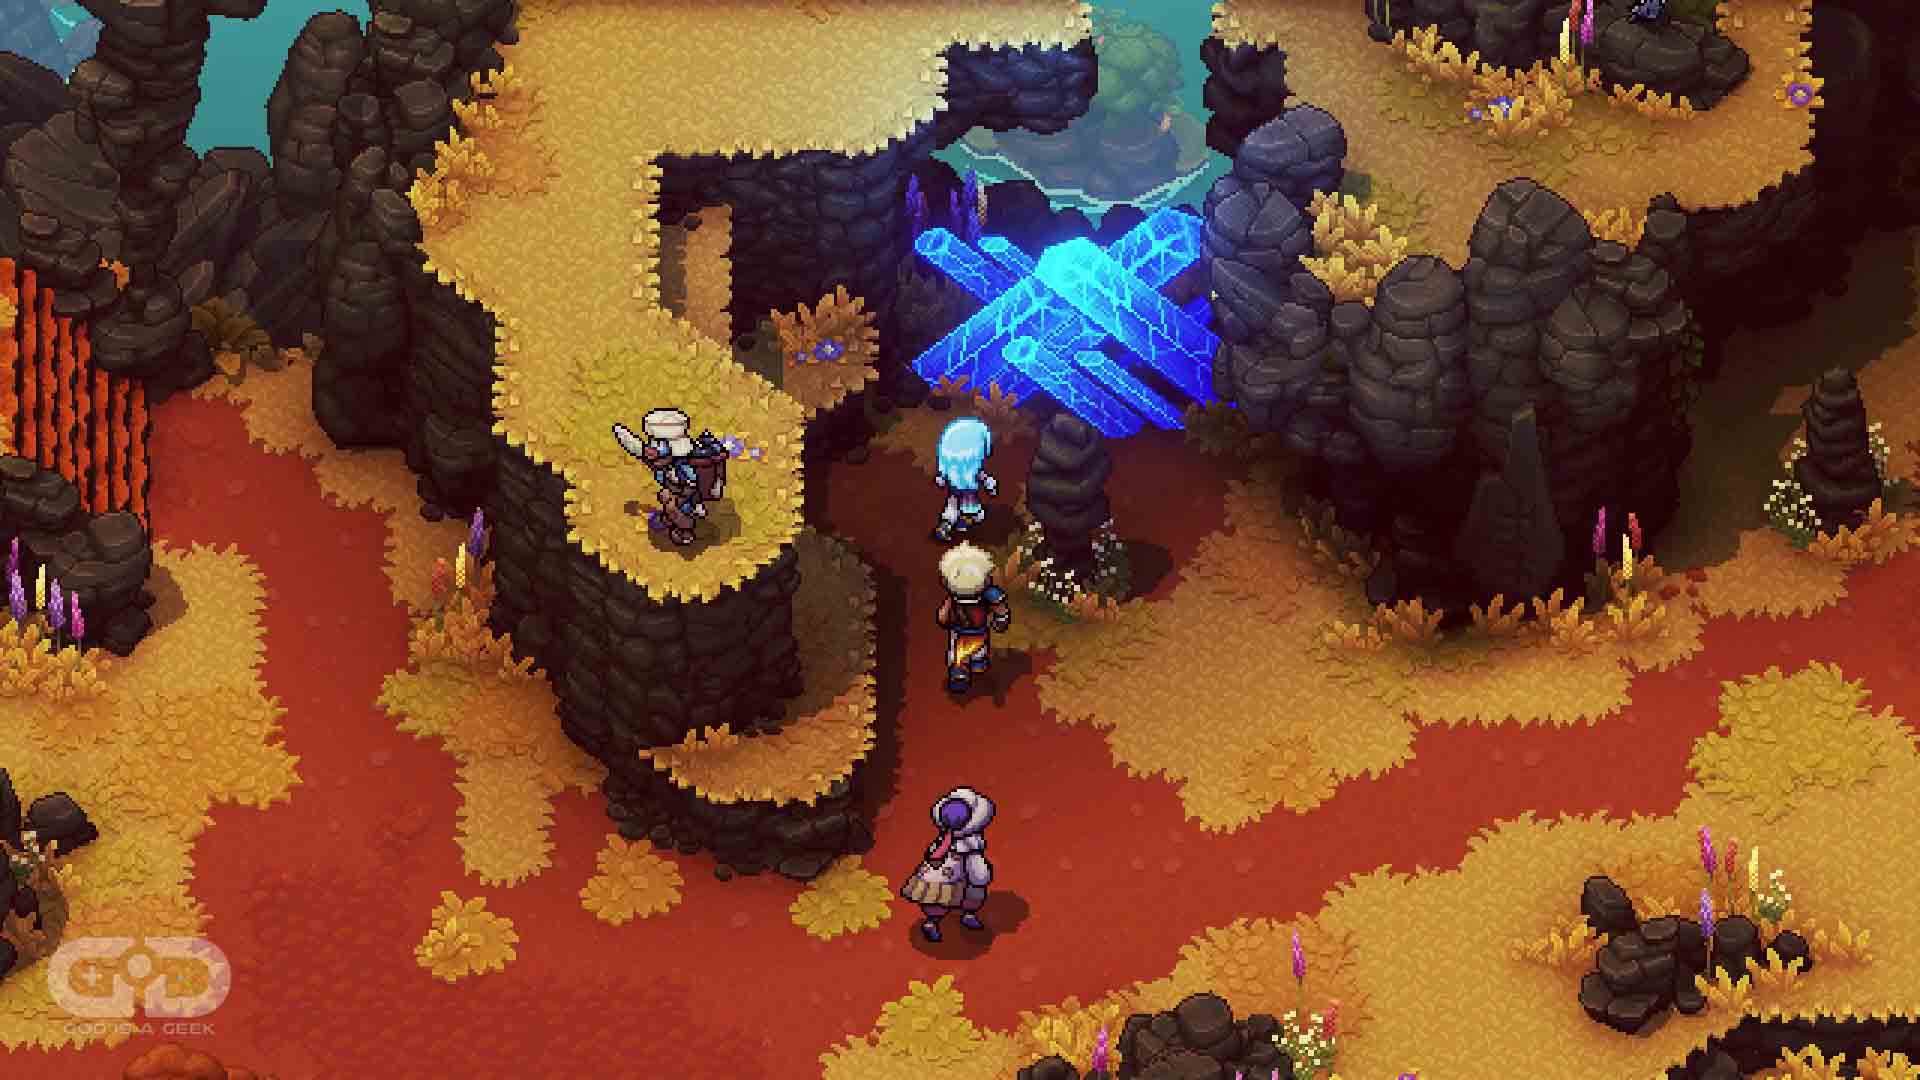
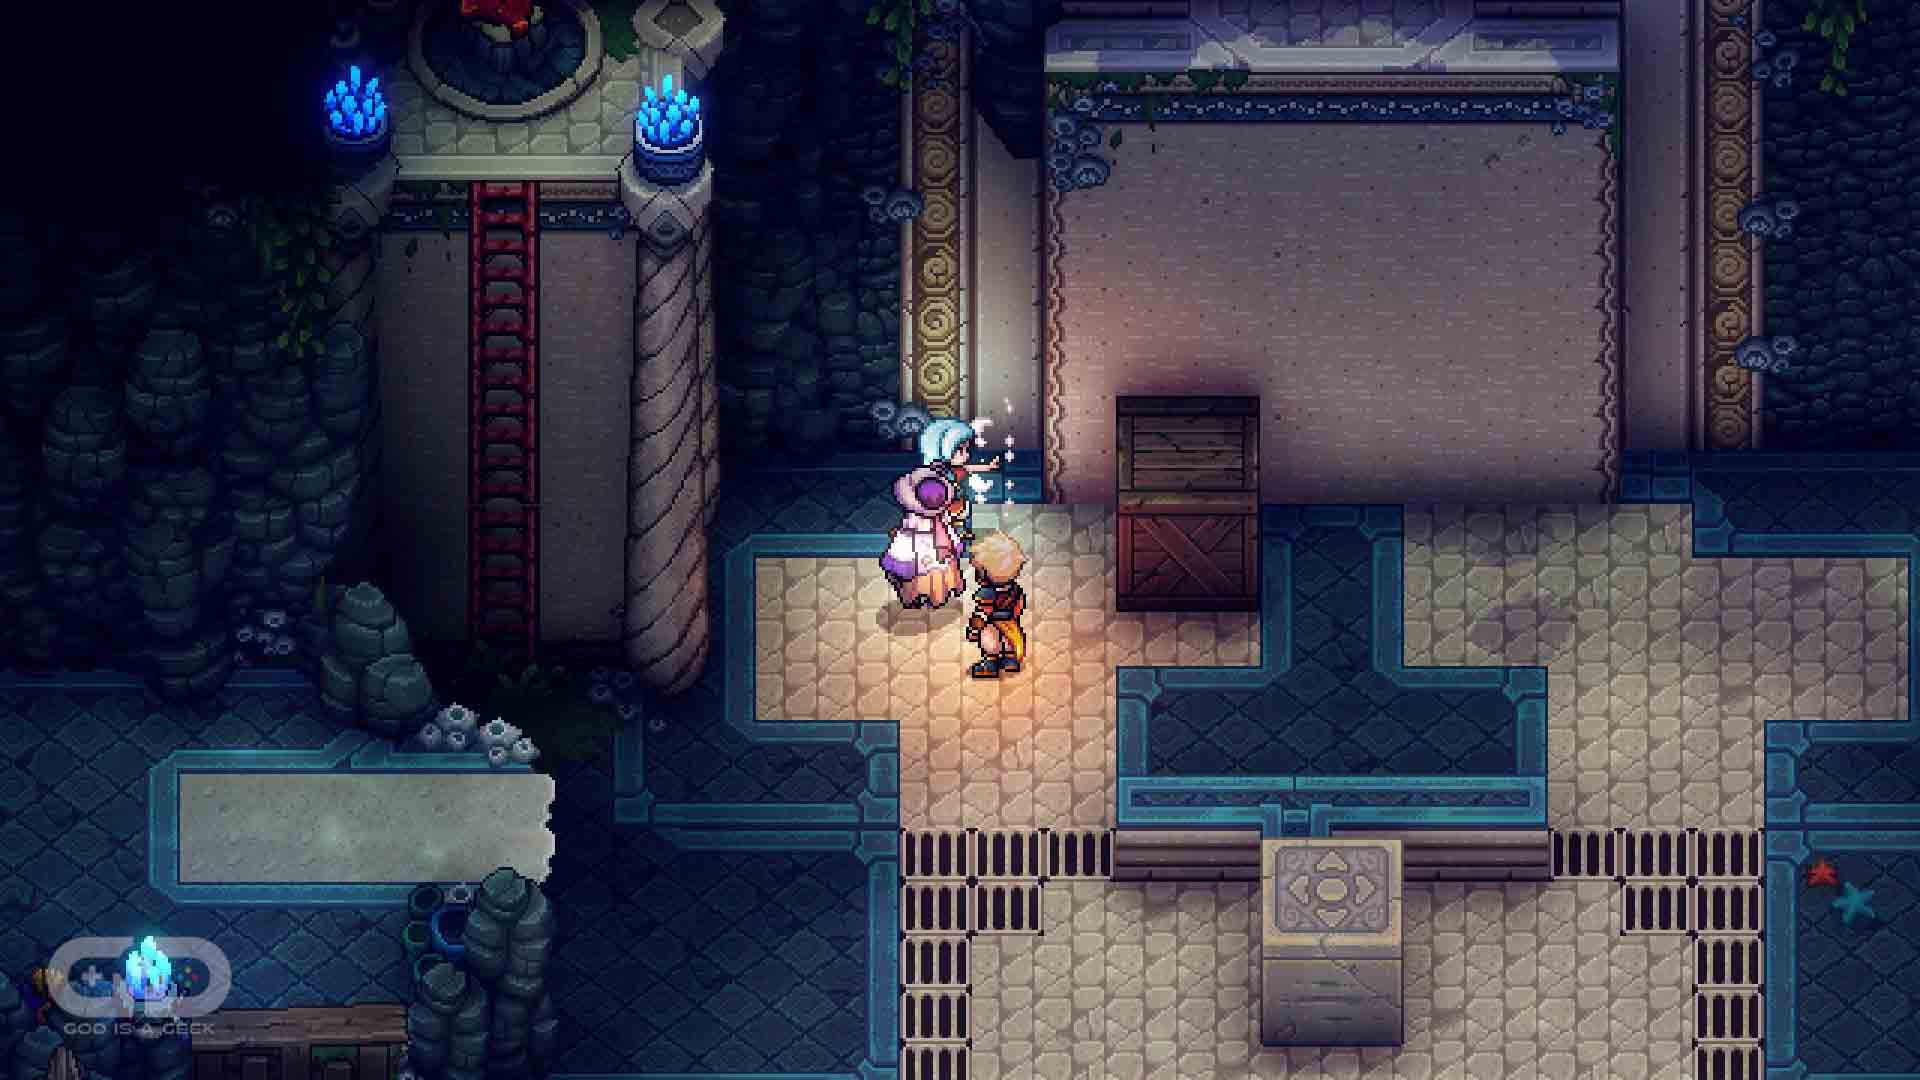
Head down the whirlpool to an underwater area dungeon. Here you use your Cobalt Hammer on the bell to open the way to the puzzle proper. You’ll see a wooden crate that you can move using your Mistral Bracelet. Move it to the place shown in the image above.
 Then head on over to the far left platform to turn the valve to raise the water level. Return back to the crate and climb on top of it and up onto the left ledge. From here use your Mistral Bracelet to blow the stone box off the edge.
 Now drain the water back down using the valve and push the wooden crate onto the central button. This will raise the side platforms, giving you access to the stone box again.
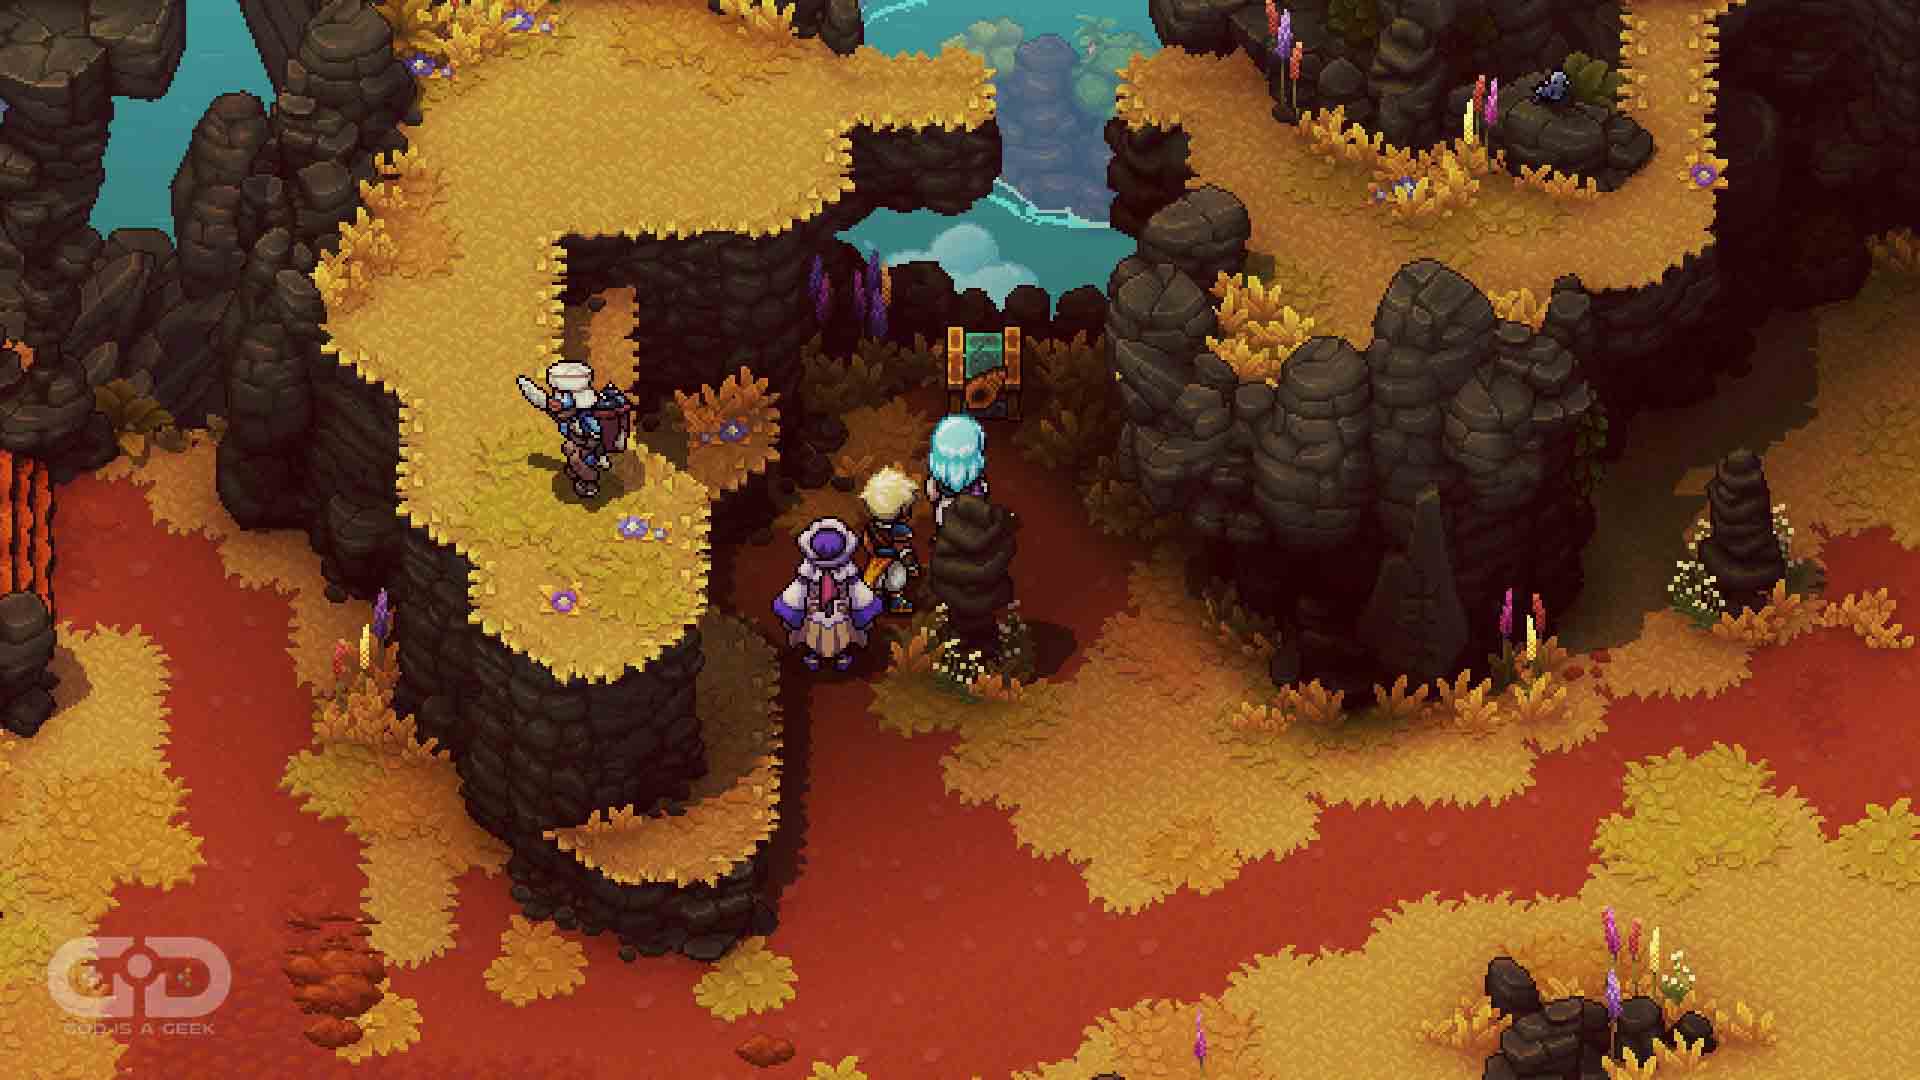
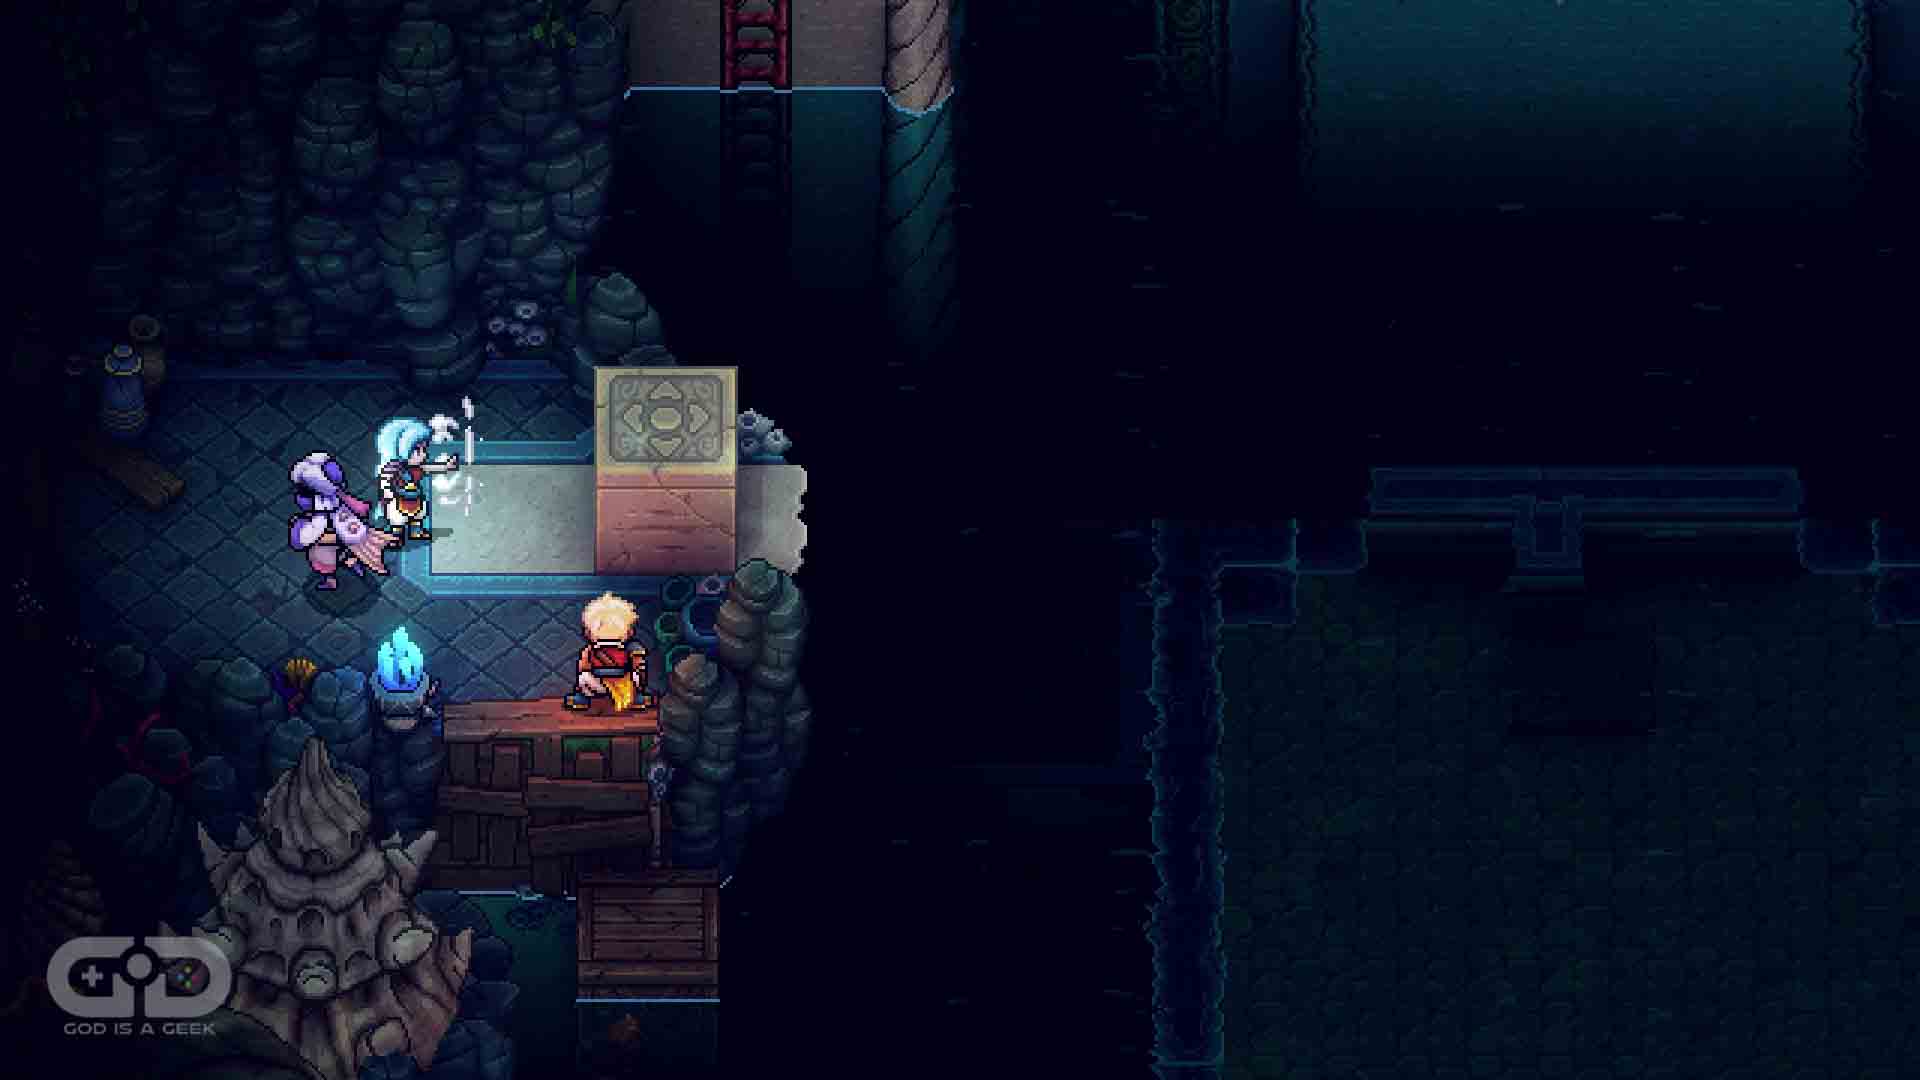
 Bring the stone box into play and have it rest on the central button instead. Then blow the wooden crate to the place in the image shown above.
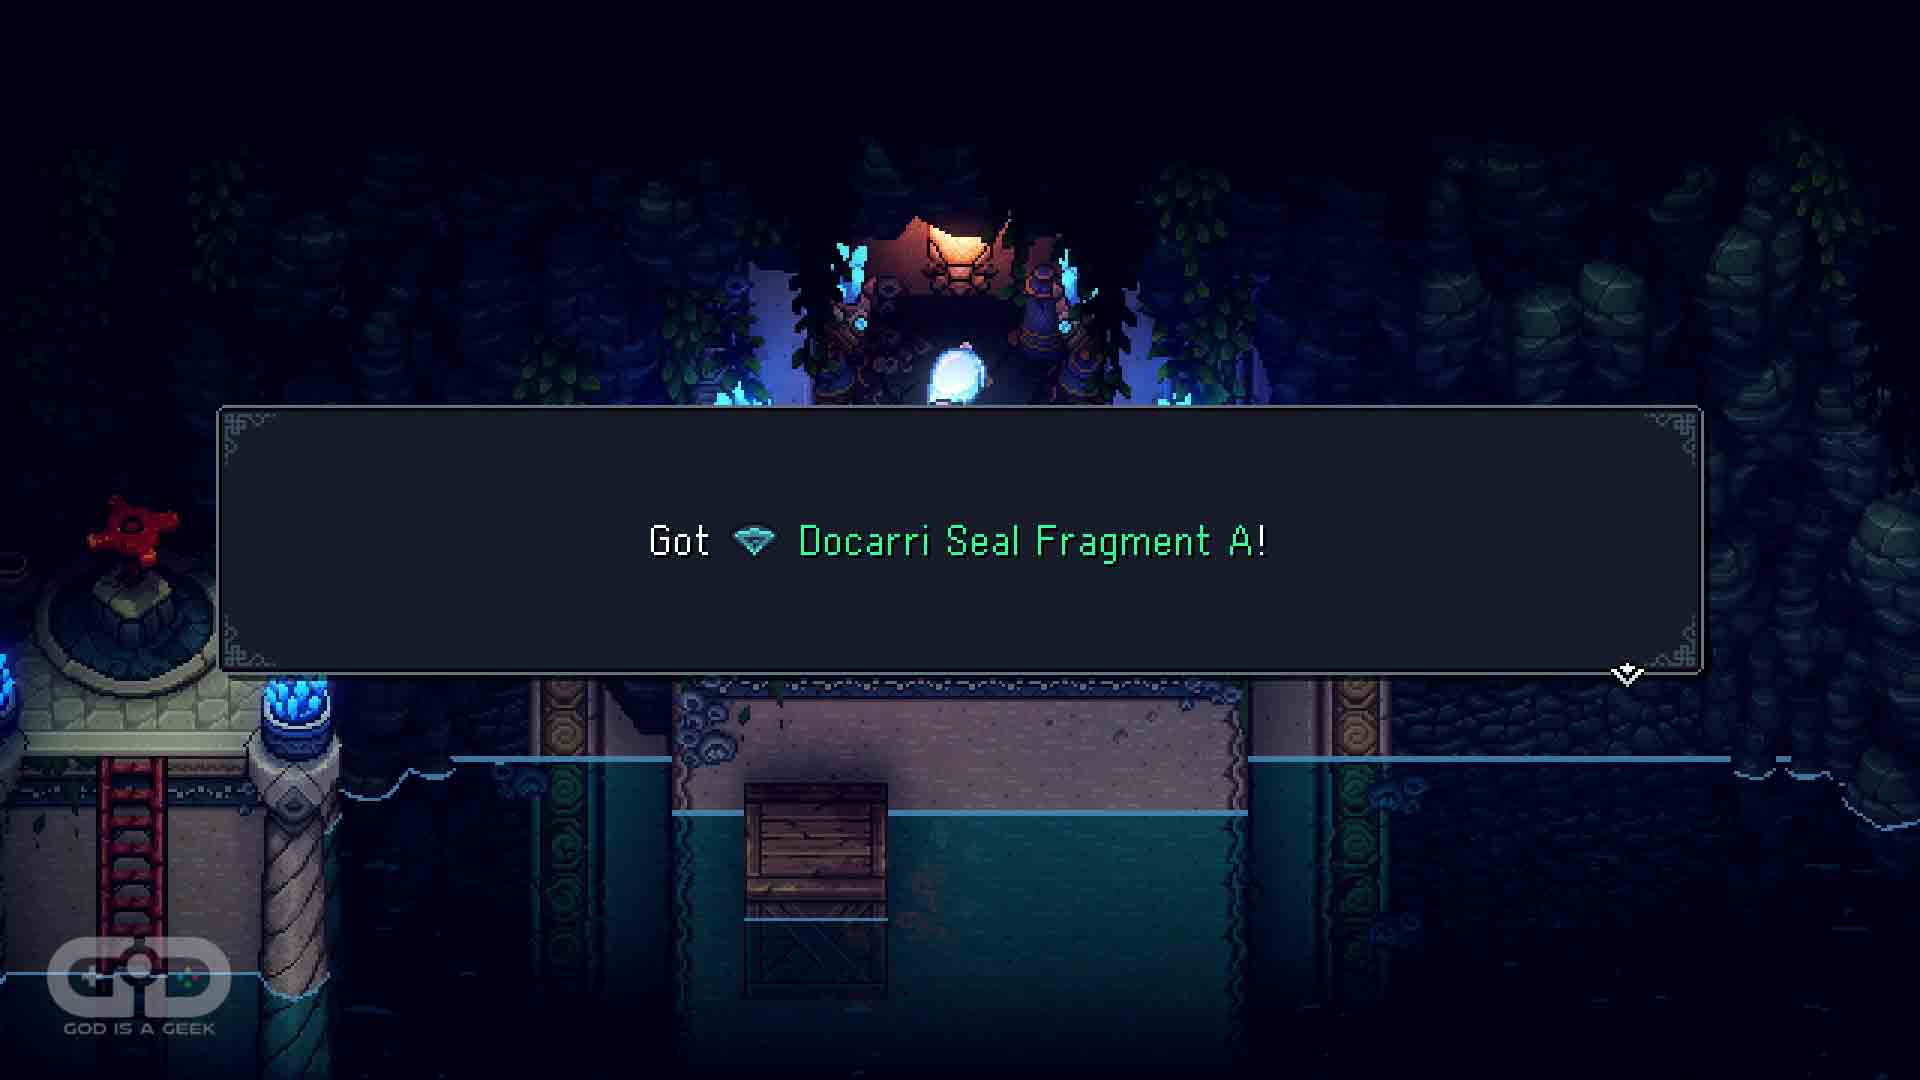 Now turn the valve a final time to raise the water, climb up onto the wooden crate, and then onto the the far ledge to get the Docarri Seal Fragment A. Now we just need B and C.
 Now head outside to the next prism pillar, and rotate the beam as before. Follow the trail to reach the whirlpool. Again dive down and head to the puzzle cave inside.
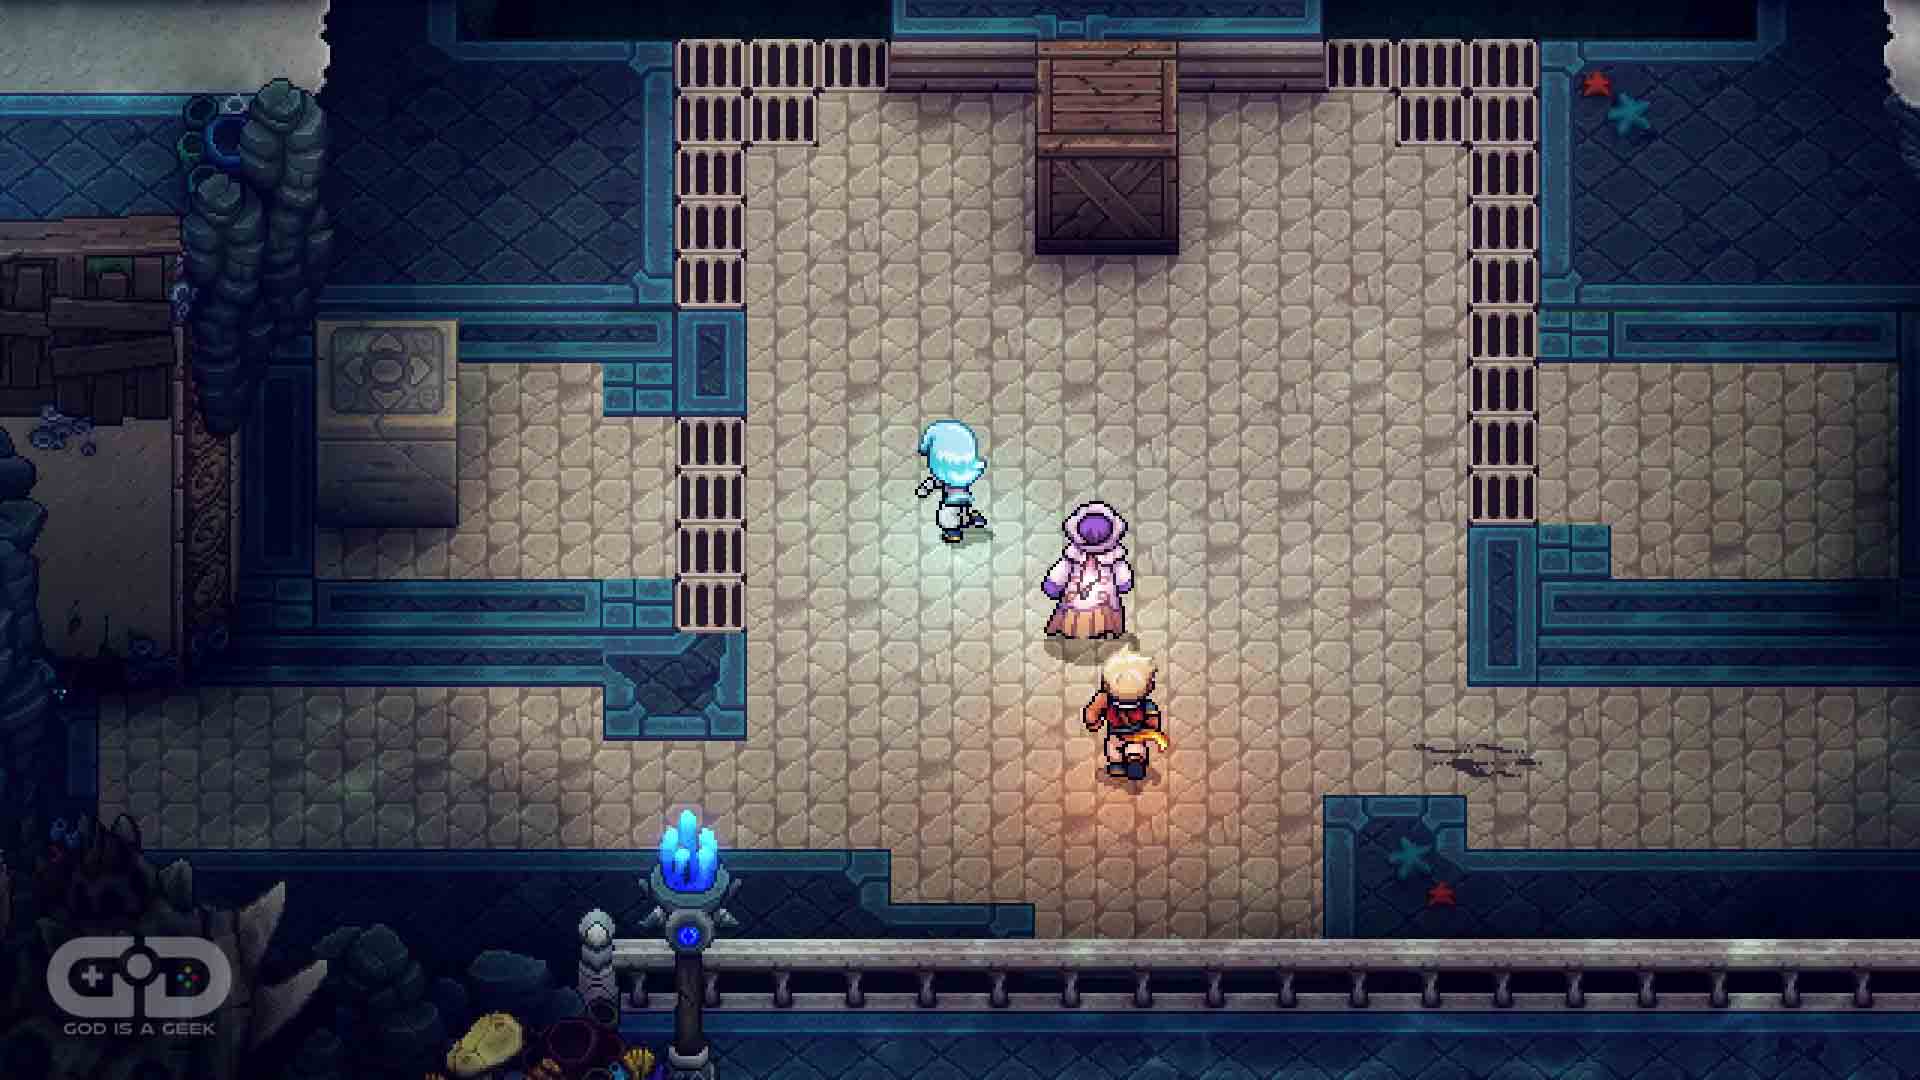
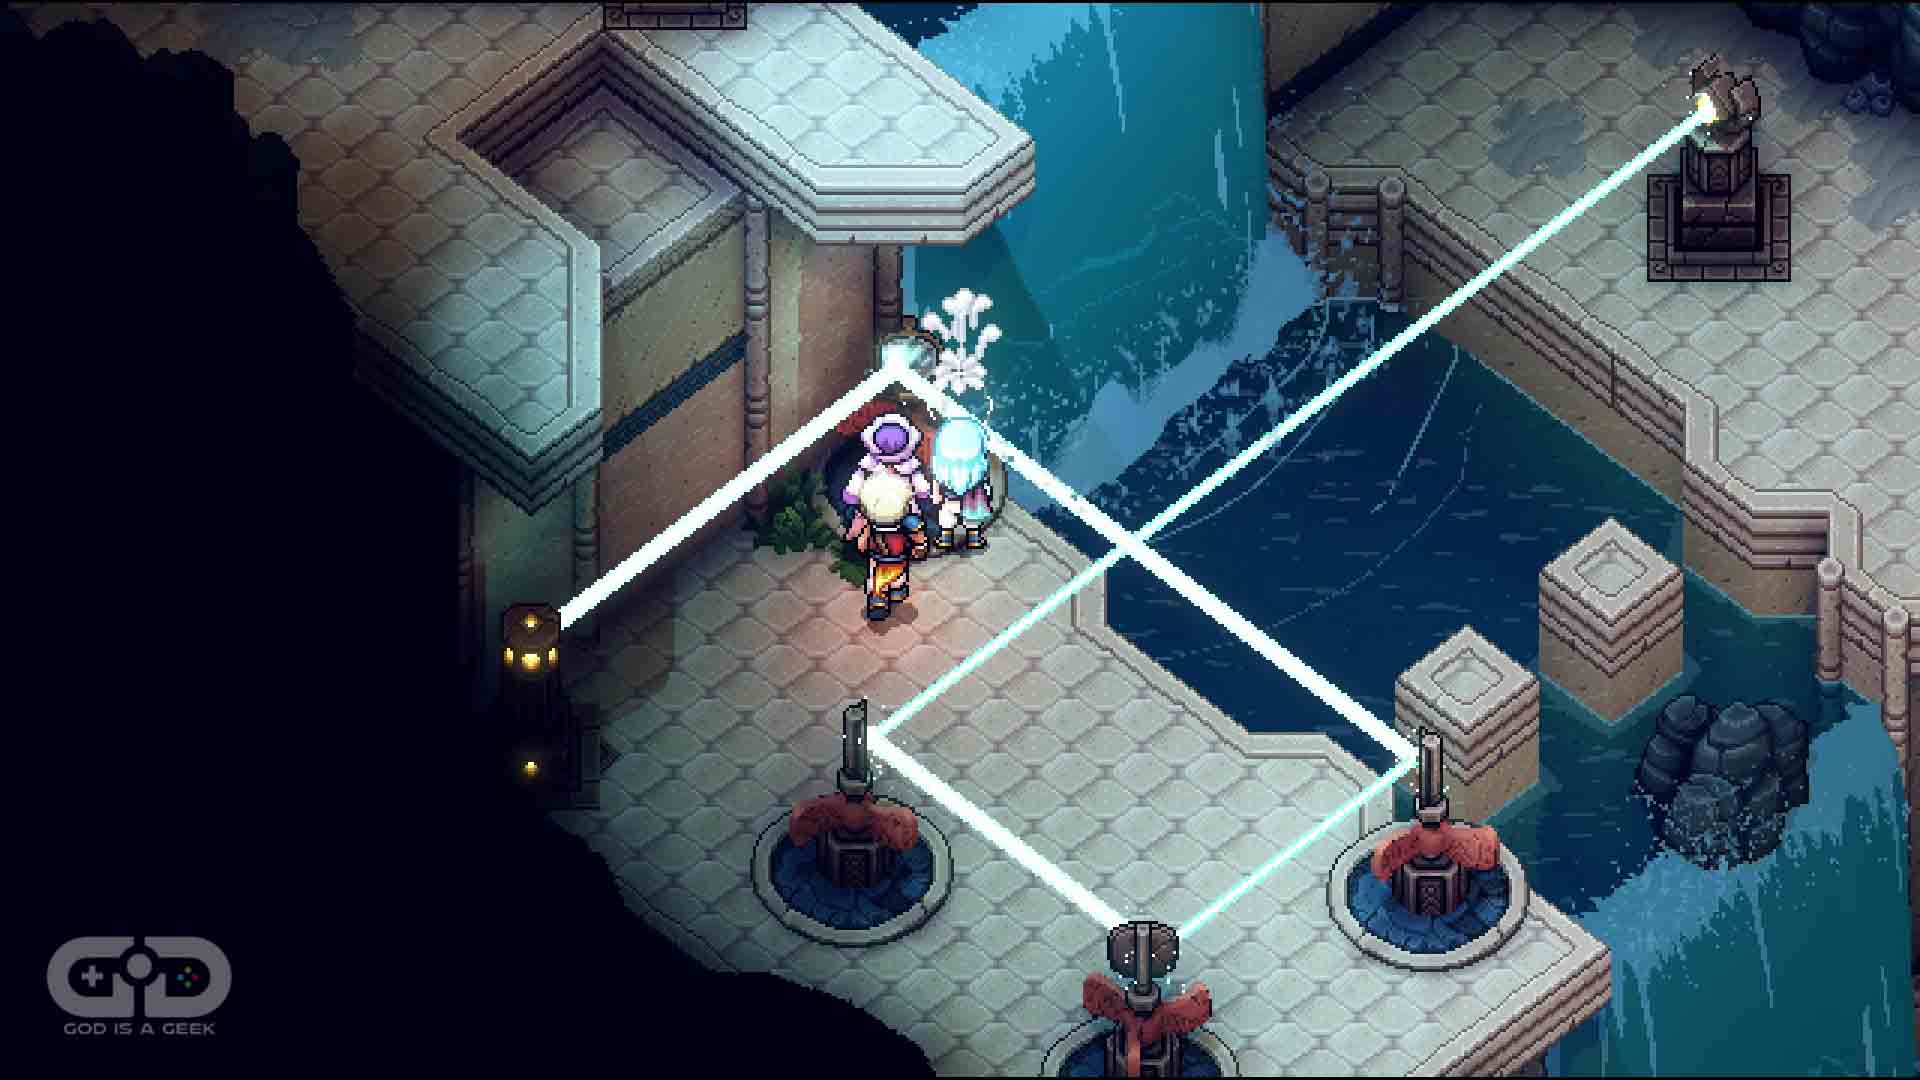
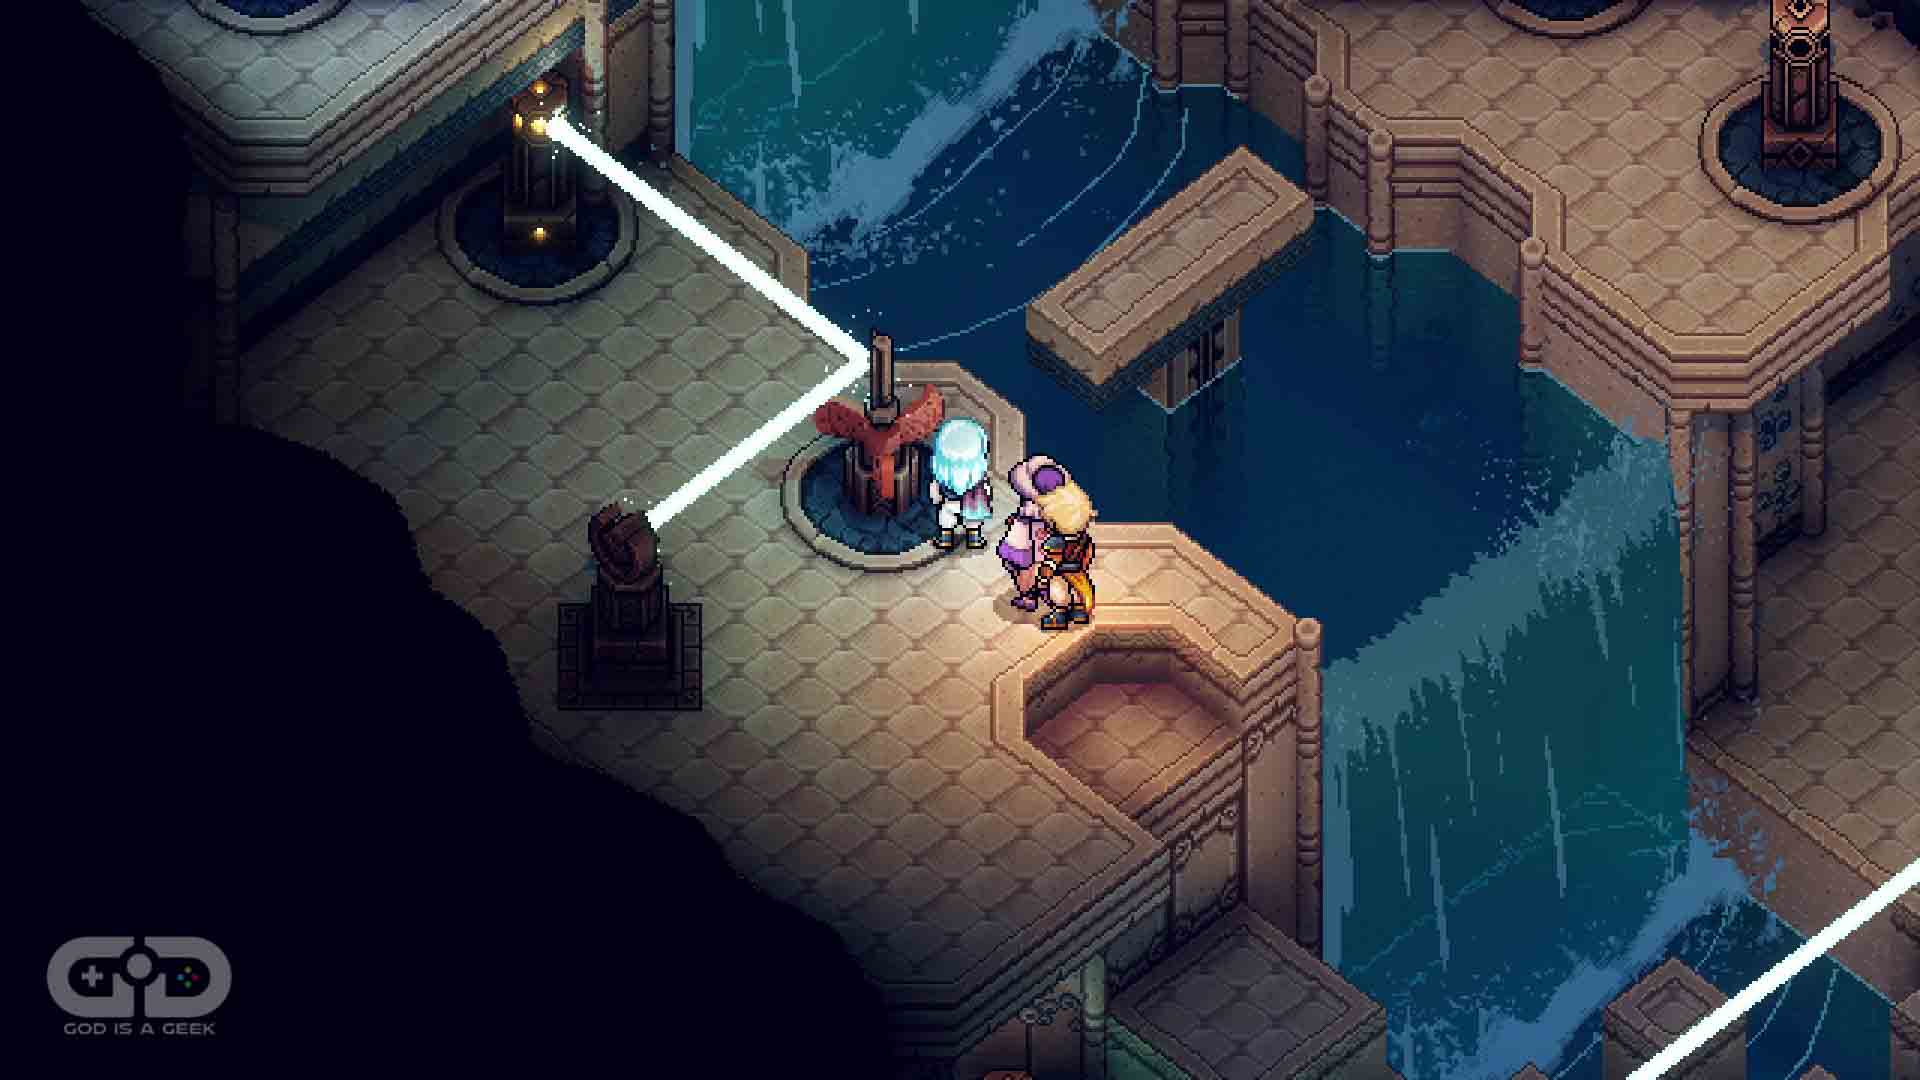 We’ll be rotating mirrors to channel lasers in their room. Use the wind vane to rotate the mirror so it’s facing away from the screen. Then jump over to the other side to press the switch and laser should reflect across the water and unlock a step to the next area. Once up here we need to move the next mirror in the direction shown above to cause a platform across the water to appear.
 Then we need to rotate the mirror on the far side so it is facing the screen completely. Then hop back over the water, and move the first mirror so it is no longer deflecting the laser. and instead hits the mirror on the far side. This raises a Graplou point in the water. Use it so we can leave the mirror on this side untouched but still get across. Now this time rotate the mirror above so that it deflects to the point on its left. This will lower a platform allowing us to climb up to the next level.
 Hop over to the far side and arrange the four mirrors in the way shown on the screen. This will deflect the laser properly, and open up the final level of the area.
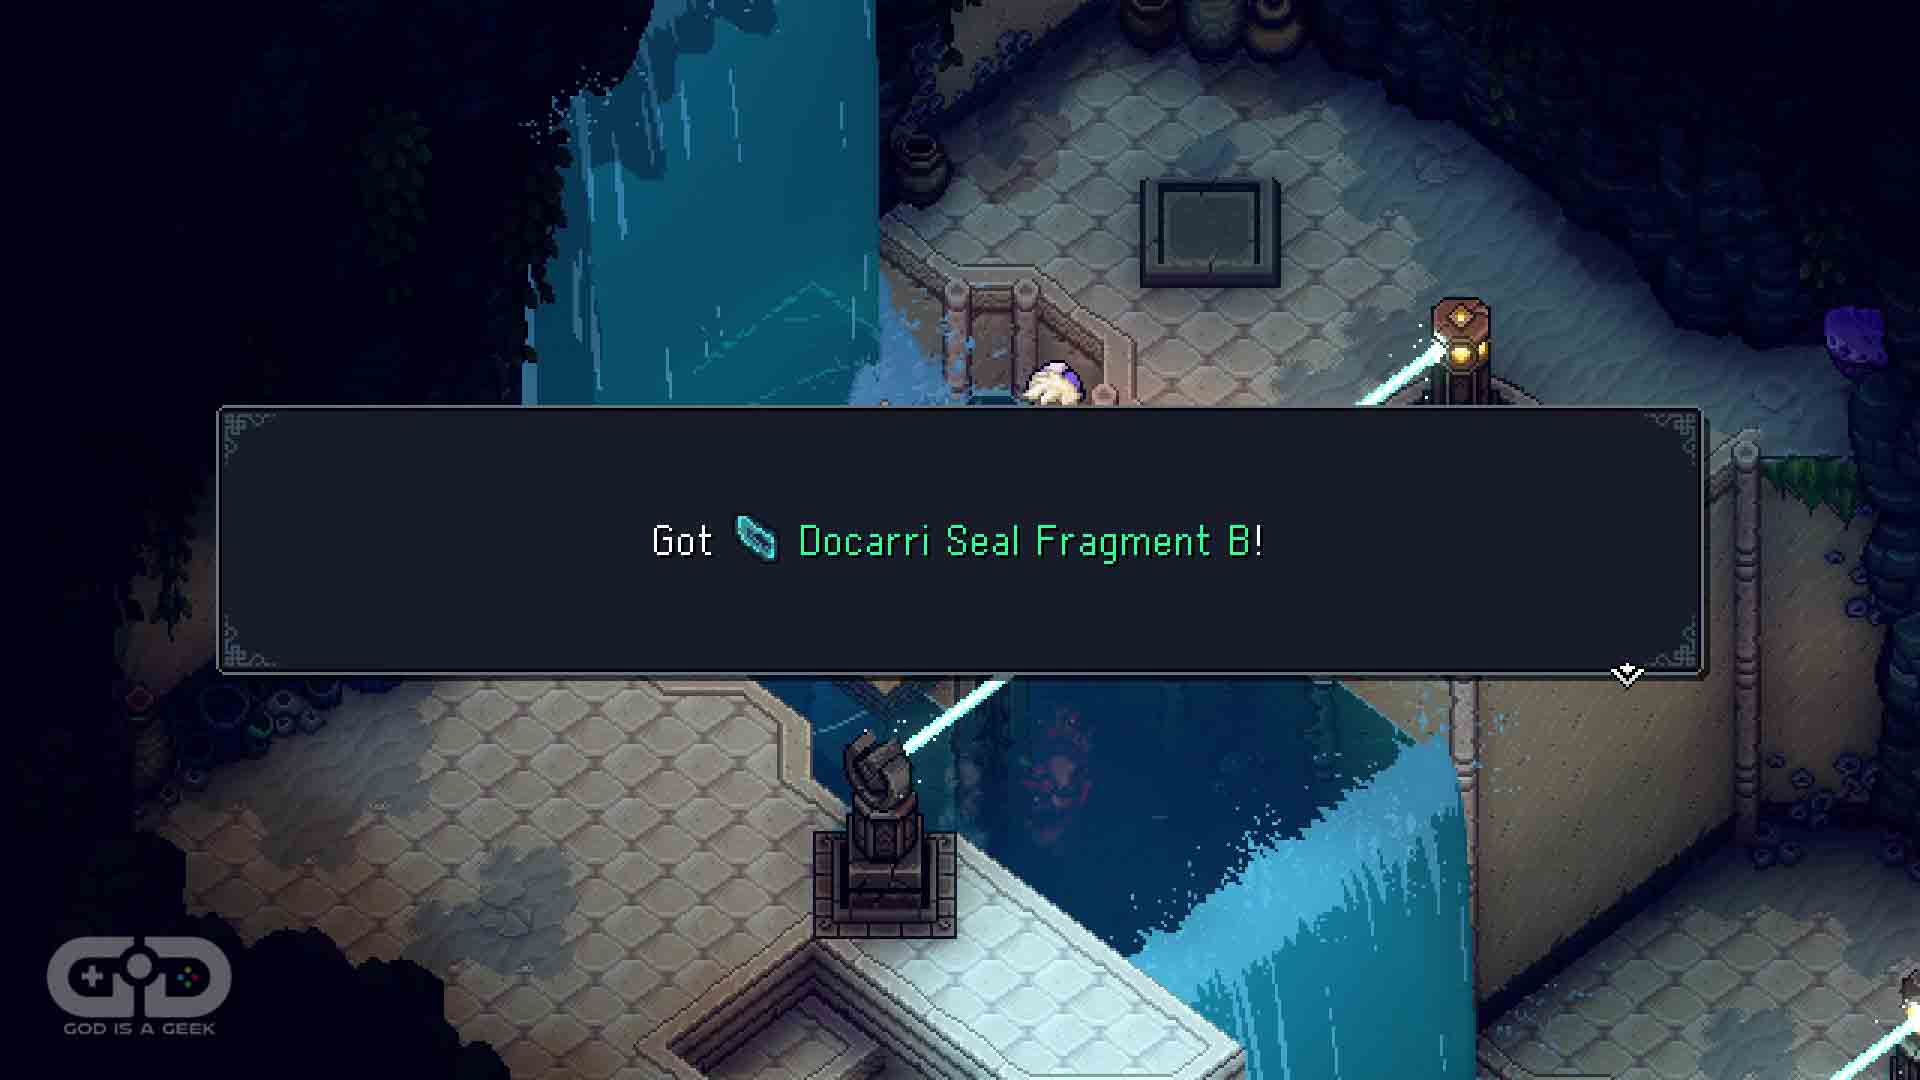 Jump over the water, to the switch to reveal the Docarri Seal Fragment B. Pick it up.
 Now for the final time, rotate the third pillar prism and follow the trail to the final whirlpool puzzle. As before use your Cobalt Hammer to enter the puzzle room proper.
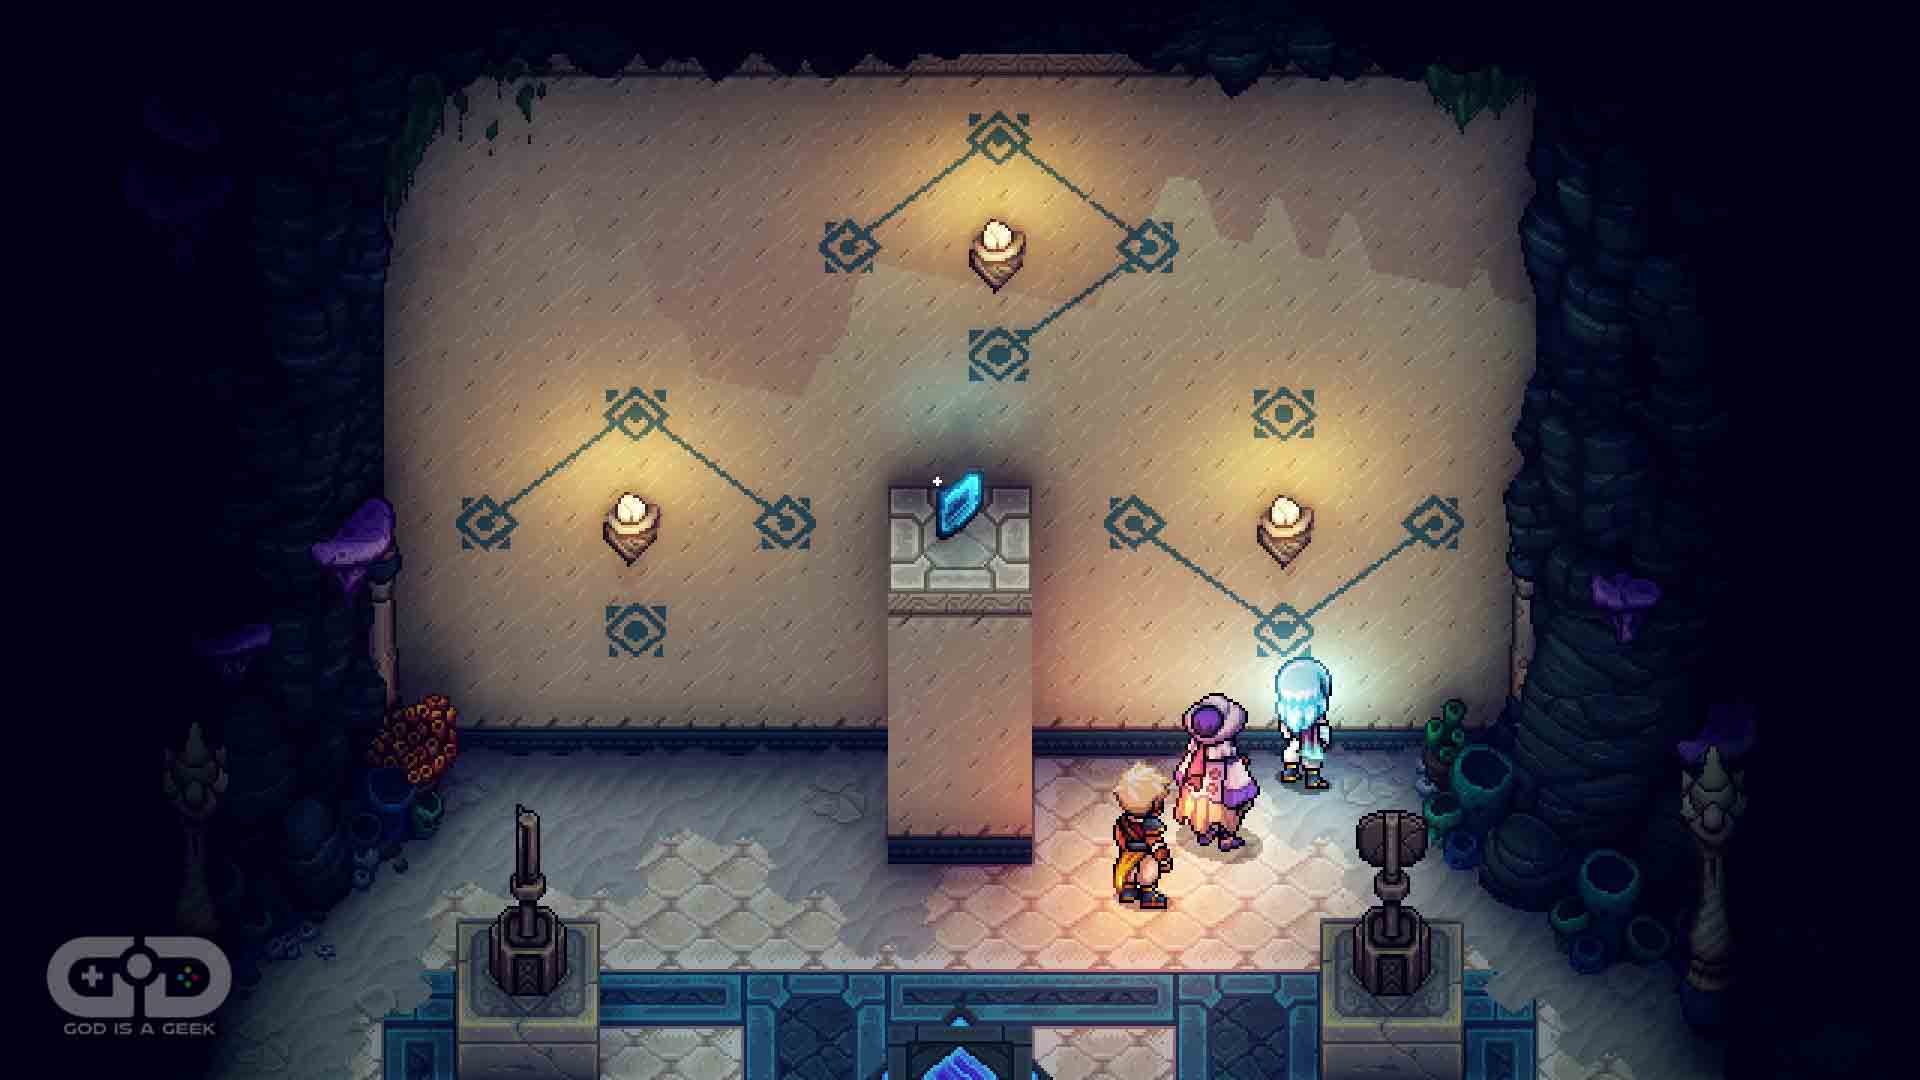 At the far end of this wall we are shown three different laser lines we have to replicate using the board in front of us. Study it to understand how you need to organise the pieces. Use the Mistral Bracelet to move pieces around and then stand on the button to turn on the laser. Do each one correctly (in any order) to receive your prize.
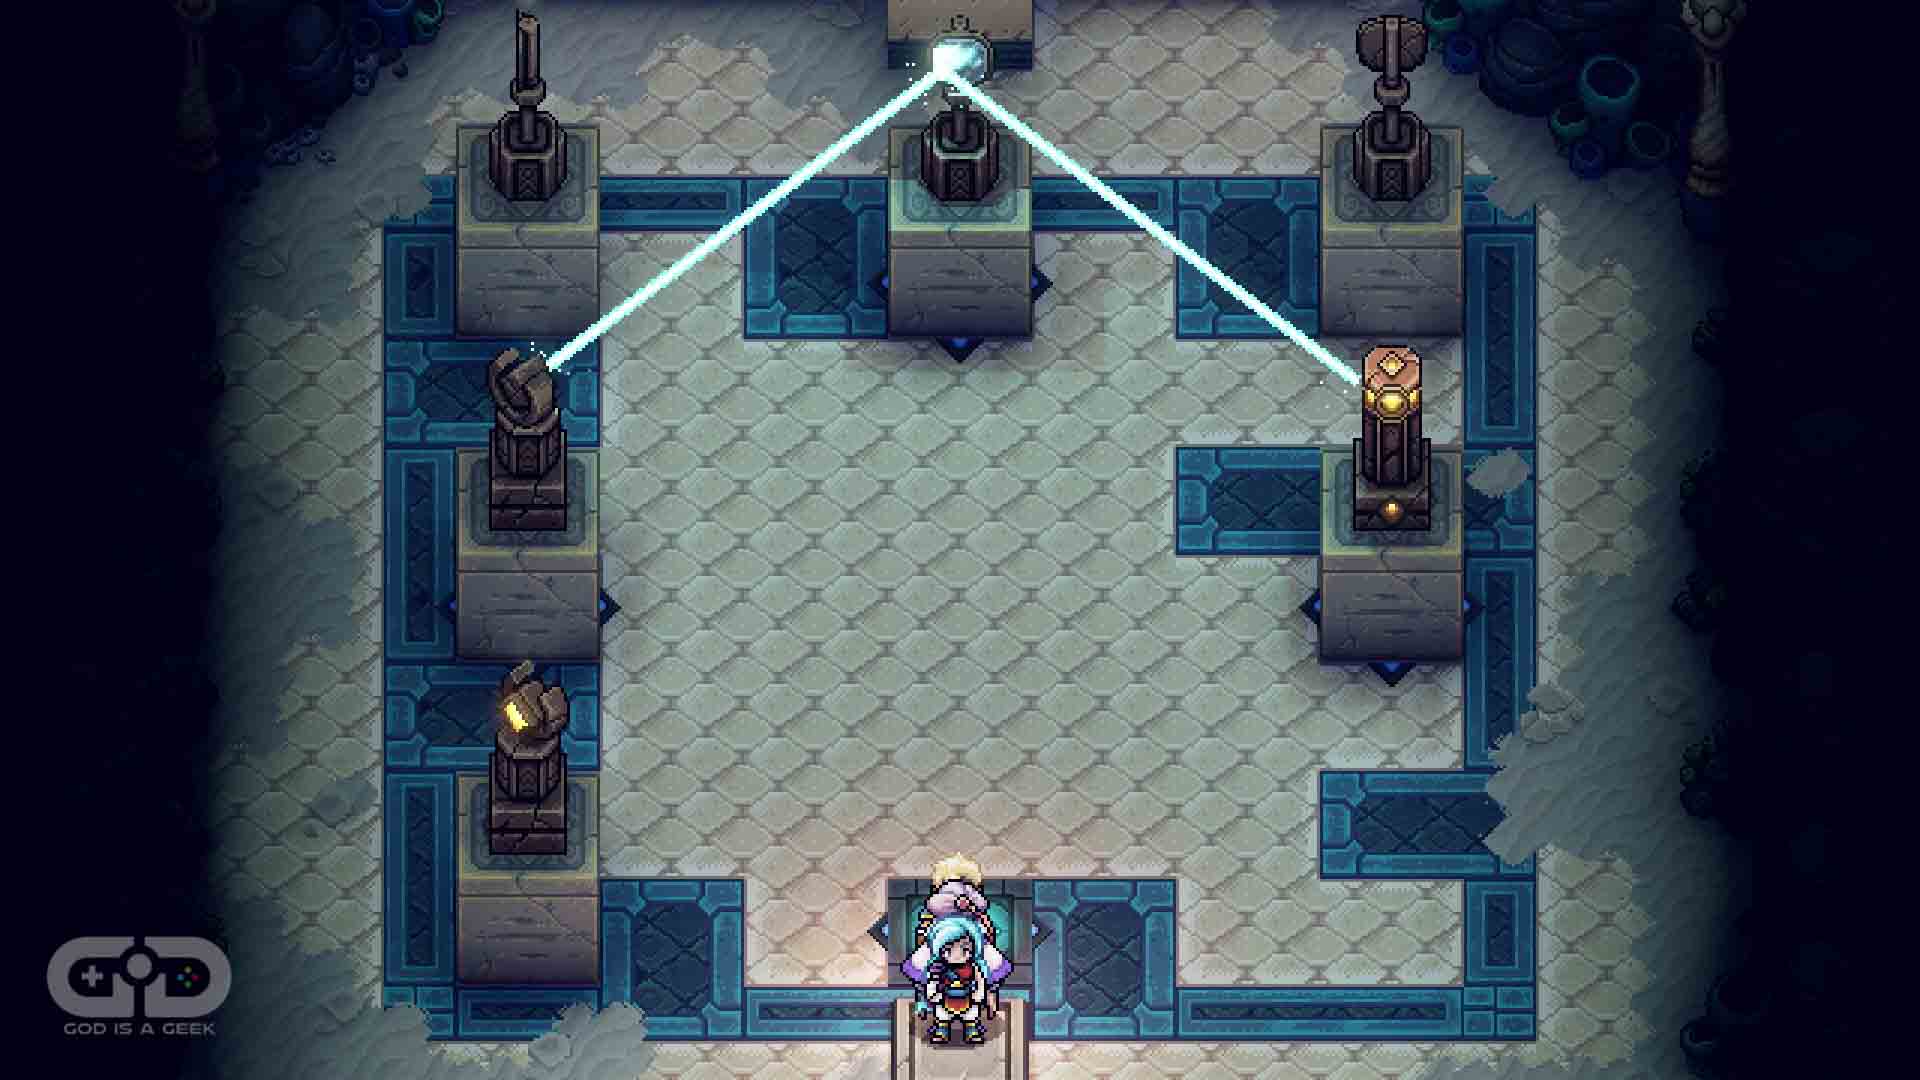
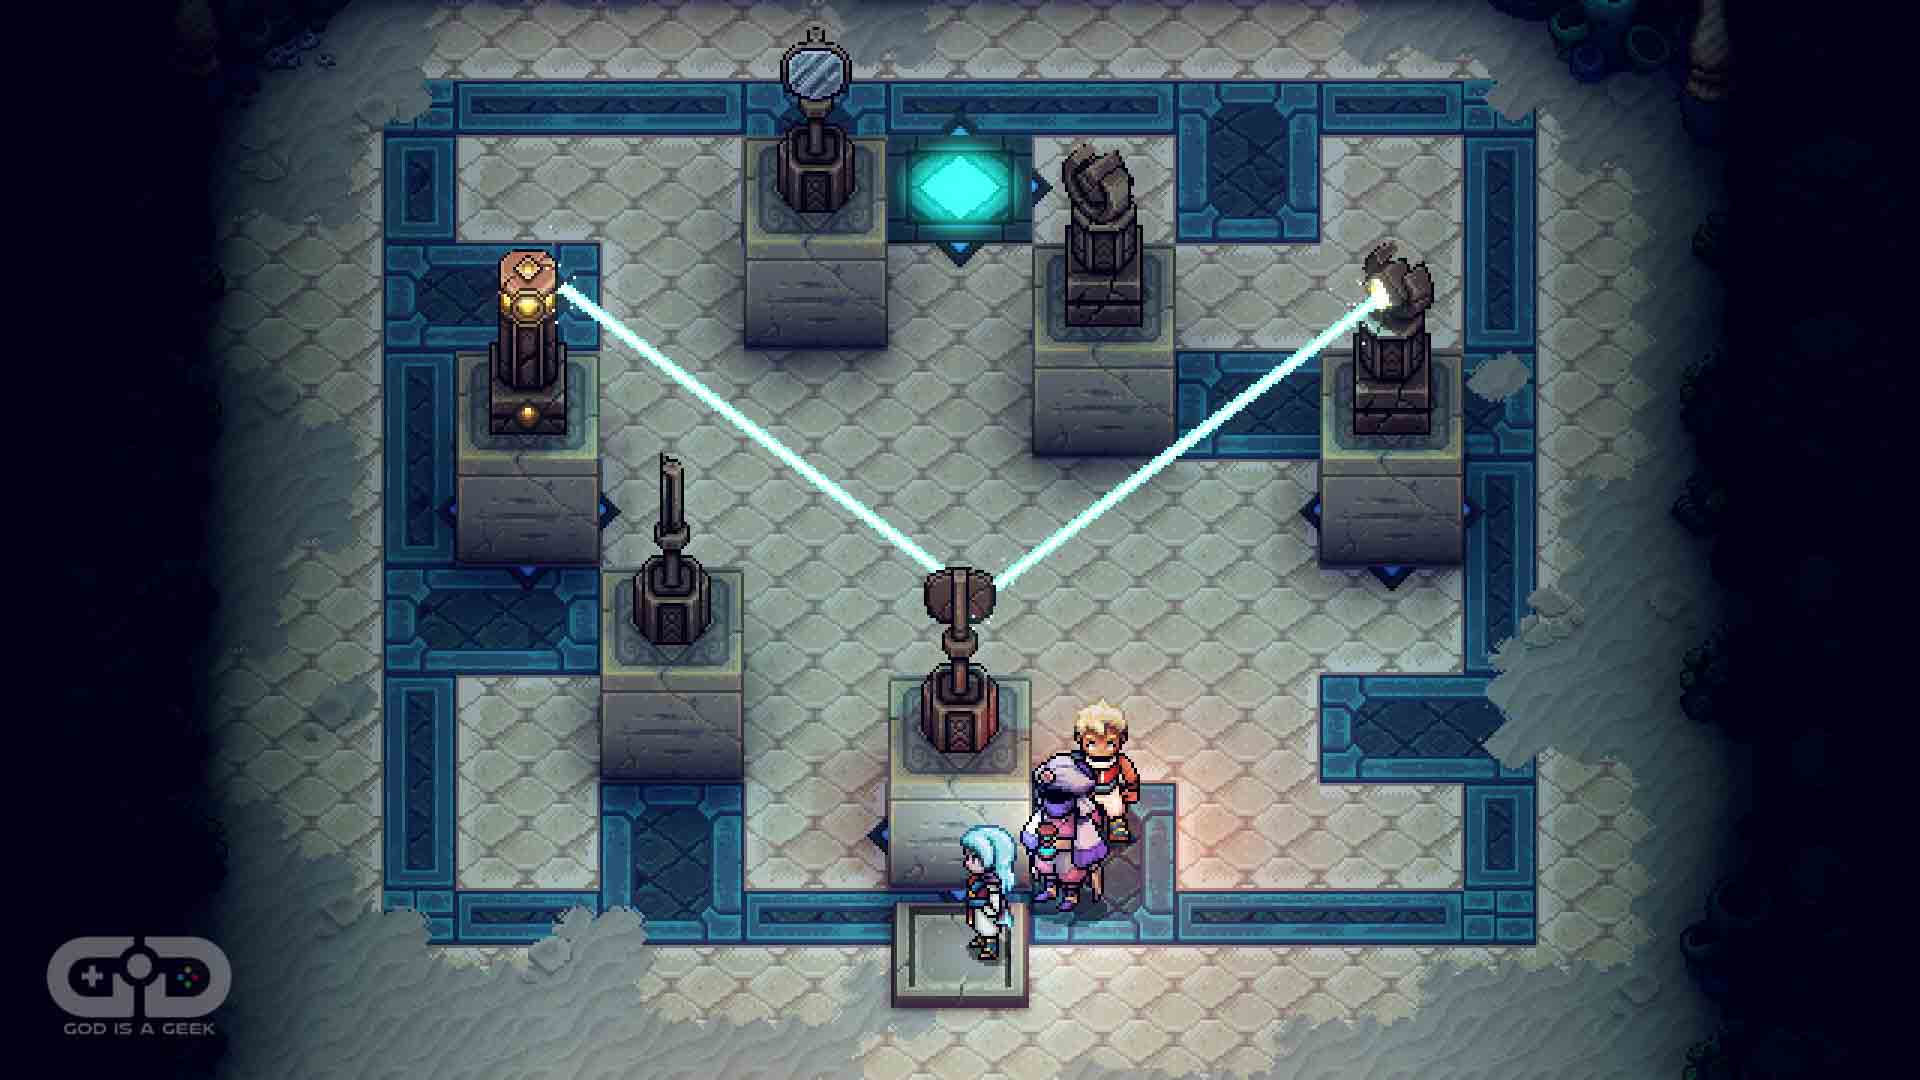
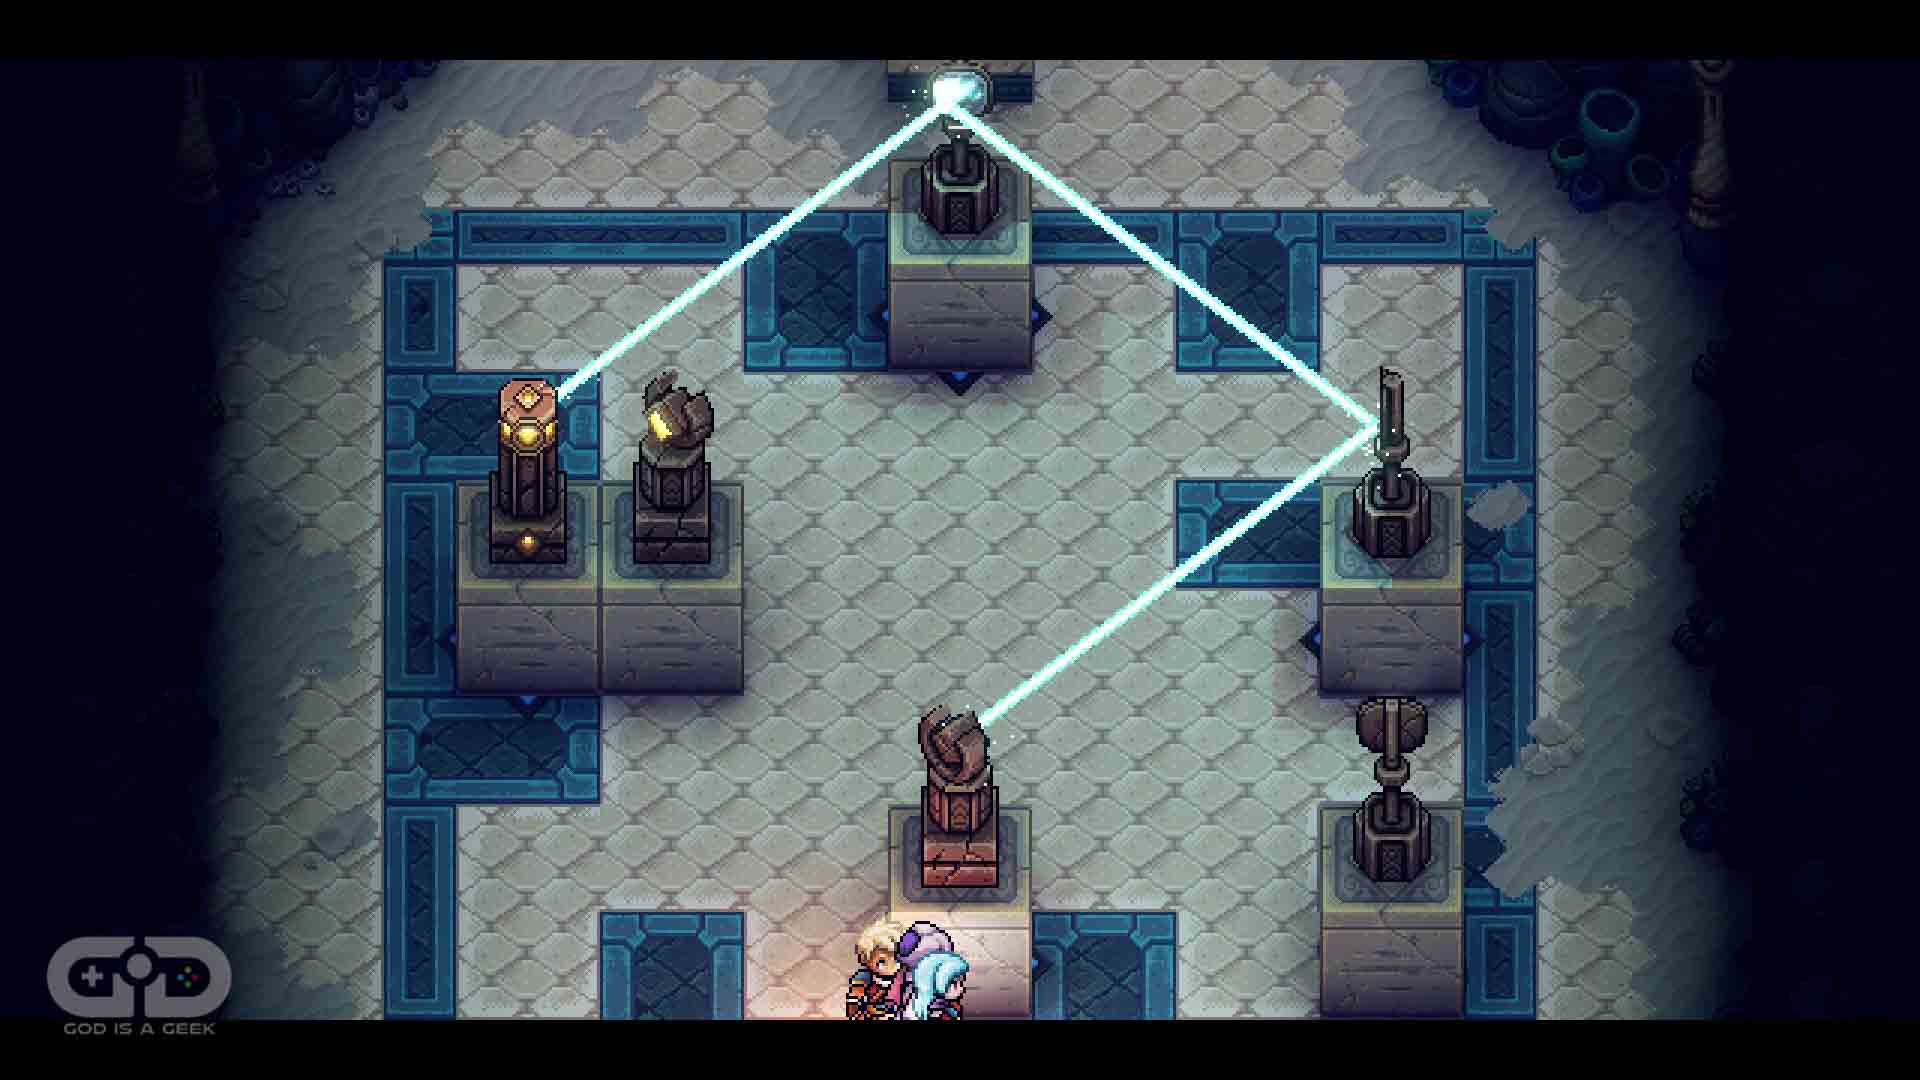
See below for the three solutions you are aiming for.
With all three done you will be able to hard towards the back of the room…
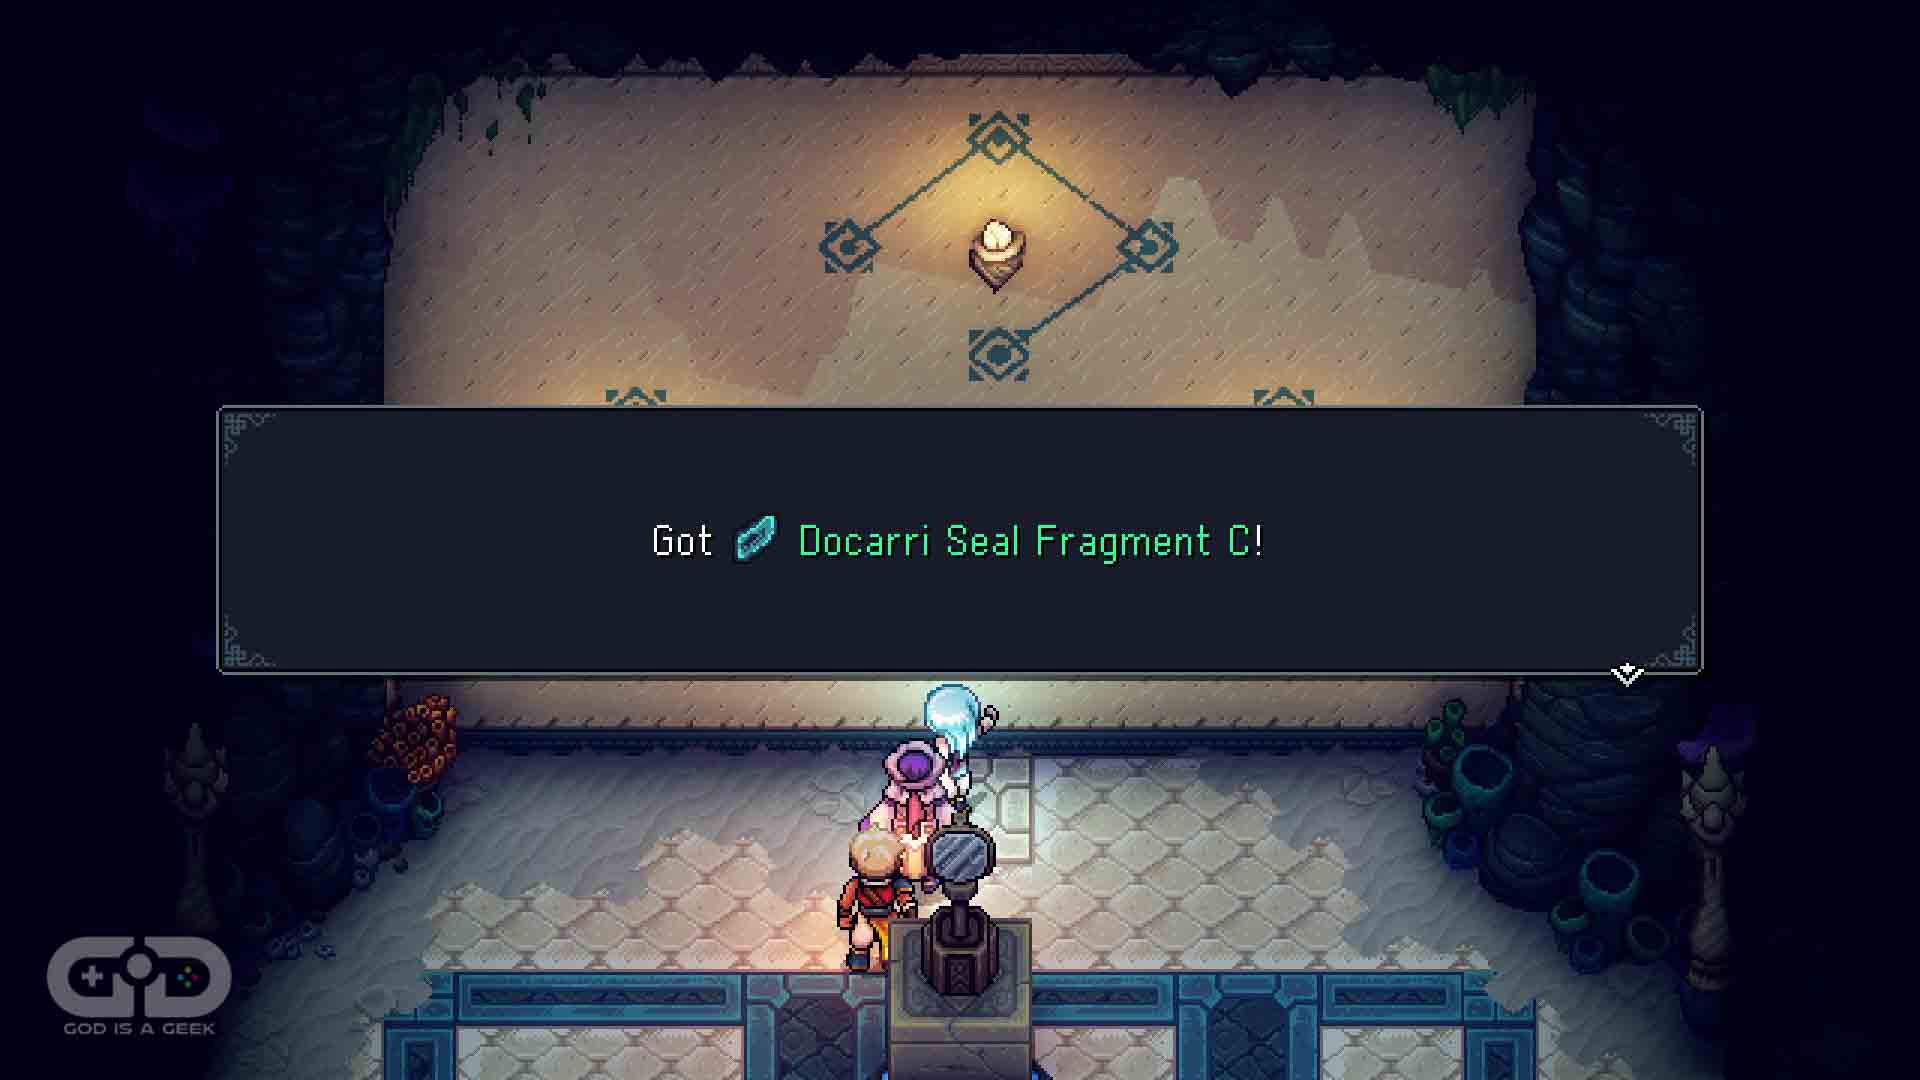
And grab Docarri Seal Fragment C.

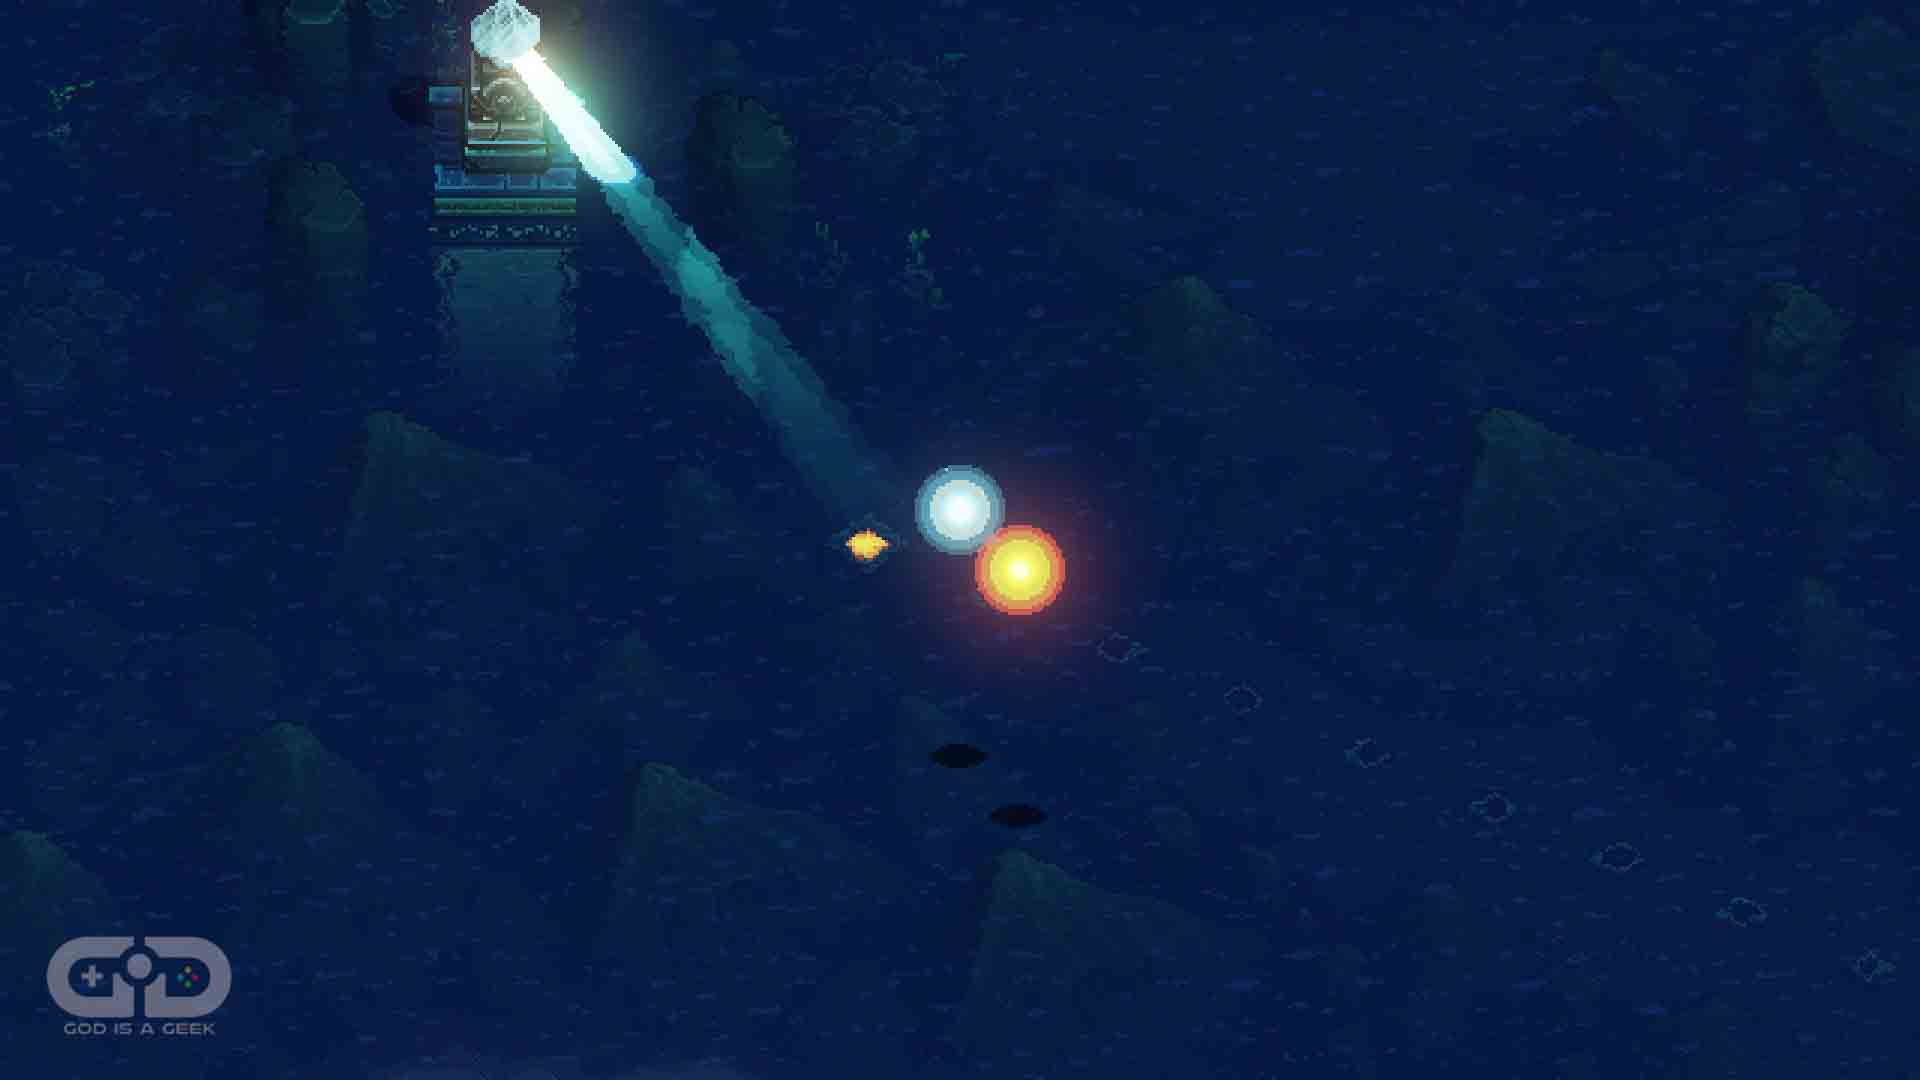
Now there is one more prism to light up, and follow the trail to a whirlpool, but this one isn’t for a puzzle. Instead it takes you to a room where you need to deposit all the Docarri Seal Fragments into a door to open it.
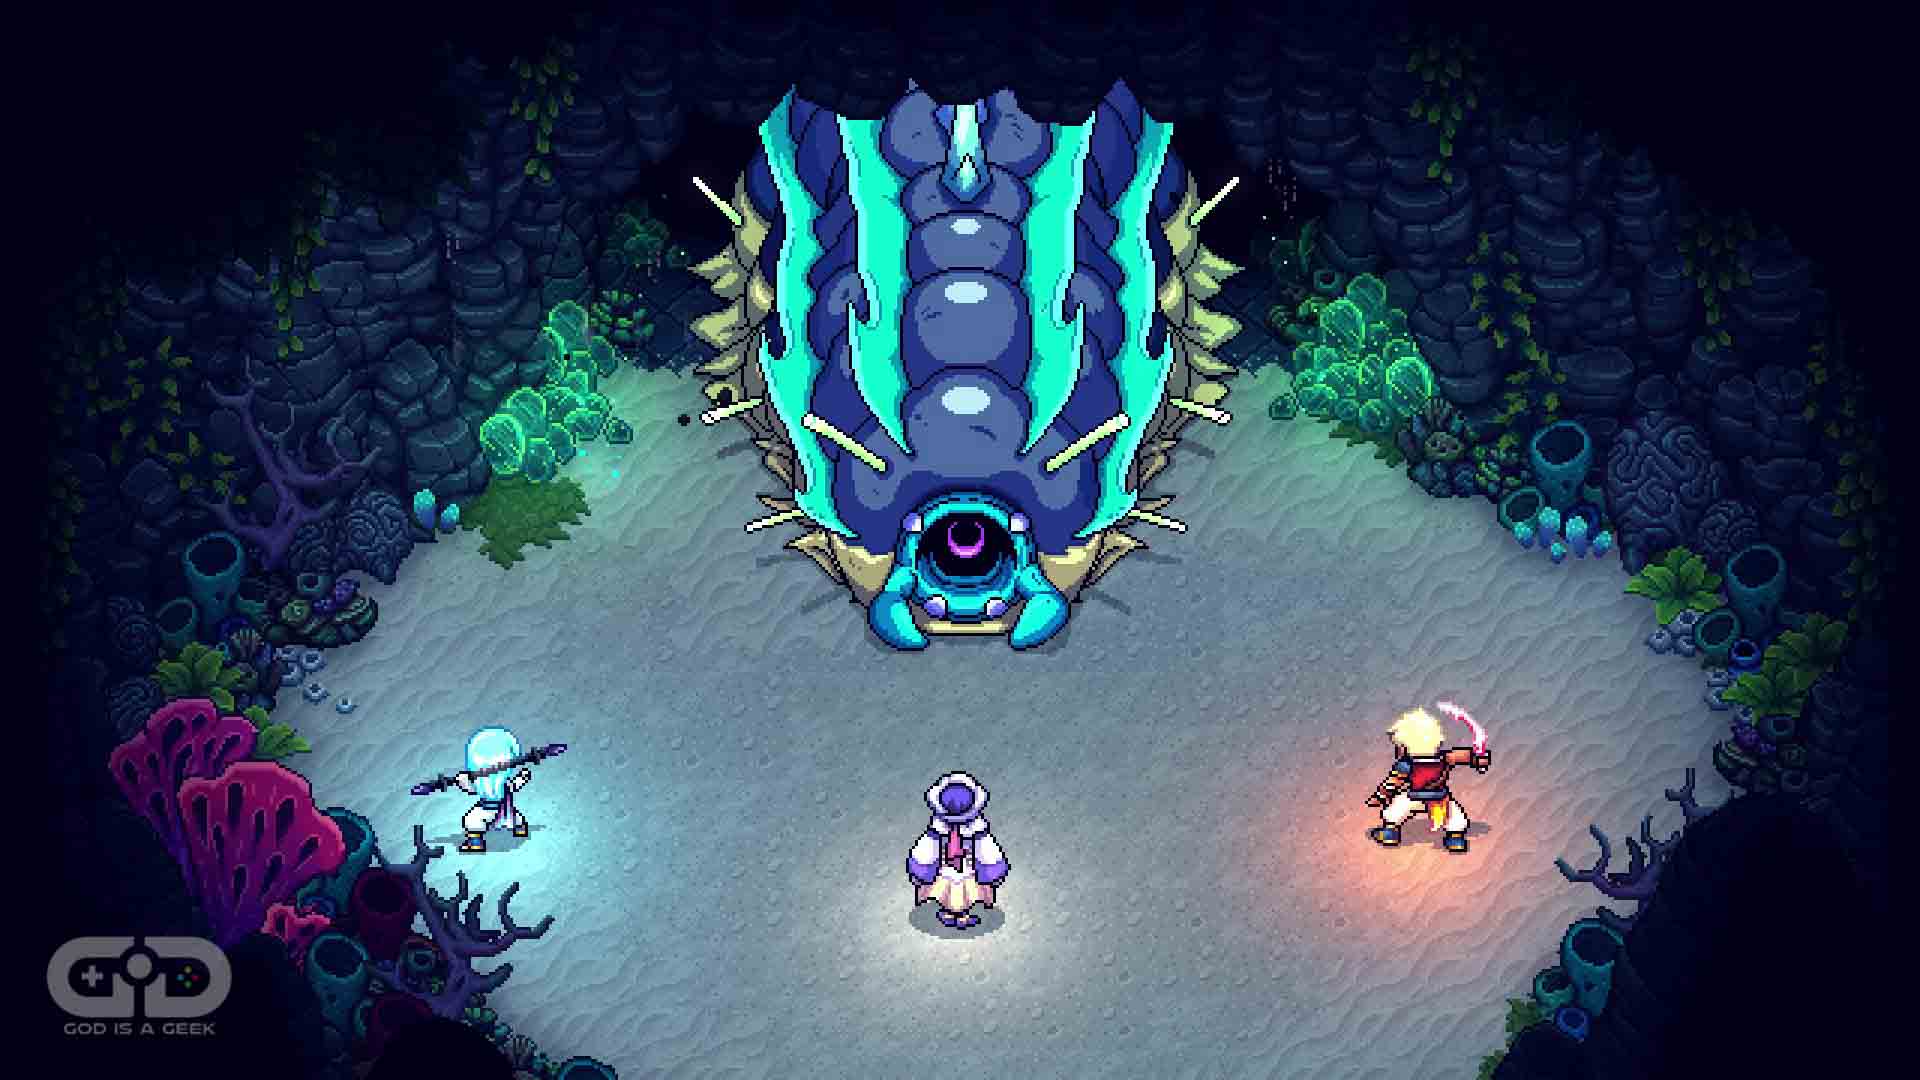
Beyond the door lies a boss – the Sea Slug – which acts very similarly to the Forbidden Cavern’s boss you fought all those hours ago, except this one is much tougher.
Beat the Sea Slug to enter the cave beyond and finally grab the Rainbow Conch in the chest.
Conch #59
Location: Half Sunken Tower
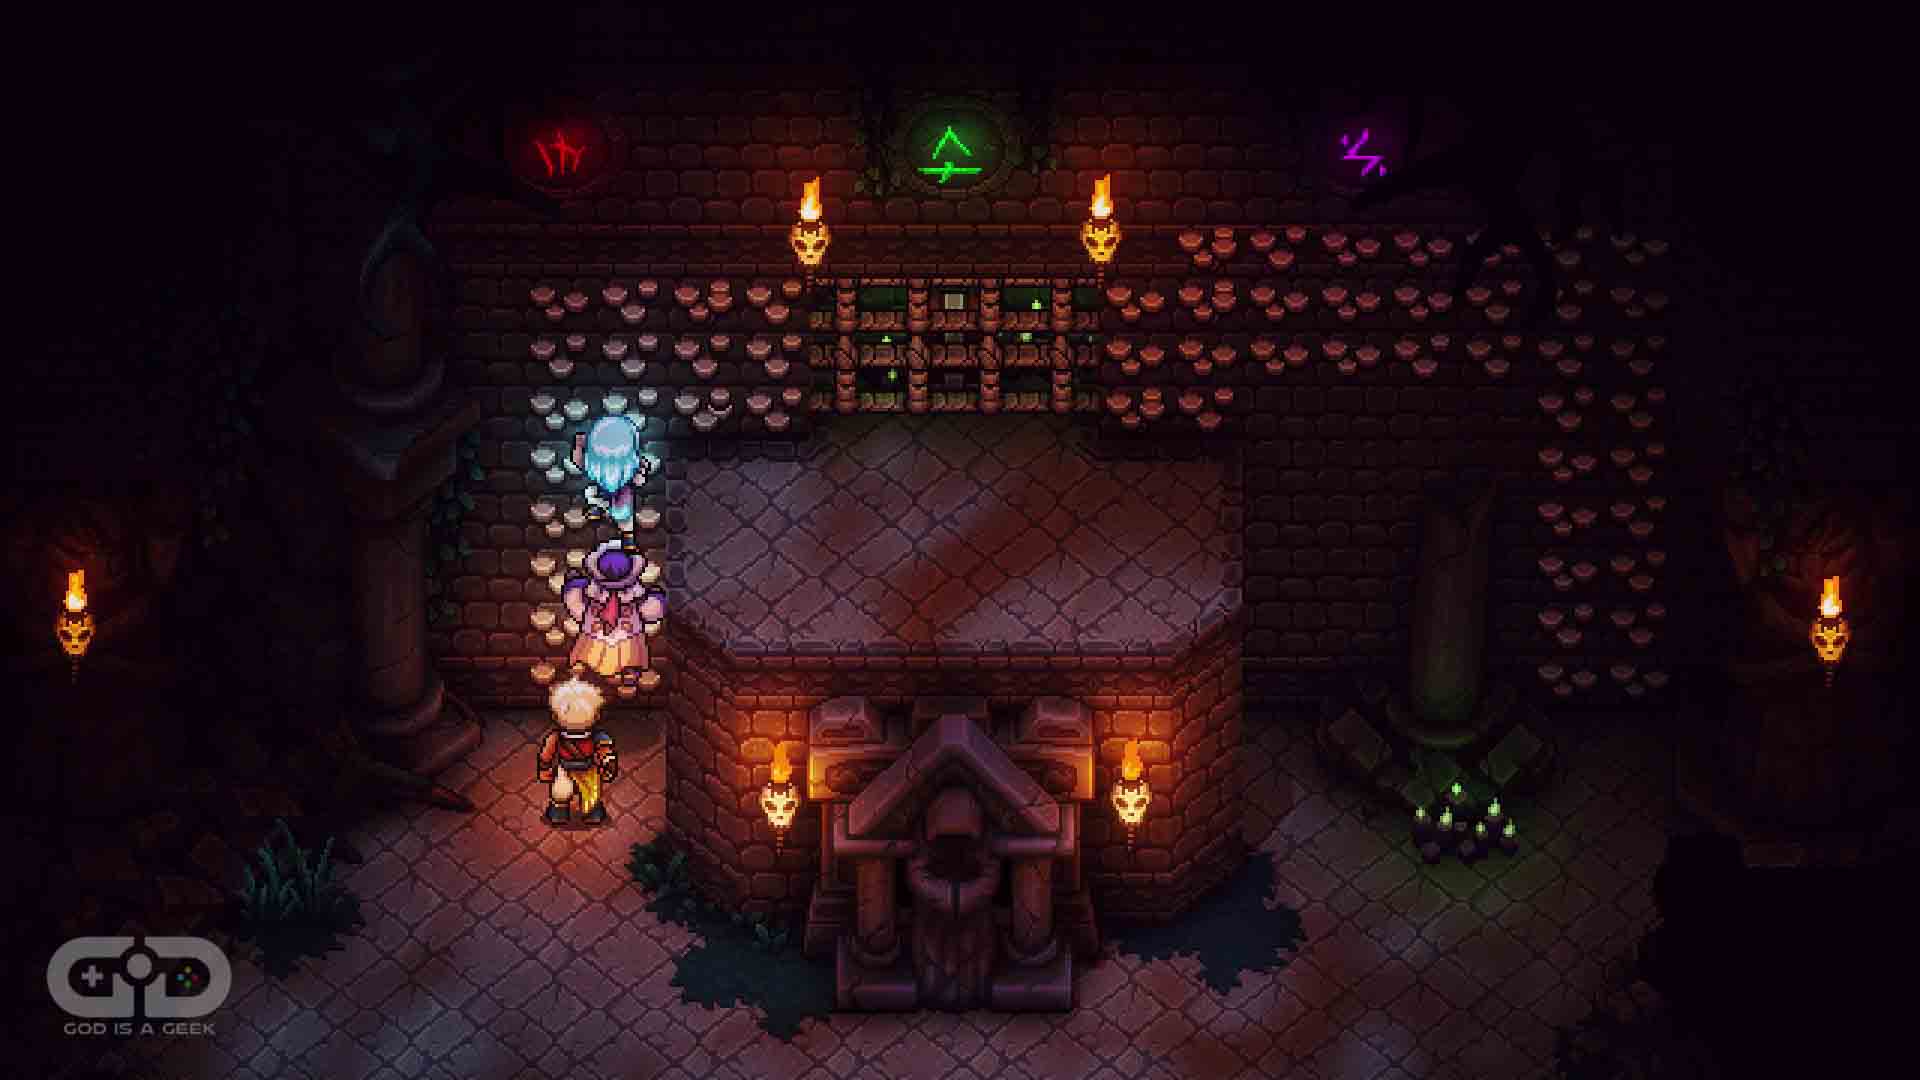 Before you get anywhere near this Conch, you’ll need to do some groundwork. Your first port of call is this room in the Flooded Graveyard. Note down the colours and symbols on the wall here, as you will need to replicate them in a minute.
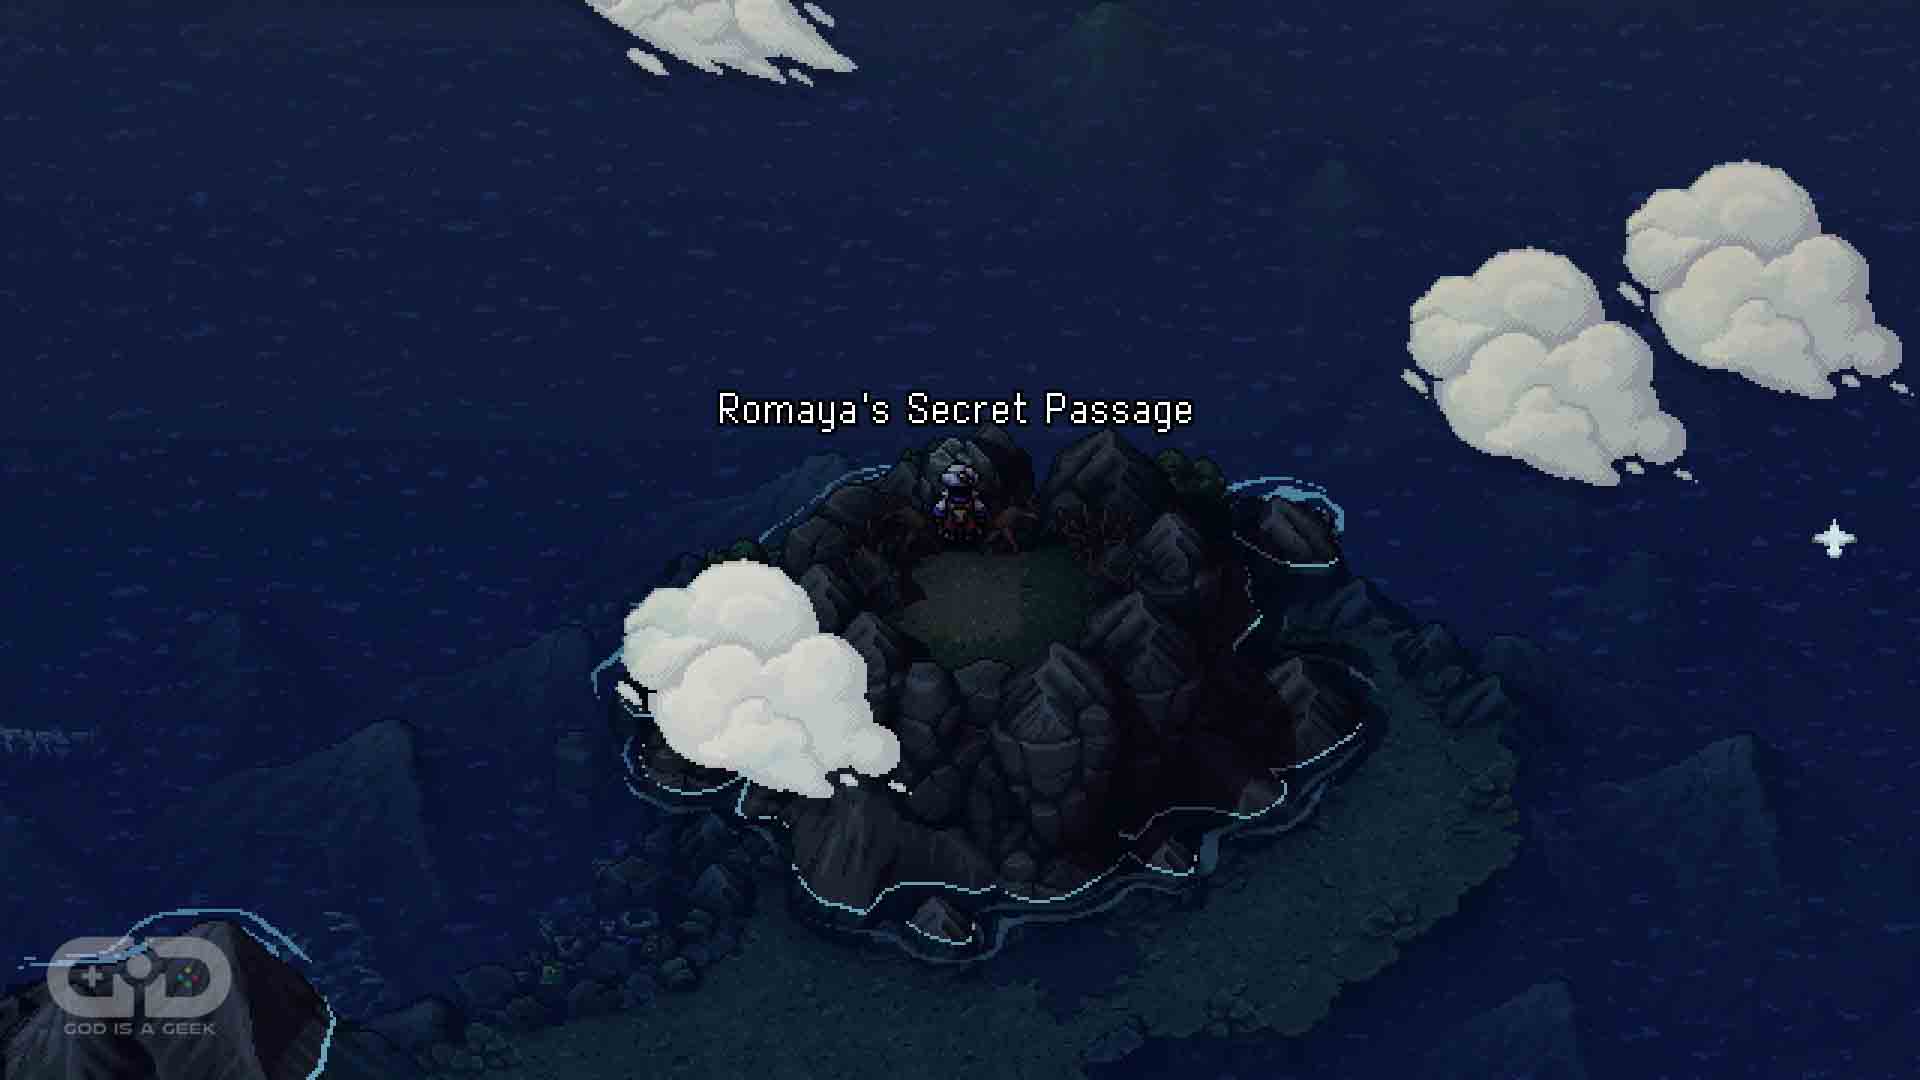
Then, using flight, head to this island, called Romaya’s Secret Passage, just off Wraith Island.
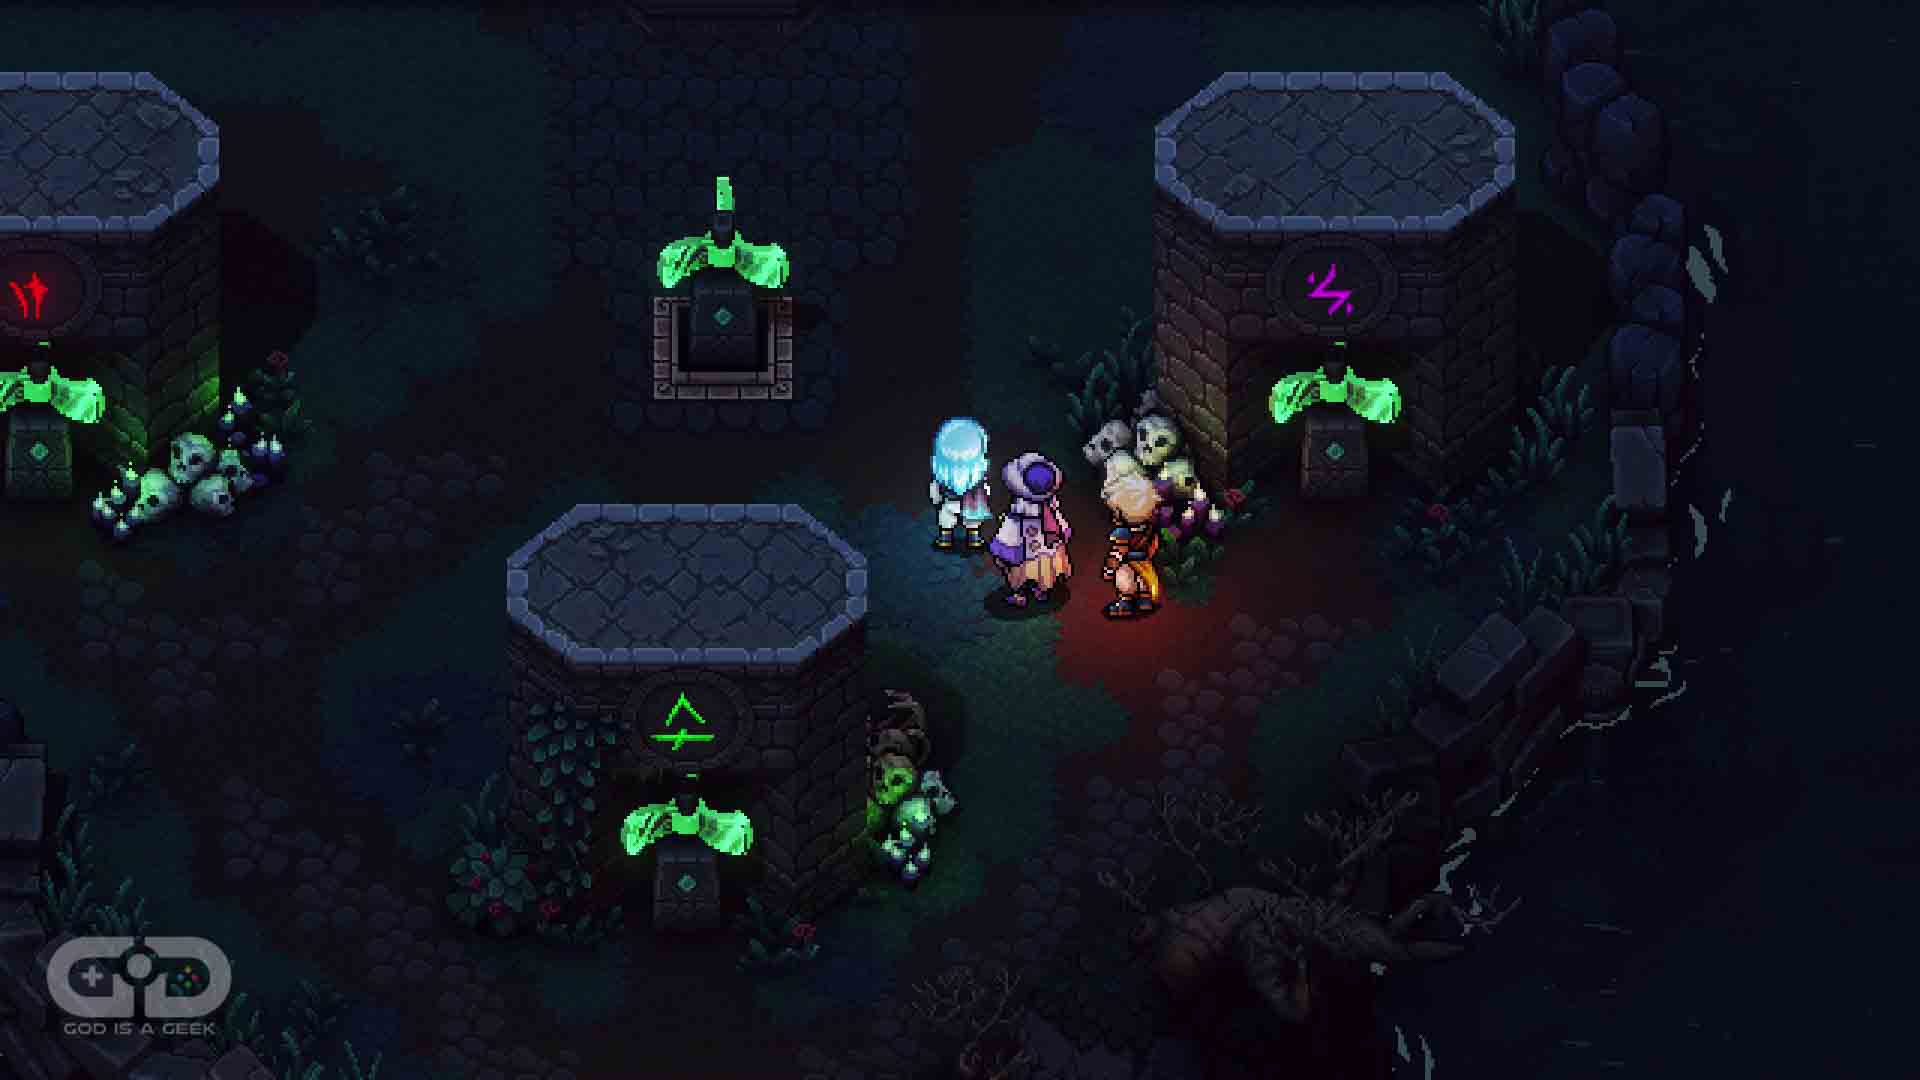 Once here; you’ll find a place with three pillars, each with a Wind Vane. You need to use your Mistral Bracelet to rotate the Vanes, and therefore the images until they match the three from the Flooded Graveyard.
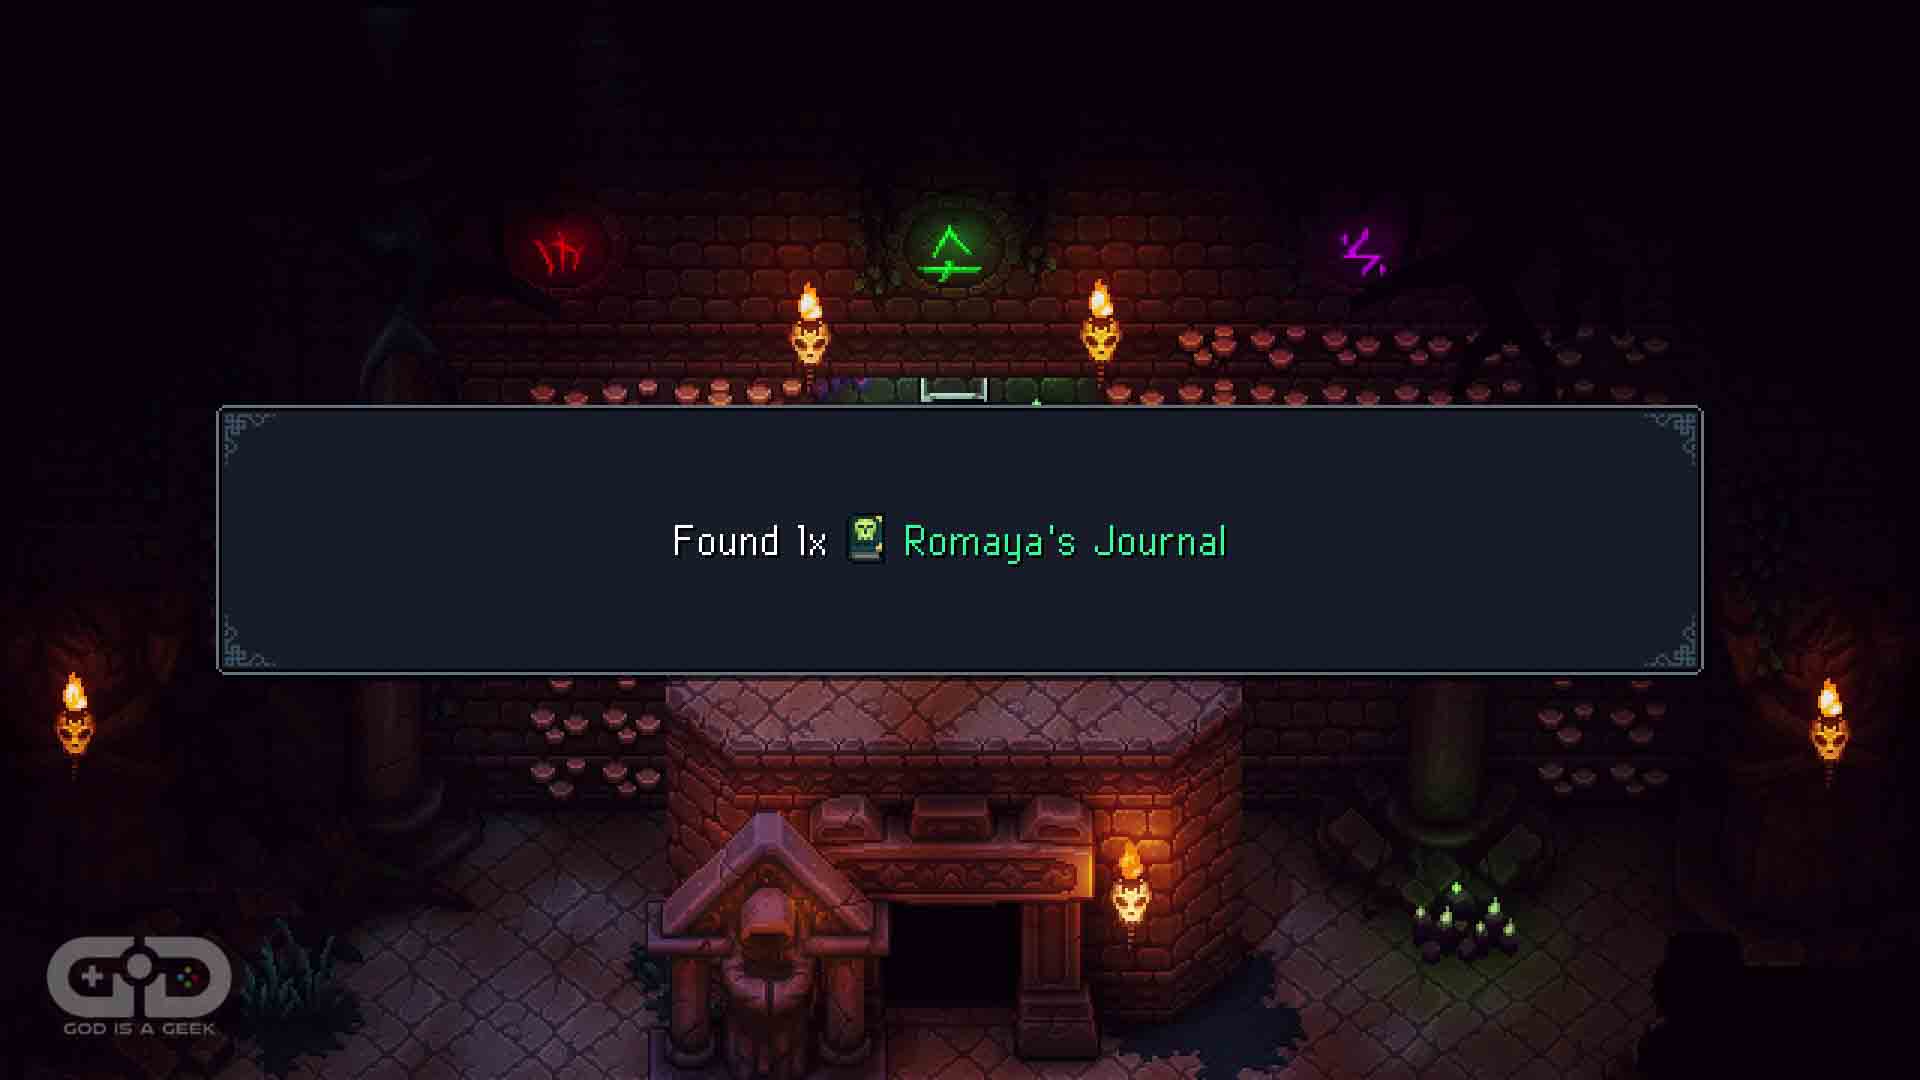
Once done, you’ll uncover a secret passage back to that room you visited, but this time you’ll have opened the cage guarding a chest in here. Go and open it to get Romaya’s Journal.
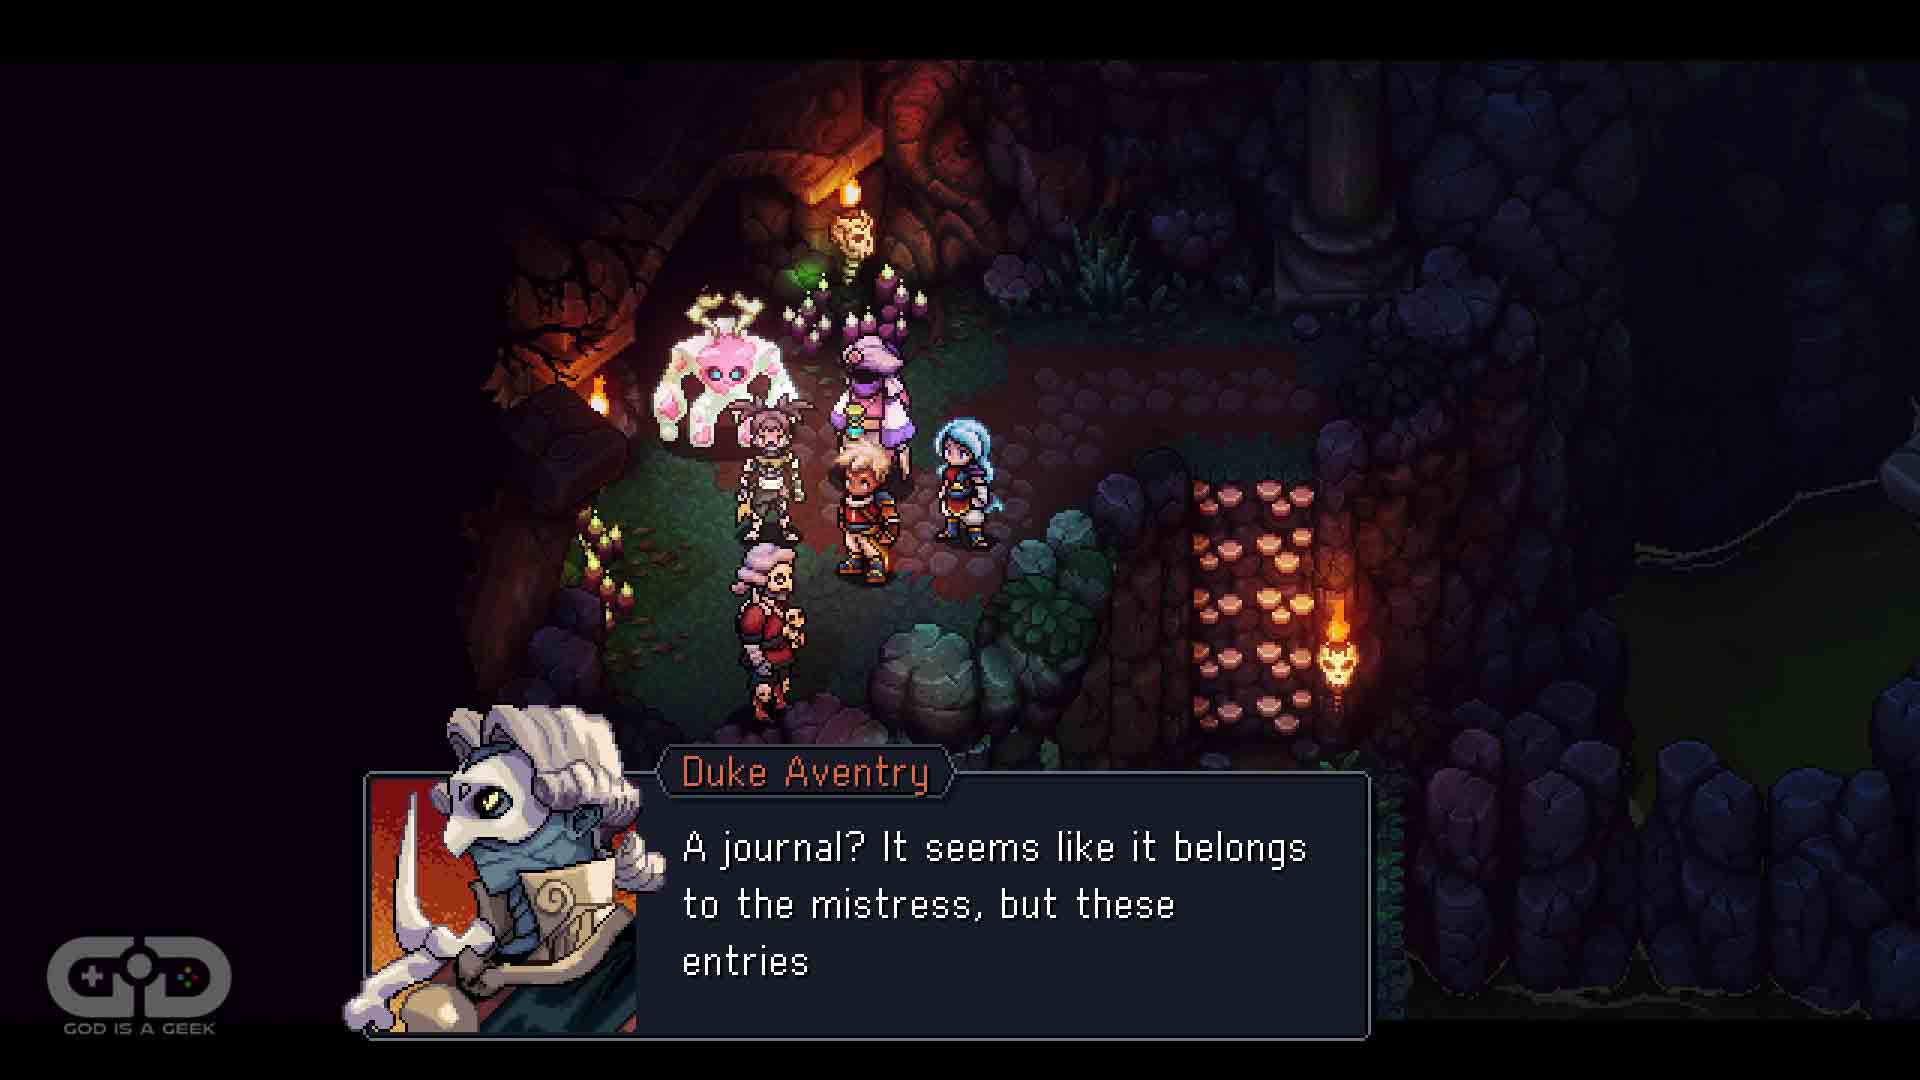
From here, head out of room, to find Aventry and hand him the journal, he’ll remember what has happened to him and relinquish to you the Yellow Flame.
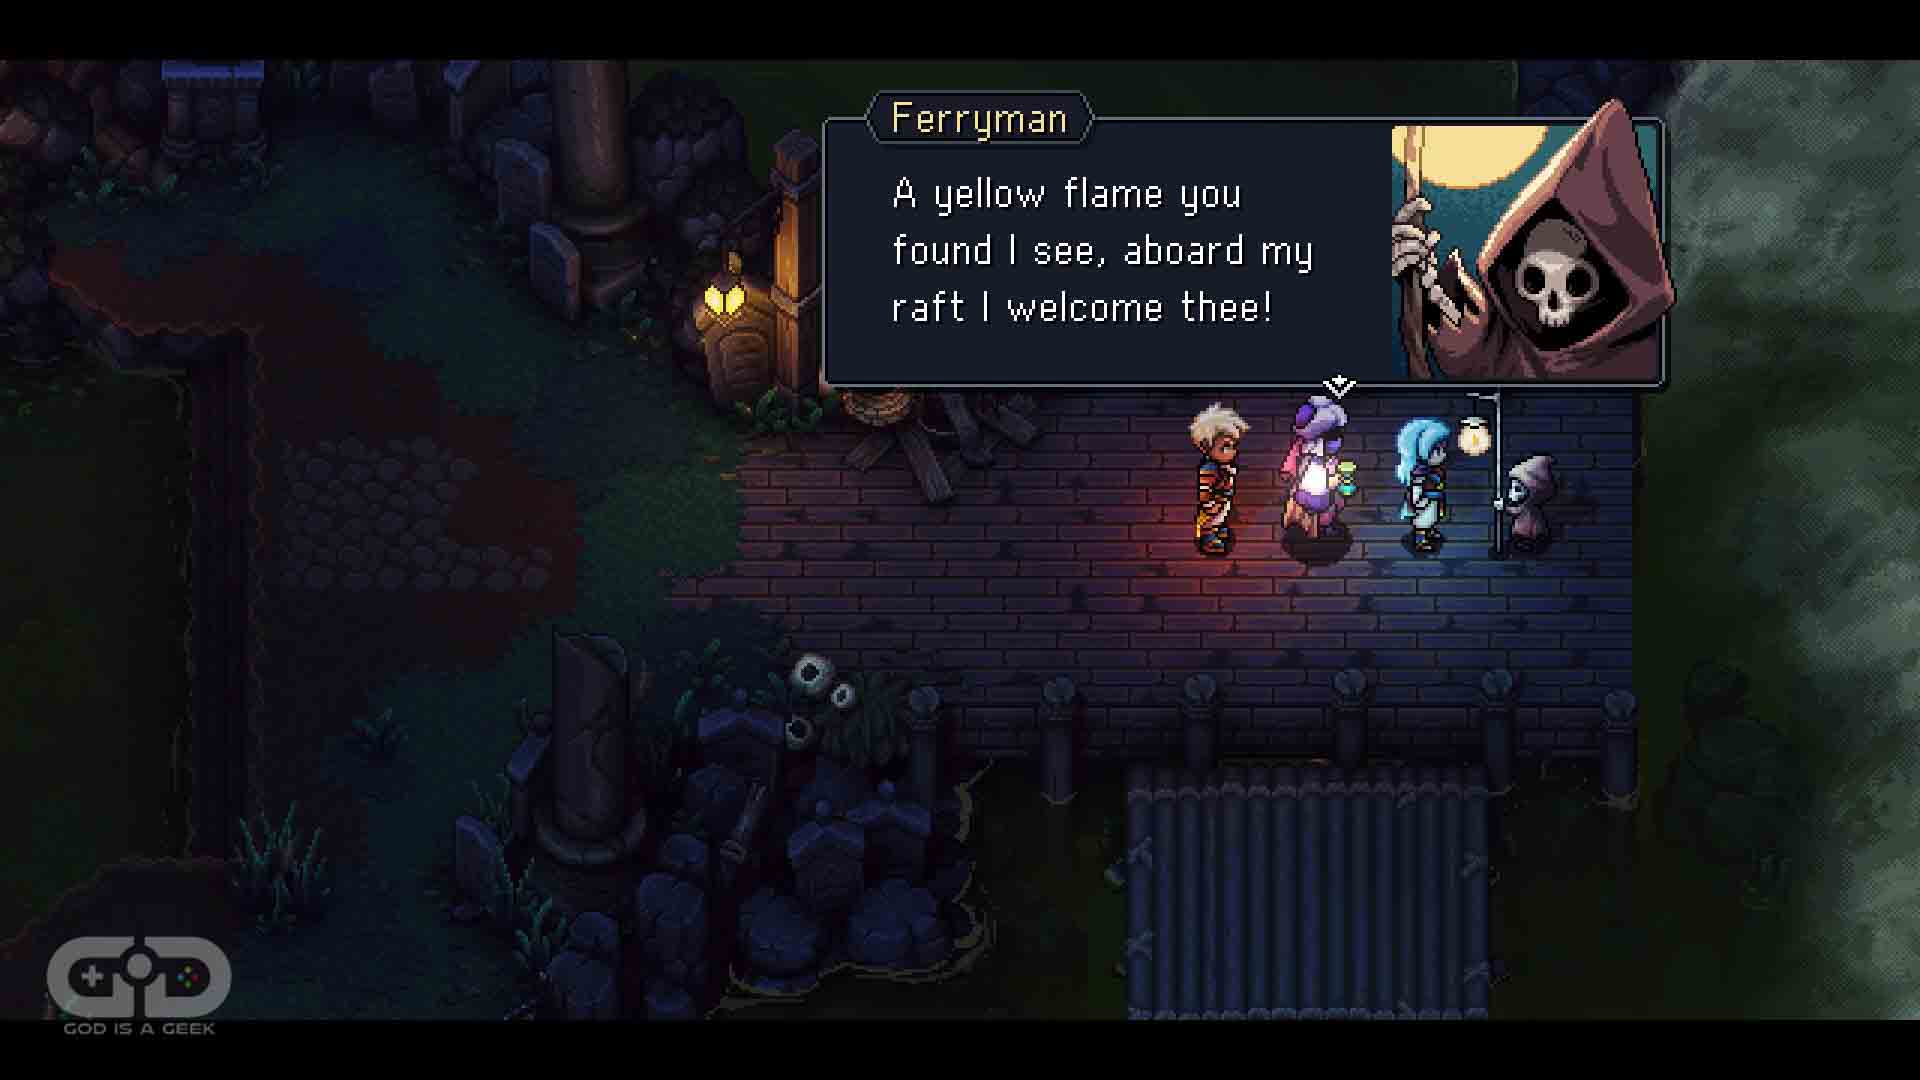
So now we have a new coloured flame, we should head back to the Ferryman, as now he will take us somewhere new – the Half Sunken Tower.
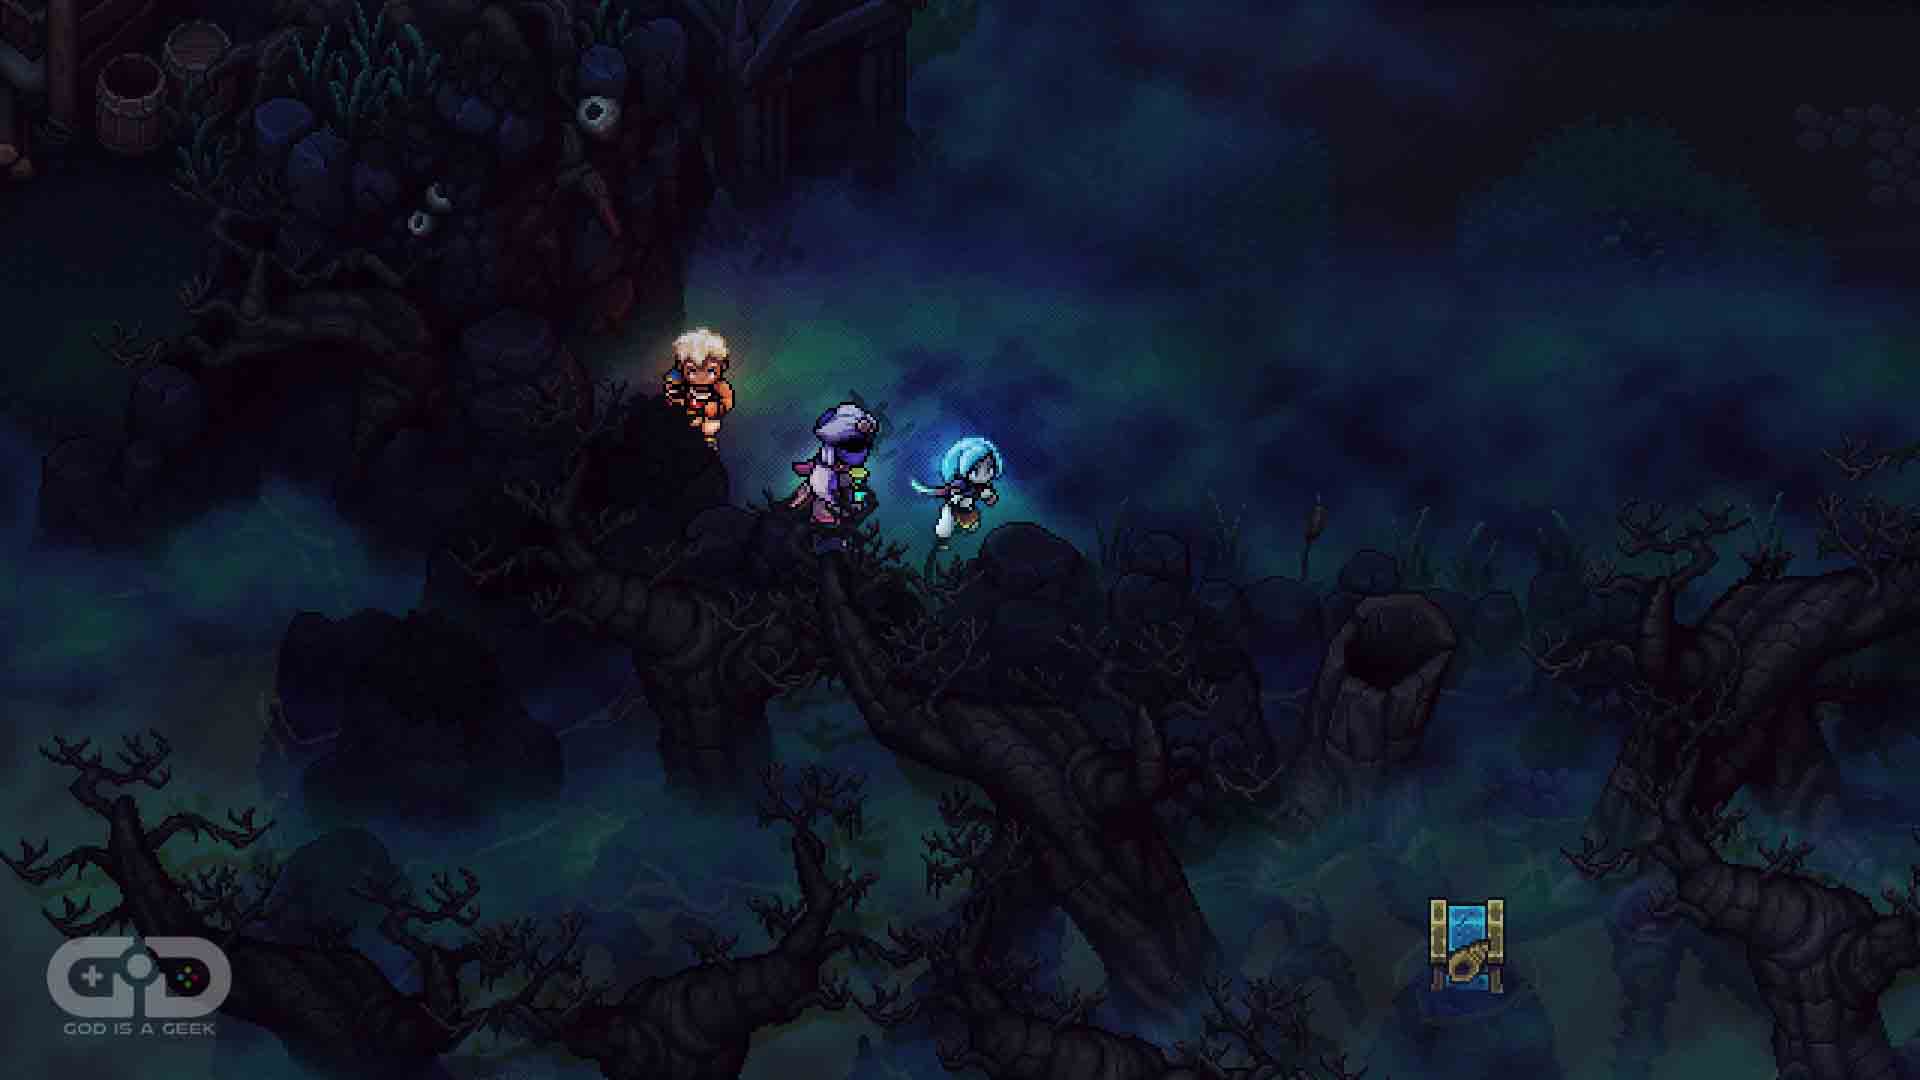
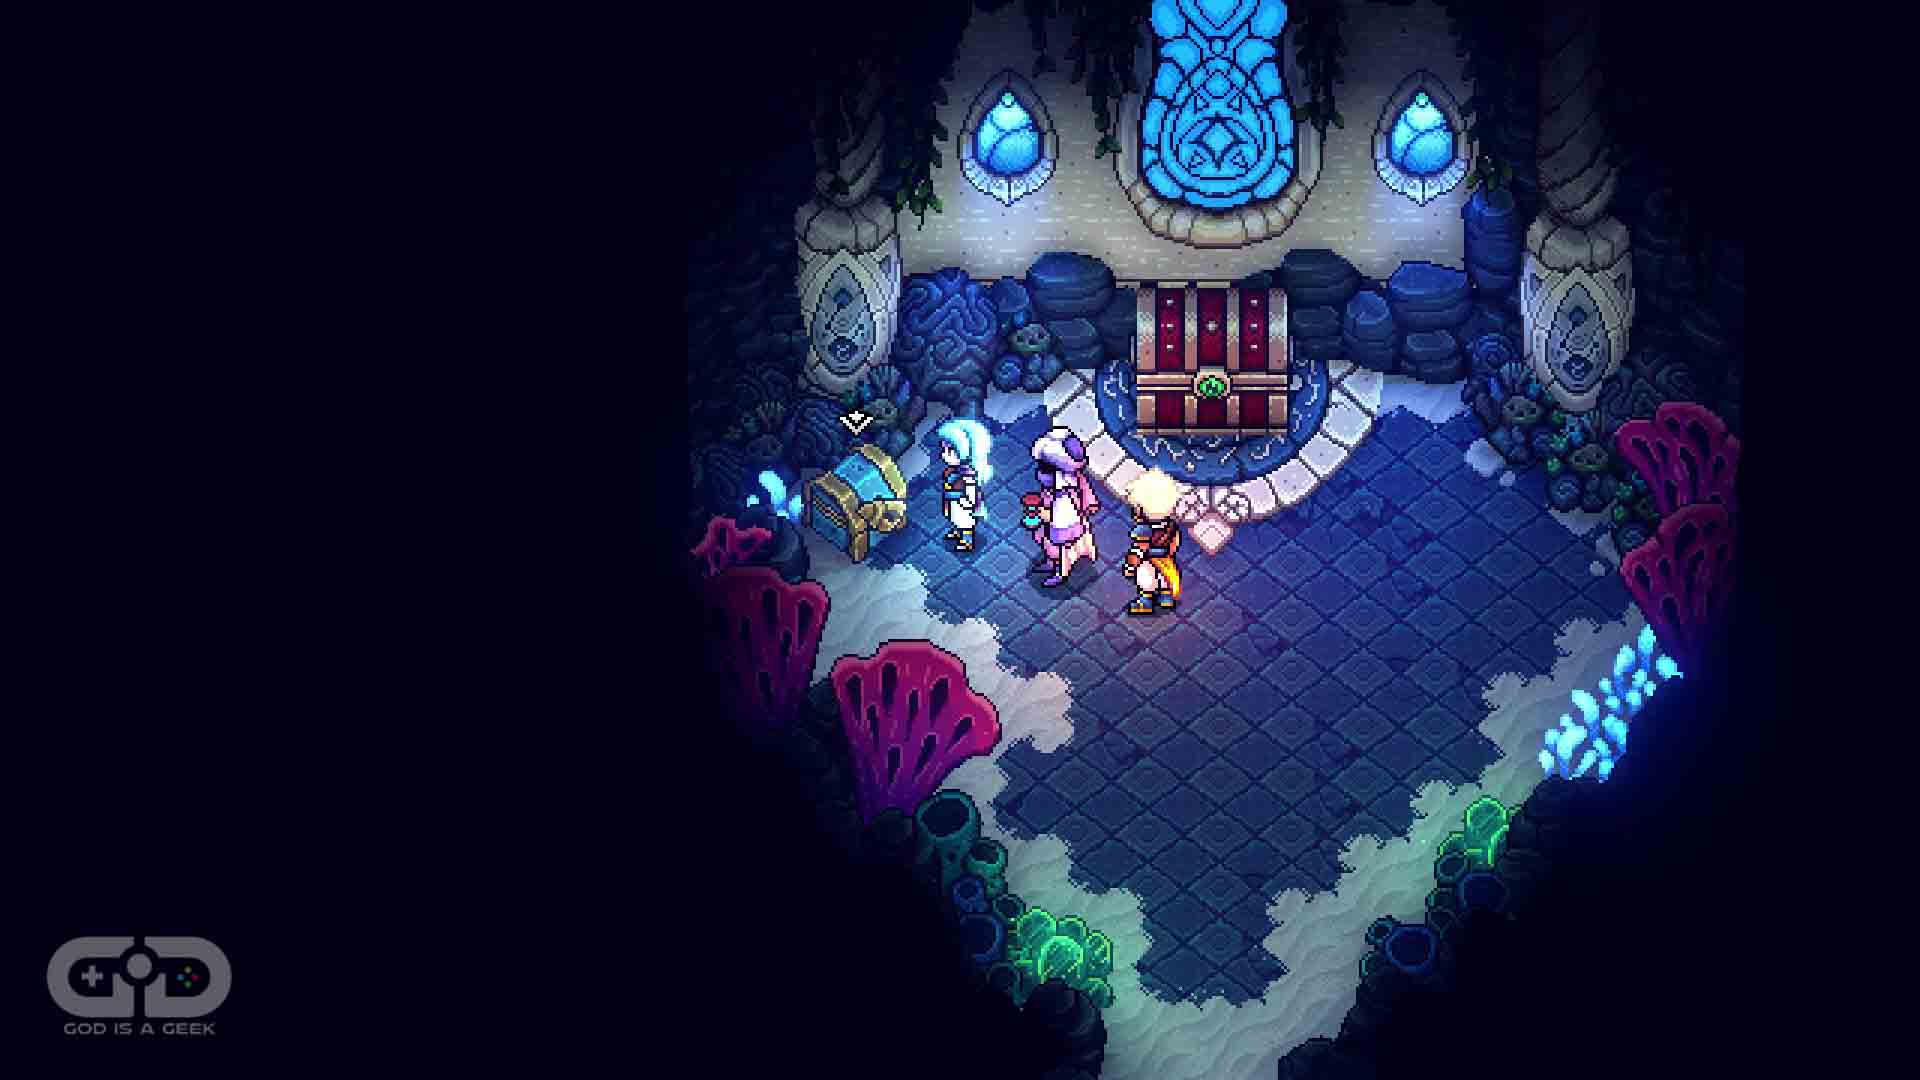
Once here you’ll want to explore a bit until you come to a raft section, and when you do, head down to an area of land with some enemies patrolling and a picnic basket visible. Beat the enemies, and then explore downwards and you will see the Rainbow Conch chest beyond some trees.
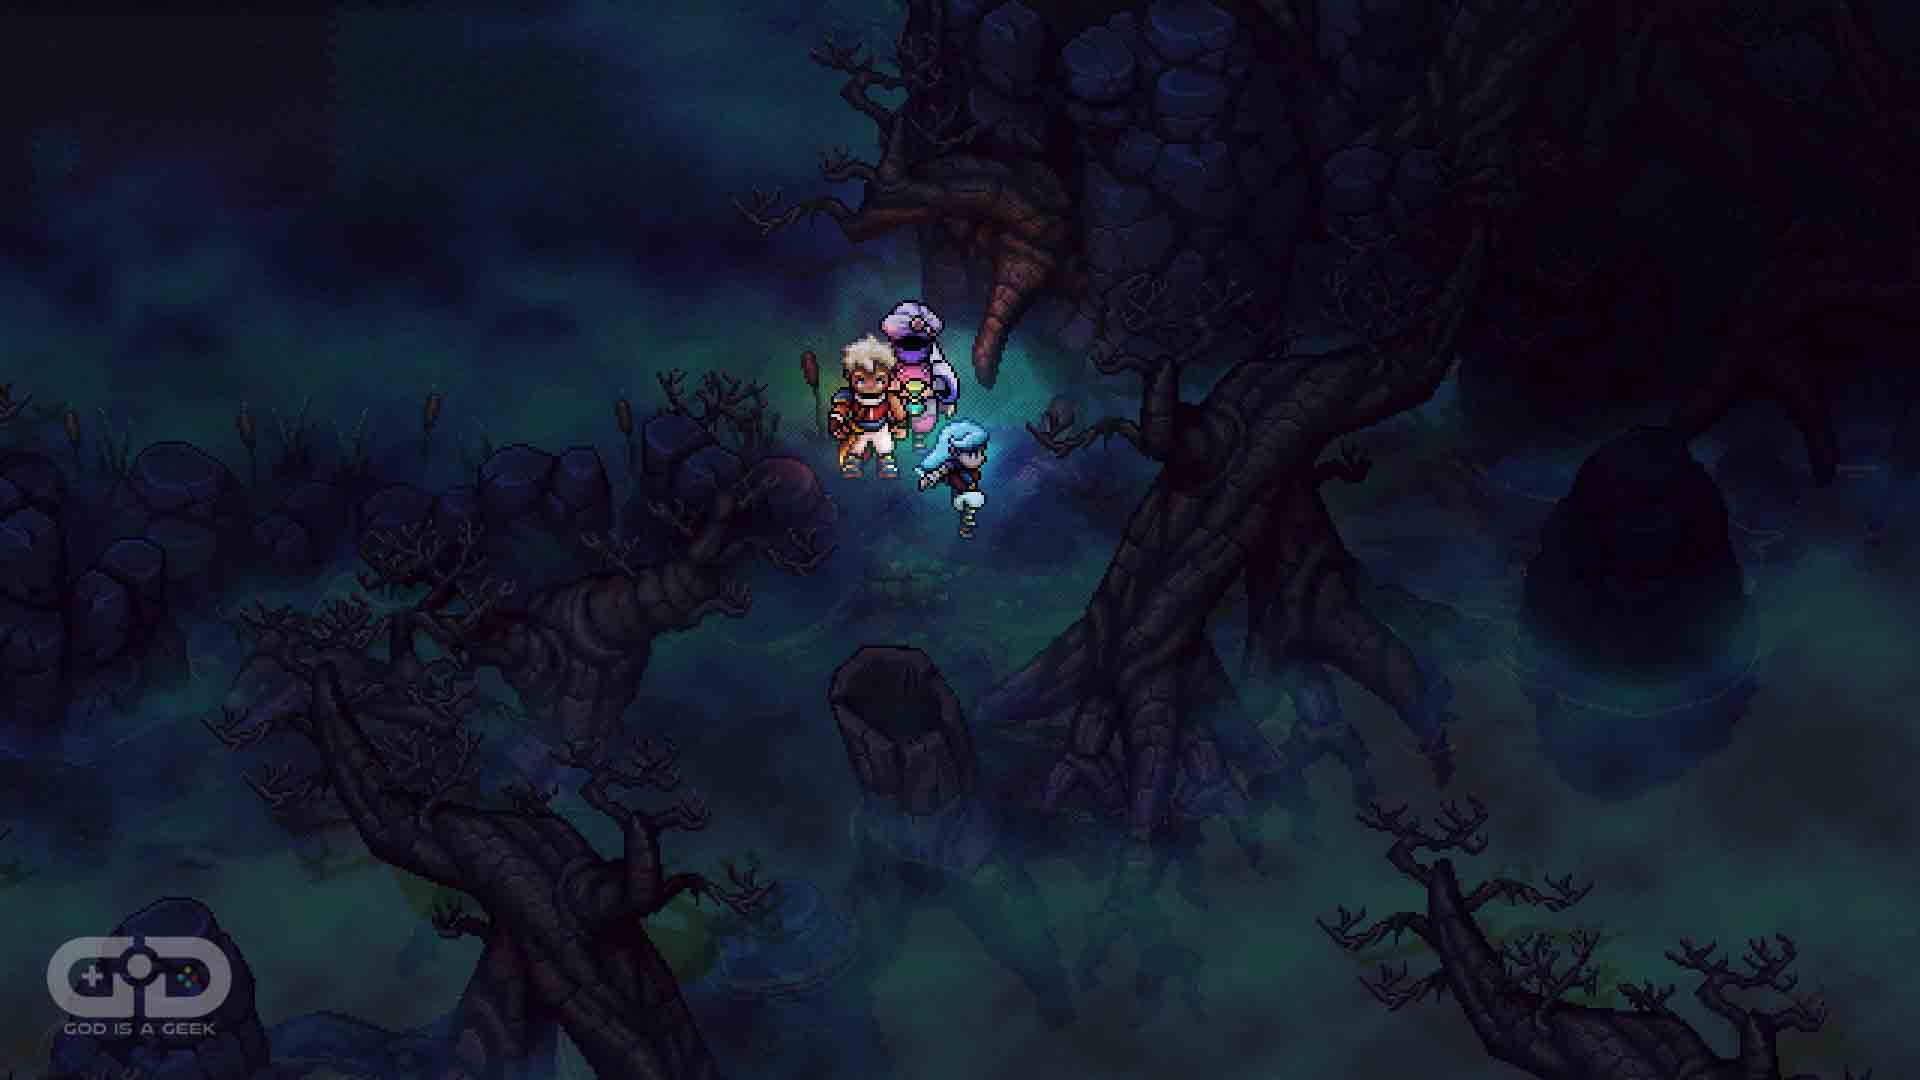
Head to the right and you can find a ledge you can jump down from into the water.
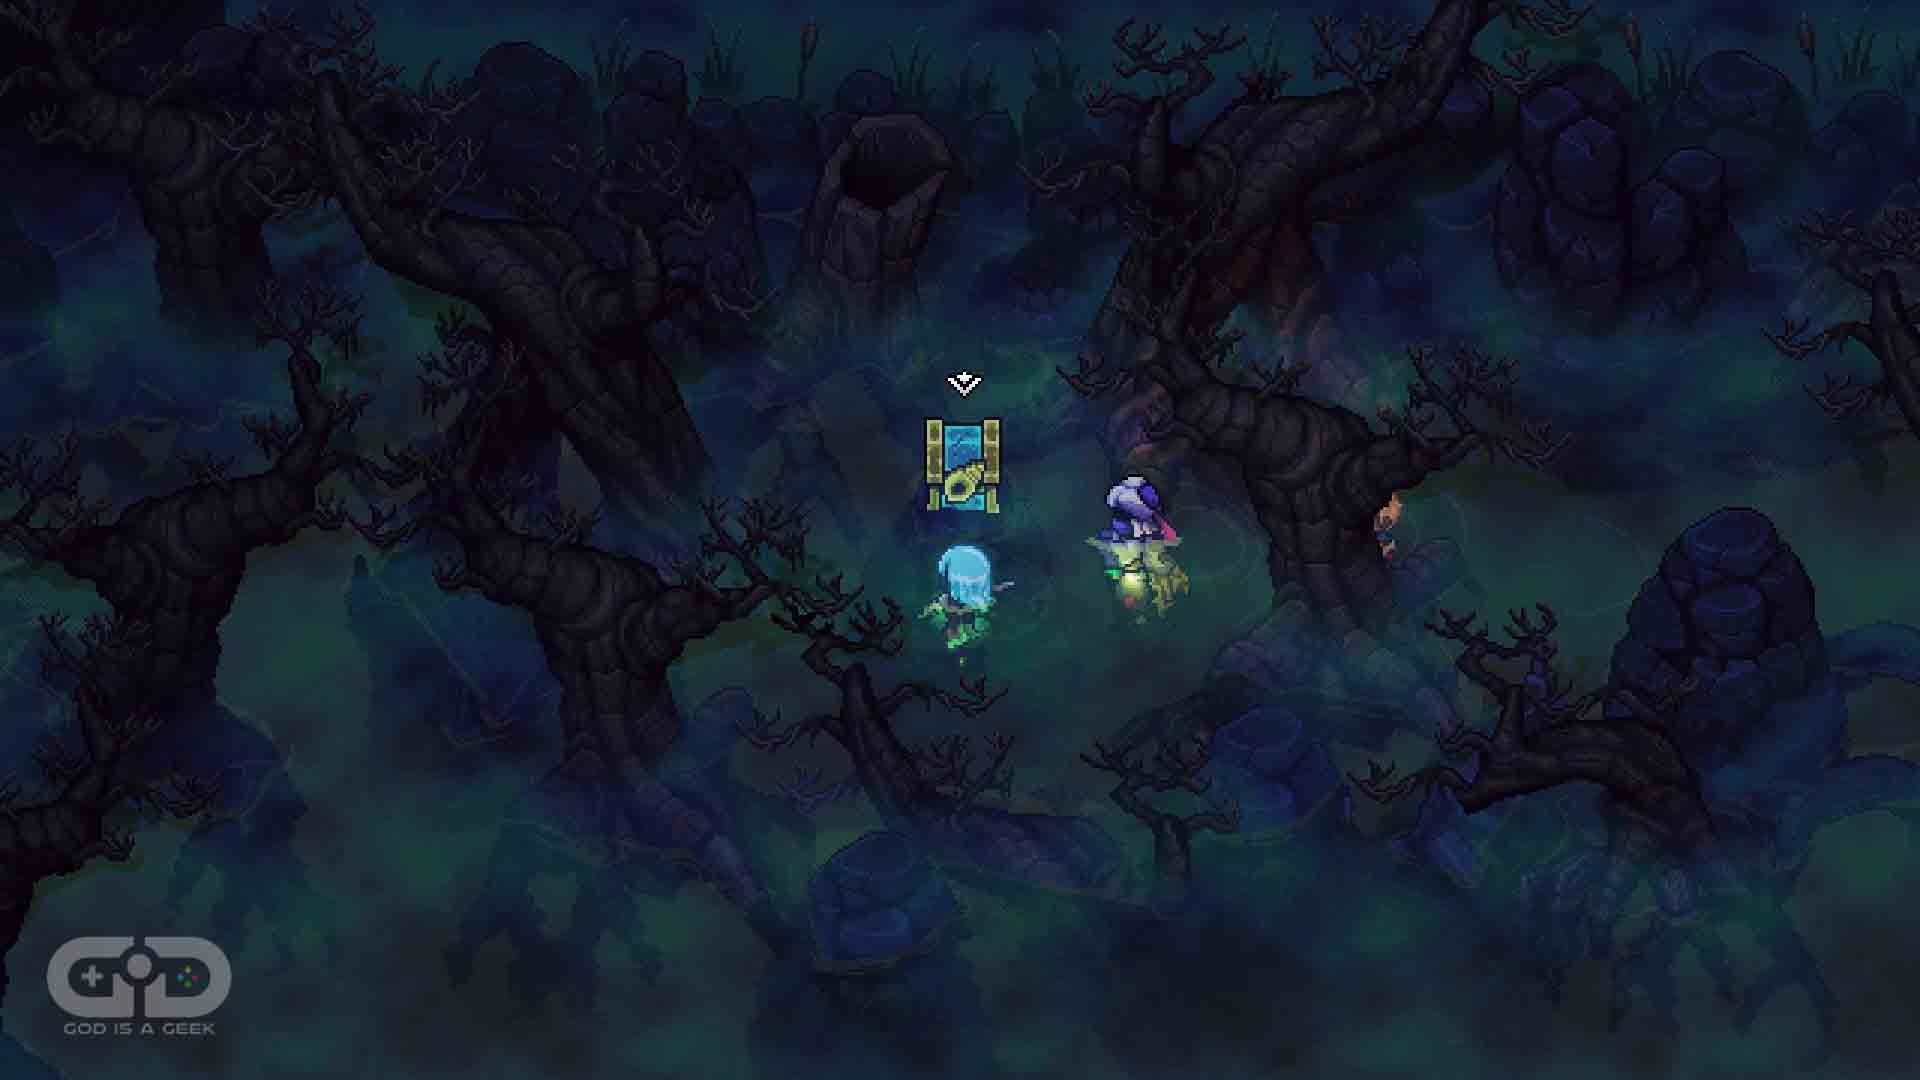
Head back to your left to open the chest.
Conch #60
Location: Throne of the Queen That Was
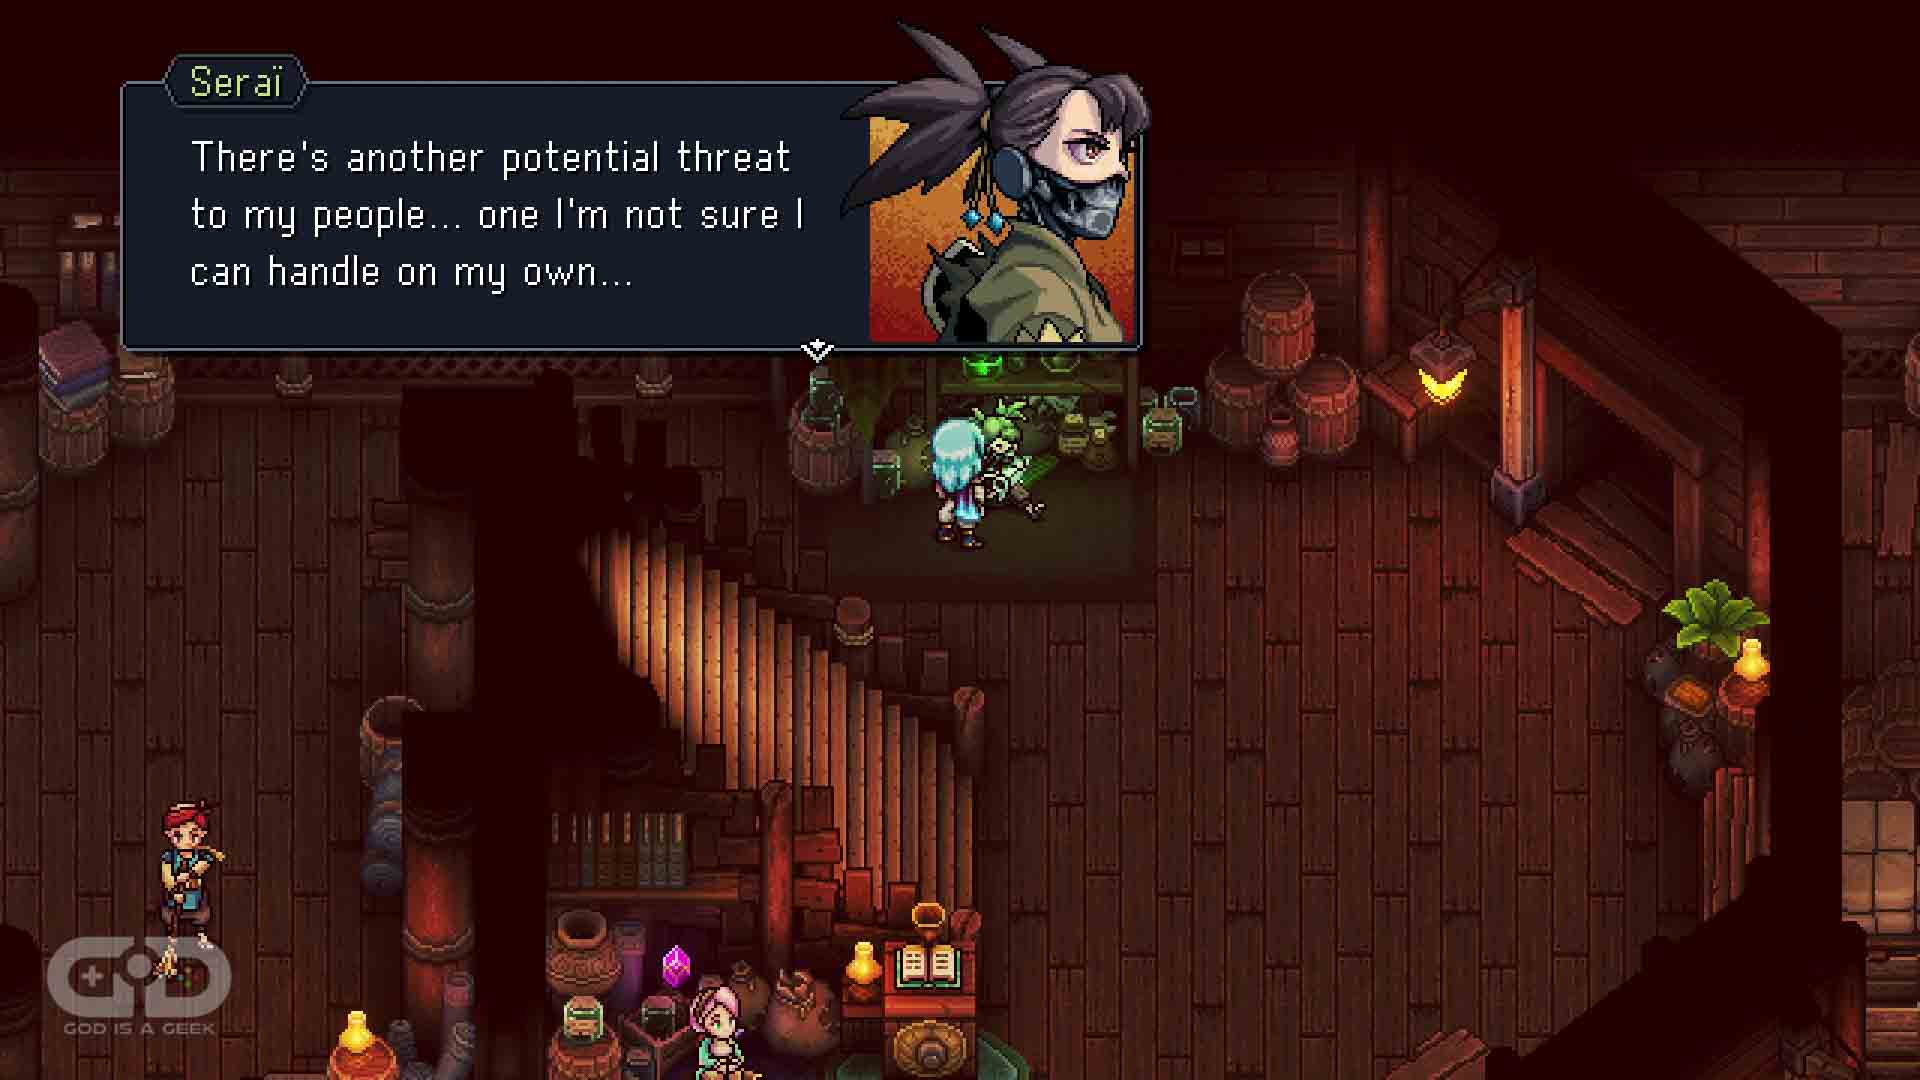
For this final Conch, you’ll want to speak to Seria about the Vespertine. She will mention something that she is concerned about in her home world. She will give you Joyce’s Belt Buckle and asks you to speak to Teaks about it.
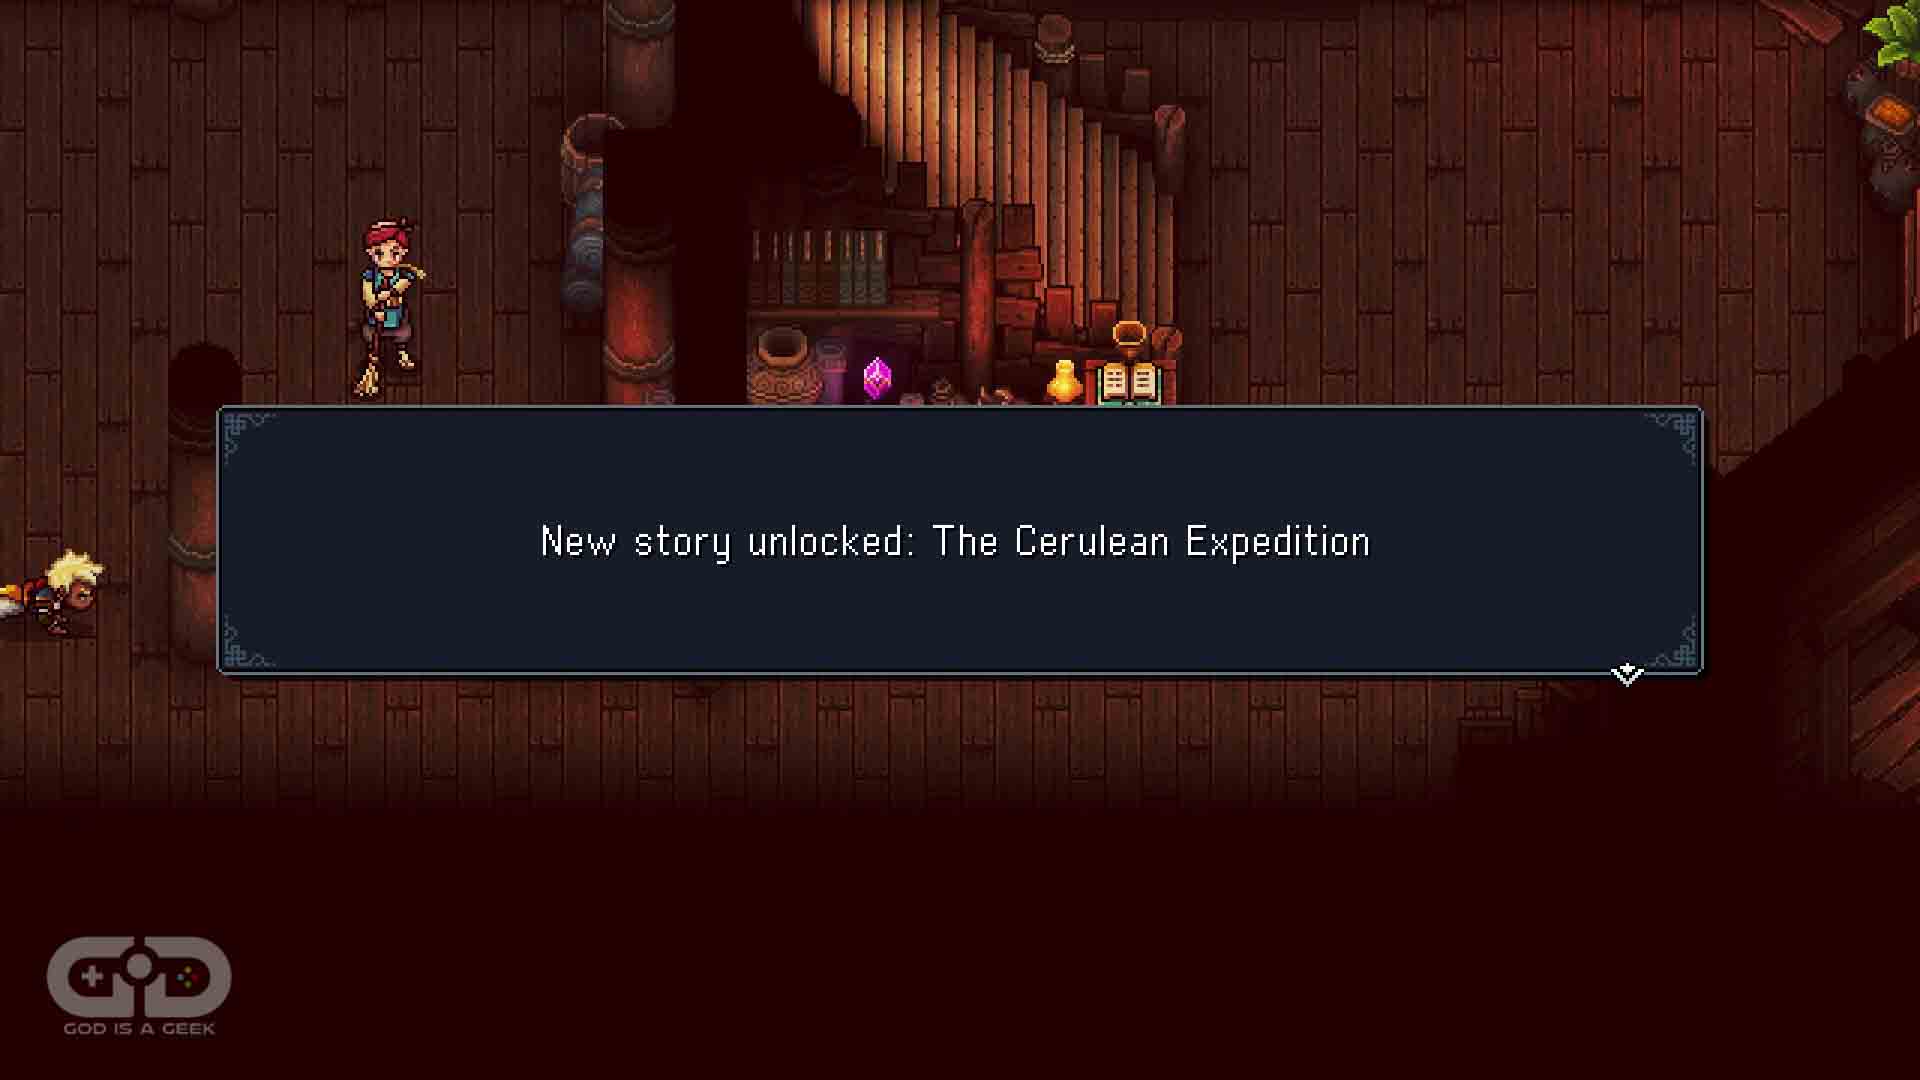
Head on over to Teaks and she will reward you with the Cerulean Expedition story. Listen to it carefully as it tells you where to explore in the Cerulean Expanse to reach a new area. If you’re struggling the clues reveal the following path:
Northeast, South, Northeast, East
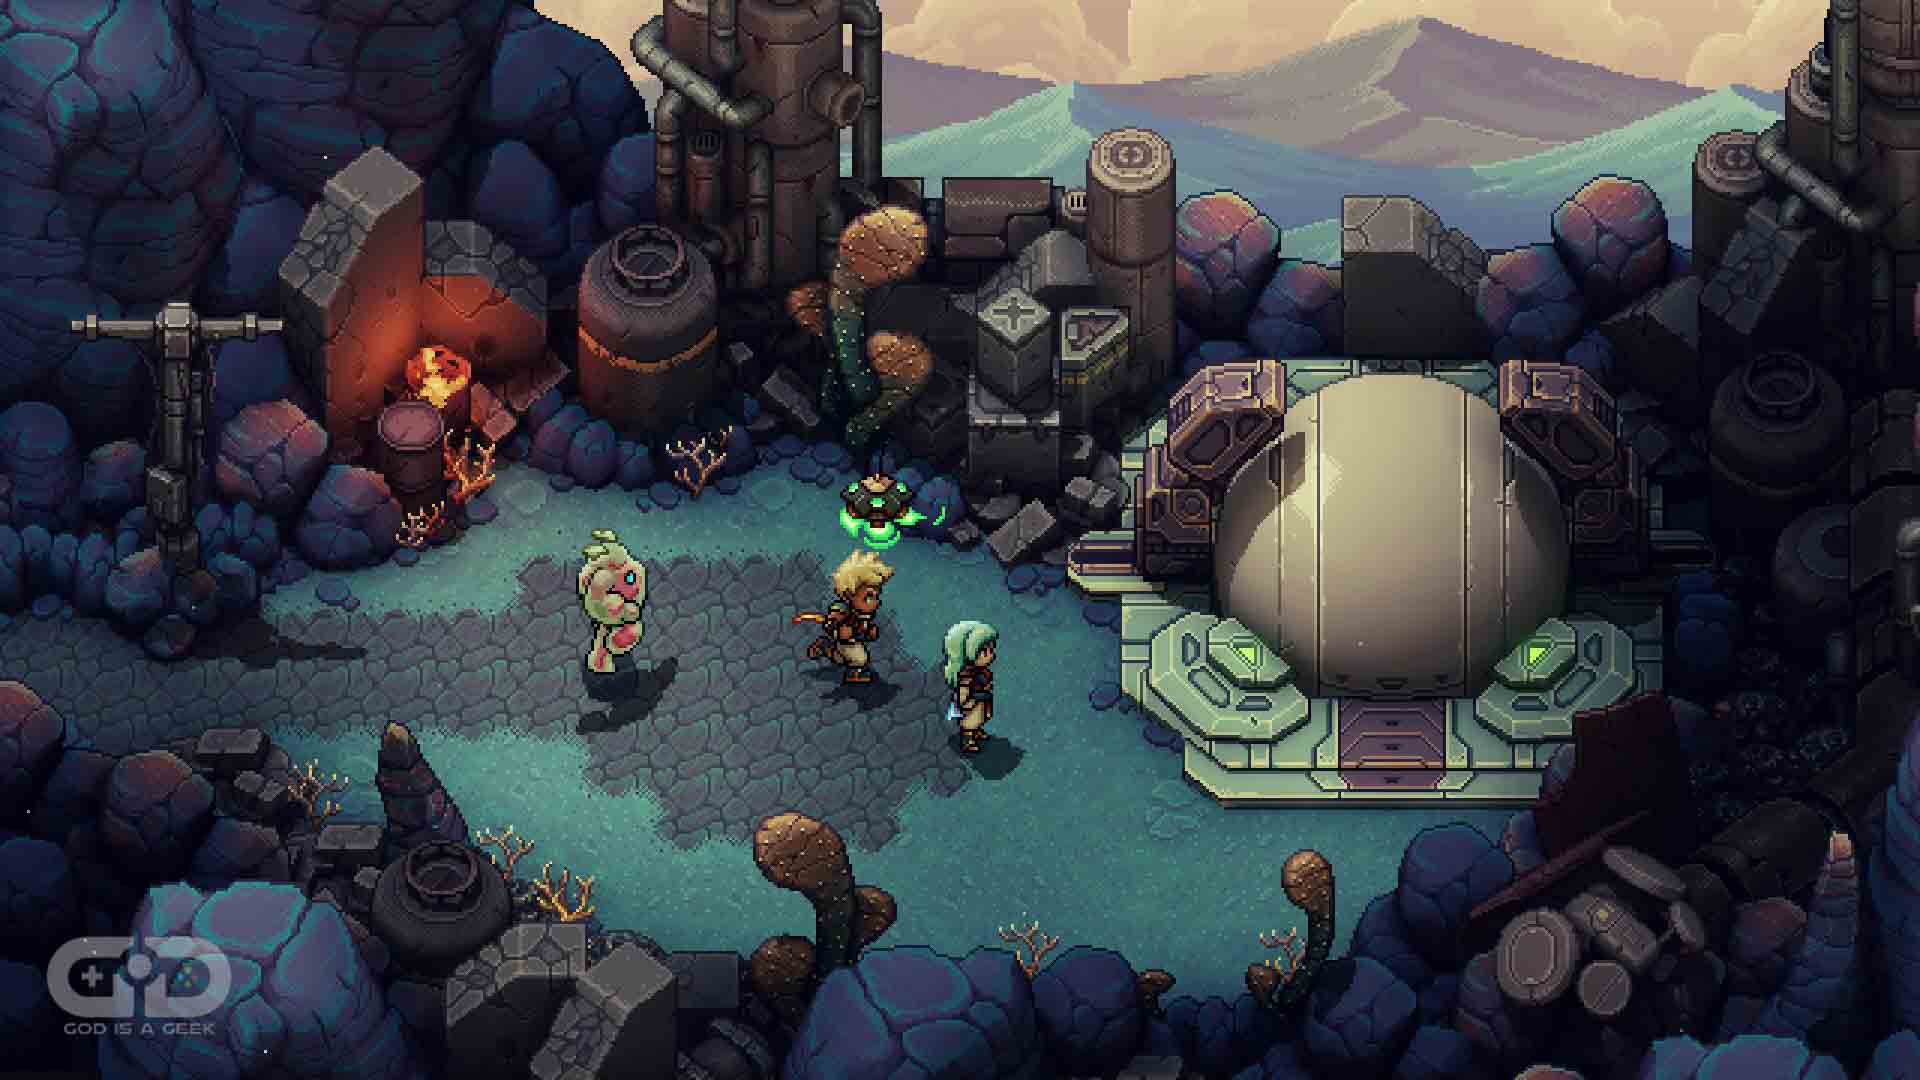
Head to the Cerulean Expanse and follow these directions, and it will lead you to a Speedball transportation unit. Take it and you will find the hidden area of the Throne of the Queen That Was.
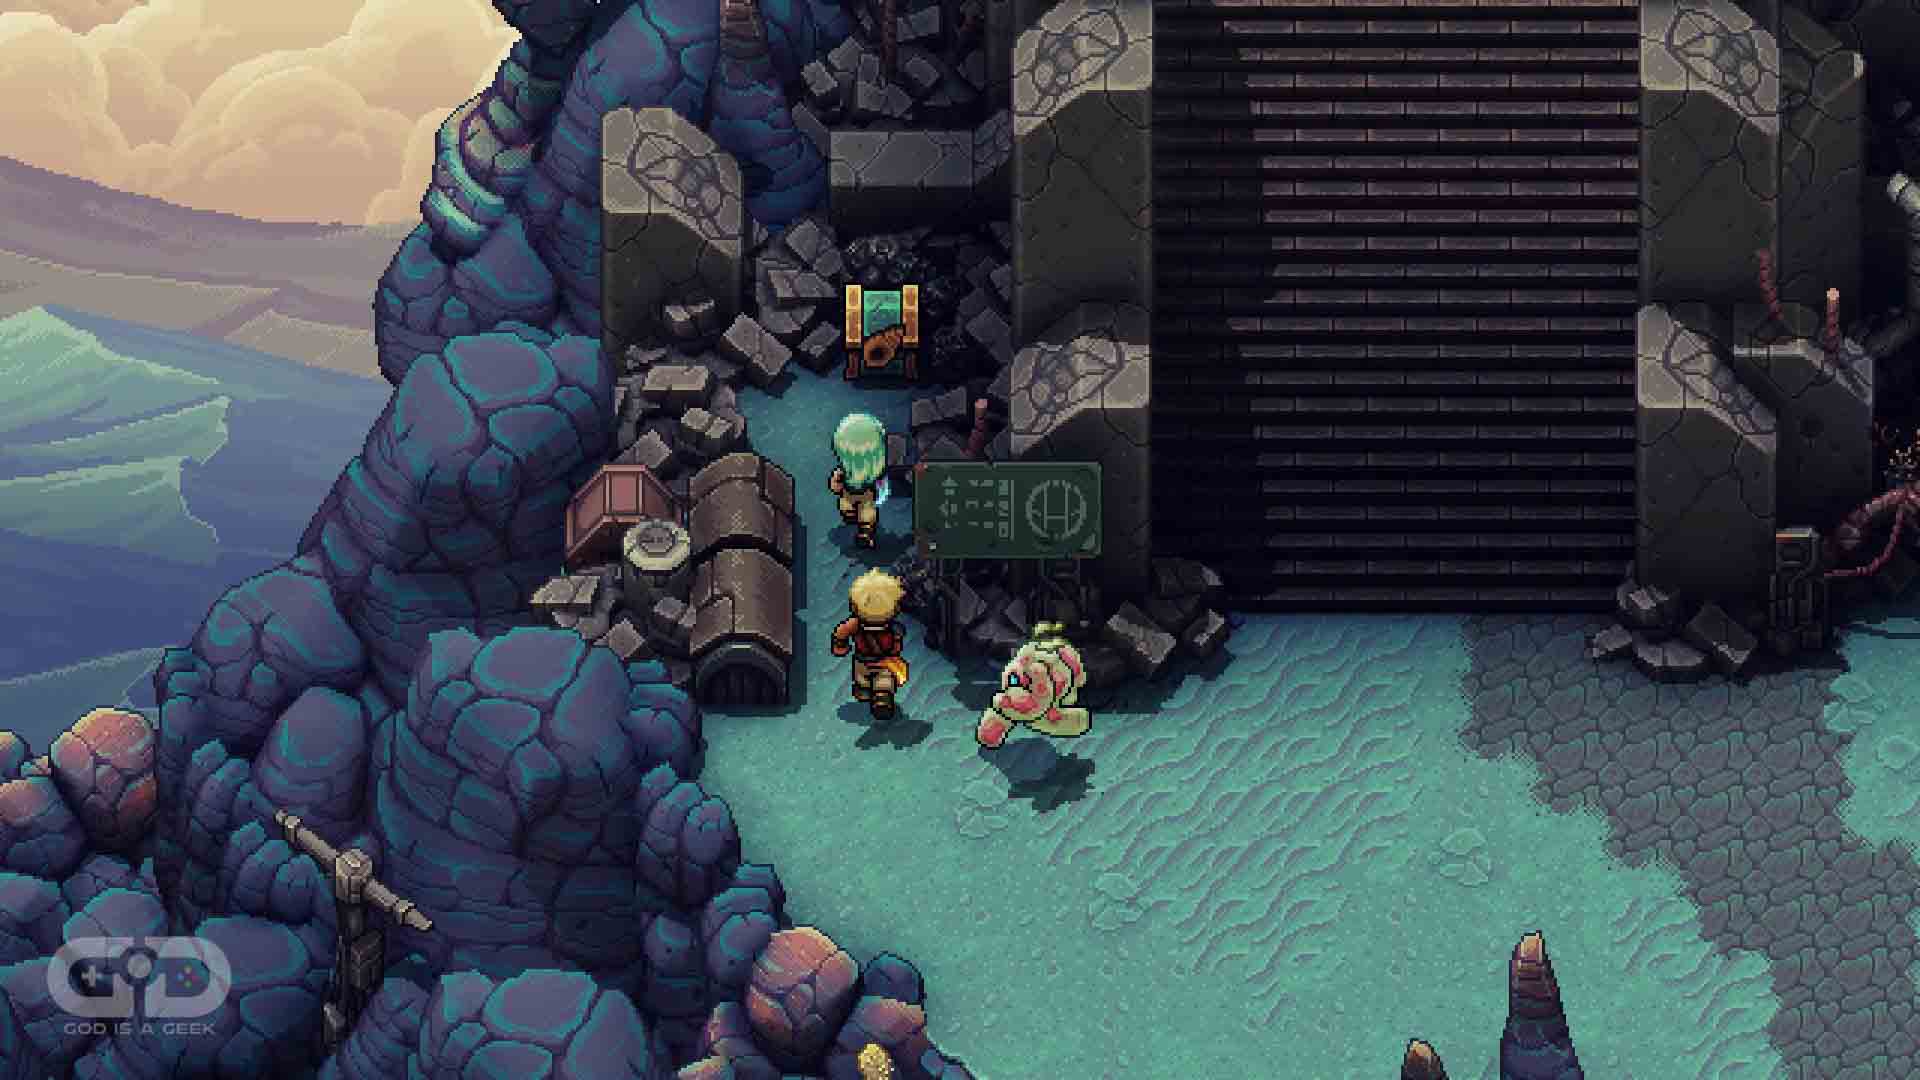
Once here, head towards the steps, and then to the left to grab the final Rainbow Conch chest in the game.
Congratulations, you’ve collected every Rainbow Conch in Sea of Stars.


