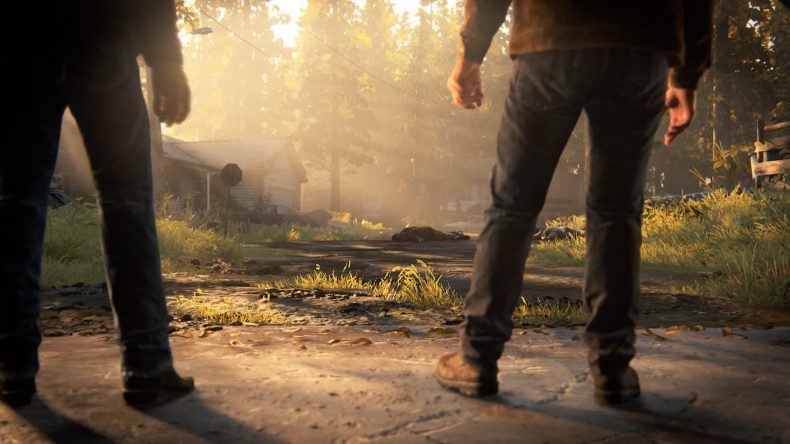
Waking Up (1 Artefact, 2 Cards)
Artefact: Volunteer Request – This document is to the left of the Blacksmiths. It is next to the a red ladder.
Card: Seismicayla – As you approach the centre of town, to the left is the main street gallery. You’ll find this card to the right hand side of the entrance doorway.
Card: The Keen Twins – After talking with Seth and Maria, head to the right side of the bar and you’ll find a barrel with this card on top of it.
Overlook (1 Artefact)
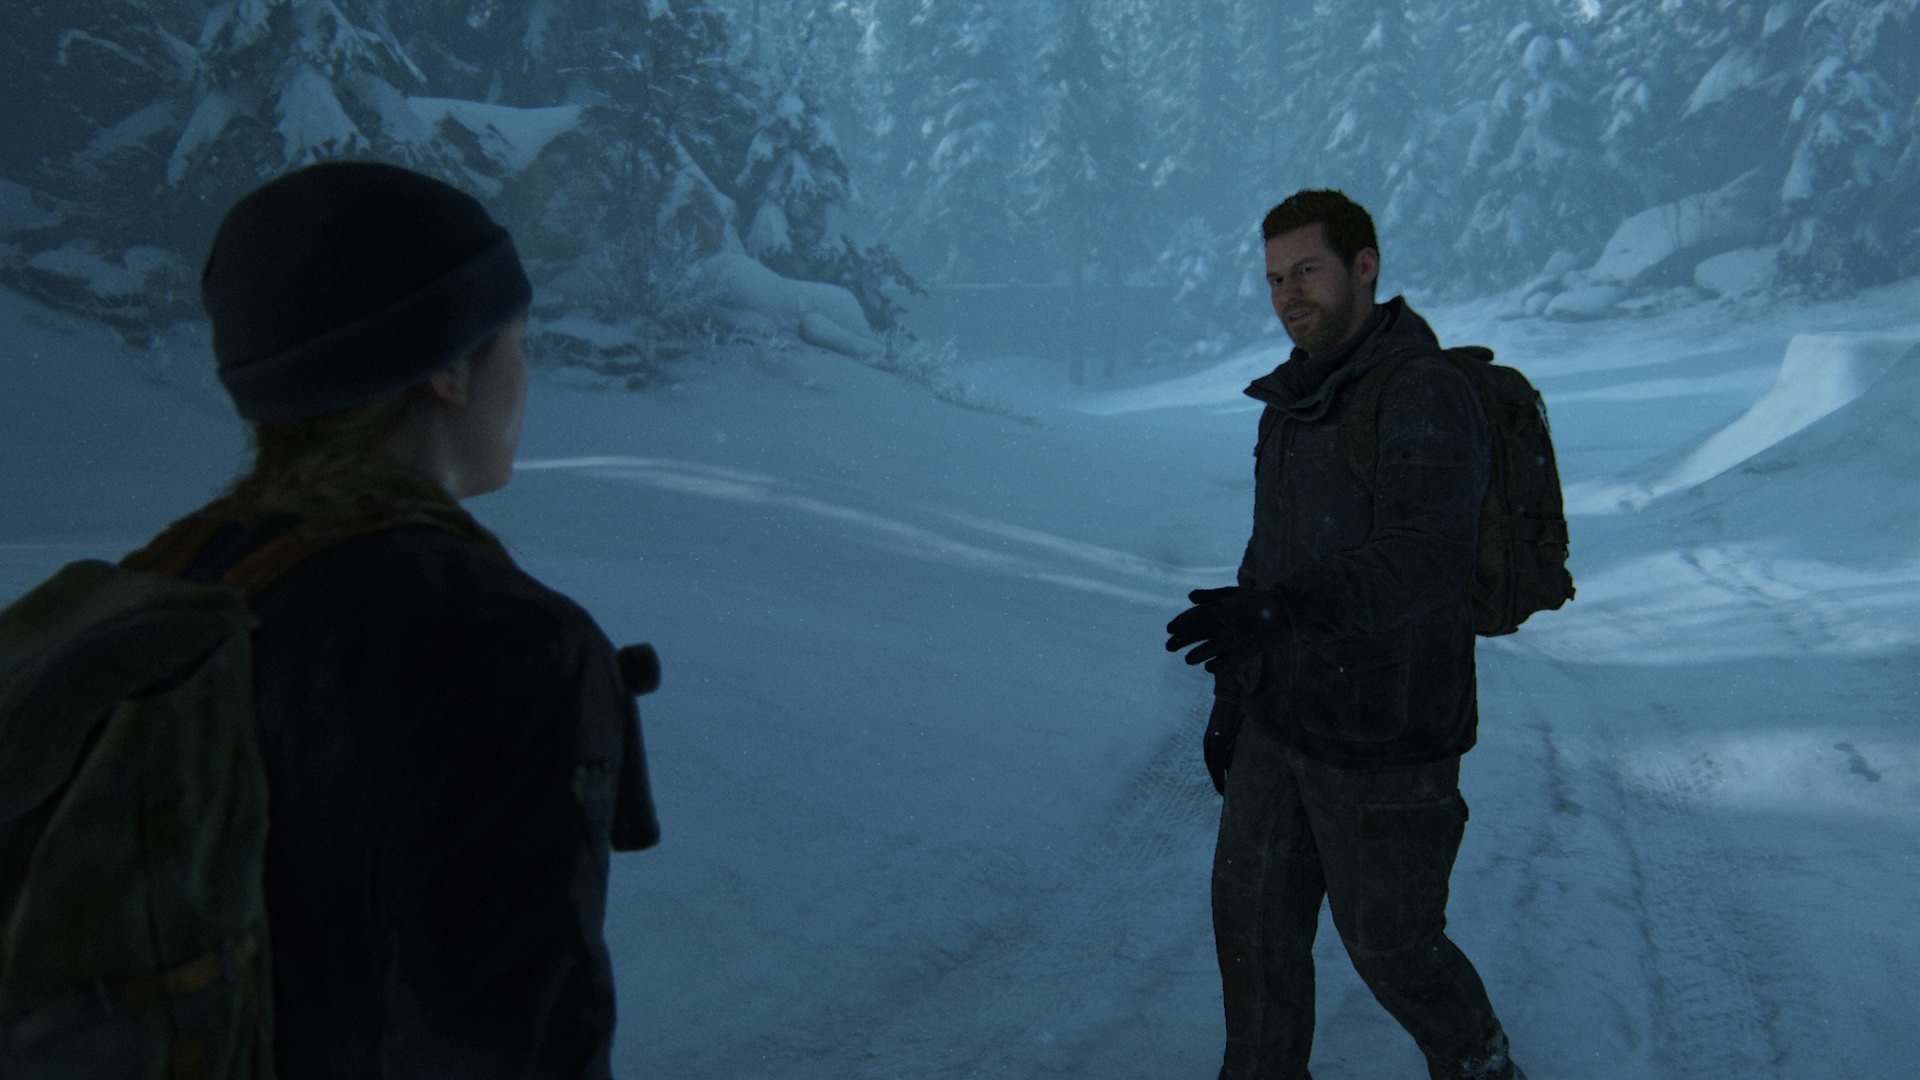
Artefact: Letter From Seth – After you leave the first house in your escape from the infected, turn left and you’ll find a second house. There’s a room with a desk in it. To make sure you’ve found the right one, there’ll be a window exactly opposite the desk. The letter is on there.
Patrol (6 Artefacts, 2 Cards, 2 Journal Entries, 1 Work Bench, 1 Safe, Molotov)
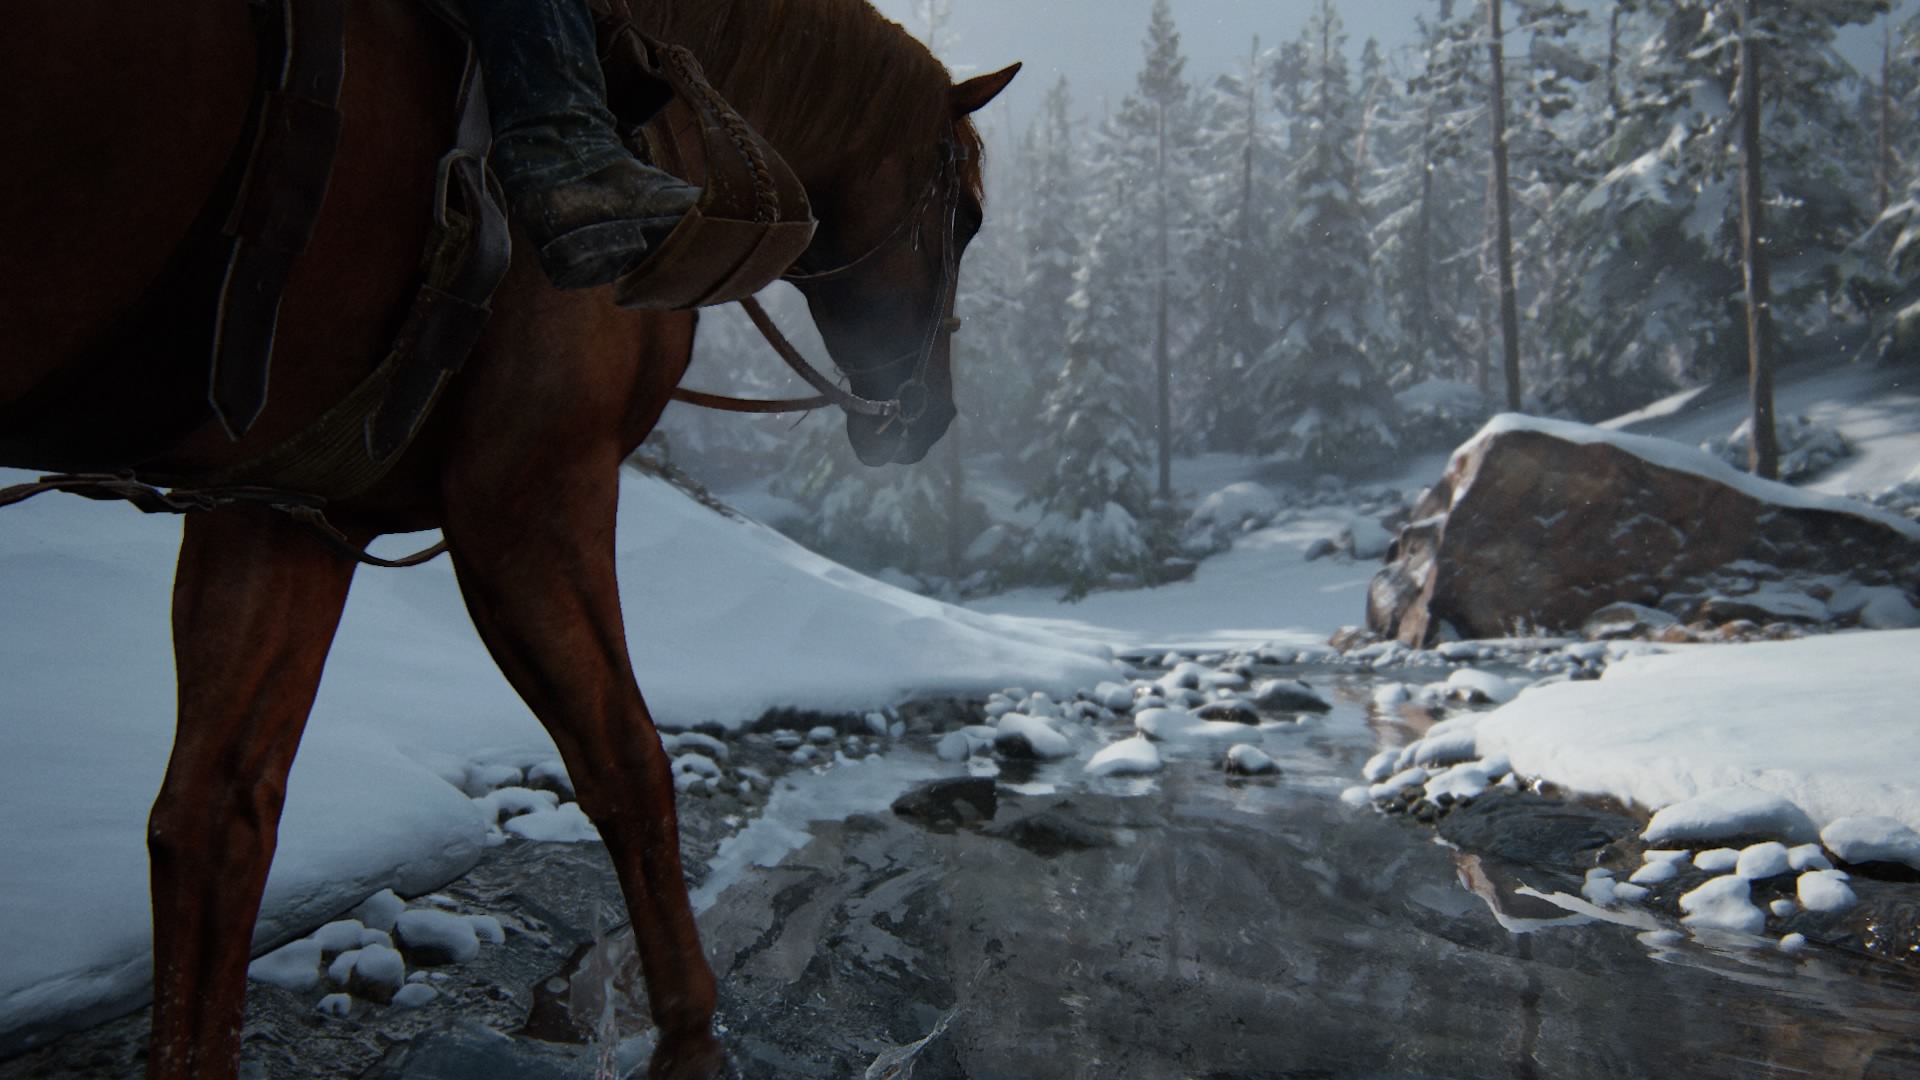
Journal Entry: The View – After admiring the view of the town you’re heading towards with Dina, stay looking and an option will pop up which allows you to write in your journal.
Artefact: Letter to Santa – You’ll find this in a drawer by a double bed in the third house along the left side of the small abandoned street you first encounter.
Card: Tesseracter – Dina will actually hand this to you in the third house on the right, you just have to climb on the car outside and get up to the roof (same street you find the first artefact).
Artefact: Supermarket Apology – Towards the back of the Greenplace Market lorry, you’ll find a door. Go through the door and turn right to find a small gap between some boxes you’ll need to climb through.
Molotov – Given to you by Dina automatically after finding the Greenplace Market Lorry.
Safe – When you encounter the spores for the first time, there’s another gap you’ll have to squeeze through. On the first door to your right there’s a safe (Combo: 072013).
Artefact: Good Boy Combo – In the room mentioned above, there’s a note that tells you how to open the safe. The answer is found on a framed picture of a dog who won employee of the month.
Artefact: Eugene Linden ‘000314’ Tag – After the snowstorm, head all the way to the back of the library and there’s a room called ‘Copy Center.’ Break the glass to climb in and you’ll find this hanging up just before you enter the next door.
Journal Entry: Giraffe – As you walk through Eugene’s room, there’s some shelving on the right. Look at the giraffe to find the journal entry.
Card: Laurent Foucault, CEO Spark – Whilst looking at the giraffe, turn 180 degrees and head to the room right in front of you (towards the back). It is lying next to a stack of comic books.
Artefact: Photo of Eugene and Tommy – In Eugene’s room there’s a desk opposite a single bed. The photo is on there.
Artefact: Eugene’s Ultimatum – Next to the single bed mentioned above, you’ll find this in the bedside table drawer.
Workbench – Once you’ve made your way through Eugene’s room, there’s a workbench on the right (opposite the generator).
Packing Up (1 Artefact, 2 Journal Entries, Revolver)
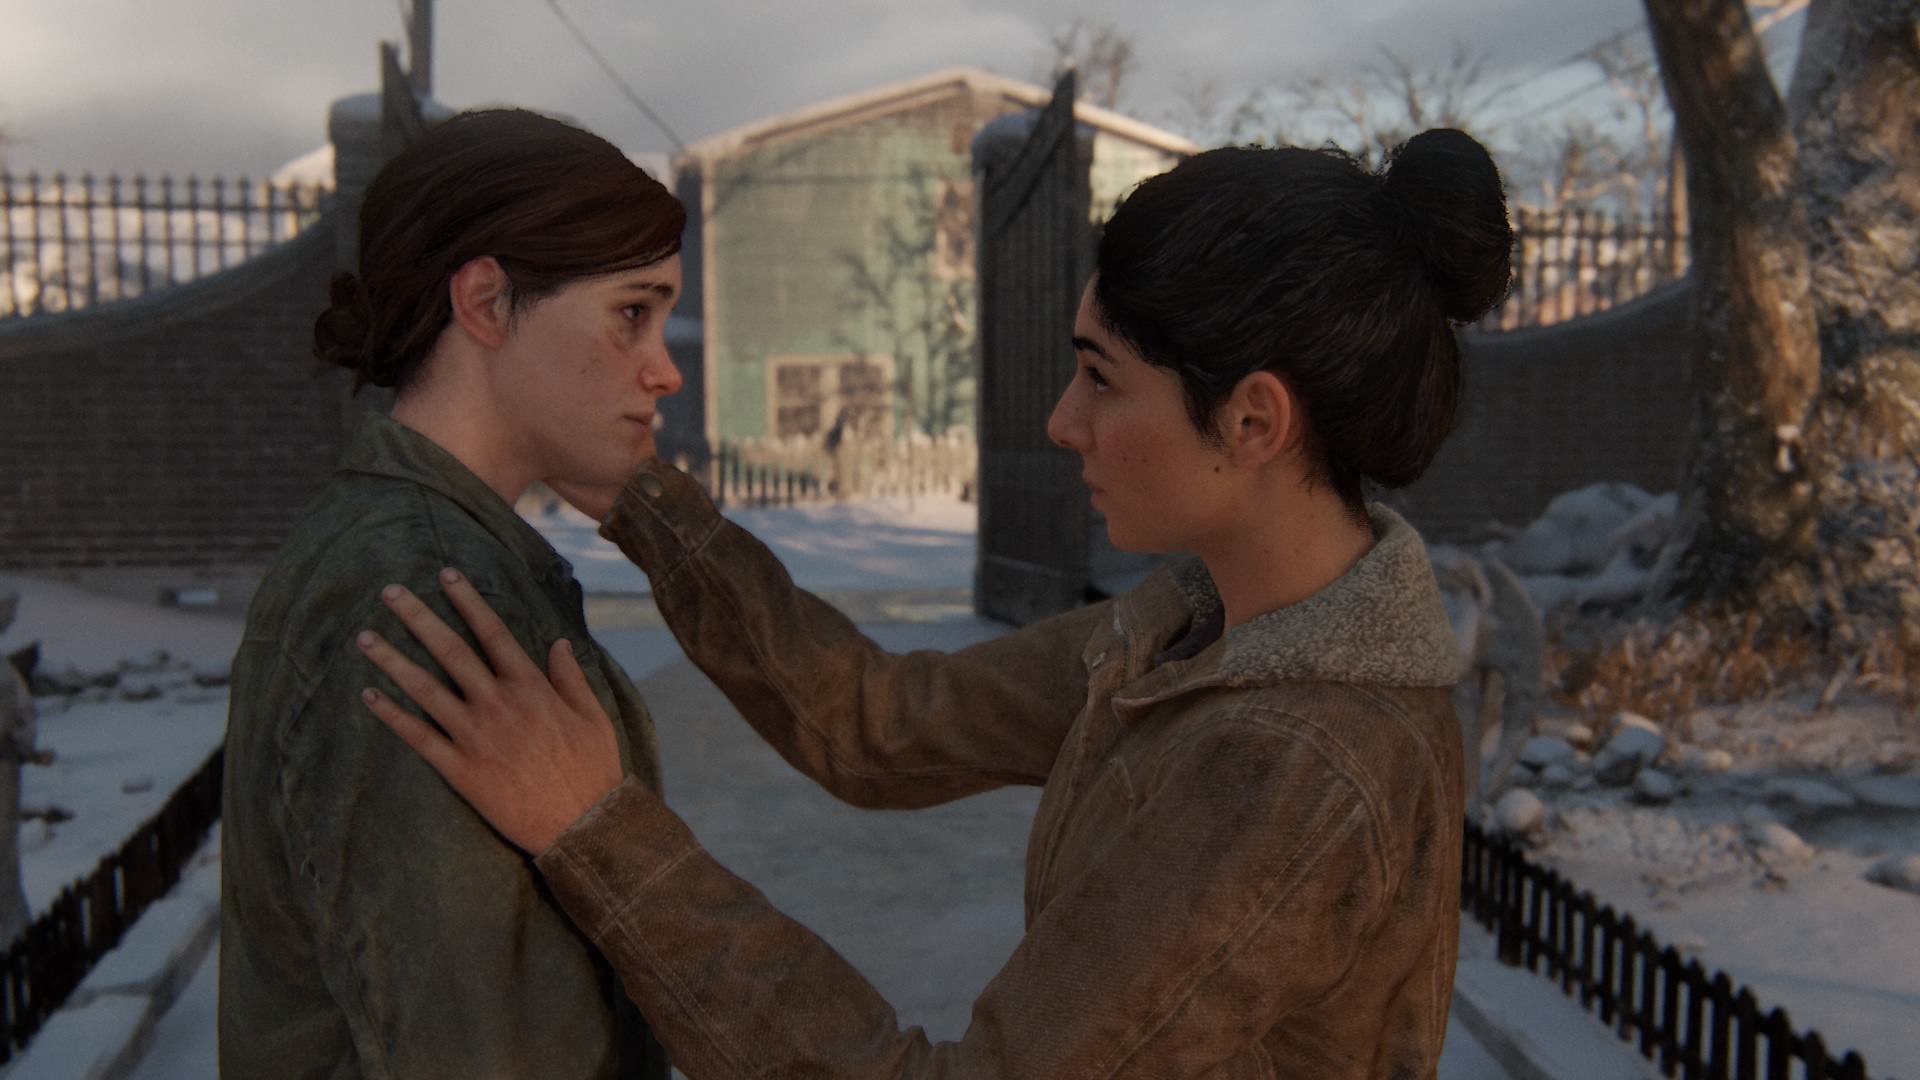
Journal Entry: Giants of the Past – On the shelves in Joel’s front room, there’s a pamphlet for a Wyoming museum featuring a dinosaur exhibit titled, ‘Dinosaurs of the Past.’
Journal Entry: Owl Mug – In the kitchen, there’s a mug on the side which you’ll write in your journal about.
Artefact: Joel’s Watch – In Joel’s bedroom, there’s a red box. Look in there to find Joel’s watch.
Revolver – Found in Joel’s bedroom.


