A Complete Guide to The Last of Us Part II | Find all the Collectables and Weapons in Seattle Day 1 (Ellie)
")
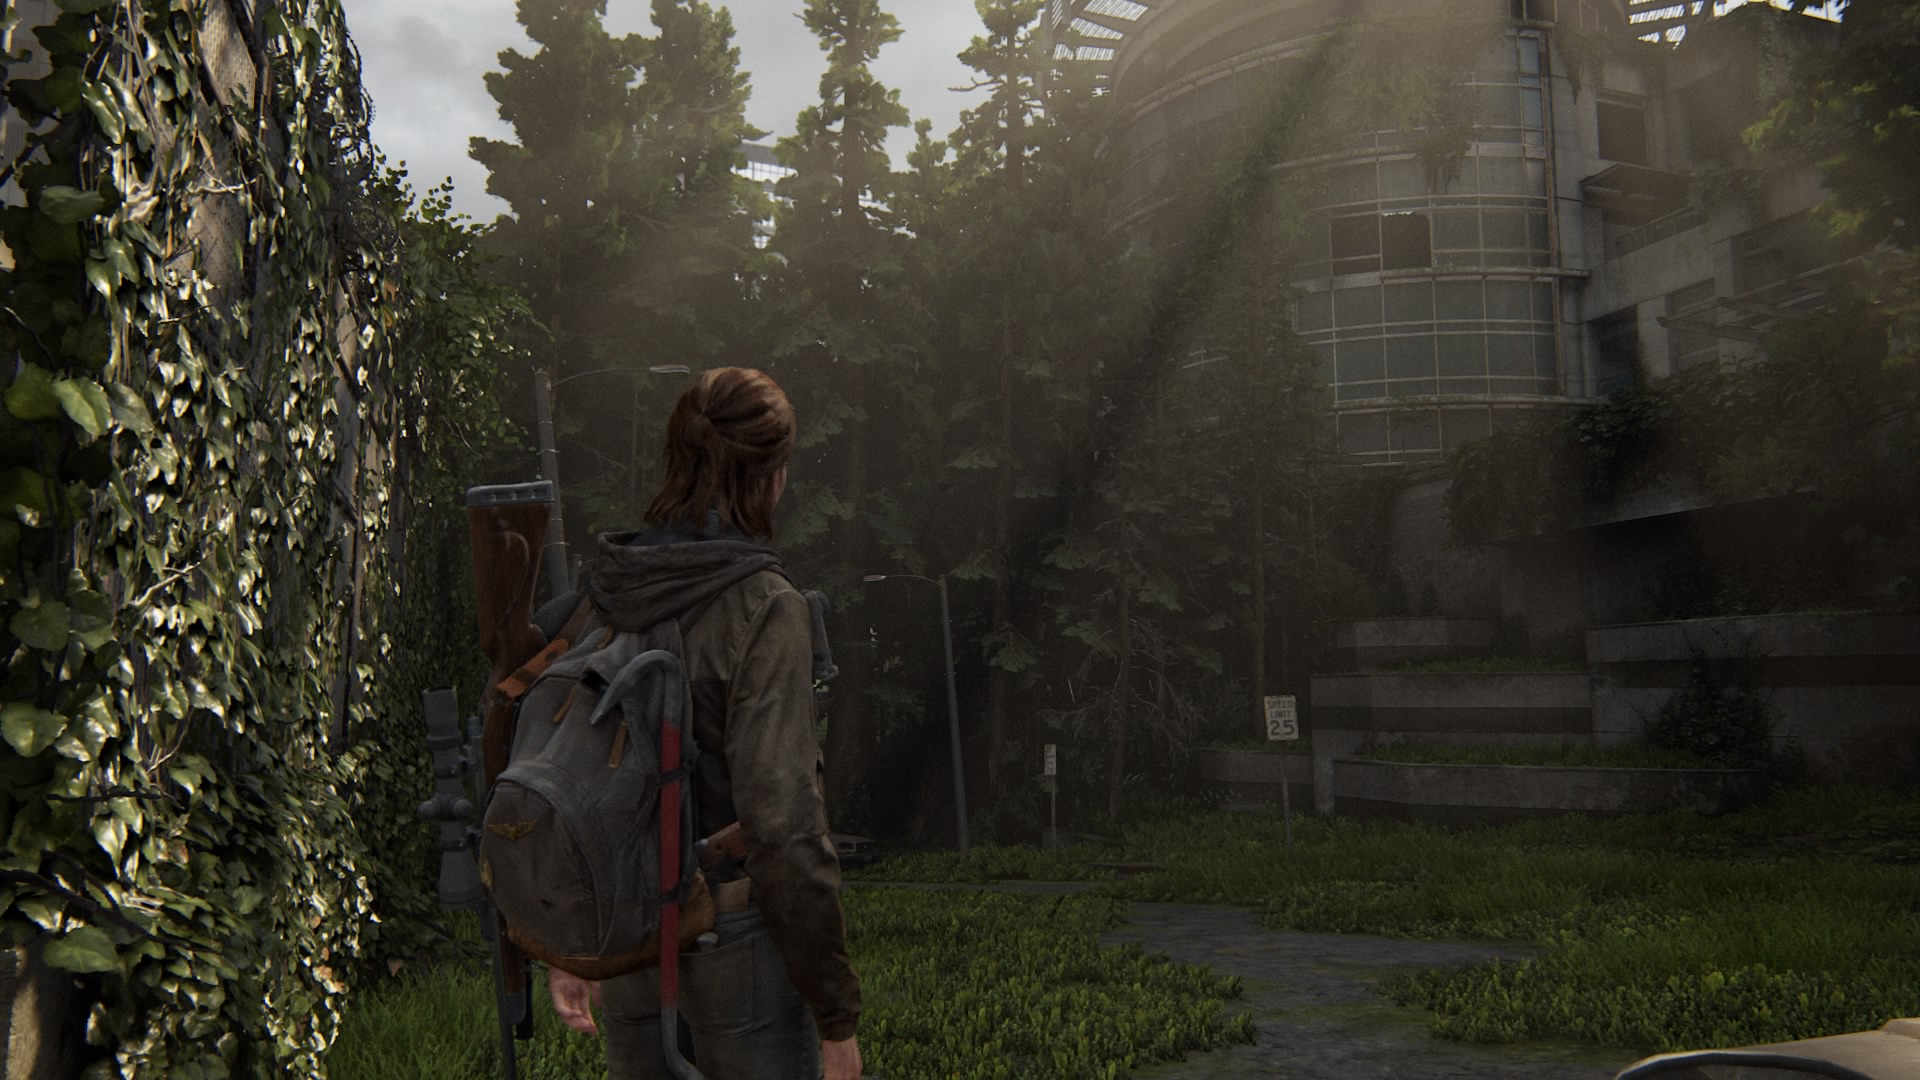
The Gate (6 Artefacts, 4 Cards, 1 Journal Entry)
Card: Motivator – After arriving in Seattle, you’ll find a bustop with this card attached to the side of it.
Card: Star Fire Kids – When you find the main route towards the QZ (road with loads of cars, trucks, and vans on), turn left and you’ll soon see a trailer. Go inside and it is pinned on the notice board.
Artefact: Map of Seattle – This is in a drawer in the same trailer as above.
Artefact: Refugee Note – In the first FEDRA trailer to the left, this is on the side.
Artefact: Infected Infographic – There’s a second FEDRA trailer behind the first, and it is in the same opsition as the previous artefact is.
Journal Entry: QZ Gate – If you approach the huge gate with the words, ‘TRESPASSERS KILLED ON SITE,’ you’ll be able to write in your journal.
Artefact: Isaac’s Orders – Before climbing down the ladder after jumping over the QZ gate, there’s another ladder that leads up. Climb this to find the artefact.
Card: Chessmaster – Found in the same place as the artefact above.
Artefact: Checkpoint Gate Codes – Once you’ve climbed over the gate and avoided almost certain death, there’s another FEDRA trailer. In here is a drawer with the gate codes inside.
Artefact: Rooftop Note – This is on top of the FEDRA trailer mentioned above. To climb up, use the cable to throw over it. Open the locked gate and proceed to climb up.
Card: Oozer – Same as above.
Downtown (18 Artefacts, 5 Cards, 2 Journal Entries, 1 Workbench, 3 Safes, Shotgun, Stun Bomb)
Artefact: Census Document – This is located inside the checkpoint station next to the East Gate.
Artefact: Bank Heist Plans – As soon as you arrive downtown, head left towards some structural damage. Once you’ve made your way through you’ll find the Westlake Bank. It’s towards the top left of the bank as you walk through the doors. These give you the following code to get inside the safe.
Safe – It’s in the open vault in the bank where you find the above artefact(Code: 602306).
Artefact: Bank Robber Letter – This is on a table inside the safe.
Shotgun – You’ll find the shotgun in the safe.
Artefact: Antique Ring – You can pick this up in one of the safety deposit boxes in the safe (top right corner). Finding this also bags you an achievement!
Artefact: Emergency Protocol Memo – This is found on the first level of the synagogue.
Journal Entry: Rabbi’s Office – Inside the synagogue on the first floor after using the rope, there’s the Rabbi’s office. Inside you’ll be prompted with a journal entry after looking in the drawer..
Artefact: Rabbi Sandi’s Letter – This is in the drawer of the Rabbi’s office.
Artefact: Letter From Isaac – This is to the left of the synagogue where you’ll find a tank. Next to the tank is a body with this artefact next to it.
Stun Bomb – Found in one of the checkpoints up the stairs outside the synagogue.
Card: Das Wort – Inside Valiant Music Shop, head left through the front door and you’ll find it in some drawers.
Workbench – This is opposite the roof entrance to the music shop inside a military tent.
Artefact: Cache Hunter Note – This is in the same place as above, however, it’s next to a body on the floor (in a bag). In another playthrough, this was also found opposite the bank in broken structure, next to another body.
Journal Entry: Lookout Station – Between the above tent and music shop, there’s a walkway between them. Stand on here in the middle.
Artefact: Street Drawing – In the lookout station closest to the military tent, you’ll find this in a drawer.
Safe – At the very back of the downtown area, you’ll find Gate West 2. Use the gate codes you found from the earlier artefact to enter. Once inside there’s a safe you can open with the code found in the ‘Checkpoint Gate Codes’ artefact found during The Gate (Code: 602306).
Card: Flo – You’ll find this in the safe above.
Artefact: WLF Community Supply Chest Note – This is upstairs in the right side of the courthouse in a bag.
Artefact: Lt. Torres’ Final Memorandum – In the Balif’s office downstairs of the courthouse, you’ll find this under the whiteboard.
Safe – You’ll find the safe here, and the code is on the Whiteboard (Code: 860722).
Artefact: Plea to a Friend Letter: At the bottom of the level 1 hallway in the courthouse, this is in the furthest right body of three.
Artefact: List of Known WLF Agitators – This is in the bottom right filing cabinet next to the whiteboard on the left.
Artefact: WLF Safe House Supply Note – After smashing the window at Ruston Coffee, this is found on the desk.
Card: Big Blue – Found in the far left drawer behind the counter at Ruston Coffee.
Artefact: Pet Store Key – In the Ruston Coffee shop, head to the storage room towards the back and go into the toilets. After dispatching of an infected, the key is found on the baby changer.
Artefact: Join WLF Note – Use Barko’s Pet Store key to get inside (found between one of the two back alleys). You’ll find this on the photocopier inside.
Card: Doctor Uckmann – There is a big structure in front of the synagogue. Climb to the top and you’ll find it in the filing cabinet.
Artefact: Note to Informant – In the corner of the map towards the bottom right, there’s a truck in the water. Open the back door and find this inside.
Card: Know It All – In the Serevena Hotel, there’s a room upstairs. It is the second room to the right, and you’ll find this in between two double beds.
Artefact: WLF Recruiter Journal – This is in the TV cabinet opposite the two double beds mentioned above.
Eastbrook Elementary (3 Artefacts, 1 Card)
Artefact: Leah’s Note – You gain this automatically after saving Dinah at the start.
Artefact: Leah’s Photograph – Same as above.
Artefact: Isaac’s Mandate – After killing the three guards on the roof, you’ll find this in the room you’ll find to the top right of the area. Walk through the grey door and you’ll find it on the desk with a radio transmitter on it.
Card: Cardio – This is in the first apartment you find after jumping from the roof. Jump over the couch and you’ll find it through the first door on your right in the left bedside drawer.
Capitol Hill (7 Artefacts, 6 Cards, 2 Workbenches, 1 Safe, Trap Mine)
Artefact: Chevy’s Apology – After turning left down the alleyway past the patio, head into the apartment on the right. You’ll find this on the bed upstairs.
Card: Kinnard ESQ – Down the first alleyway you find, turn right past the patio. It’s in the first house (number 3) in a drawer.
Card: Rockafella – In the Capitol Inn apartments, head all the way to the bottom and walk through the open door (next to the locked red one). Climb through the window and jump in the next window along to find it in there (essentially the apartment that has the locked red door).
Artefact: Raul’s Olive Branch – At the back of Capitol Hill (right of rooms mentioned above), use the dumpster to climb through the high window. You’ll find this on the right hand side on a desk drawer.
Trap Mine – Found on the bed in the apartment above
Workbench – This is in the petrol station, under the ‘A/C service’ sign.
Artefact: Rebecca’s Tip Off – In the bookstore, you’ll find this in the kitchen area between two coffee filters.
Card: Dr. Stem – In the bookstore you’ll find a white door. Head through here and it’s to the left under a record player.
Card: Sergeant Frost – This in inside the Olive Street Market, in the far left locker.
Card: Candelabra – Found in the liquor store to the right of the ‘Play Lottery Here’ banner.
Artefact: Tower Doodles – After you’ve exploded the infected in the traps, you’ll find a watchtower before the descent down to a few cars. Climb it and pick up this artefact.
Artefact: Raul’s Account – After crossing river and climbing up an embankment of bluebells, open the black truck to find this inside.
Workbench – Found inside the martial arts center (through the hole in the brick wall).
Aretfact: Fran’s Refusal – This is on the notice board inside the martial arts centre. (opposite “Free Her Love Graffiti.
Card: Bizzarebra – Inside the thrift store located the opposite side of the martial arts centre.
Artefact: Thrift Store Reminder – This is on the notice board at the back of the store (through the door on the left).
Safe – You’ll also find this at the back of the thrift store. The code is on the bathroom wall (Code: 550133).
Channel 13 (1 Artefact, 1 Card)
Card: Kimmela – After climbing through the window following the ledge, head right to the back of the office. You’ll find it on the desk in the room with a clock that reads 2:15).
Artefact: Dad’s Pep Talk – As you head up the stairs from these offices, it is on a long sofa in the room directly north west.
Tunnels (5 Artefacts, 3 Cards, 1 Journal, 1 Workbench)
Artefact: Subway Note – After shutting the train door on the clickers, head to the back of the carriages and you’ll find it hanging up next to the left window.
Card: The Imp – When you find a room with a bright red light, there’s a blue train to the right before you walk through the door.to this room. It is underneath the carriage.
Workbench – Inside the room with the burnt man, rope, and bright red light, head up the ladder to the right. It is in the utility room right in front of you after you’ve climbed up.
Card: Baslet – Before you climb onto a red box, crawl left into the train carriage to find it.
Journal Entry: Shamblers – After fighting the shamblers, walk up to one of them and you’ll be prompted to write in your journal.
Card: Dr. Daniella Star – After pulling the chain to open the shutter, you’ll walk down a long corridor. Head through the first door to your right. Got to the back of the room and jump over the desk. Crawl into the caged area and find this on the computer desk.
Artefact: Wilted Statue – This is through the left door to the caged area. After you head through the door, this is on a desk to the left of you.
Artefact: Locker Room Note – You’ll find this to at the back of the cafeteria.
Artefact: Soda Can Note – Break the soda machine and find a can with this note attached. It has the locker room code on it (Code: 15243).
Artefact: Subway Station Note – After you’ve jumped up off the red box (there are lots of abandoned trains here), turn right and you’ll find it attached to a door.
Theatre (4 Artefacts, 2 Cards)

Artefact: Programme for Casandre – Head to the back left of the ground floor. It’s just past the toilets on a green crate.
Card: Mortem – This is located on the box office deck right at the back of the ground floor.
Artefact: – Lone FEDRA Soldier Journal #1 – Once you’ve ran up the stairs to the first floor, head left to the balcony. Once up there, turn left and you’ll find it on a small circular table.
Card: Beyond – If you head past the bar and follow the floor round to the right, this is under the sofa at the end.
Artefact: Lone FEDRA Solider Journal #2 – After getting the power back on, you’ll find this on the radio transmitter.
Artefact: The Sick Habit/Set List – At the bottom of the auditorium you’ll find this on a crate before you head through the curtains.
Birthday Gift (1 Artefact, 2 Cards, 2 Journal Entires)
Journal Entry: T-Rex – You’ll be prompted to write in your journal after seeing this right at the beginning.
Card: The Nighthawk – This is towards the left of the bench before the toilets towards the left of the triceretops.
Journal Entry: One Day – This prompt is in the space section between two benches (behind the planets).
Card: Saura – When you walk into the room with the stuffed moose, turn right and this is under a bench.
Artefact: Suicide Note – In the National History Center, this is next to a body after ducking under the wall opening (“there is a light” is written on the wall above).


