A Complete Guide to The Last of Us Part II | Find all the Collectables and Weapons in Seattle Day 2 (Ellie)
")
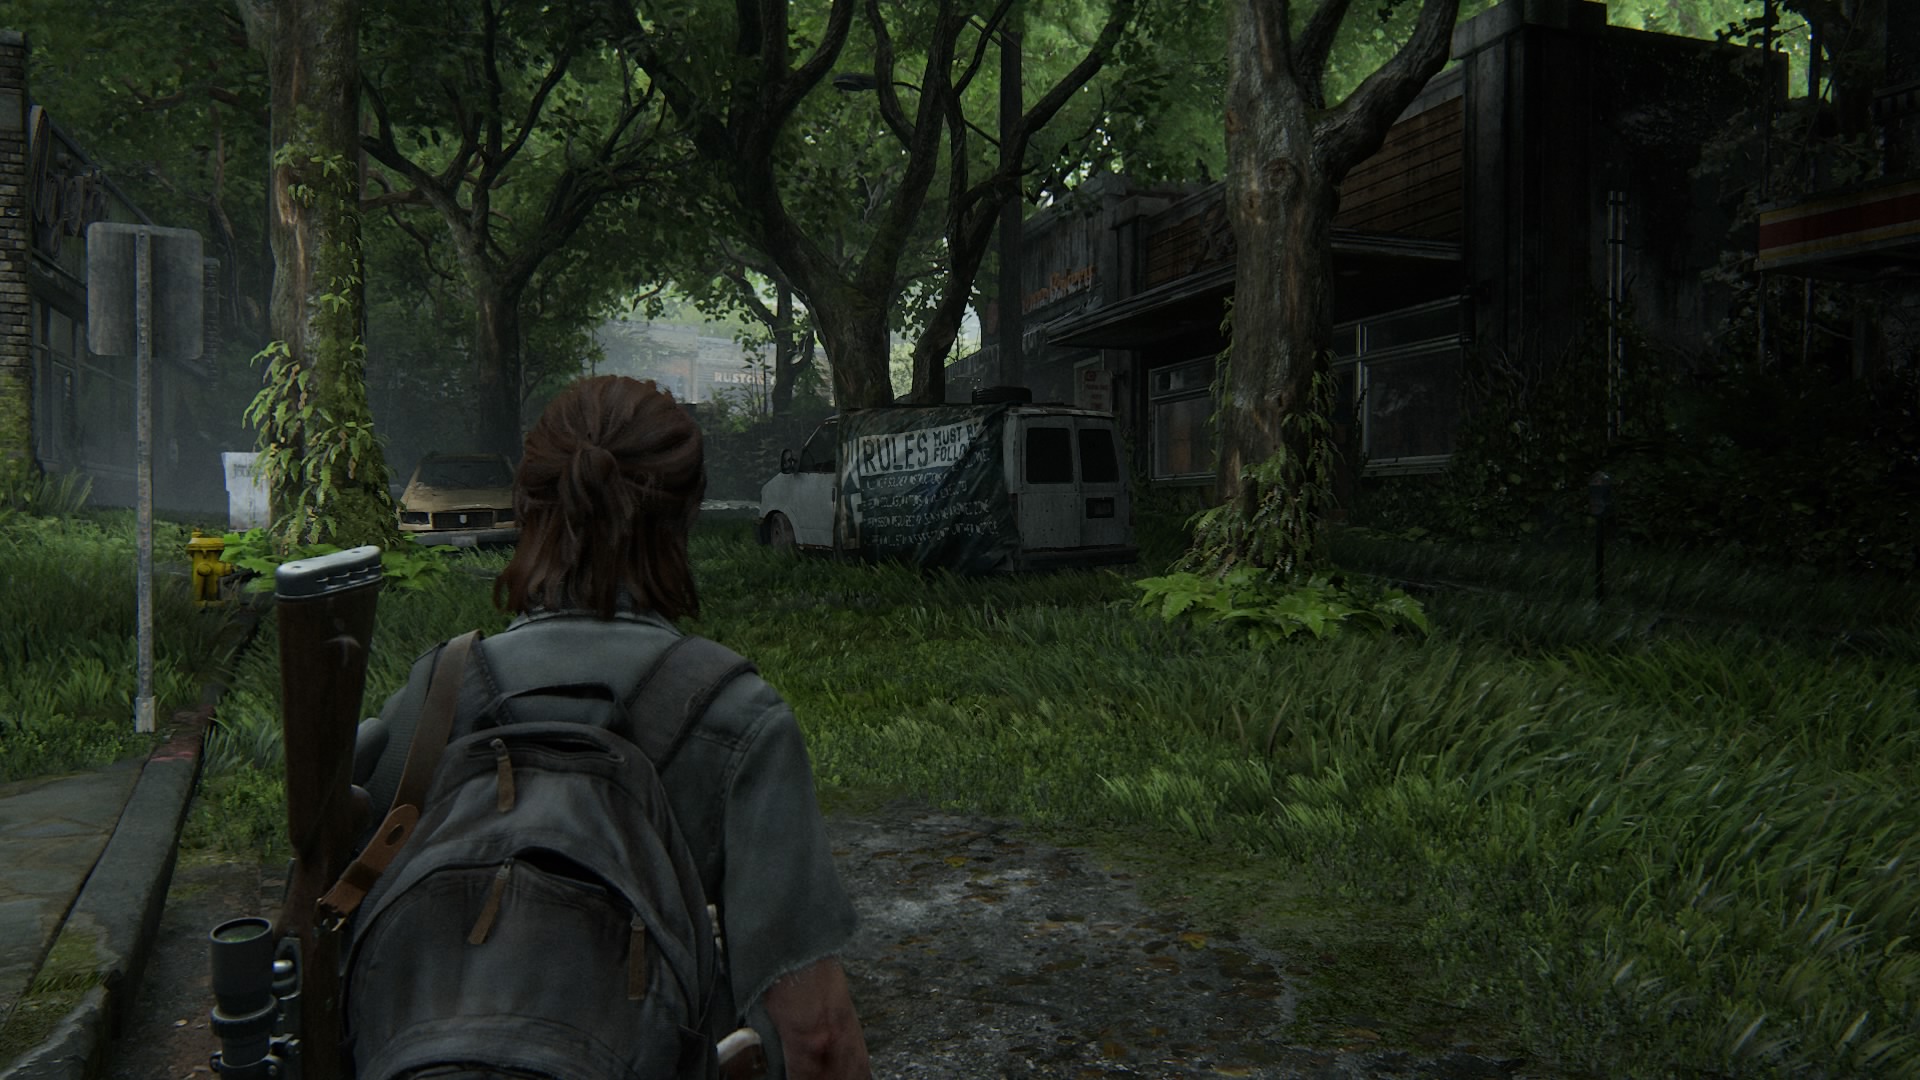
Hillcrest (10 Artefacts, 5 Cards, 1 Journal Entry, 2 Workbenches, 1 Safe, Bow and Arrow)
Card: Wachumero – Turn right as soon as you start and head down into the ditch. Break the pick-up truck’s back window and grab the card.
Artefact: Join WLF note – In the third house on the left (the laundrette), you’ll find it in the back room.
Artefact: Boris’ Daughter’s Drawings – There’s a hole in the wall in the first house on the right. Head through and you’ll find it in the basement.
Workbench – Same room as above.
Artefact: Need a Plan Note – After jumping over the brown truck and seeing the WLF drive off, head left down to the exposed sewer pipe and climb up to the shop above. It’s on the table.
Card: Sahir the Sorcerer – In the same building as above, at the back of the shop.
Journal Entry: WLF Poster – Walk towards the poster to the left of Ruston Coffee to write in your journal.
Artefact: Yolanda’s Note – This is on the left counter in Ruston Coffee.
Workbench – After using the dumpster to climb up and go through the hole in the garage wall, you’ll find this directly in front of you.
Card: Naledi the Youthful – In the same room as above, in the spokes of the bicycle.
Artefact: Condolence Note – Again, this is in the same place as above, in the back room on the computer desk.
Safe – In the building behind the tattoo parlour, move the dumpster and kill the four infected )Code: 308265).
Artefact: Note to Hillcrest Tattoo Parlour – In front of the auto repairs building that has the safe in. This is in the back room.
Artefact: Dale’s Combo – Opposite the tattoo parlour, head into the bar/restaurant and kill the shambler. Walk through the far right door and turn left to see this on the notice board.
Artefact: Turn in Boris Note – Break the window next to the locked door of the pet grooming store and find this inside.
Bow & Arrow – You’ll get this after a fight with a Clicker in a garage. This is followed by some target practice.
Card: Brainstorm – After climbing up the long stone staircase (with the two dead bodies at the bottom of it with arrows in them), kill the two infected and climb over the wall. Before you walk in the house, check the children’s playhouse outside to find this.
Artefact: Rosemont’s Flyer – This is in the house mentioned above, on the left had side on a desk.
Artefact: Boris’ Confession – This is in the brown coffee table in the same has mentioned above.
Card: Reverb – When you encounter two WLF guards with a dog, head into the house with four doors upstairs. Walk through the only open door and crawl under the bed to find this one. Be careful, as there’re plenty of guards around, including the one in here.
Finding Strings (1 Artefact, 1 Card, 1 Journal Entry)
Journal Entry: Mountain View – Turn right right near the start and look at the view of the mountains to write in your journal.
Card: The Austringer – When you get off your horse and try to find a way to the music store, there’s a section to the left when Ellie says, “I don’t think we can go this way.” This is in the back of the silver car here.
Artefact: Tara’s Invitation – In the hotel, head into room 107 to find this. It’ll be the section after entering the spores and jumping through the gap in the wall.
The Seraphites (7 Artefacts, 6 Cards, 3 Journal Entries, 2 Workbenches, 2 Safes)
Card: Randy Styles – This is towards the very back right of the first store you come to, below the ‘smooth taste’ sign, on the racking.
Artefact: WLF Target List – This drops from one of the infected you kill outside of the restaurant. There will be four in total infected in total, a few clickers included.
Journal Entry: Feel her Love – There’s a big mural on the back wall. When you look at it you’ll be prompted to write in your journal.
Artefact: Letter to Husband – Climb the ladder to the far left of the building opposite the restaurant (sign outside has letters missing, but reads CON…NCE CENTER) and use the bricks provided to break the glass canopies. Throw the rope through the steel framing and swing into the room next to the one you’re in. You’ll find this to the back left of the room.
Card: Shift – Same room as above, on the long grey sofa.
Workbench – There’s a huge apartment block a little up from the above building to the left (has a ‘for lease’ sign outside). Climb on the white lorry and into the building. Head in the door on the left and head towards the back (in the kitchen) of the apartment to find the workbench.
Artefact: WLF Deserter Letter – After fighting off the deserters in the apartment mentioned above, head into the now opened bedroom and find this underneath the TV.
Artefact: Evacuation Letter – Head back out to the entrance of the apartment block (just next to the white lorry you climbed on. Instead of going back to where you’ve just been, head right and follow the steel framing to enter another apartment. Once inside, you’ll find this on the big table.
Safe – In the apartment mentioned above, you’ll find this is the built-in wardrobe (Code: 100883).
Card: Star Sign – This is in the bedroom of the apartment mentioned above, in the bedside table in the bedroom.
Journal Entry: Lakehill Hospital – Before entering the Seattle Conference Center, you’ll automatically write in your journal after looking at the hospital in the distance.
Card: Arch-Enemy – Inside the Seattle Conference Center, climb down the scaffolding and head into the door directly behind you. You’ll need to break the glass window to get in, and you’ll find it in the drawer.
Journal Entry: Dead Scar – After encountering the Scars for the first time, head to the back right of the park where there’s a dead body next to the bus stop. Look at the body to write in your journal.
Card: Doppleganger – On the first floor of the Garden Suites, follow it all the way round, and you’ll find it on a table next to a green rattle.
Artefact: Dying Husband’s Plan – Climb outside the room to the steel staircase and head up instead of down. You’ll find this next to a body leaning against a desk.
Artefact: Pharmacy Note – Once you’ve jumped off the roof into the water, head into the pharmacy to the left and you’ll find it under the desk.
Card: Bhat M’Andarr – You’ll find this inside of the pharmacy.
Workbench – Crawl under the cracked wall in the pharmacy to find it.
Safe – Same place as above (Code: 385523).
Artefact: Hospital Supply List – After entering the hospital and taking everyone out, head through the double door and you’ll find it on the desk right in front of you.


