6 tips to help you get to grips with Rainbow Six Siege

Rainbow Six Siege has recently celebrated its second birthday, and while most online games at this point start to see their community diminish, Siege has gone from strength to strength. The community continues to grow and there is a steady influx of new players, thanks in part to regular deals on the base game, and of course the recent Christmas sales.
Siege is an extremely tactical game with a very steep learning curve, it will take you a long time to become a fully competent player as there are a variety of operators to understand and a large selection of maps that you need to learn.
The in-game community can at times be a little prickly with lots of team-killing and votes to kick in the casual playlist, so here are a few tips to help you get started and up to speed as quickly as possible.
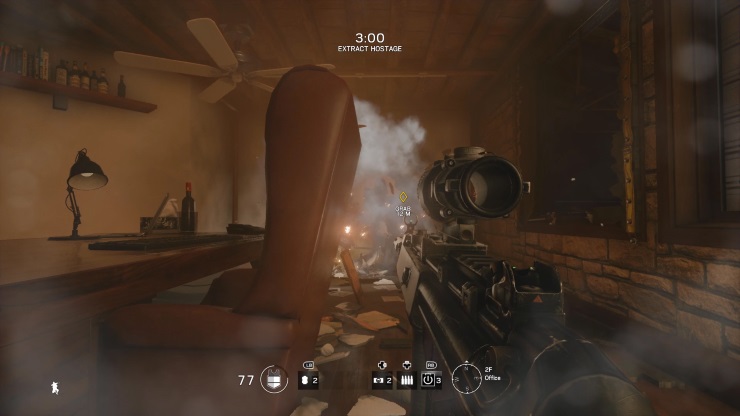
Be careful shooting drones!
On defence the enemy team will try to locate the objective by using drones; these drones can pinpoint your location and scan you so that the team knows which operator you are using. It is a good idea to remove drones by shooting them if you see them so that the enemy team doesn’t have any more intelligence on the situation than they should do, but be careful shooting them. It is easy to accidentally hit one of your team mates and take health off them or even team-kill them outright. If that happens you may experience some retaliation and either be removed from the match or team-killed yourself.
It is best to wait until the setup phase is over and you can take the drones out while they aren’t moving. Also, use a pistol to take them out rather than your primary weapon.
Don’t board yourself into objective
It’s tempting when defending to board up every wall, door and window and sit in objective and wait. You might feel safe, by our recommendation is to leave at least one route of escape should you find yourself in trouble. A popular attack operator is Fuze whose gadget is a cluster bomb which can be placed on any unsecured surface. If you are caught in a room when that goes off you are most likely dead.
Leaving a route to exit will also help you once you get more map knowledge to have a route to get the drop on an enemy player.
Rotation holes between objectives
If you are playing the Bomb game mode on defence and you see another player blow a hole between objectives, don’t board it up. Those are rotation holes and like leaving a door or window unboarded provides you with an opportunity to get between objectives very quickly. They can also be used to get better angles on the attacking players as they come towards objective.
These rotation holes require some understanding of how the map your are playing on works, but they are a great way of ensuring you have significant overwatch on both bombs, just remember they are there and make sure you cover all angles.

Watch out for ceiling breach!
Map knowledge is a large part of becoming a good Siege player, and one of the key areas where an attacking and defending player can get the drop on an enemy is via ceiling breaches.
If you are defending and playing an anchor role which means you stay near the objective, it is worth looking up to see if there is any way that the enemy team can shoot down at you. Similarly, if you are an attacker look out for areas above objective that you can blow out with a grenade or breach charge to get a different angle into the objective room.
Learn your operators
Learning the operators is a key skill in Siege. Each operator performs a different function. On defence you will have a mixture of roaming characters like Pulse for example, and anchor characters that are best utilised in the objective room – Smoke is a good example of this as his gadget is all about denying the attacker entry into the objective room. There are also Operators that can perform a mixture of roaming and anchoring. It is worth while investing some time in understanding what role each Operator you have unlocked is best used for and stick with that role as much as possible.
On Attack you have a mixture of Operators who can rush a point – Ash being a prime example of this and slower Operators that can provide some distraction while the faster characters move in – Glaz and Montagne are great examples.

Understand and use your gadget
As well as understanding your Operator’s role you will need to understand how and when to use their gadget. Some are simple to understand like Rook who deploys a number of armour vests for the team to put on. Kapkan is all about entry denial so be sure to set his traps on doors and windows around objective to ensure that any rushing attackers get damaged on the way. Mute can be used to stop Operator’s like Fuze from deploying his cluster bomb on windows and doors whereas Bandit can deploy his shock trap to stop attackers like Thermite from destroying the barricades you erect around objective.
On attack, players like Thatcher can be used to throw an EMP grenade into the objective room to disable enemy electronics like Bandit traps and Mute jammers. Operators like Sledge and Ash can be utilised to open up walls around objective to give you a different angle into the objective room. Experiment with each Operator and over time you will likely settle on one or two favourites.


