A beginners guide to Monster Hunter: World

To many of you, Monster Hunter: World will be your first foray into the series, and hey, that’s not a bad thing. Even for those that have played them before, MHW has a lot to learn, and whilst you can pick it up at a gradual pace, it’s always good to have a bit of an idea just what you’re doing before you head into the jungle to battle your first monster. We’ve played quite a lot, so we’ve picked up a few things along the way, so we thought you’d like a few tips on how to make the most out of your first few hours in this wonderful game.
These are things we, as a team, have actually picked up from playing the game up to this point, so we think they’ll be quite valuable to people who are completely new to the series.
Know your arsenal
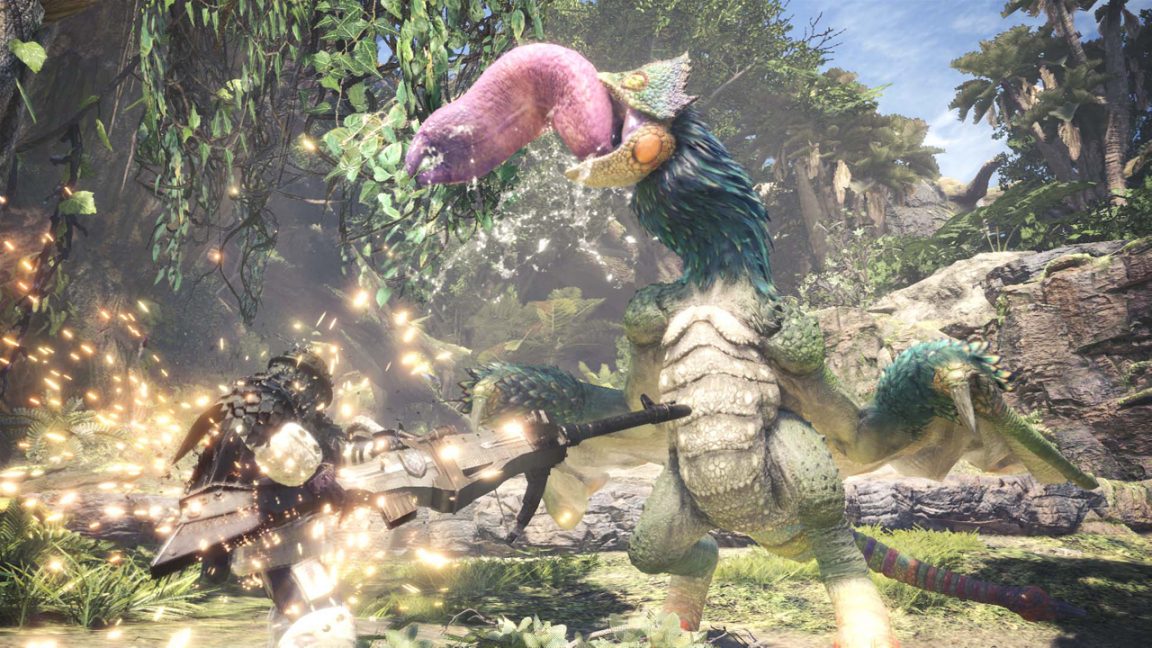
There are 14 weapons in total, and knowing where to start can be a challenge in itself. I guess it all depends on the moster you’re hunting. Take the Anjanath for example – a mahoosive big ol’ T-Rex with a fluffy back and a boned blade that shoots from his head when he gets pissed. He can be difficult to attack with a melee weapon because of his whipping tale and brute strength when in close combat. Try the Bow, or the Bowgun because range is key here. Experiment with the ammo and the arrows because they can both deal massive damage if you know what you’re doing.
Slower targets like the Great Jagras can be attacked with the Giant Axe or the Longsword, but they are slow so make sure you time your attacks or you’ll leave yourself open for a charge attack. Finding the perfect balance like the Gunlance can work wonders because of the brute force of the axe, and the power of the bullets in its shotgun-like gun. Or, if you like to use something to protect the charge, try one of the Switch Axes because you can both shield from attacks AND attack between charges. It also switches between an axe and a sword, so faster attacks can be undertaken with the sword part of it, whilst power can be gained from an accurate axe strike.
Fundamentally, you must experiment with all of the weapons to know the ones that feel right because every monster is different, and all hunts can end differently. Just make sure you’re proficient in a wide range of weapons, because when the time comes, you’re going to need to be ready.
Use these quick shortcuts the game never tells you
You know when you find a bone pile, or a plant/mushroom that takes more than just a quick pick-up? Isn’t it frustrating that you have to “scavenge” three times to get everything? Same for a downed monster. It’s weird, right? Yes! So don’t do it. Hold circle that first time and don’t let go until you’ve picked up everything. No need to keep hitting collect over and over.
In that same vein, when you finish a quest, you have to hit cross over and over to take everything you’ve been rewarded with after the battle. Wrong! Hold cross down and it’ll fly through the menu grabbing everything. Daft that it never tells you this, but do it anyway.
If you faint, use that opportunity to restock
When you faint (read: die) in this game, you’re returned to the nearest camp. It’s never made obvious, but you can quickly enter the camp itself (the big tent in your base) and restock on supplies. Same for cooking, if the effects of your meal have worn off, cook again. Having trouble with the enemy and your weapon isn’t doing the job? Go into the tent and restock, change equipment to match your foes weaknesses.
If you’re struggling to understand stuff, try other weapons
Do you find it strange that you’re picking up tens of things from the field but never using them? That’s because so much of the scavenged items are for use in a weapon you’ve not yet experimented with. One of the likeliest weapons they’re for is the heavy guns. These have a variety of different ammo types (from poison to paralyse, or sticky to slice) and can help you shoot parts off monsters. Each of the ammo types require a different crafting material. Likewise, bows can use “coatings” which can create poison arrows, or power arrows. On top of this, some resources can even craft ammo for guns that allow you to shoot your team-mates to heal them. Once you experiment with the gun, a whole new world of menus opens up, and you can upgrade and customise even further to your preference. You may not like the idea of shooting in this game, but experimenting for a few hours will give you a deeper understanding of the items you collect, and probably inventory management as well.
The red cross on an item means you can’t use it yet
Early on you’ll have loads of ammo and coatings and you won’t know why there’s a big cross on them. This is actually friendly in the long run, but at first it’s not explained and you don’t understand why it’s there. This means you don’t currently have any equipment it can be used with. It changes as you progress, so if you upgrade a weapon down a certain skill tree that causes, for example, that bow to be able to shoot poison arrows, suddenly the red cross will disappear from poison coatings, and you can now craft and use those in quests. It’s simple, but again, never explained properly.
The skill tree is an actual tree
In Monster Hunter: World, the skill tree is an actual tree. This means if you spec along in one direction, you can’t move sideways or backwards without first downgrading. You might see an upgrade and you have all the required parts but you aren’t allowed to upgrade to it. You’ll see that it is a definite “upgrade” as it even does more damage, but again – no dice. Look for the lines of the tree, and understand that you have to move along that path to get to an upgrade. It’s confusing to players because most people are used to seeing an upgrade and…well, just upgrading. Here you must downgrade backwards (don’t worry: you get your resources back) and then re-spec in the direction of the upgrade you actually want. This might take longer because you can’t skip upgrades along the way and, who knows, you may not have the parts for the mid-tier upgrade, but do have them for the top-tier, but that’s the way it works.
Always ensure you have bounties on the go
Bounties are just like they are in any other game here: have as many equipped as you can, so you are constantly getting rewards when you return to your hub. These are often simple, such as hunting small monsters, collecting mushrooms, or even just picking up plants, but they yield rewards. When you return to the hub you’ll be notified you have new bounties to hand on, and these must be done manually at the research centre near the bottom floor, next to the quest board. Hand these in regularly and you’ll get armour spheres (and later armour sphere +) which let you upgrade your gear.
Check for timed quests and don’t delay
Timed quests are here to keep us playing over and over again, and can net you some cool gear. The first one on PS4 gets you the ability to craft a Horizon Zero Dawn Watcher outfit for your palico. It’s a really simple arena quest, but it requires you to be hunter level 5 before you can access it. Get there via story missions (these are the only way to upgrade your hunter level) and get into the arena, craft your first palico gear set and marvel at how cool it is that your little cat dude now looks like a Watcher from Horizon; glowing blue light and all.
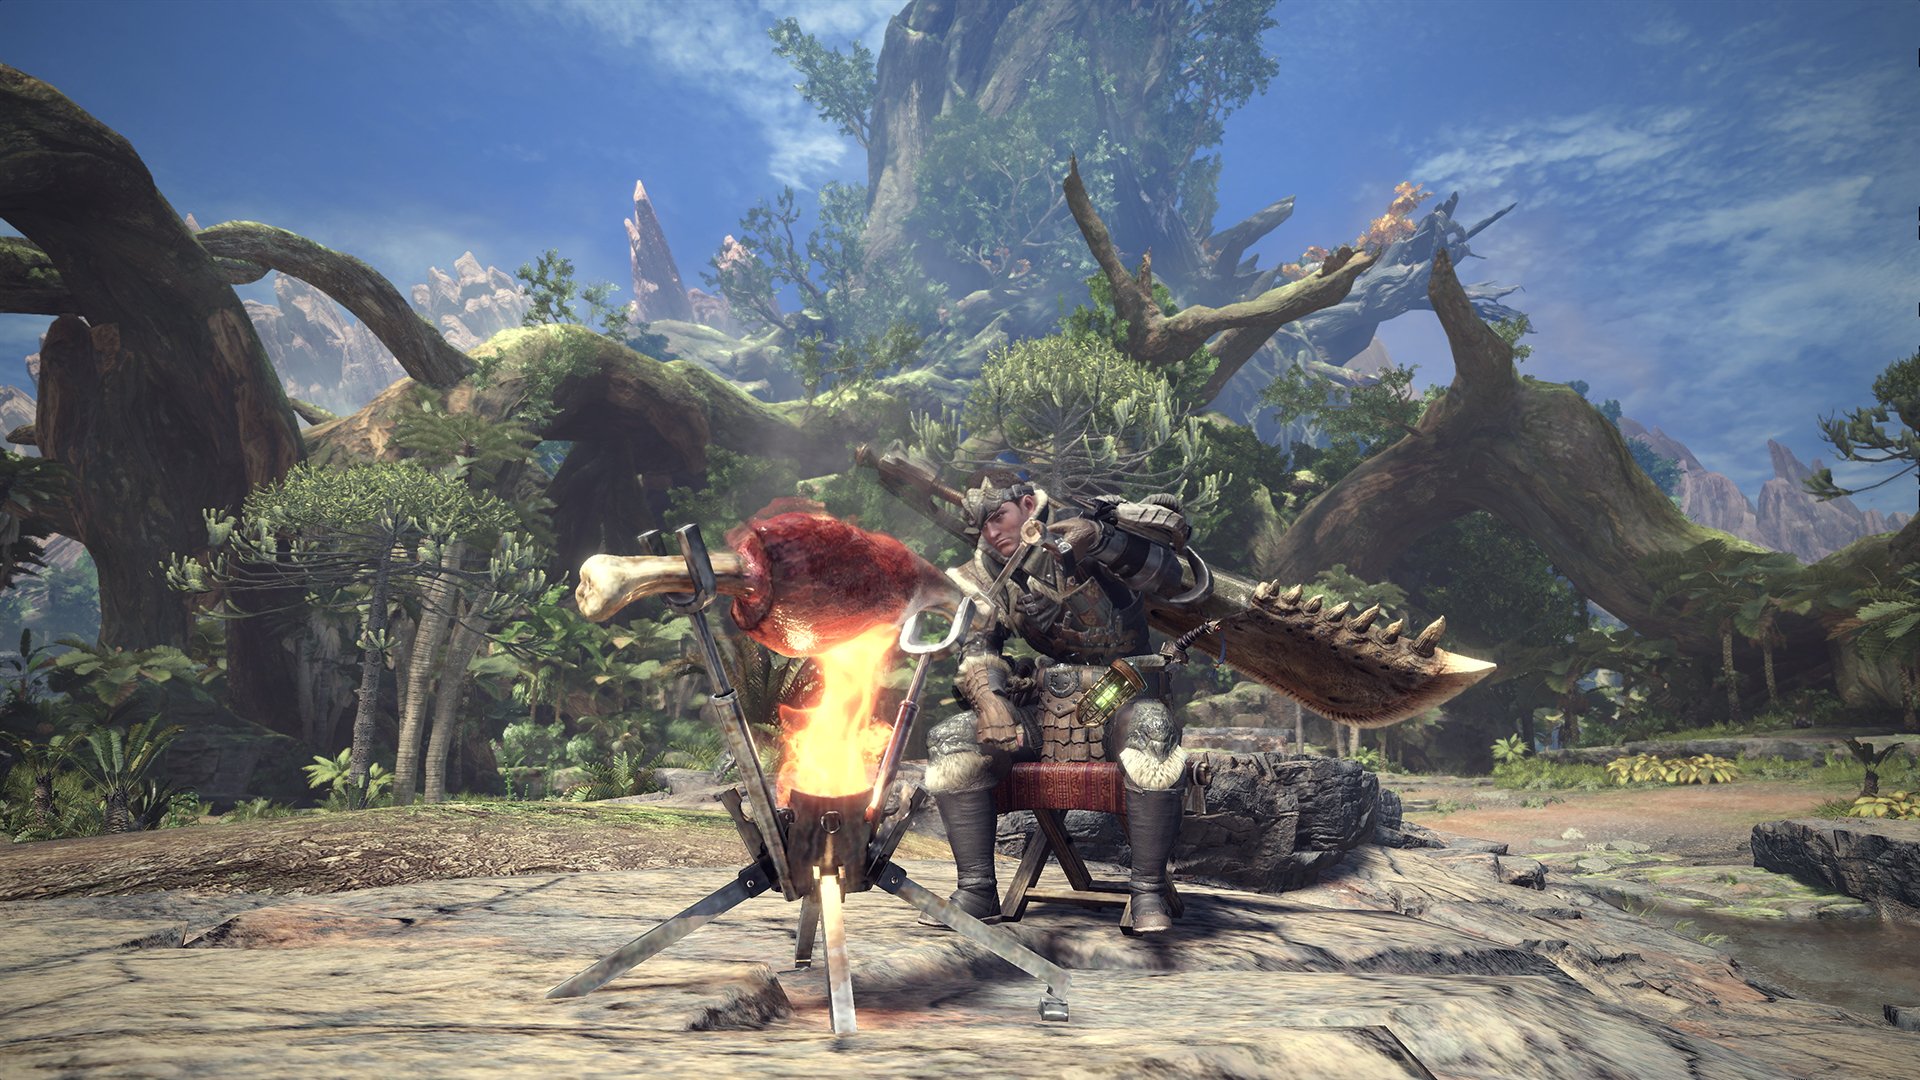
Fill your belly
One of the most useful tools in Monster Hunter: World is eating. Yep, a good meal before a quest will grant you temporary buffs to a plethora of things such as your defence and your attack. You can buy them with your money, or any vouchers you pick up, and the nicer the meal, the better the buff. You can go to the canteen and visit the Palico chef and his friends, or cook one yourself at the temporary camps you arrive at at the very start of a quest. And as a little favour to all you trophy fiends, if you use the BBQ Spit, finalise the meal just as the music stops to earn yourself a nice trophy for doing so. You can thank us later.
Let nature take its course
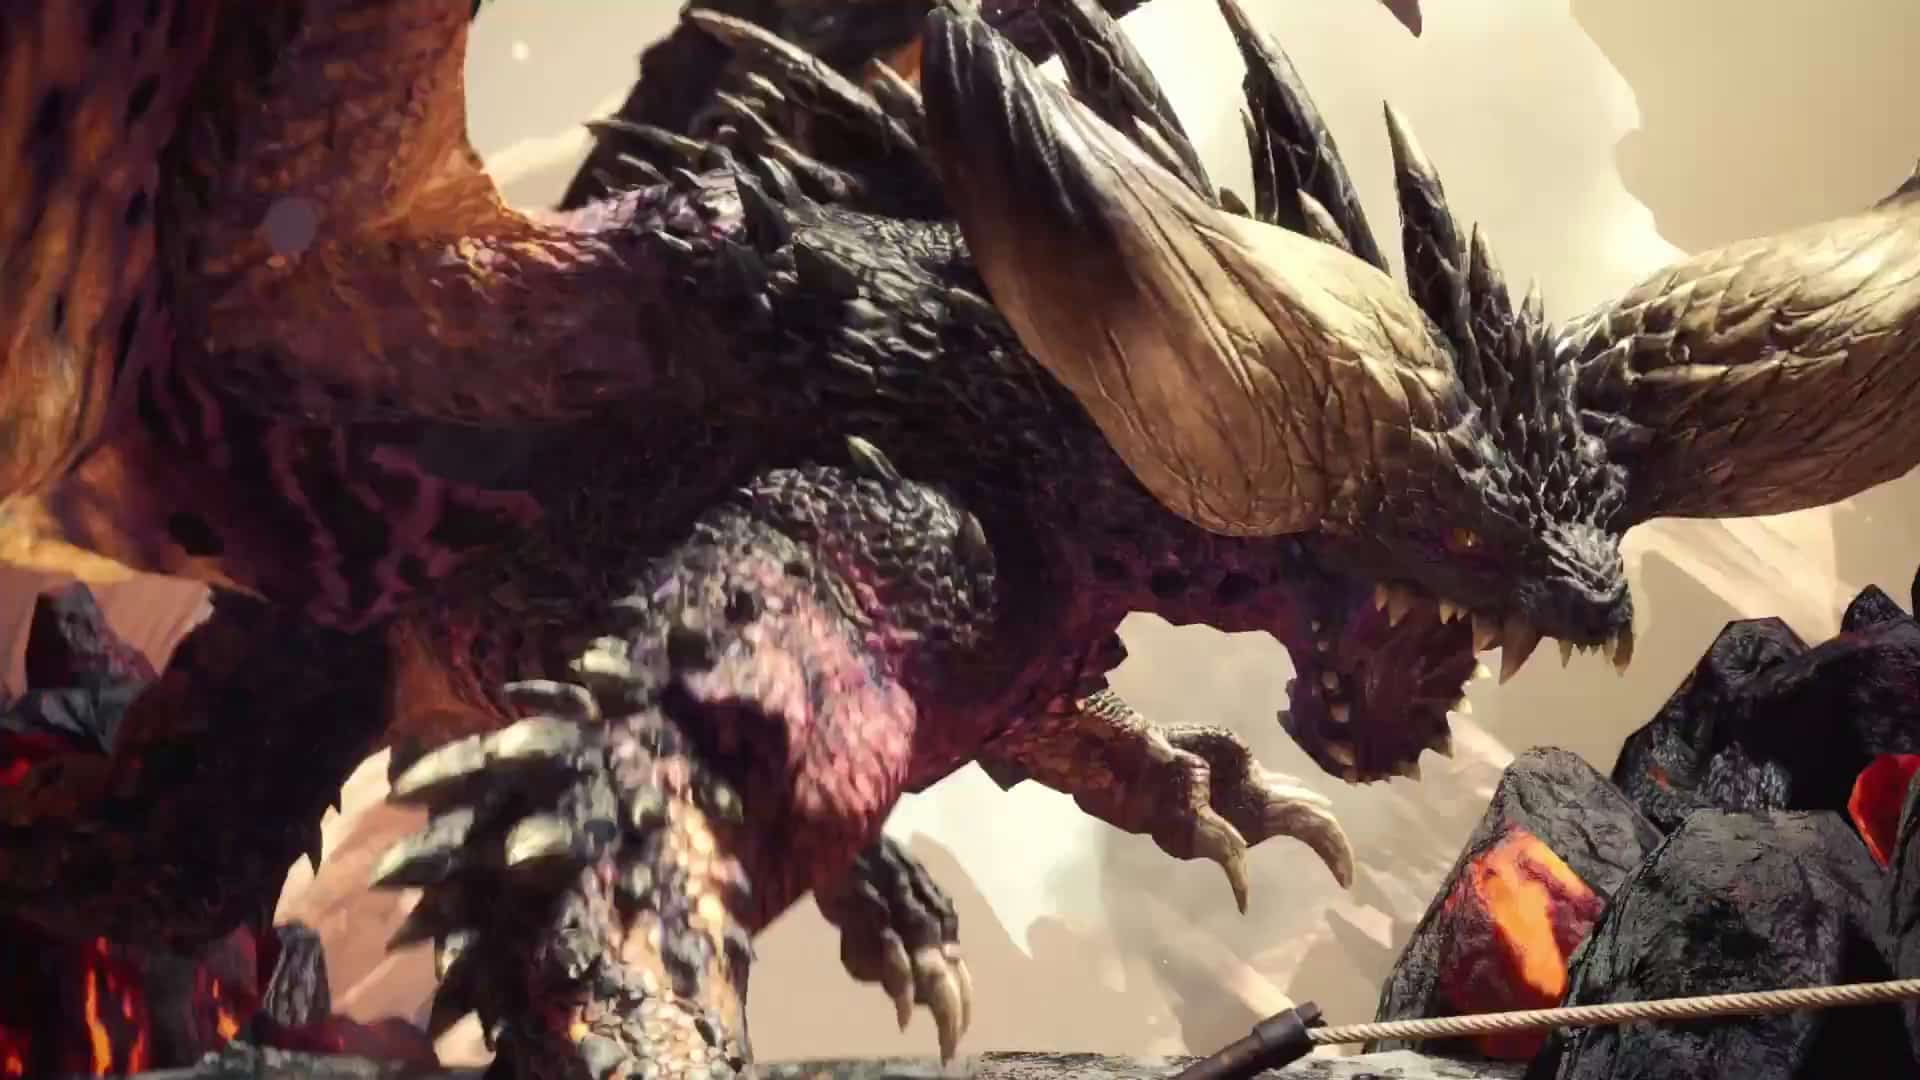
At first, coming face to face with these behemoths might be daunting, but playing nature at its own game can have copius amounts of benefits. If your fighting a monster, and on the map you see another nearby, try and lead them both into the same area, simply by running away and giving the one you’re fighting a chance to chase you. On many occasions whilst playing, we had fights between 3 different monsters happening right in front of our eyes, and we didn’t have to lift a finger. They’ll fight it out between themselves, and not only will it do damage to the monster you’re fighting, it’ll also be one of the most glorious things you’ll see. Nature is happening, right in front of your eyes, and you’ve got a front row seat.
Treat your Palico right
Your Palico looks really cute in their fluffy hat, and that white Paolumu cloak makes them look like a million dollars. Sure, fashion is key, but so is its stats. Like you, the Palico has different skills and stats that must be attended to. Make sure you spend time forging and upgrading their weapons and equipment, because when you’re both on a hunt, your furry companion will be a massive help to you. They can draw the attention away from you, allowing you to deal massive amounts of damage from behind the monsters, and they can also aid you by drawing Vigorwasps to you in an attempt to heal you up. Make sure their attire offers a good defensive edge, and their weapon is strong enough to fight the monster you’re hunting. Again, like yourself, make sure that their weapon’s stats are adapted to fight the type of monster you’re up against.
The environment is your best friend (besides your Palico)
In almost every area, there’s something that can be used to your advantage. Bushes will allow you to hide in plain sight, meaning monsters can’t see you even when close up. With a simple press of the X button, you’ll disappear when stood in the right flora, so always keep an eye out for them. There are also huge rock columns and formations that monsters will charge into and get disorientated by the sheer force at which they ran into them, and this will allow for a few hits whilst they stand there dazed and confused. There are vines which can be ran into that’ll trap monsters as well, so make sure you strike these to keep them pinned down for a short time. If you’ve seen those glowing balls of light flying around in the world, a swift hit of them can also temporarily blind monsters and leave them dazed once again. If you’re looking for a bit of health without using a potion or a med kit, grab a Vigorwasps bulging green sack for over half of your health back.
The great expedition
Between quests, you can go out on expeditions, which are essentially chances for you to freely roam about the world and collect or hunt to your heart’s content without time limits and unlimited faints. These are perfect to complete bounties and research ecosystems to see how monsters move and exist, learning their patterns of attack and travel. These are perfect for the bigger bounties and investigations, and will also allow you to appreciate just how beautiful the game is without restrictions.
Always check the map
Scoutflies are hugely important because they can lead you to your target, but on occasion they get confused and you can lose your way. After finding footprints, skidmarks, mucas and more grim stuff, the monster will appear on your map so that you can just follow the map and run straight to it without waiting for the Scoutflies to do their job. And while you’re at it, go into the options and change the map options so that it’ll move around as you move, rather than it being static; this makes it much easier to find your way around the environments and move around the ecosystems.
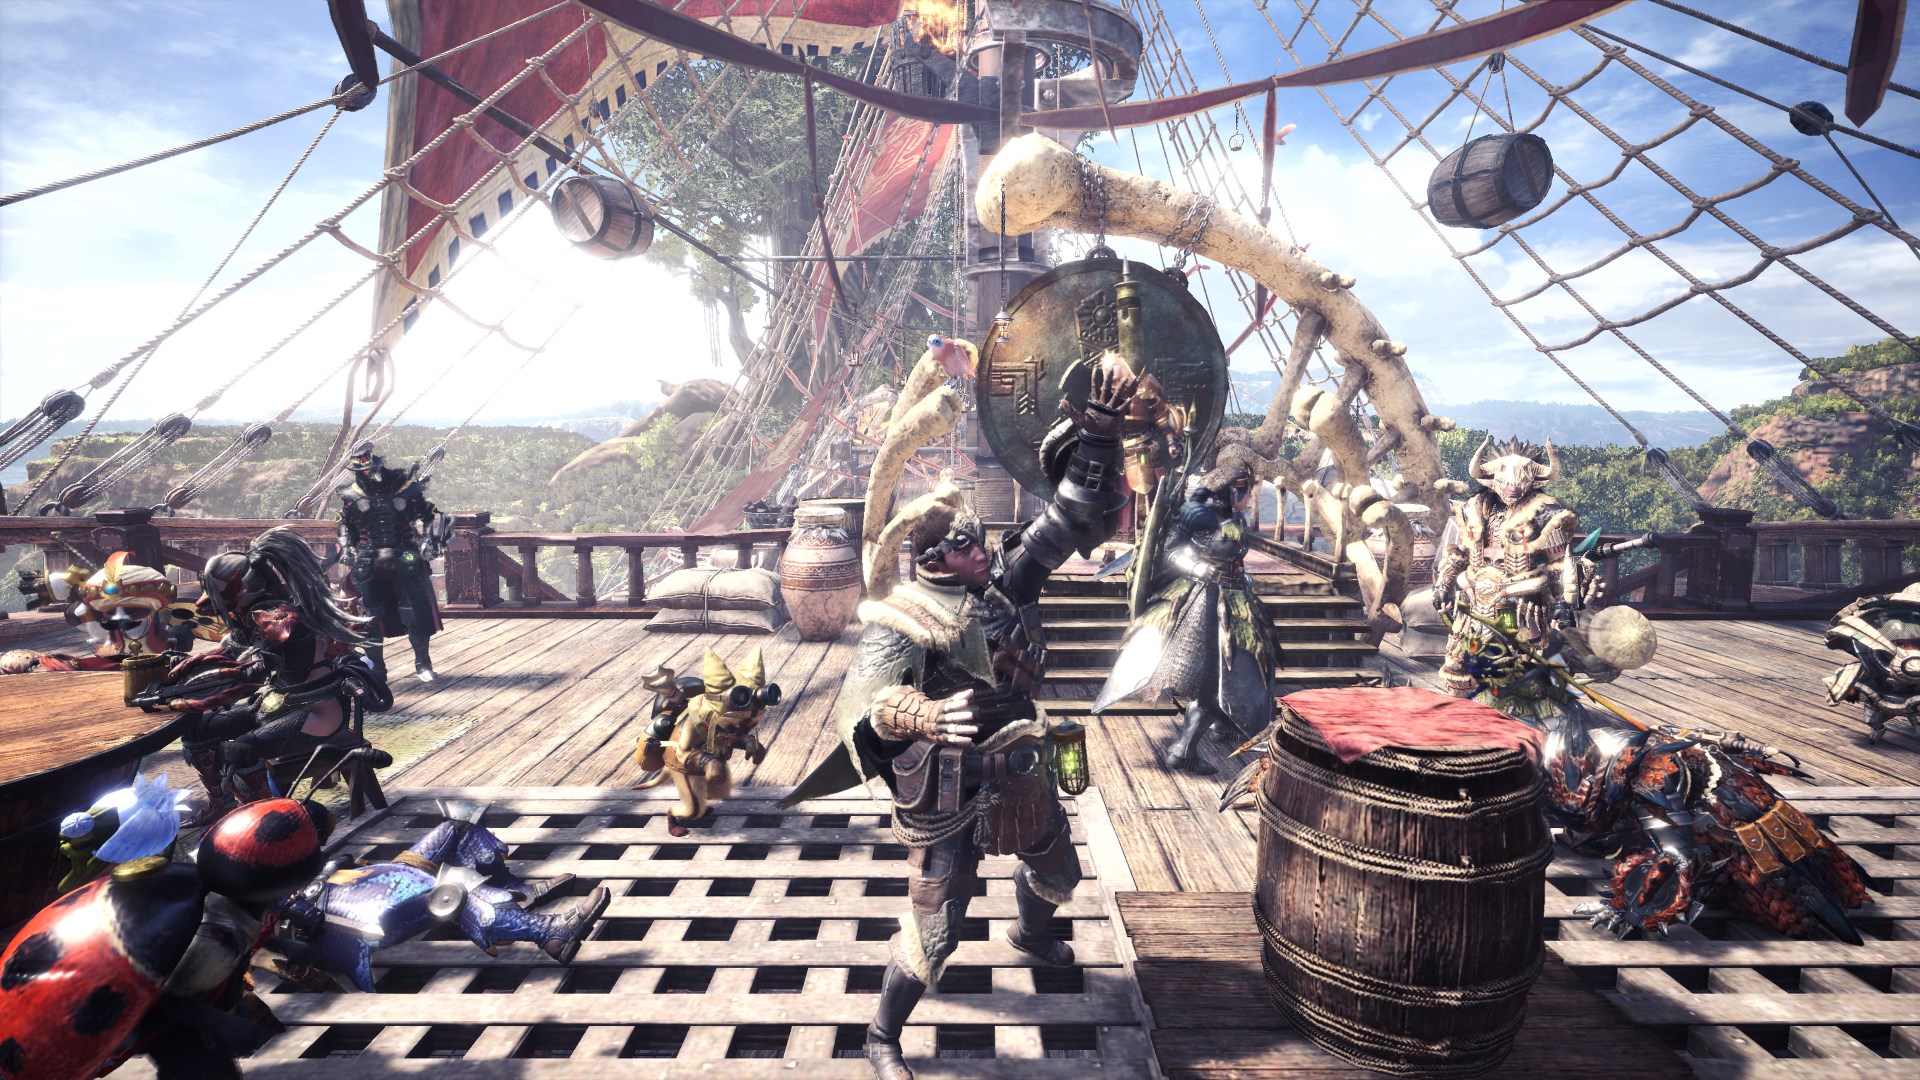
Friends with benefits
The best way to play Monster Hunter: World is with friends. No question. But learning how to play together is hugely important. Make sure you’ve always got friends with a wide range of weapons so that you can attack each monster as efficiently as possible. For example, draw the monsters attention away with long range weapons, and whilst the enemy is distracted get a few friends to attack from close range. Obviously, there are plenty of ways to attack, but having a chat about the best way to do so before you set off is a necessity. Also, there are shared items you can all equip at the base camp so decide who needs what, and don’t get greedy!


