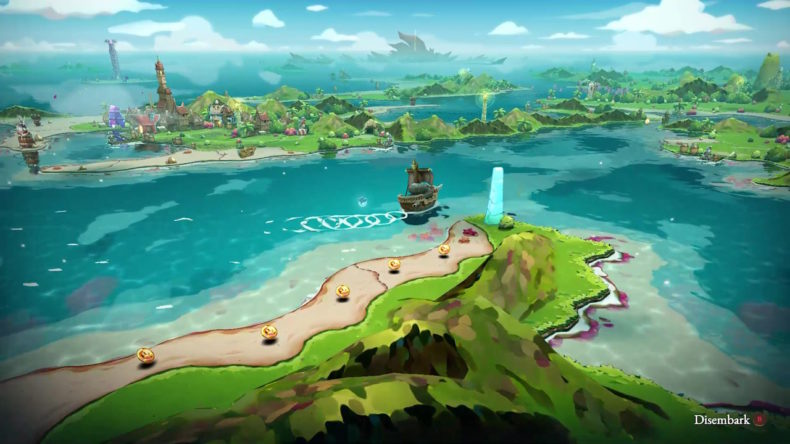
Throughout Cat Quest 3, you will come across various arrangements of blue Puzzle Stones, which if you can strike them in the correct manner, reward you with a chest, but the solutions to each puzzle can be quite tricky. Therefore, here at God is a Geek, we’ve pulled together the solutions for all 12 Puzzle Stones puzzles into one place. Not only will this mean you’ll bag yourself plenty of pirate booty, but you’ll also nab yourself the Purroblem Solver achievement aswell for solving them all. Read on to discover all the Puzzle Stones solutions in Cat Quest 3.
Cat Quest 3 | All Puzzle Stones solutions
1. Long Island Puzzle Stones
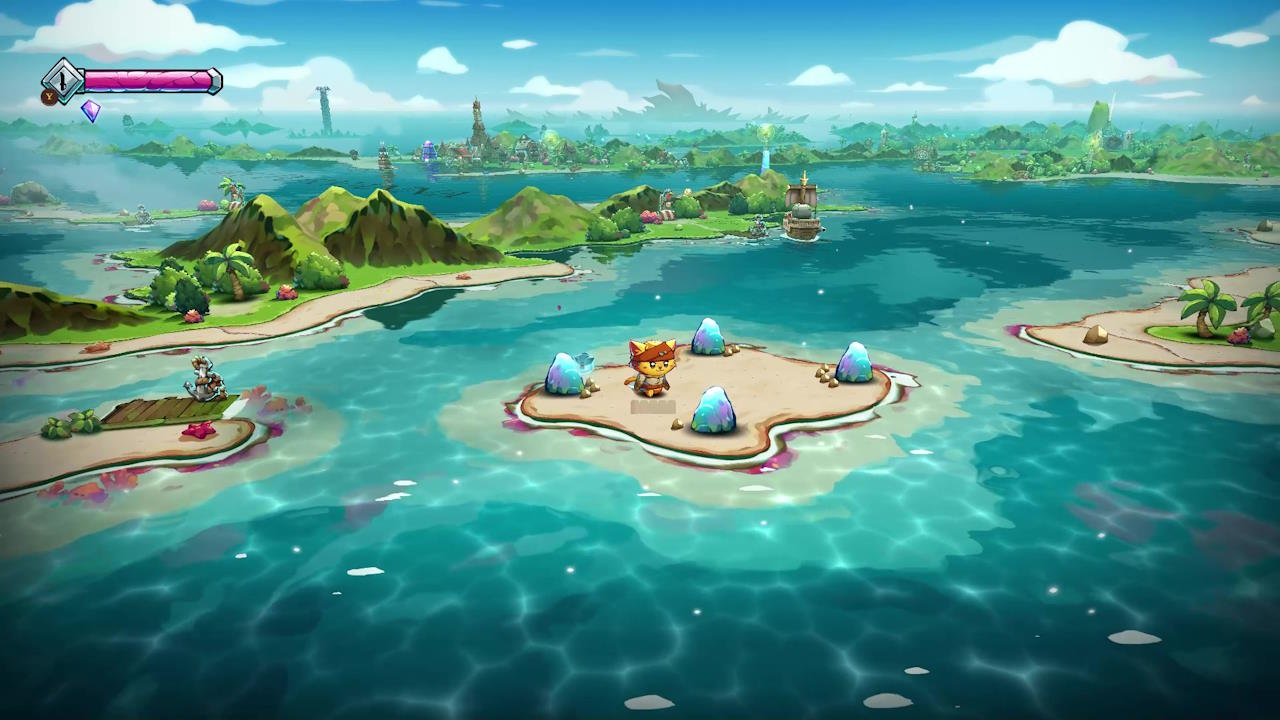
On a small island, just to the east of Long Island, you will see this set of Puzzle Stones. Here you have to work out the order to hit the stones. You are given a visible clue though by the rocks next to the Puzzle Stones themselves. You will see, one rock is next to one Puzzle Stone, two next to another and so on. You need to hit the Puzzle Stones in ascending order according to the number of stones next to them. Therefore hit the Puzzle Stones in the following order:
South, North, West, East
2. Straits Island Puzzle Stones
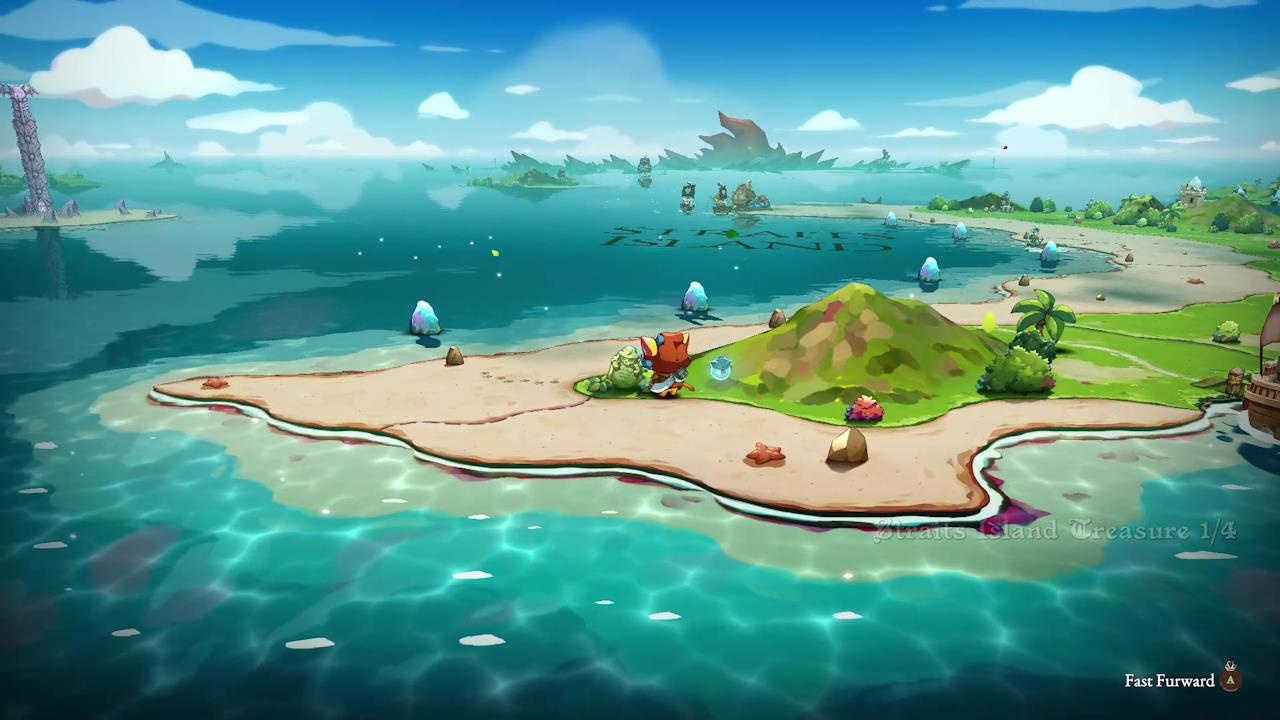
On the western coast of Straits Island, you will find six Puzzle Stones. Head to the southern end of the island, and you will come across a green tablet, which you can examine. It reads:
Anti-clockwise
So, this means the correct order to hit the Puzzles Stones in is anti-clockwise, which essentially means hitting them from the most southern stone, and then working your way up the beach. There are a couple of things to consider though. Because the Stones are in the water, you will need to shoot them using your pistol from the beach. Secondly, unlike the first set of Puzzle Stones, you will be on a timer, and will need to hit all six stones before the timer runs out.
If you put a bit of distance between you and the first stone to give yourself a headstart, and then shoot and run, you should be OK. Just remember to keep sprinting rather than walking between each shot, and you should make it in time.
3. Purvanna Puzzle Stones (Watchcat)
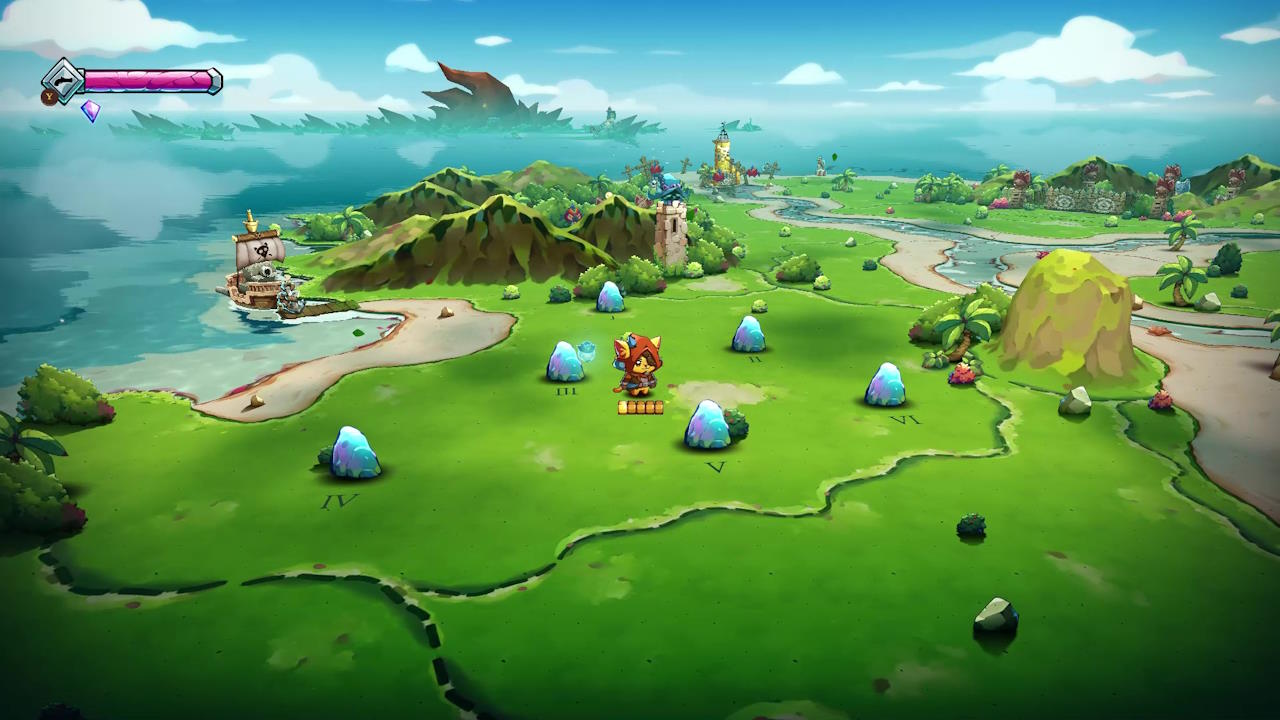
You’ll find six Puzzle Stones dotted around the western side of Purvanna, just south of a watchtower containing the Watchcat. Next to each Puzzle Stone is a Roman Numeral from 1-6. So you’d be forgiven for thinking you need strike the stones in the order dictated to you by the Roman Numerals. However, if you try this you will be unsuccessful.
The key is Watchcat who is atop the small tower to the North. Go and speak with them. He will reveal a “small hint” to help you with the puzzle:
II, V, III, IV, I, VI
This is the correct order to strike the stones, so hit them in this order to solve this Puzzle Stones puzzle and claim your reward.
4. Purvanna Puzzle Stones (Postmutt)
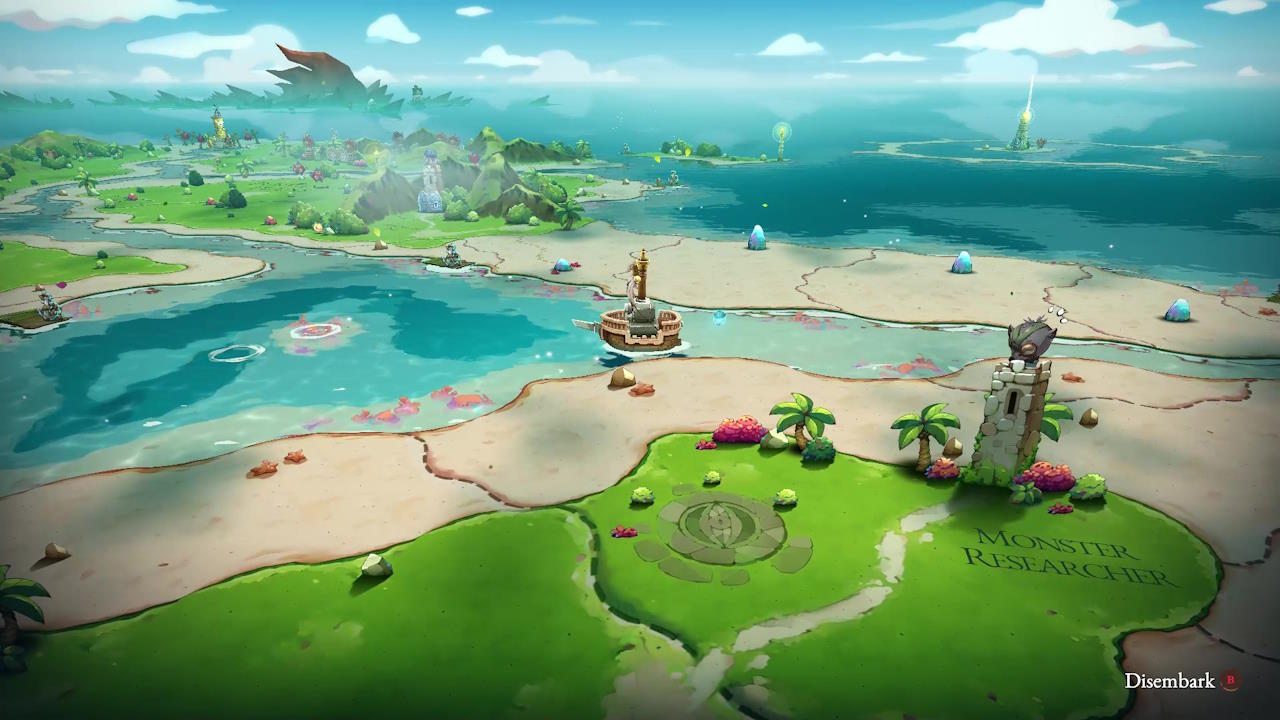
You can find the next set of Puzzle Stones on the East side of Purvanna, just East of the Postmutt. You can see four blue stones, stretching along the beach. Again you need to hit these stones in the correct order. The trick here is to inspect how tall each of the stones is and shoot them in order from shortest to tallest. Based on that, the correct order is:
Far Left, Far Right, Centre Right, Centre Left
5. Code Island Puzzle Stones
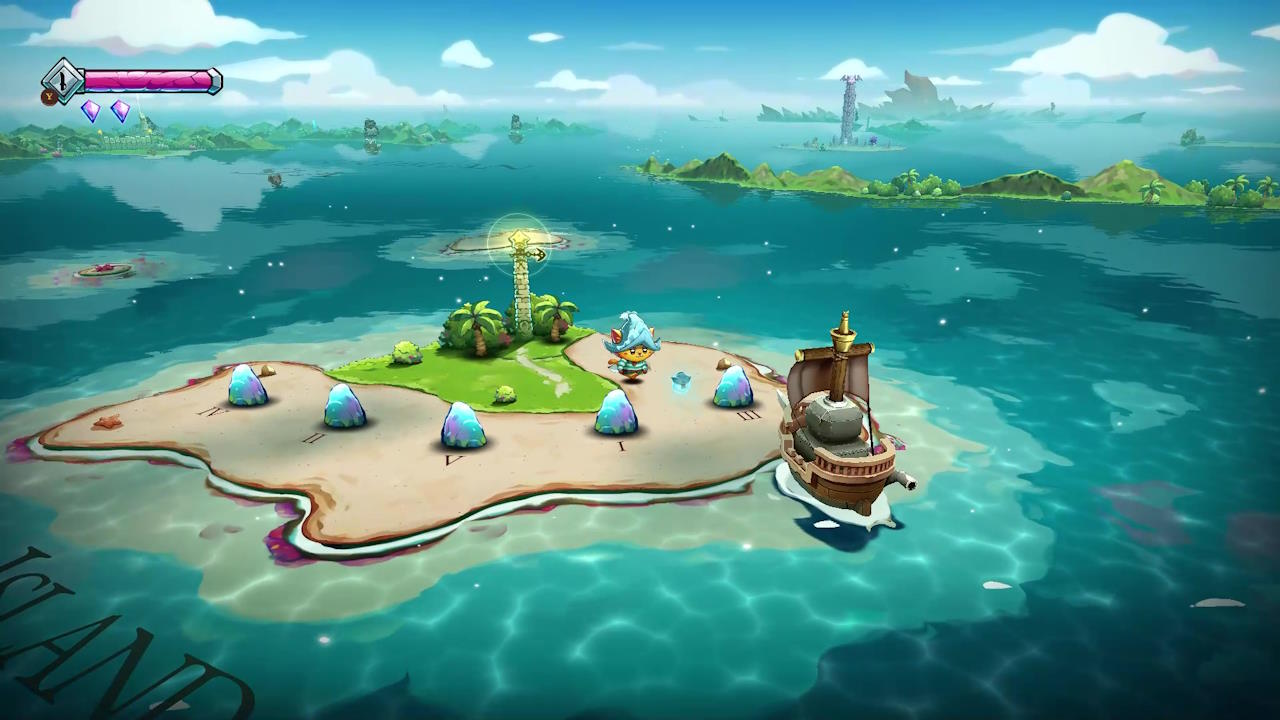
For this puzzle, head on over to Code Island, South of the Infinity Tower. This is a small island with five rocks on it, and again we need to hit them in the correct order. Similar to the WatchCat Puzzle Stones in Purvanna, these stones are also labelled with Roman Numerals.
However, unlike back in Purvanna, there is no shenanigans here about what to with the numerals. You can simply hit them from 1 to 5 in Roman Numerals (I, II, III, IV, V) to solve this puzzle.
6. Sandy Island Puzzle Stones
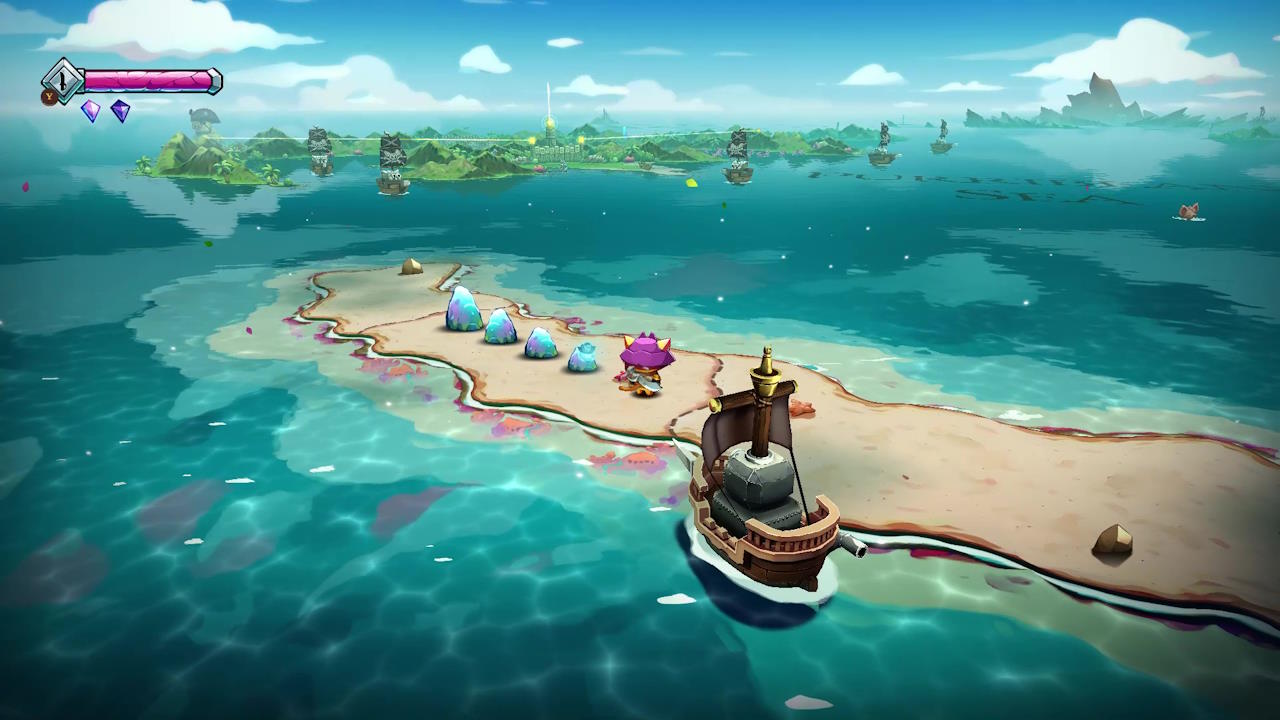
On Sandy Island, which is towards the southwestern corner of the map, you will find 4 more Puzzle Stones. You don’t have to hit these Puzzle Stones in a particular order, but instead you have to hit them quickly, altogether. Your weapons likely won’t be quick enough, so the easiest way to complete this is with magic.
If it isn’t already equipped, then be sure to equip the Flamepurr spell to one of your magic slots. Then stand by the smallest Puzzle Stone facing them all and cast it. You will hit all four stones in quick succession, and reveal the chest.
7. Polaris Ruins Puzzle Stones 1
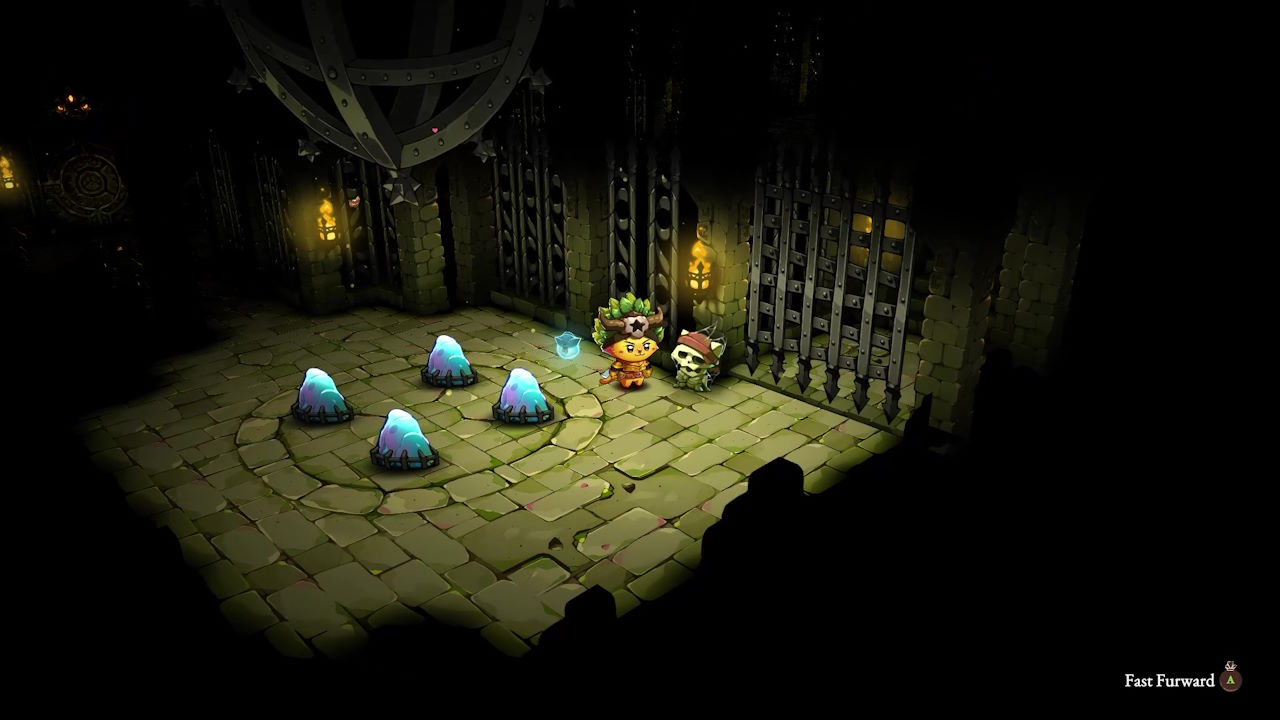
You will encounter three separate groups of Puzzle Stones inside the Polaris Ruins dungeon. You will only have access to this once you have acquired the three keys to unlock Cat Face Mountain. Once inside, you will meet your first set rather quickly. It shows four stones set up in a square formation. Striking any of them doesn’t seem to have an effect. Speak to the skeleton by the gate who will say:
Seems like I have to hit all these blue stones at the same time… if only I had some magic
For this, as the note suggests, the easiest way is to use magic. The simplest magic to use is Lightwhisker as it creates an orb of electricity where you stand. So position yourself in the centre of the stones and cast the magic. This will activate the Puzzle Stones and the gate will open.
Note: If you don’t have Lightwhisker, go and purchase it from Mage Bonney.
8. Polaris Ruins Puzzle Stones 2
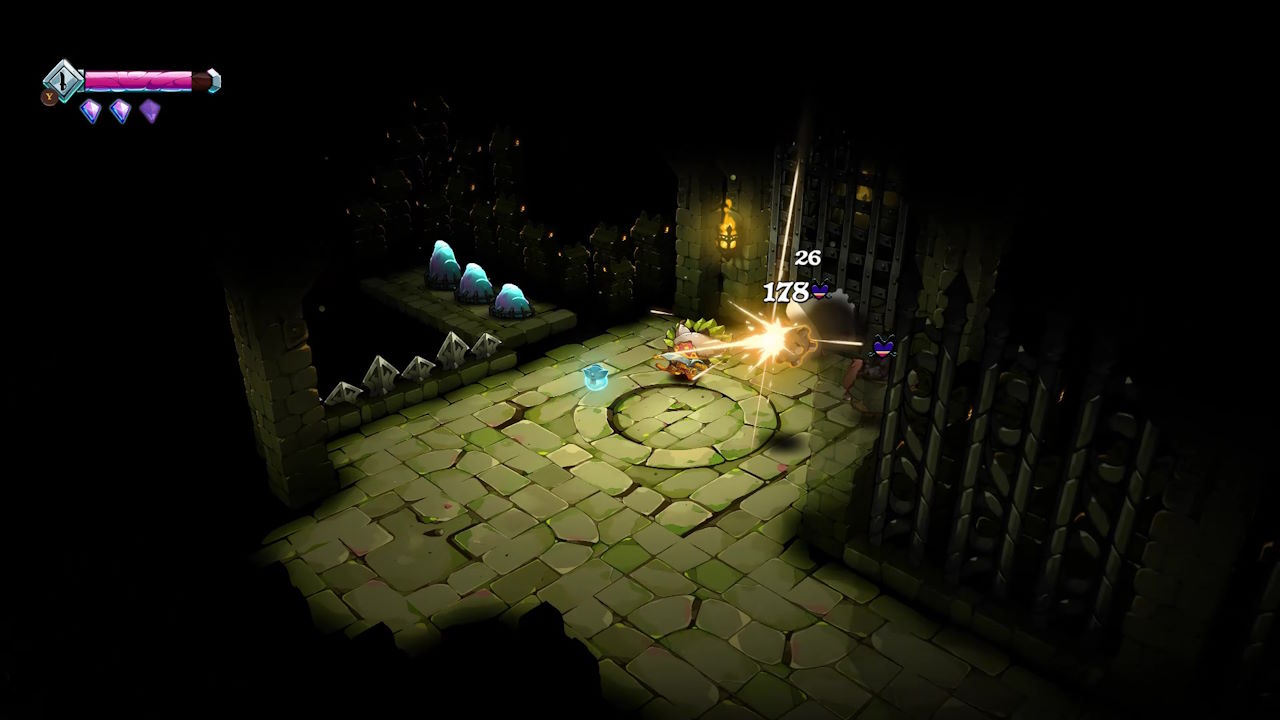
The next set of Puzzle Stones is actually through the gate you just unlocked and into the very next room. As you wind around the corridor, you’ll see a line of three stones to your left on a ledge out of reach. Take out the nearby enemies before tackling the stones. Then once it’s clear, you’ll need to use magic again. Similarly to the Sandy Island Puzzle Stones, you’ll want to use the Flamepurr spell whilst facing the stones to animate them all at once and open the gate in front of you.
9. Polaris Ruins Puzzle Stones 3
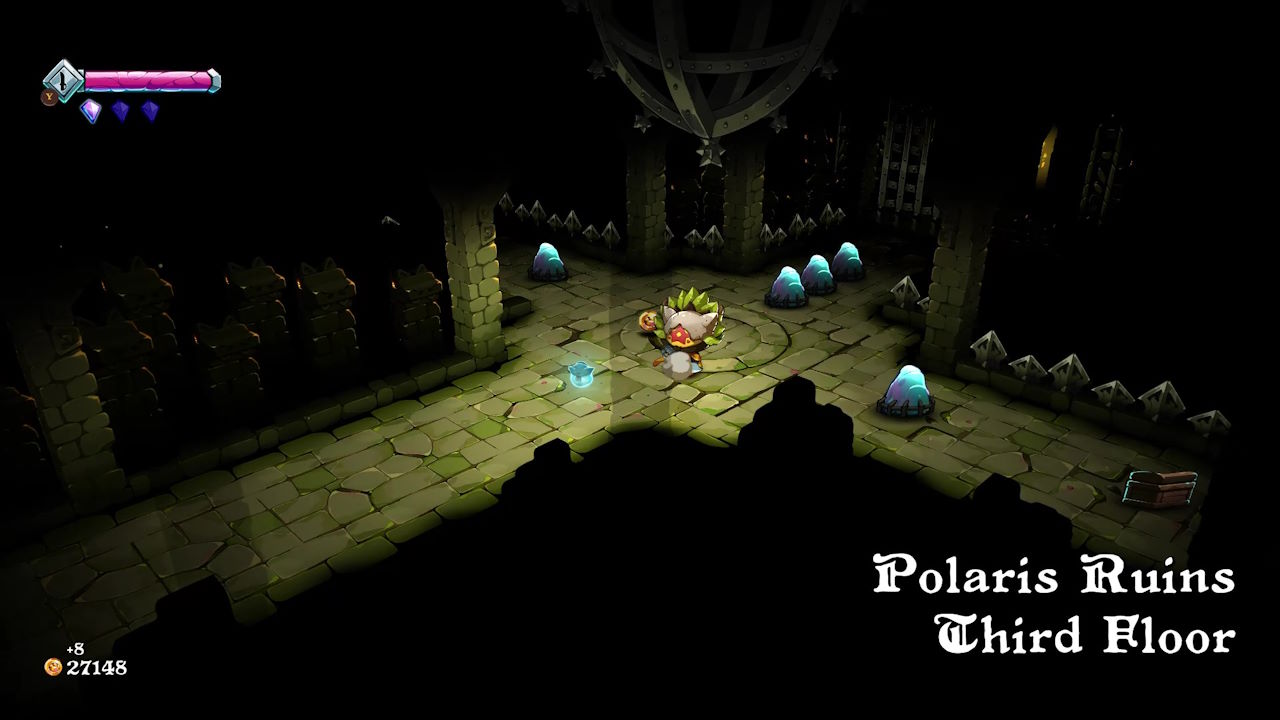
The next set up of Puzzles Stones is close by again, in the next room further into the Polaris Ruins. It’s a set of five stones in total, one to your left and one to your right, as well as three directly in front of you. There are a few ways you could accomplish this, but the simplest we found is to equip your gun weapon and shoot both the left and right stones before using Flamepurr on the three stones in a row. If you do this quickly enough, all stones will be activated at the same time, and you will solve this puzzle.
10. Sunset Islands Puzzle Stones (8-bit Castle beach)
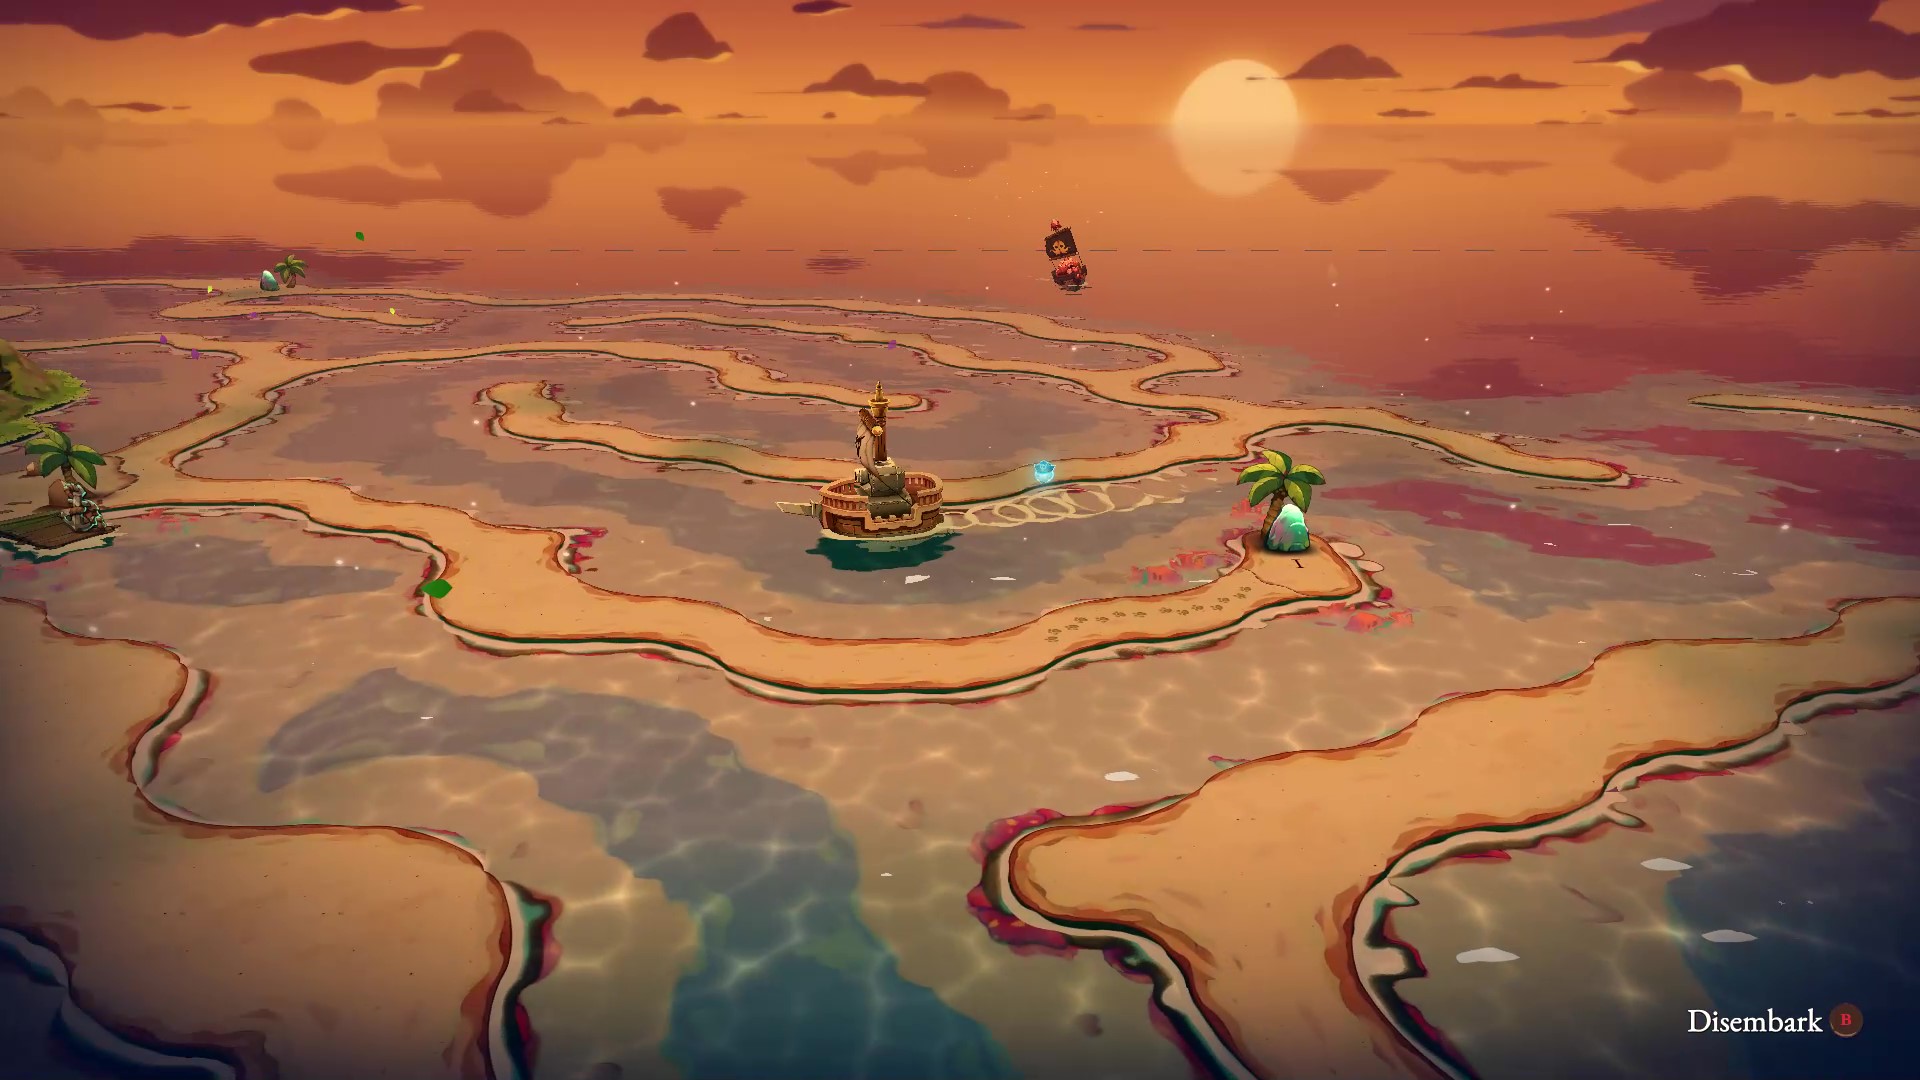
You’ll find this set of Puzzle Stones spread out across the various winding beaches that surround the 8-bit Castle in the very northwest of the map. Luckily thanks to some handy notation, you can see which order you have to hit the stones in thanks to the Roman Numeral notations. Essentially, you need to begin with the one in the northeast corner, shown on the image above, and then make your way counter-clockwise.
The problem you’ll likely have, even if you’ve got a good route is that the timer is incredibly tight to make it to the fourth one in time without the stones deactivating, so you need to be quick. In fact, you’ll likely need to be a bit clever too. You’ll find running all the way likely won’t be quick enough, so you’ll also need to use your ship to get around too.
When we were successful, we planted our ship close to the first stone, shot it, and then immediately, steered the ship at full speed towards the second stone to the northwest. It’s a windy route, but it’s quicker than running and floating. Fire at the second stone, and then speed westwards towards the fishing net. Once there, bail on your ship and head to the west beach, run south to the third stone and strike it. Run south, taking the right turn at the fork and then float over the small gap in the beach. Carry on running and you should reach the fourth stone in time.
11. Sunset Islands Puzzle Stones (Northeast)
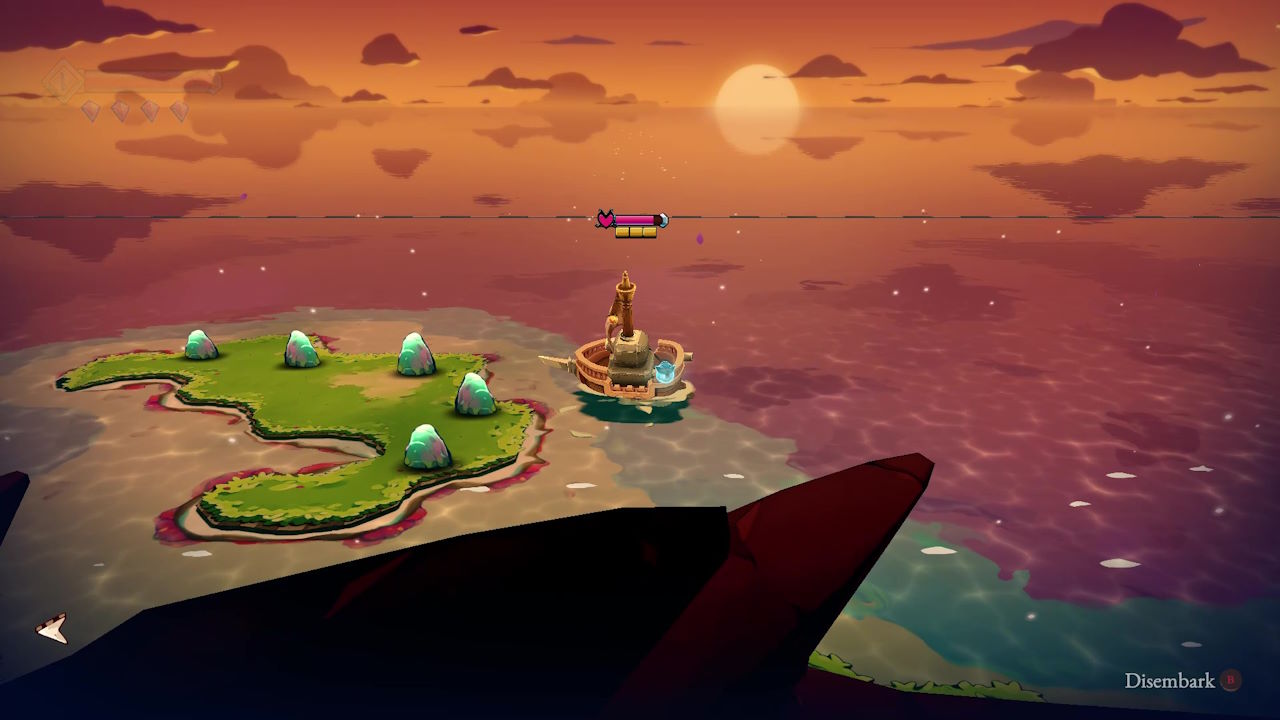
To the east of the main mountain in the Sunset Islands, you’ll find a small island with five Puzzle Stones on it. When you strike them, it seems to require them to be hit in a certain order but there isn’t anything around to suggest which order to hit them in. The answer actually lies nowhere near this island, but around to the west of the main mountain instead.
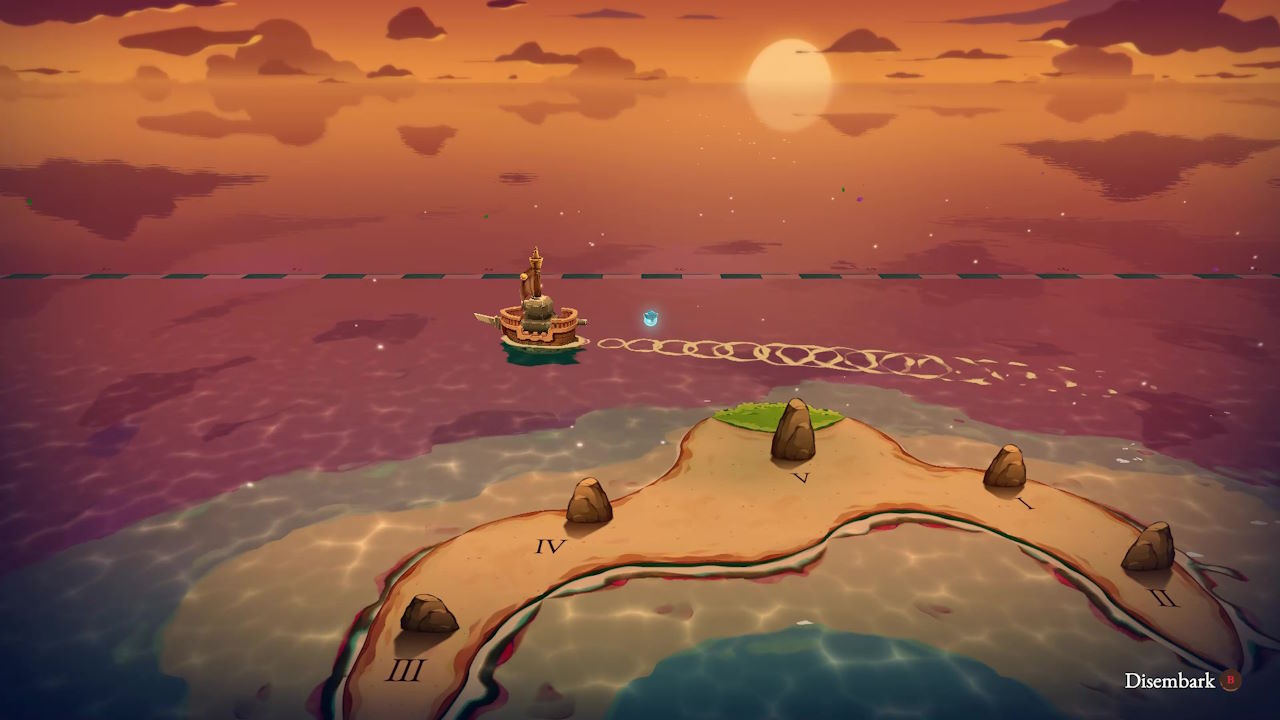
Over to the west is another small island with a similar shape, and it displays five ordinary stones with Roman Numerals beneath each one. This is in fact the order to hit each stone back on the Puzzle Stone island.
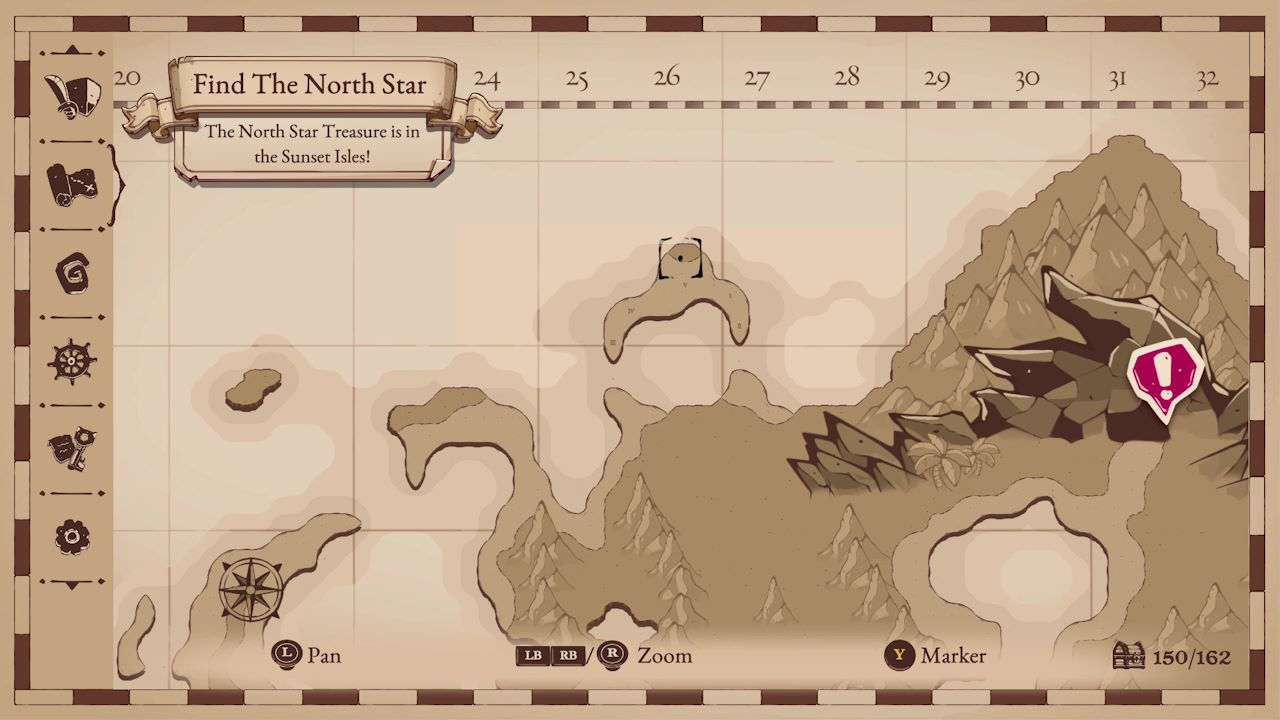
Either make a note of the order and return to the eastern island or alternatively, you can look on your map and zoom in on the island with the numerals on to see them displayed there for your reference.
12. Large Puzzle Stones
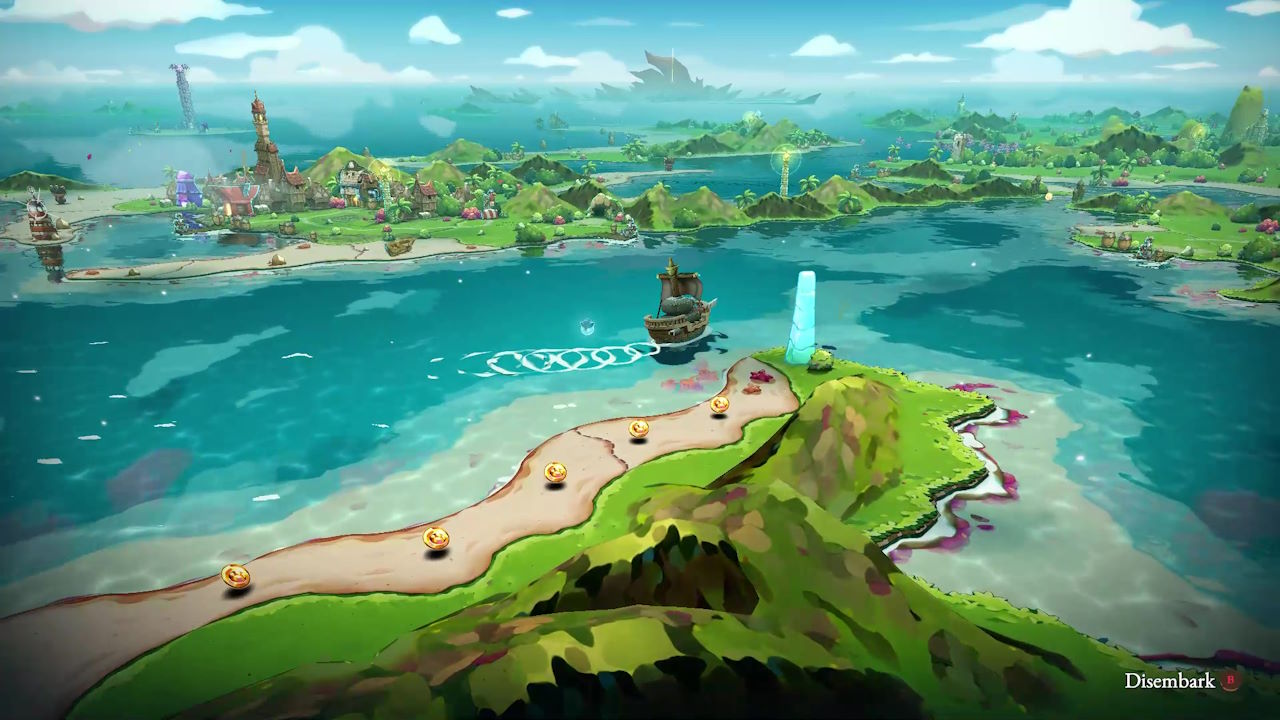
The final set of Puzzle Stones in Cat Quest 3 isn’t actually in a single location. They are actually stones scattered across the entire map, in fact, you’ve likely seen them on your travels already and wondered what to do with them. There are 5 stones scattered around the whole map, one in the north, one in the west, one in the southwest, one in the south, and one in the east of the map. They are much larger Puzzle Stones than all the others, and they need to be hit in a specific order, but finding out the order can be a little tricky. Here’s the step-by-step guide on how to do it.
Step 1 – Complete Mage Bonney’s Lost and Found
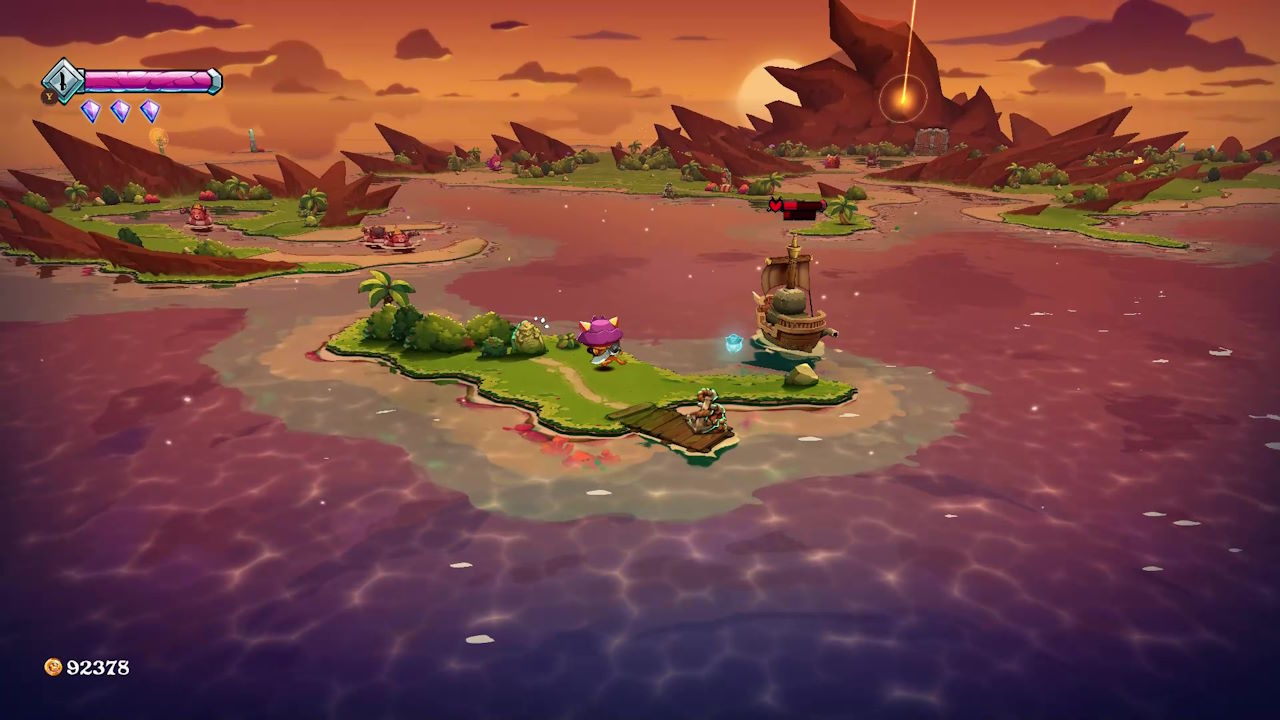
In order to get Mage Bonney to reveal everything she knows, the first thing you’ll need to do is complete her Lost and Found part of that quest. For this you’ll need to head to Sunset Isles, south of the main island. Here you’ll find a gravestone, with following inscription:
Go east till ye find a fiery hideout…
Then north-east to the isle with the guiding star…
On the island beneath the red bush, I lie…
Following these instructions, you should be able to find the location of this hidden item. Inspect the red bush in the picture and you will uncover a Voodoo Doll buried in the sand.
Now return this to Mage Bonney. Upon entering her shop, she will notice it and you will automatically hand it over. After some dialogue you will receive the Icepaw spell.
Step 2 – Complete Mage Bonney’s Side Quest
For Mage Bonney to reveal more, you’ll need to do her another favour. Chat to her some more to reveal more dialogue:
Actually, could I ask fur yer help?
…I need help finding a certain book…
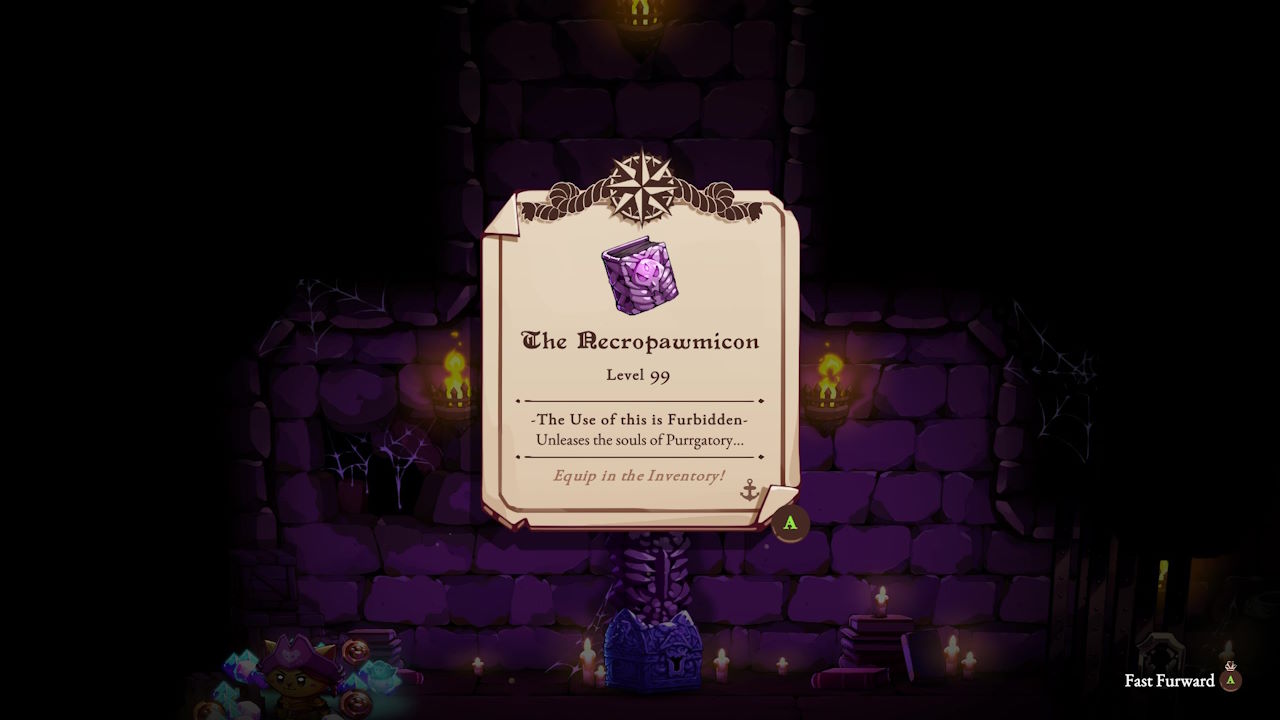
Have you heard of the Necropawmicon?
It’s a book believed to bring souls back from Purrgatory…
…Please my mentor…he needs my help…
…Please just think about it OK?
So you need to track down the Necropawmicon. If you haven’t already found it, it is located in the Twin Towns Manor on the Twin Towns Islands in the southeast of the map. Work through the Twin Towns Manor dungeon. You’ll need to find a key in one side, and then use it in the other side, and so on a few times to reach the final boss. Ultimately, you’ll get there and face off against the Necromouser boss. Beat it, and you’ll be rewarded with the Necropawmicon.
Now return to Mage Bonney and show the book to her – you don’t actually give it to her. You warn her of its dangers and she reveals more about her mentor, Meowgus. Apparently, he turned himself into the magic crystals you’ve been collecting to upgrade your spells. And what’s more you get access to the Pawer Up spell.
Step 3 – Discover Meowgus’ secret.
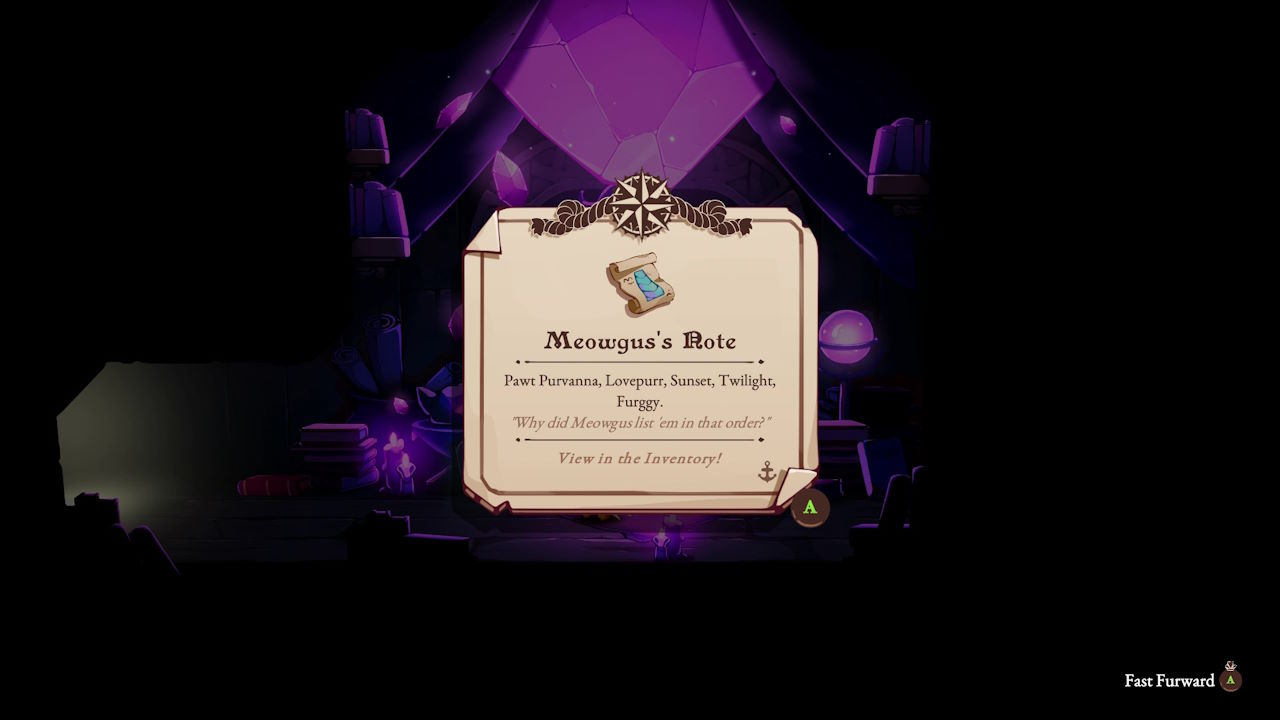
If you interact with Bonney again, she will reveal some key information:
Meowgus shared this with me before he disappeared…
“Pawt Purvanna, Lovepurr, Sunset, Twilight, Furggy” – Meowgus
After you finish the dialogue, you will receive this clue in the form of Meowgus’ Note.
Now all you need to do is go and strike the large Puzzle Stones in the order mentioned above. Some can be done from your ship, but the final two at least require you to disembark and strike the pillar up close.
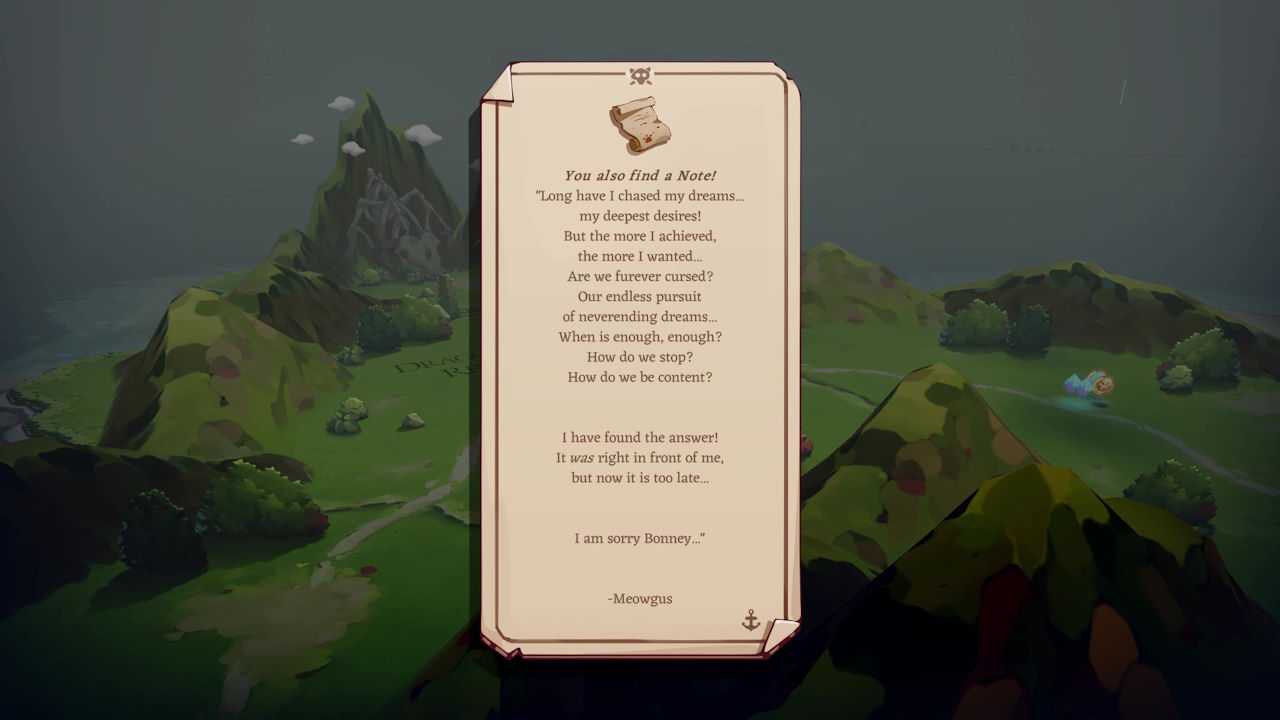
Once you have struck the final pillar in Furrgy Island, you will receive a note meant for Bonney, and a Mana Upgrade.
Congratulations, you have solved all 12 of the Puzzle Stones puzzles in Cat Quest 3, and bagged yourself the Purroblem Solver achievement. Well Done!
