My Time at Portia: 7 Things I wish I knew when starting

My Time at Portia can be a daunting experience to the uninitiated. Its lovely exterior hides a lot of mysteries, which if you’re not sure how to unpick can cause unnecessary frustration. However, I’ve laboured so you don’t have to, so if you’re just beginning on your My Time at Portia journey, take a look at these handy tips below, that should put you in good stead as you begin the game.
Upgrade your equipment as soon as you can
One of the very first missions in the game asks you to go and craft a Simple Axe and a Pickaxe. These are pieces of equipment that have humble beginnings, but will be getting plenty of use throughout the game. With an Axe you can fell trees and shrubbery and with a Pickaxe you can mine underground and at the various rock outcrops around Portia for valuable minerals. Because you will need a lot of wood and rocks in the early game, it’s worth upgrading these items to make your life easier.
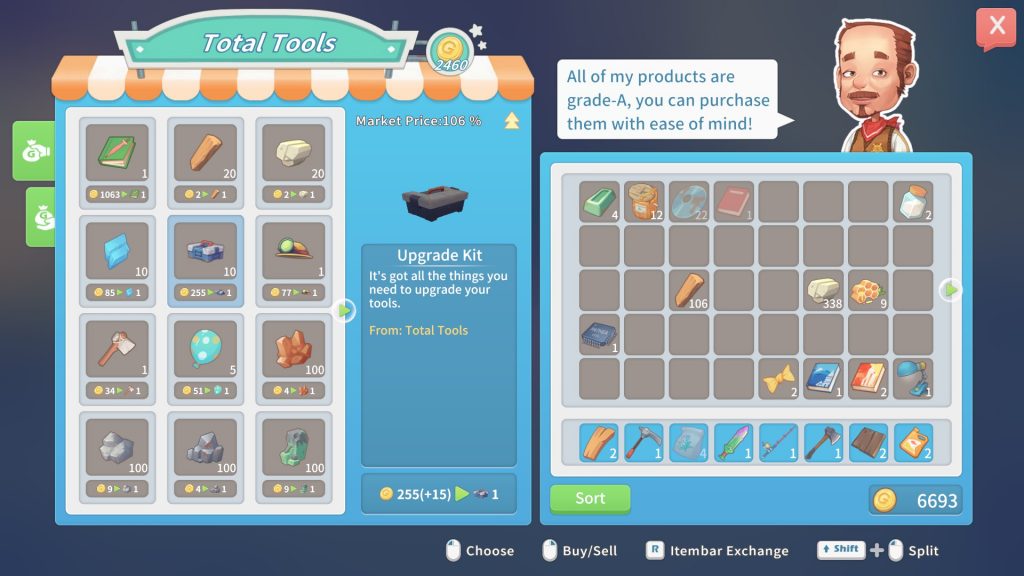
Upgraded versions of this equipment can fell larger trees or mineral deposits, which yield larger and more valuable returns. As well as requiring a Work Station of a high enough level, you’ll also need Upgrade Kits which can be bought from a shop in Portia. Initially these may seem expensive, but they pay for themselves very quickly given what they allow you to now forage for. Always keep an eye on what you need to further upgrade your axe and pickaxe, and do it as soon as you’re able.
The trees come back!
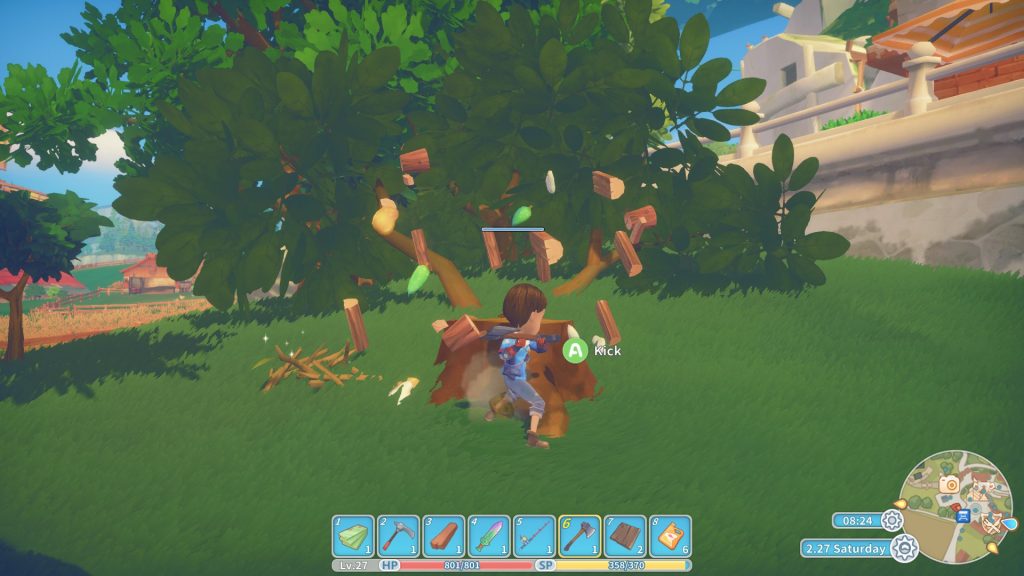
One of the biggest revelations I had with this game was when I realised that any trees you chop down, reappear after a few days. When I was unaware of this in the early days of the game I would avoid chopping down trees, and just go foraging for fallen wood on the ground, which is much less efficient, and frankly rather boring. But luckily for you resources are kind of infinite in My Time at Portia, so swing that axe to your heart’s content.
The same is also true of rock outcrops containing minerals which miraculously also reappear after a few days, meaning you can also happily mine away the days if you’re running low of various ores. With upgraded equipment this can mean making the most of bigger trees and outcrops and maximising your returns, knowing they’ll be back again in a matter of days.With the reassurance that resources will be coming back, you can use your equipment as much as you like, except for…
Keep an eye on your Stamina levels
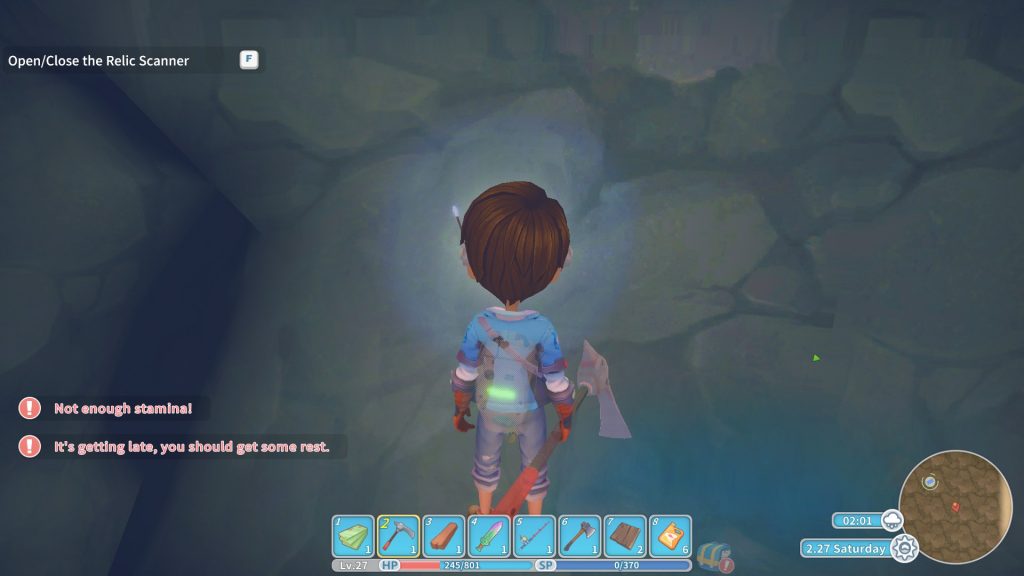
I use the term “levels” intentionally, because this game bizarrely has two measures of Stamina for you to worry about which manage different things. The first is the simplest, and performs much like the Stamina wheels in Breath of the Wild. With this you manage running and rolling to traverse Portia and its surroundings, having to wait a moment for it to replenish before using it again if it runs too low.
The other side to Stamina is a more permanent metric which starts at its maximum each day based on your level, and then particular actions such as chopping or mining reduce it. This means there is only so much material gathering you can do each day before you character is too exhausted to do more physical labour that day. To help you can carry items which refill the meter, giving you more energy to use, or create / purchase items that you can wear to improve it, or store in your house to give you a permanent Stat boost.
It’s important to get the most from each day as well, because Stamina resets, so where time allows I would always encourage some late-night mining or chopping to ensure you’ve gotten the most out of yourself before your well-earned kip.
One of everything won’t be enough

You’ll likely start off with just a single piece of every new equipment blueprint your discover, and this is perfectly fine in the initial throws of the game, where the stakes are quite low, but it’ll soon become apparent you’ll want multiples of various items to help you progress. The first is storage boxes which go in you house. Make a load of them, as soon as you can, so that at the end of every day before bed you can dump your excess items in them, and start the new day with empty pockets. There’s nothing worse than being caught half-way down a mine with loads of stamina but no pocket space. Also pay the money to expand your carry slots as soon as you can afford it. You’ll thank me later.
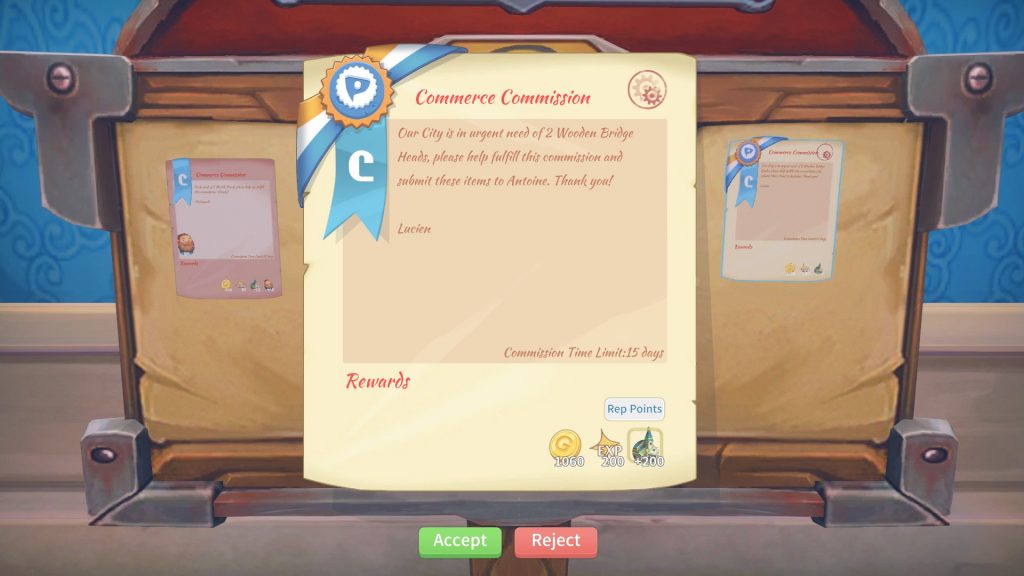
You’ll also want numerous furnaces as you expand, and more than likely cutters and grinders too, but furnaces should be your priority. They make a lot of essential stuff, but are relatively slow and limited to one item at a time, so multiple furnaces is quicker and gives you more options to get the materials you need to complete that next commission quicker. As with your axe and pickaxe, keep and eye out to see whether you can build the next version up, as having that will further broaden what materials you can create, and which commissions you can tackle either ad hoc or as part of the story.
Hand your Data Discs to the Research Centre
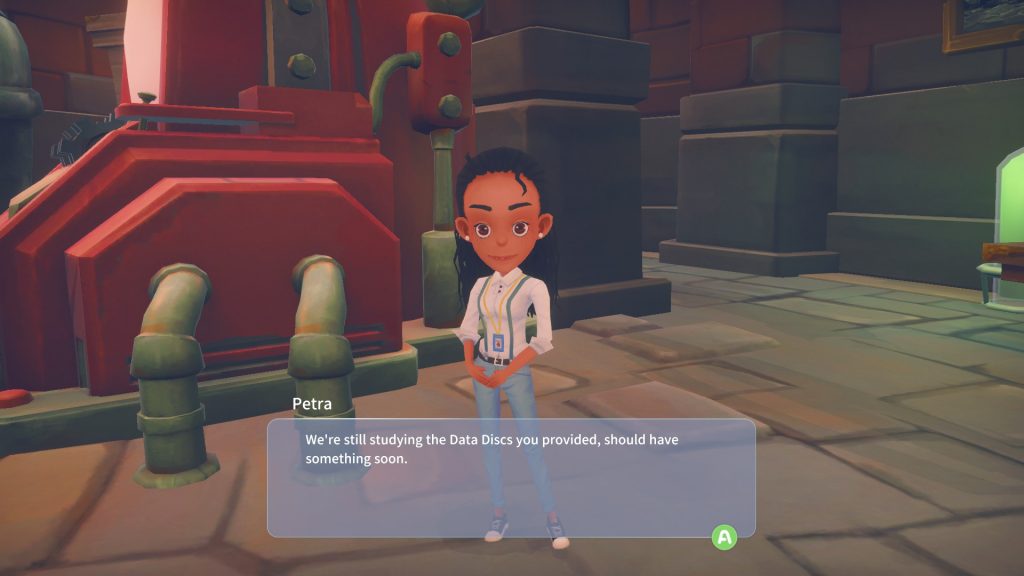
“But wait!” I hear you cry, “I can’t see any upgraded versions of equipment in my Assembly Station!” And that’s because aside from some story-related blueprints that get added to it, most of those pages need filling by you. To do this you’ll have to revert to the Old World technology in the form of Data Discs. Handing a few of these into the Research Centre will allow them to work on a new blueprint for you, and they’ll post it to you within a few game days. You can offer more discs to speed up the process if you want to progress quicker, and is recommended if you find yourself with a lot of Data Discs spare.
To be in such a favourable position, you’ll need to go mining. Data discs are found in the Abandoned Mines in the game, and can either be found randomly whilst mining there, or sometimes bundled in with relics when you discover those. Normally a good mining session can unearth 10-20 of these, so repeating this for a few days could put you in a great position. Always make sure that once the Research Centre has finished and sent you a blueprint, that you hightail over there and offer up some more discs so they can start another. Gotta make sure everyone is working as hard as you are, right?
Relationships require a lot of attention span

As true in this game, as it is in life I suppose. You’ll notice very early on in My Time at Portia that there’s an entire, structured social aspect to the game where every named character you meet has an established affinity towards you that you can raise by simply chatting to them, gifting them items and even having a friendly bout of fisticuffs. Also completing commissions that have been set by certain characters also gives you a boost of a few relationship points too.
But that’s barely scratching the surface of what this is all about. You get different perks in the game if your relationship is at certain levels with certain characters, every single one of them likes and dislikes different types of gifts, and to make matters worse, your relationship can deteriorate if you don’t interact with a person for a few days because you’re off saving Portia. Because there’s so much going on my advice is to pick a few characters you like (either their perks, or just their characters in general) and stick to socialising with them and gradually raising their affinity to you. The game records any gift preferences you discover in the Social menu so refer to that if you forget what your friends like or dislike. You’ll find it’s much easier to focus on just a few residents, and improve their relationship with you, and that managed approach will also feel like you’ve accomplished something alongside your construction business.
You won’t always be ready for what the game offers you
One of the biggest truths you have to get to grips with in My Time is Portia is that it’s a long old game but also it’s one that doesn’t tell you a great deal. Because of this lack of communication, and with some of its design choices you can easily end up being in a situation where you want to progress the story or a side mission the game has given you, but you simply don’t have the equipment ready.
Because blueprints from the Research Centre can be random, you won’t always get that new furnace or grinder that you’re desperate for, and perseverance is the key. It’s worth remembering that there are always daily commissions you could be doing, further mine exploration or simply creating items and selling them in town for some money that are great ways of killing time for the next blueprint in a productive way as you set yourself up better for the future. The more you keep your equipment creating, and maximising every day, the easier it’ll be once you finally get that blueprint or piece of equipment you’ve been waiting for.
And the simple joy is, that there’s no right way to play My Time at Portia, and you shouldn’t feel pressured to do things in any which way. Fancy spending a week relaxing and just fishing? Then go for it! Would rather spend money than growing your own crops? No one can tell you otherwise. It’s quite a liberating game once you embrace the sheer scale of what’s on offer and don’t get bogged down with what you feel you should be doing.


