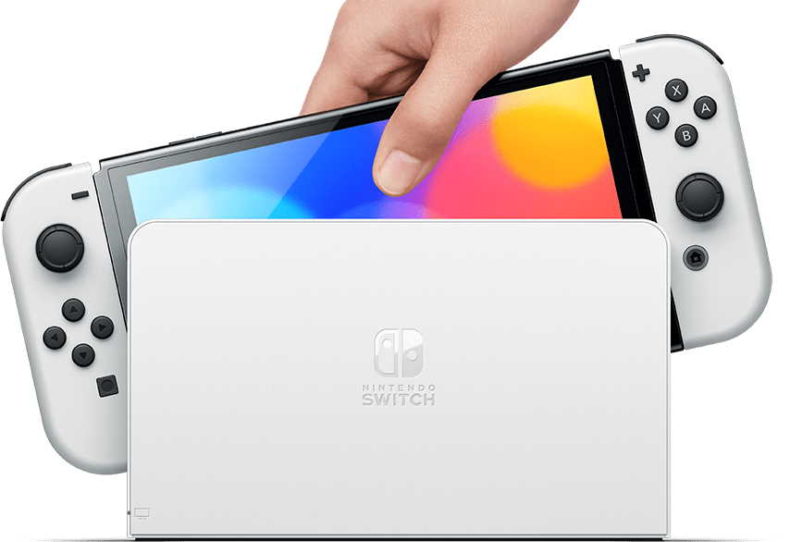
So you’ve grabbed yourself the latest, shiniest tech and want to transfer your Nintendo Switch data to your new OLED model. That’s why you’re here, right? Well, first of all congratulations on getting that gorgeous new OLED screen in your hands. Oh and we assume you’re playing Metroid Dread as well? Good. Good…
Here’s our step-by-step guide explaining how you can transfer Switch data to the OLED model Let’s go!
Transfer Switch to OLED: things to know before you start
Before we get started with the actual transfer, here’s a few tips that you need to know before you get going.
- Both systems involved in the process must be on system software 4.0.0 or higher.
- A Nintendo Account must be linked to the user account you wish to transfer from the source console.
- The OLED cannot have more than 7 users on it when you try to migrate to it.
- There must be enough free space to accept all the data transferring over.
- Once finished, the original source console will have the data and user information erased.
- Save data cannot be merged or transferred between users: so do the transfer before you play.
- This process won’t transfer your games over: you’ll have to redownload them.
Step One: Get your old console ready
First thing you need to do is tell your old Nintendo Switch that it’s going to a new home, so to speak. Go the main home menu of the your console and go to the System Settings menu. After this, find the section that says “User” and then go to “Transfer Your User”.
The Switch will give you some information to make sure you know what you’re doing, and you will have to click “Next”, then “Next” again. Then finally select “Source Console” to tell the transfer process that this is your old console, and you want to move to a new shiny OLED. Confirm all of this by hitting “Continue”.
Step Two: Get your new OLED Switch ready
Following the same steps as above, from the main Home menu go to your “System Settings”. Then “User”, and then “Transfer Your User”. Once again you’ll need to press “Next” twice, before we get to the first new step: hit “Target Console”. This tells your new OLED that it’s going to be the new console of choice for you.
Here you’ll need to provide some details on the new OLED console. Sign in to your Nintendo Account here using your sign-in ID or email address, and of course your password. Then hit “Next”.
Step Three: Wait for the magic to happen
After this, the two Switch consoles will basically try to find one another via their local connectivity. You need to pay attention to your older source model Switch and when it finds the new OLED model, hit the “Transfer” option.
The transfer process will now begin, and you simply have to wait. It depends on how much data is being transferred as to how long it’ll actually take. Once it’s finished, just select “End”, and you’re done. Congratulations, you’ve managed to complete the transfer of your Switch to your new OLED model.


