Sea of Thieves Tall Tales Journal Locations Guide: Part Four

Our guide to the Sea of Thieves Tall Tales continues below with Part Four.
Part One: The Shroudbreaker and The Cursed Rogue
Part Two: The Legendary Storyteller and Stars of a Thief
Part Three: Wild Rose and The Art of the Trickster
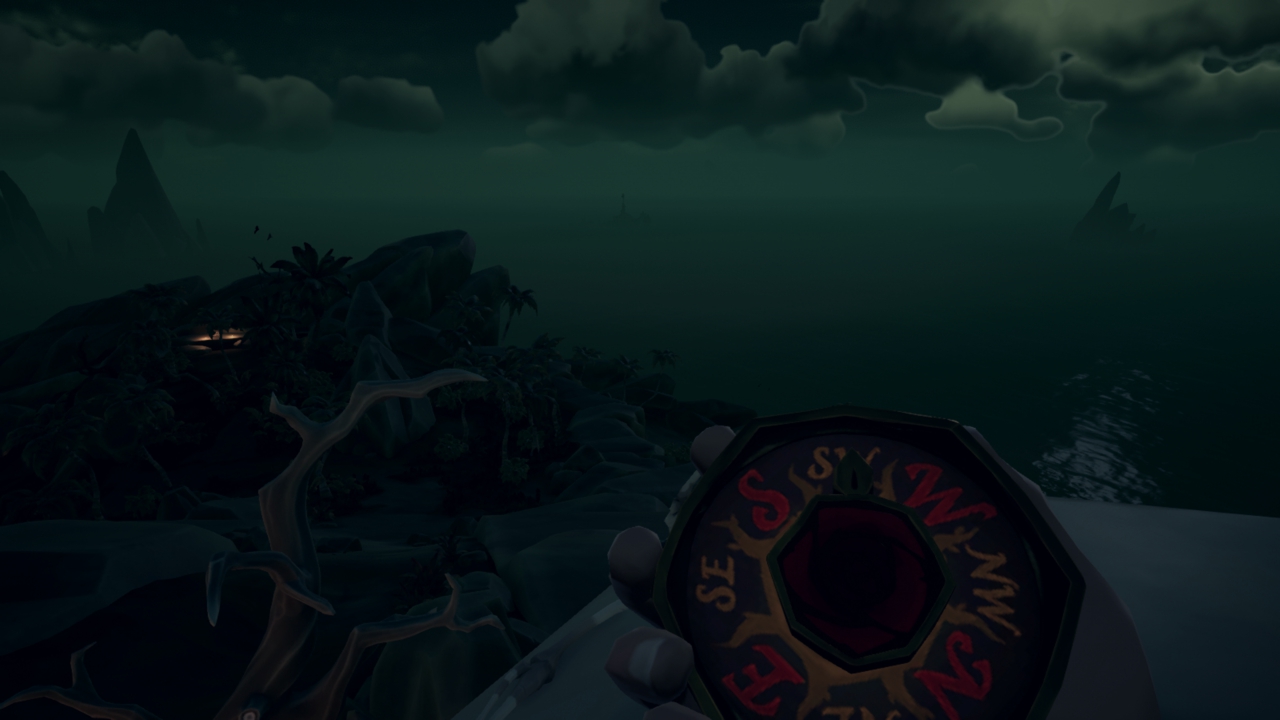
TALL TALE #7: FATE OF THE MORNINGSTAR
To begin this Tall Tale you will need to die and speak with the Ferryman on the Ferry of the Damned. He will give you a quest to help him save the souls of the crew of the Morningstar. The journals are all by the Ghost Hunter.
Finding these journals is made somewhat easier as they are all located on Old Faithful Isle.
JOURNAL #1: A GHOST WATCH
You will find this in the cave on the south eastern part of the island on top of a rock near a candle.

Old Faithful Isle: Cave

Old Faithful Isle: Cave – Journal Location
The text reads:
I made it, Dad! I know you told me my ratty old sloop couldn’t make it safely through the Wilds, but I’m here in one piece. And that’s good, I mean, this island is one of the most haunted places there is. They definitely don’t need my ghost here, too. I may not be much of a pirate, Dad, and you’ve never been afraid to say so. But tonight I’m going to finally do something right! My hands are shaking so much I can hardly write, but I’ve got to do this. I’m GOING to do this. Definitely not scared and definitely going to do this. Definitely. Right now.
JOURNAL #2: THE FRIGHT OF MY LIFE
On the south western side of the island you will find a Kraken skull. The journal is located near the right-hand eye socket of the skull.
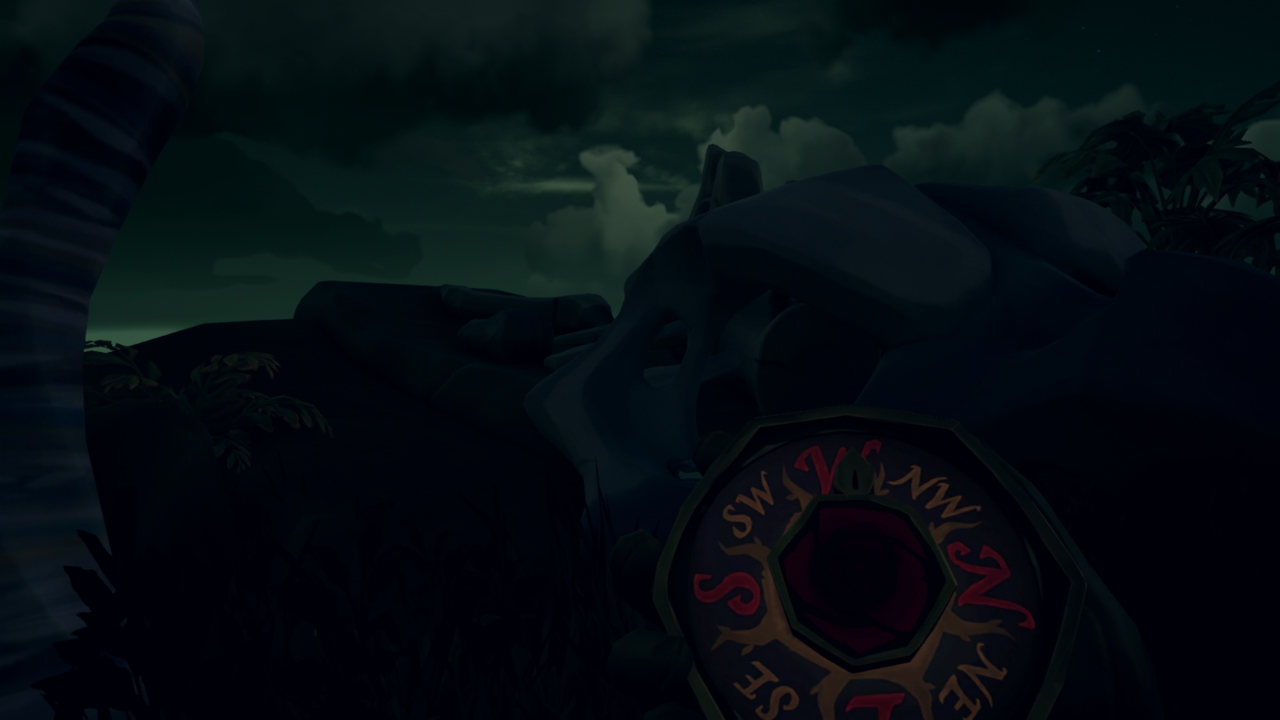
Old Faithful Isle: Kraken Skull
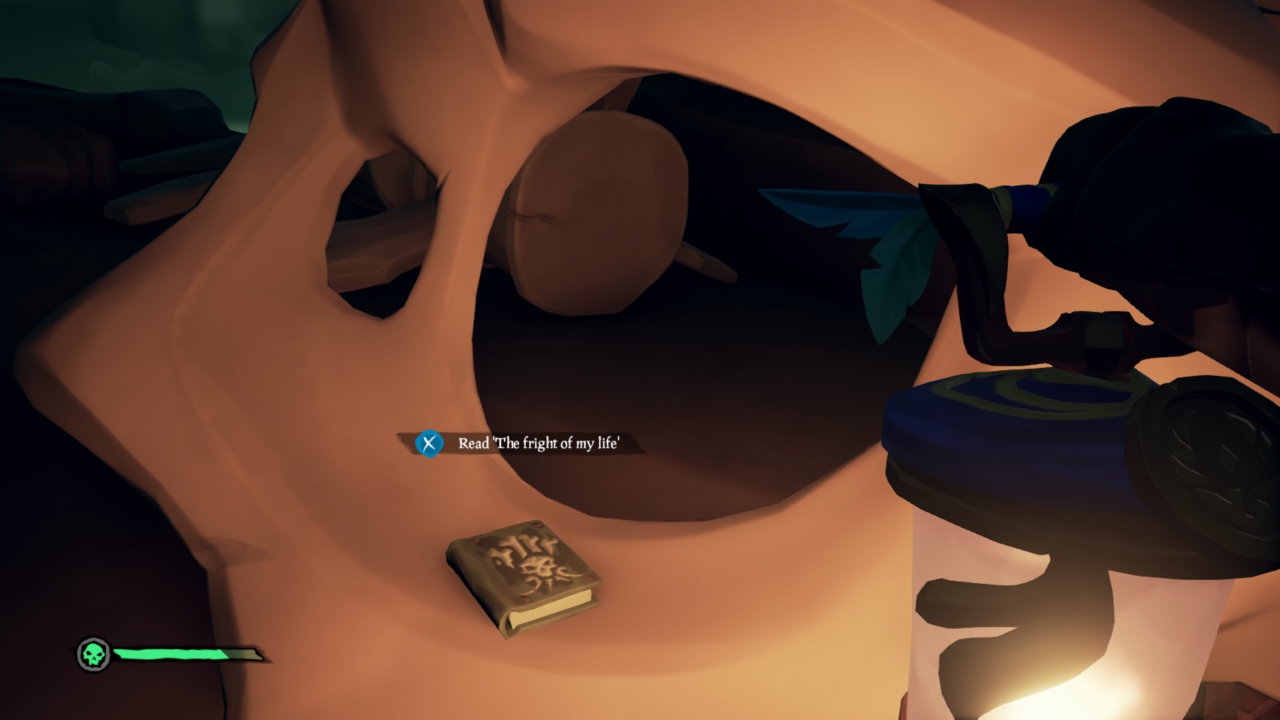
Old Faithful Isle: Kraken Skull – Journal Location
The text reads:
The fog had already rolled in by the time I started hunting. You know how it muffles sound and makes everything strange? Well of course you know, Dad… You know everything. Anyway, my mind started playing tricks on me pretty much straight away. I got turned around, and started climbing, trying to get out the fog… Groping, blindly, hoping I didn’t walk straight off a ledge. That’s when my hand touch it. Polished bone, cold as ice and moist from the fog. I thought I’d be seized by skellies for sure! Lucky for me, the sun broke through just then. It was just a boring old kraken skull, not anything supernatural! Whew.
JOURNAL #3: HUNTING BY BONES
From the Kraken skull head a bit further up and into the island. You should come across an altar of skulls with the journal is lying on the rock to the left of the altar.
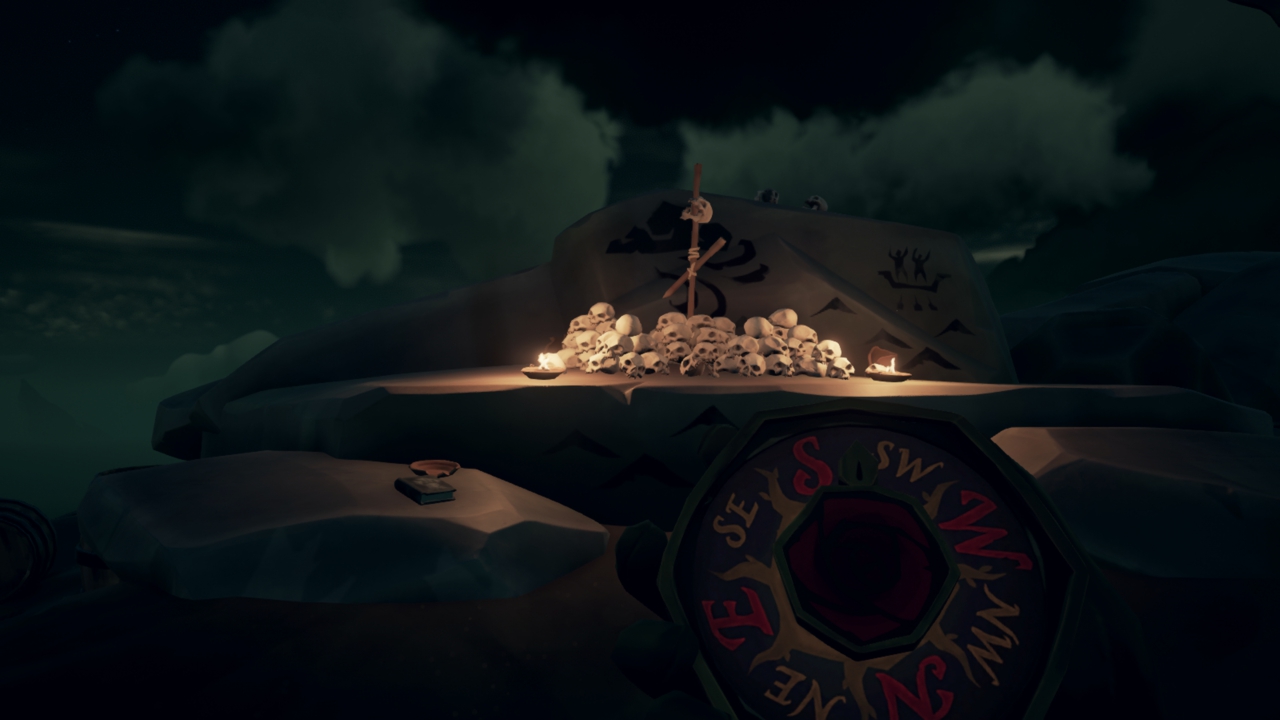
Old Faithful Isle: Skull Altar
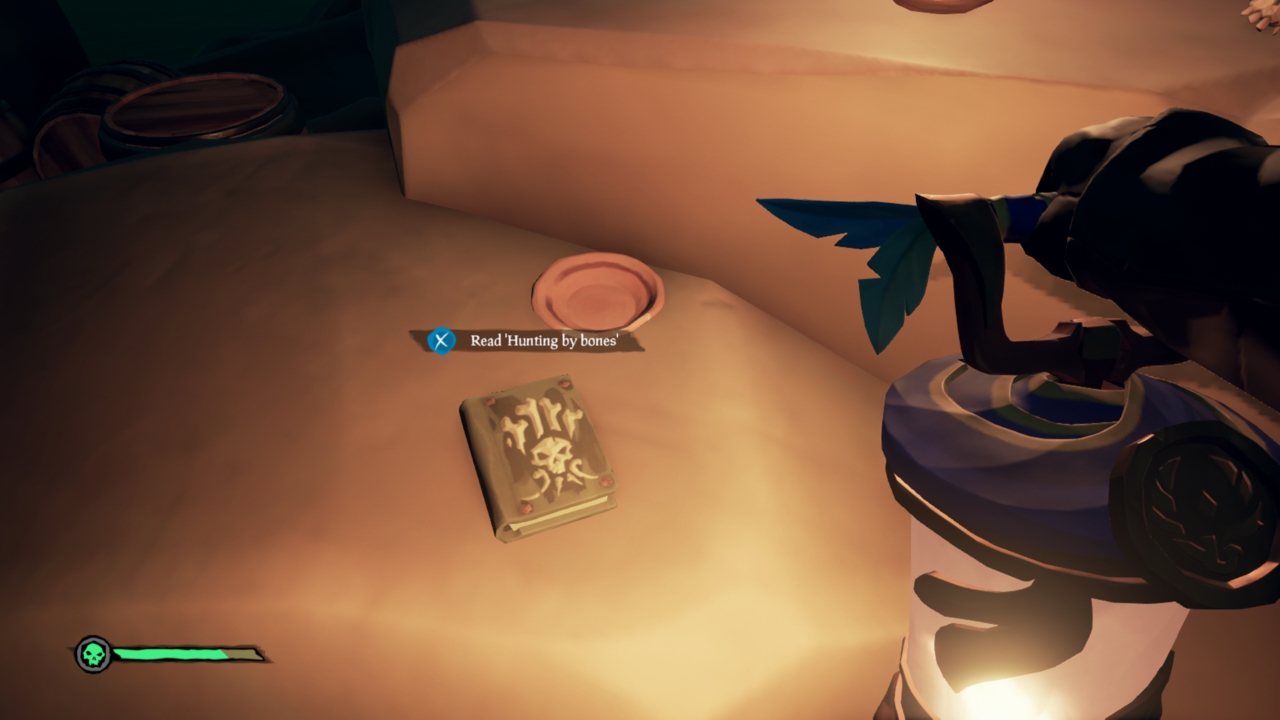
Old Faithful Isle: Skull Altar – Journal Location
The text reads:
That kraken skull gave me an idea… I decided that if I were a ghost, I’d take notice pretty quickly if someone messed with my remains. I went around the island, gathering up all of the skulls I could find and piling them up. I found some candles, too, which is good. If I do meet an angry ghost, I certainly don’t want to do it in the dark. Also, now I can see to write down more of my adventure. Looks like a storm will be here by dawn. I miss the bed in my room, with all it’s familiar creaks. But I made a promise to myself. So…
JOURNAL #4: STILL NO LUCK
You will need to climb to the top of the highest point of Old Faithful Isle. The journal is located at the very peak of the rock near a skeleton.
Old Faithful Isle: Highest Peak
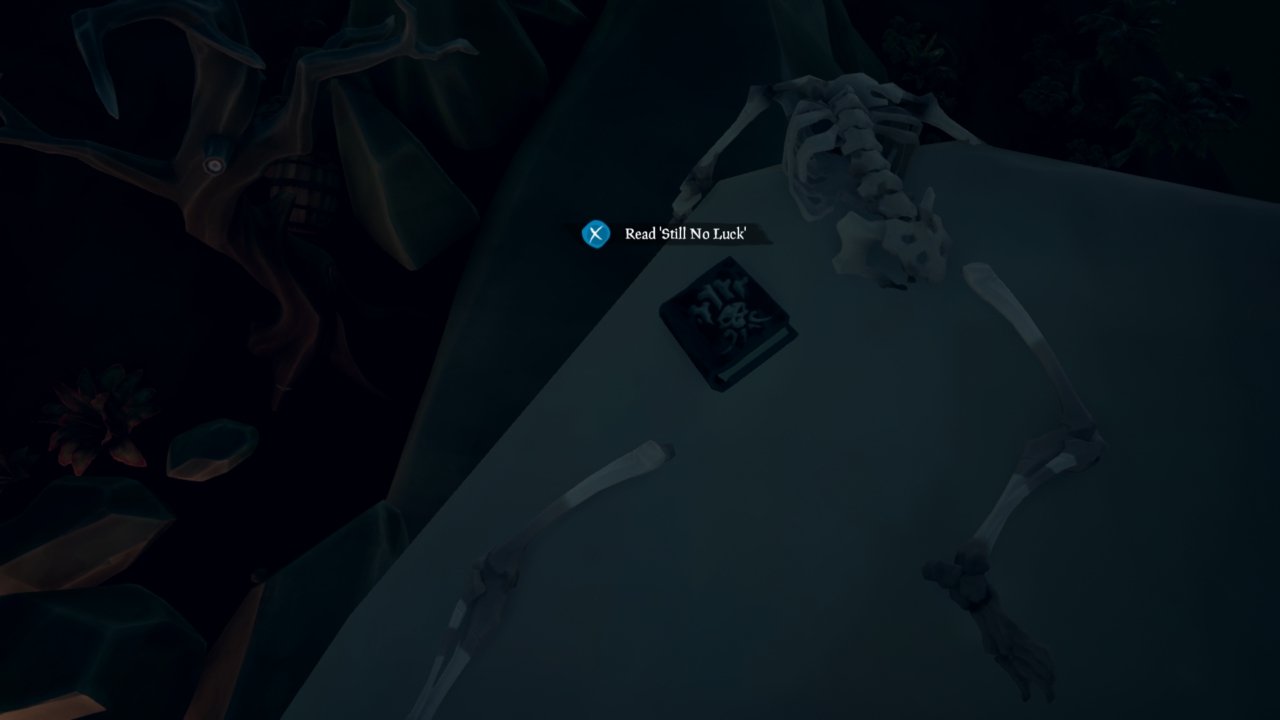
Old Faithful Isle: Highest Peak – Journal Location
The text reads:
This is crazy. I’ve met a dozen pirates who claim this island is haunted. Were all of them just teasing me? Laughing at me? I can’t accept that. I HAVE to meet a ghost! Talk to it, maybe. Find out why they never came back aboard the Ferry of the Damned. I have to know that there’s more, Dad. I have to prove it. I want to know, to make you believe, that someday we’ll get to see Jill again.
JOURNAL #5: GIVING UP
This one can be pretty tricky to locate. Head to the centre of the island where the fort is located. The journal is hidden at the end of a bridge that leads to a tower.
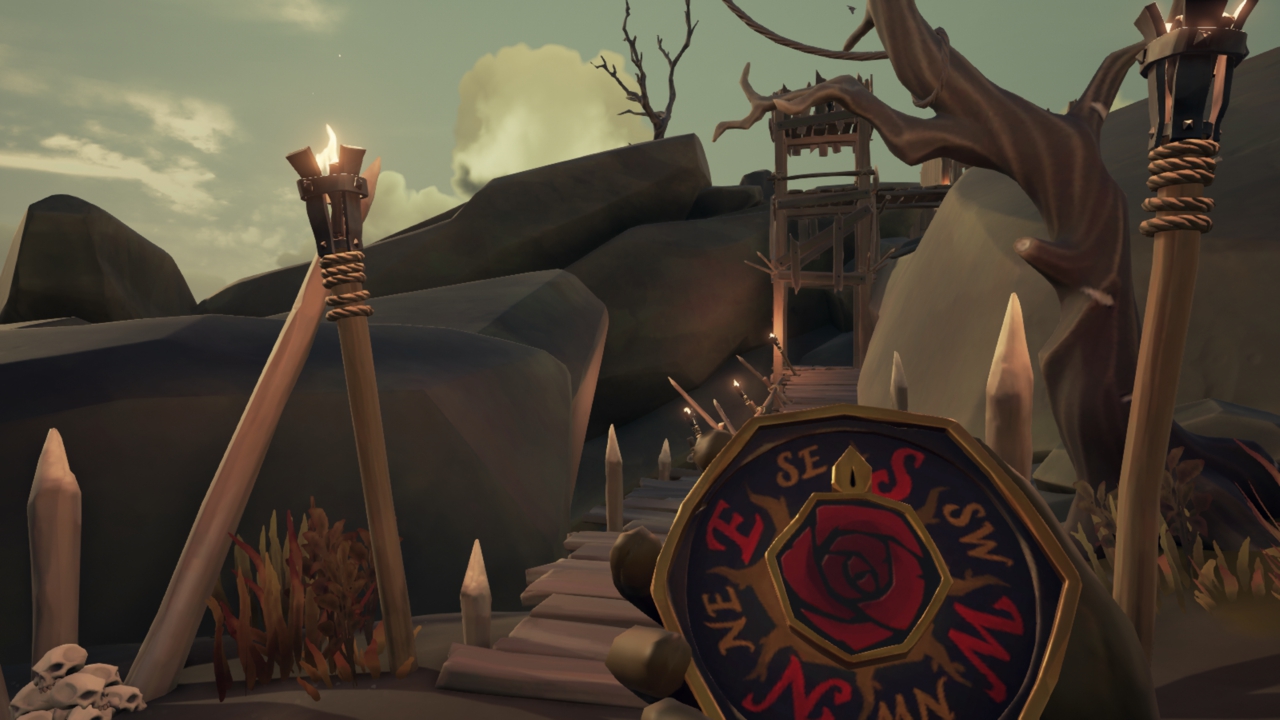
Old Faithful Isle: Bridge
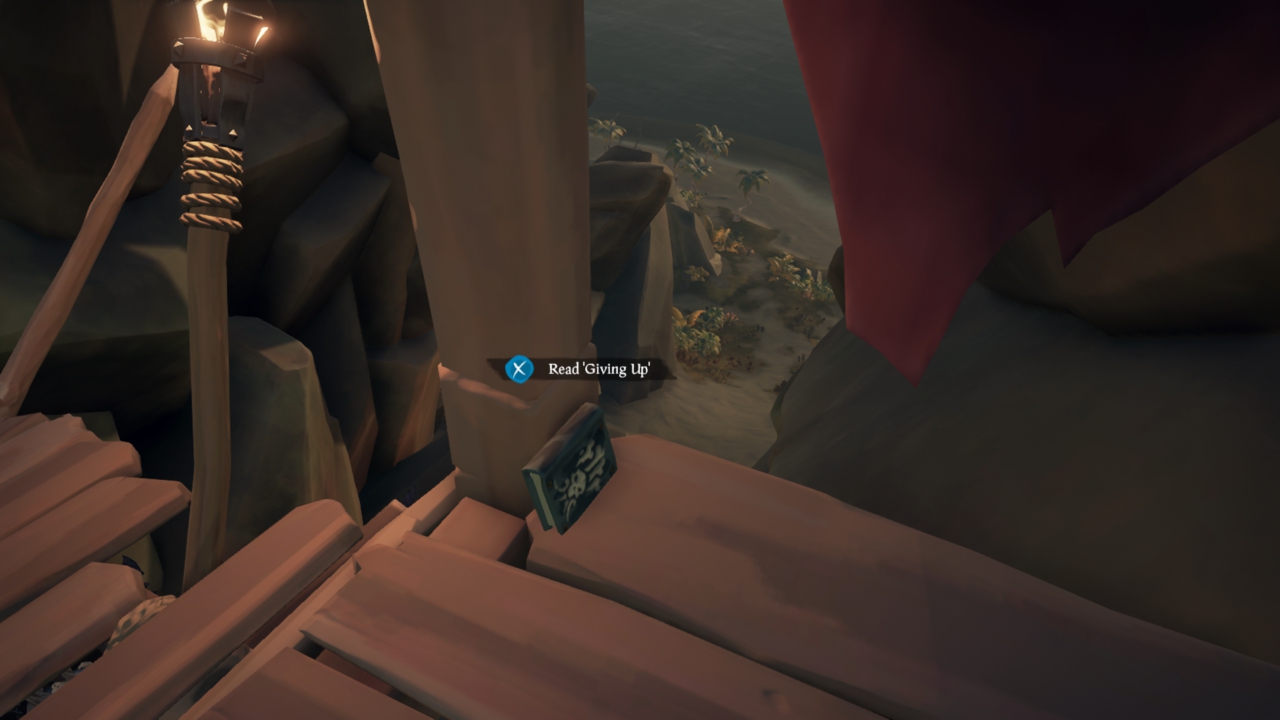
Old Faithful Isle: Bridge – Journal Location
The text reads:
I tried every trick I could think of to stay awake, but I nodded off up on this bridge, amongst another group of skeletons. I dreamed there was a man standing over me, stern and smart. He reminded me a bit of that old captain Jill used to idolise… It was like he was trying to say something… and then KABOOM! Lightning strike. I woke up in SUCH a panic! My foot got tangled in some ropes and I started screaming. I tugged as hard as I could… and all of the cages toppled off the bridge. Oops. I’m done. Dawn is here and I didn’t see one single ghost. I’ll leave my books behind in case someone else has better luck. I’m coming home now, Dad. Once again, I’m coming home and Jill isn’t. Sorry.
TALL TALE #8: REVENGE OF THE MORNINGSTAR
To activate this tale you will need to head to Daggertooth Outpost and go speak with Sandra the Shipwright. These journals all belong to Eli Slate one of the crew you helped in the previous tall tale.
JOURNAL #1: ASSESSING THE ENEMY
You can find the first journal in a crate on a barrel on the western side of Boulder Cay.
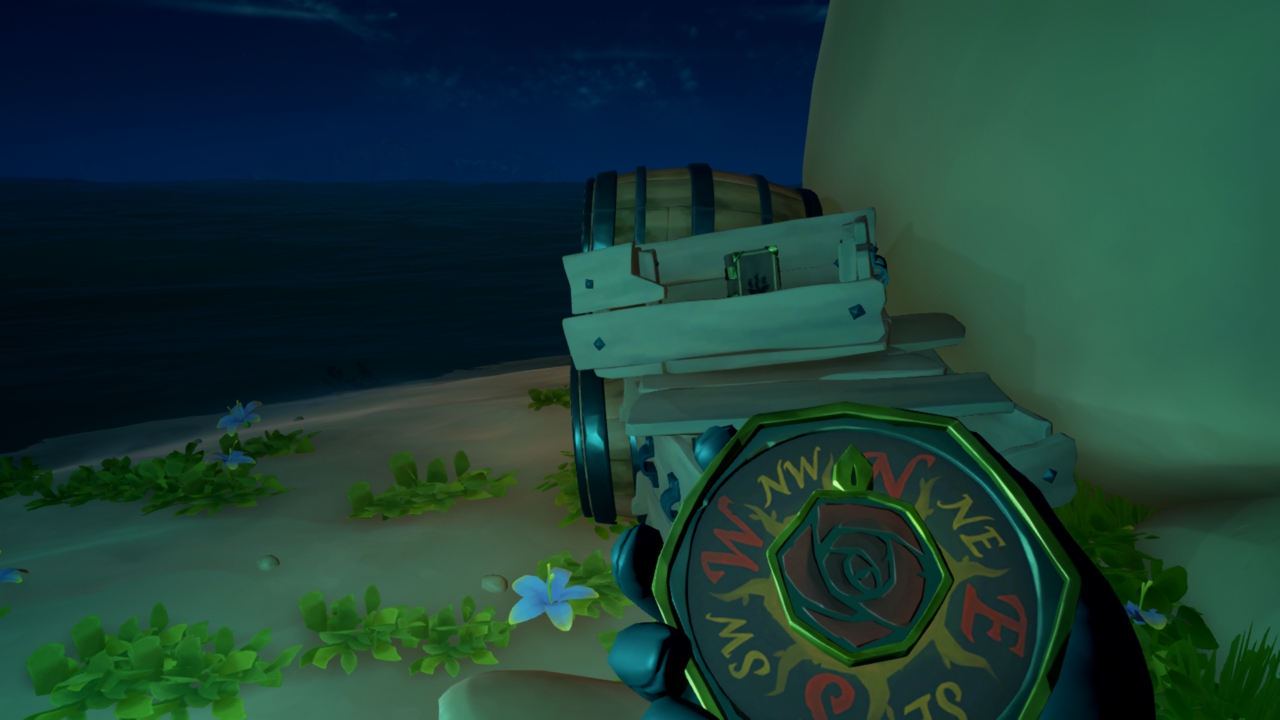
Boulder Cay
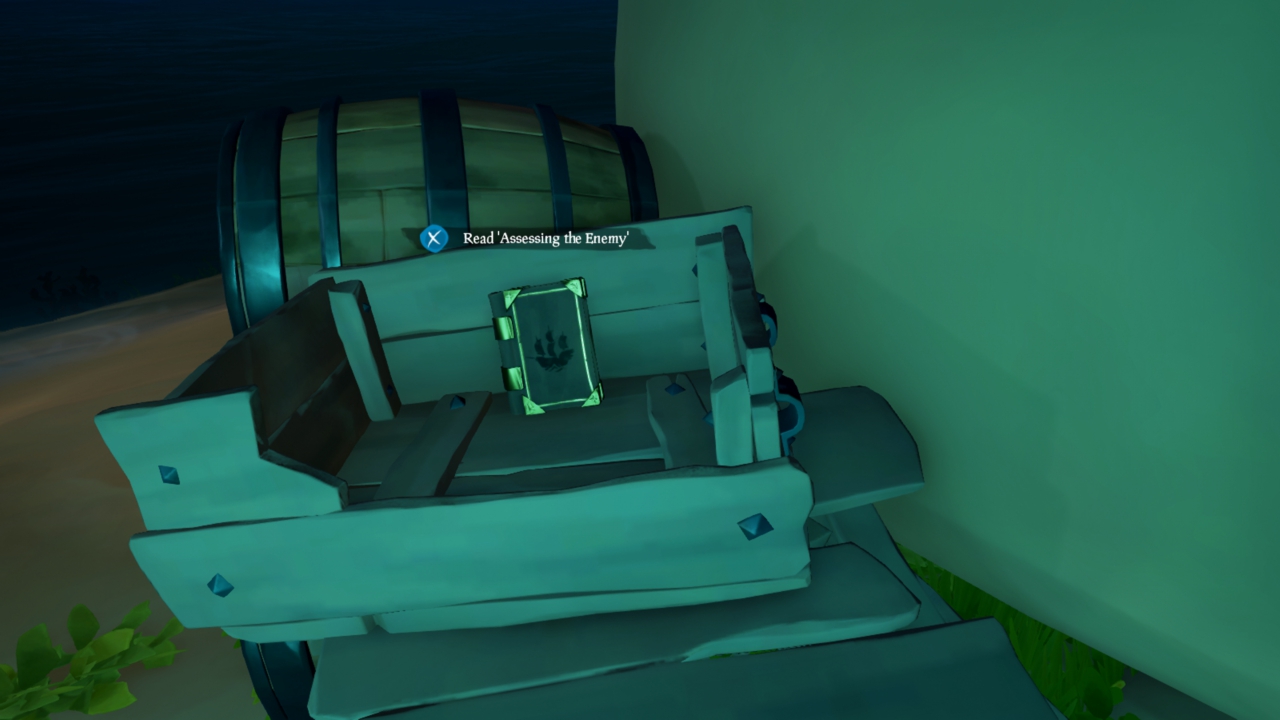
Boulder Cay – Journal Location
The text reads:
“Know your enemy.” – Sun-Tzu, “The Art of War”.
Who is Graymarrow, the wretch that pursues us endlessly in our quest for the Shroudbreaker? Long ago, I crossed paths with a gaunt and pitiles fellow whose crew may as well have been his slaves. Can this be the same man, fallen victim to a curse that has hardened what little heart he once possessed? A man, at the George and Kraken tavern claims that he can tell me more…
JOURNAL #2: ACCEPTING THE IMPOSSIBLE
If you have been paying attention you will know that “The George and Kraken” is the name of the tavern on Sanctuary Outpost. The journal is located behind the crates in a corner of the tavern. Head through the door and turn left.
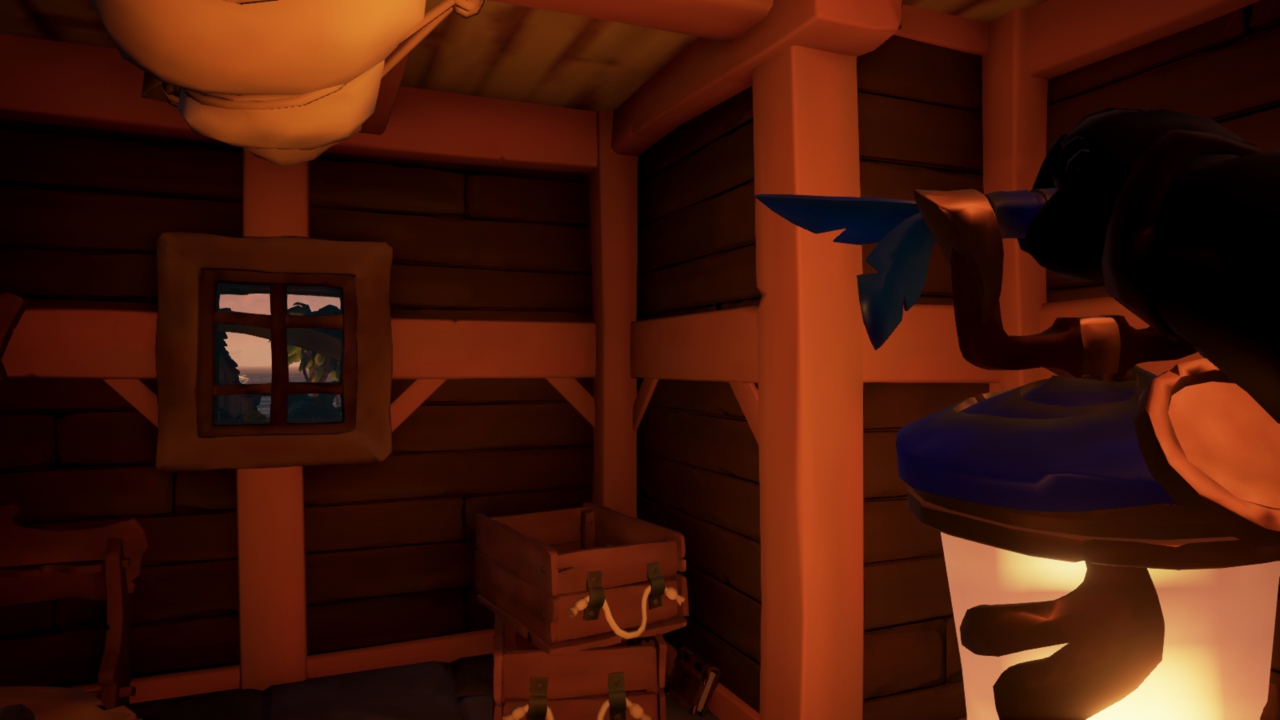
Sanctuary Outpost
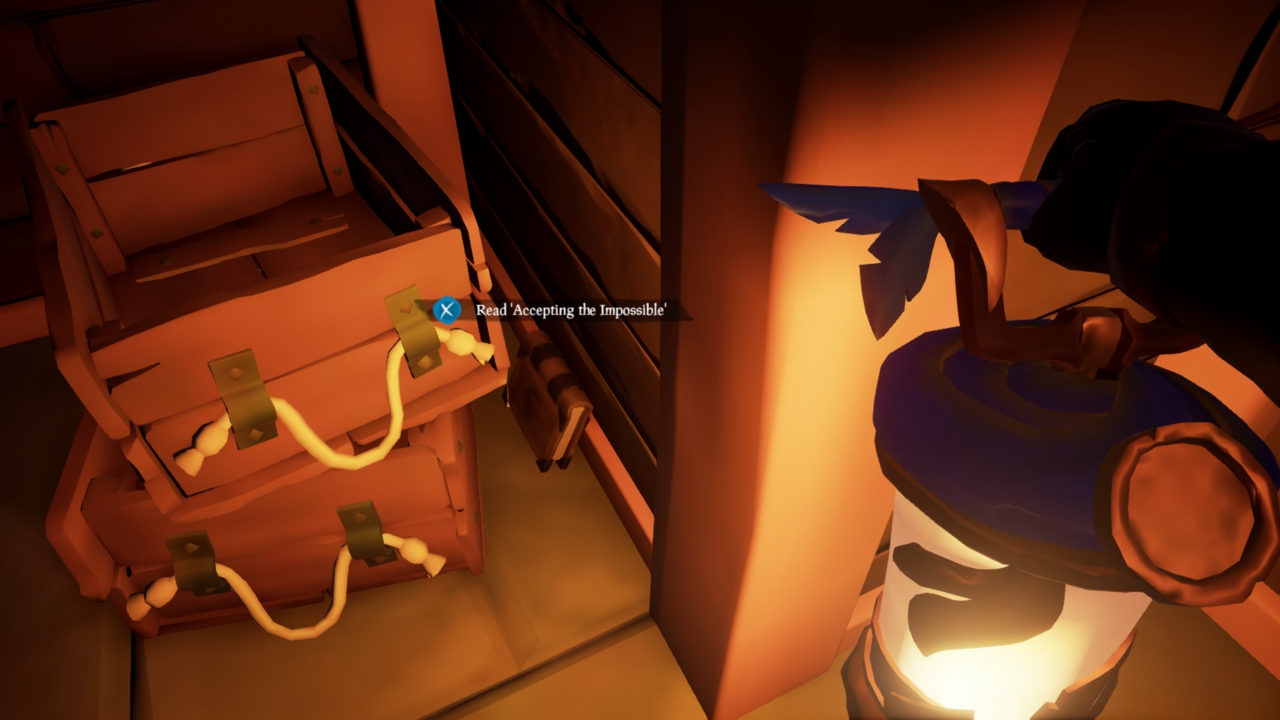
Sanctuary Outpost – Journal Location
The text reads:
It seems that my suspicions were correct. The Skeleton Lord who now pursues us is a bitter rival from my past. I have met Gold Hoarders with skin like midas’ own, and they claim it to be a consequence of handling cursed coin. Can a healthy, flesh and blood man really be transformed, in such a fashion as to command legions of the undead? On this strange, unknowable Sea of Thieves, it sometimes seems as though anything is possible. I shall consider the matter further as we make for Cannon Cove.
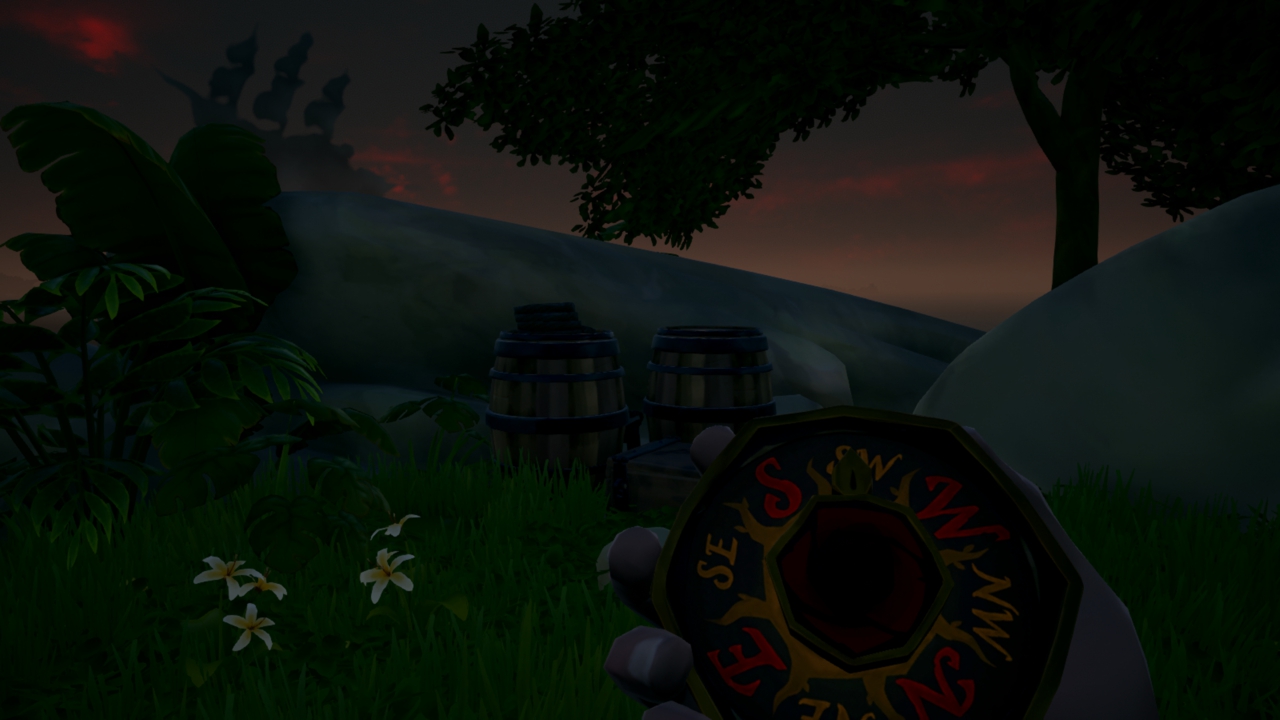
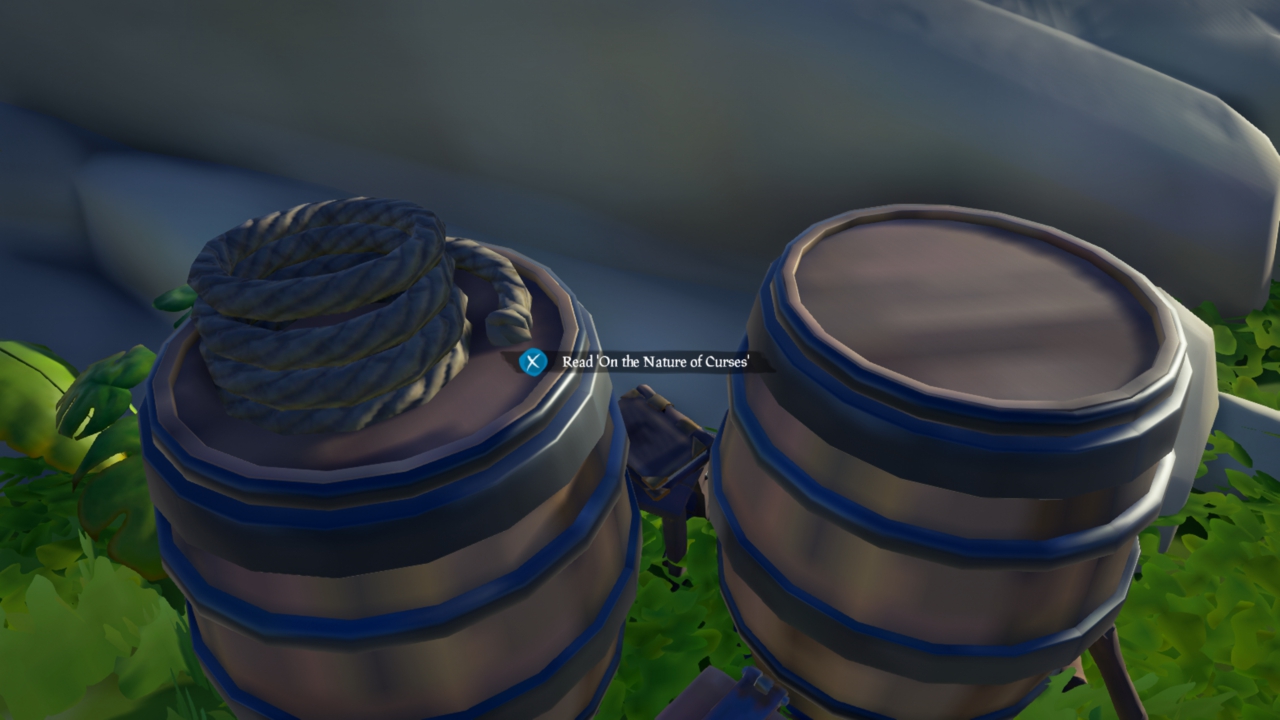
JOURNAL #3: ON THE NATURE OF CURSES
The previous journal suggests Cannon Cove as the next destination, and you will find this particular tome on the highest cliff towards the south-west. It is resting on a tiny stool between two barrels and an ammo box.
Cannon Cove
Cannon Cove – Journal Location
The text reads:
There are whispers, low and fearful, that Graymarrow has begun to wield some fell powers of his own. To whit, he has found a way to ‘maroon’ – for want of another term – the spirits of those he bests in battle. Souls imprisoned by such a curse can never find their way to the Ferry of the Damned, and remain lost. We sail at top speed to Sunken Grove, out in the Wilds. I am taking night watch. I doubt that I could sleep tonight…
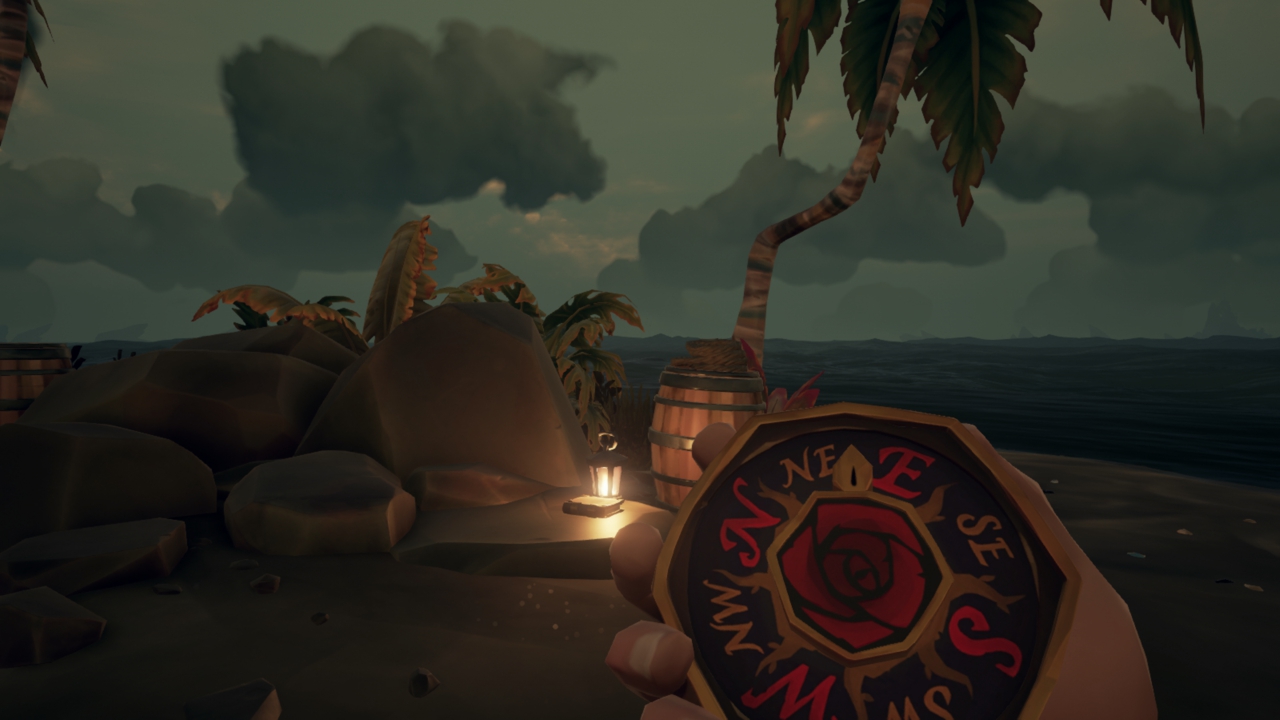
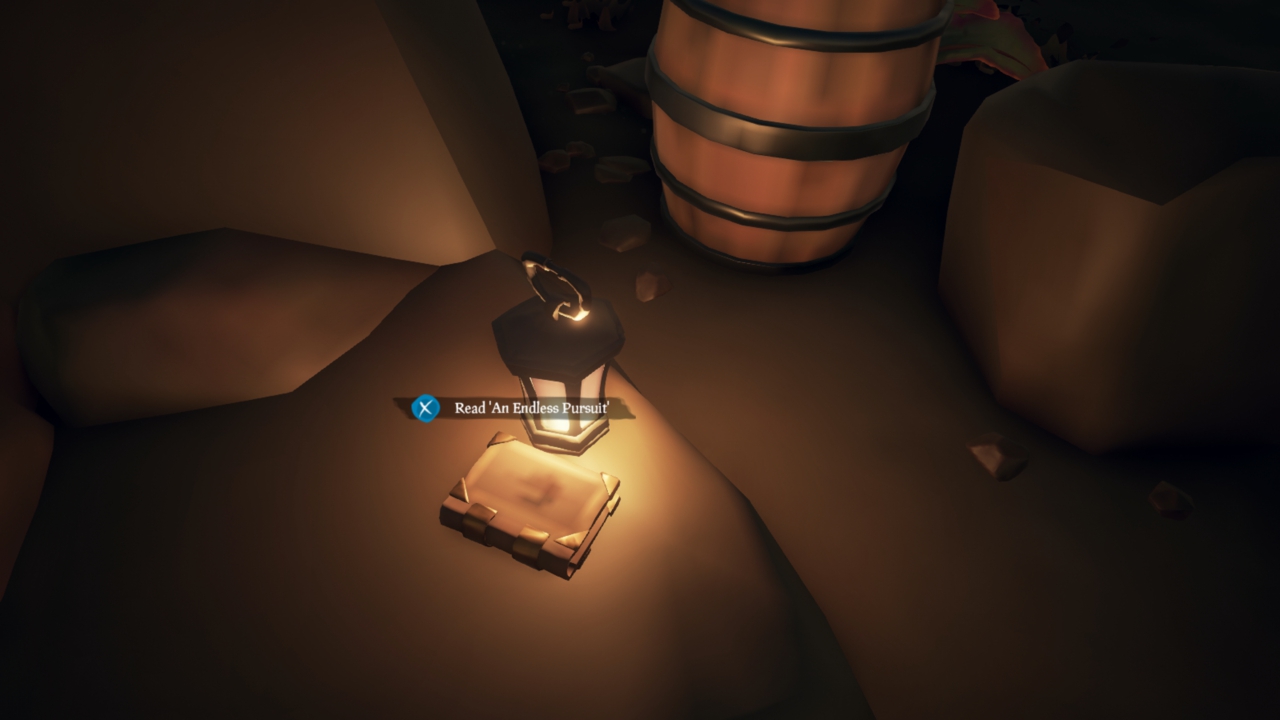
JOURNAL #4: AN ENDLESS PURSUIT
Head to the north-eastern part of Sunken Grove. Just offshore of the main island is a small islet, the journal is located on a rock next to a lantern and some barrels.
Sunken Grove
Sunken Grove – Journal Location
The text reads:
The more I learn about Graymarrow, the more certain I am that we must recover and reunite the Shroudbreaker’s pieces. At this point, escaping into the Shroud may be our only means of escaping him. We need rest. He requires none. Fontaine believes we should surrender the one Shroudbreaker fragment we do possess, and plead for clemency. I, however, fear it is far too late. This chase has become a matter of pride for Graymarrow, and he wishes us gone for good. A confrontation seems inevitable, yet still we flee, speeding to Marauder’s Arch as our last supplies run dry…
JOURNAL #5: A LITTLE TOO LATE
The final journey sees you travelling further north to Marauder’s Arch. The journal is located up high on the western side of the island near the cannon resting on some barrels.
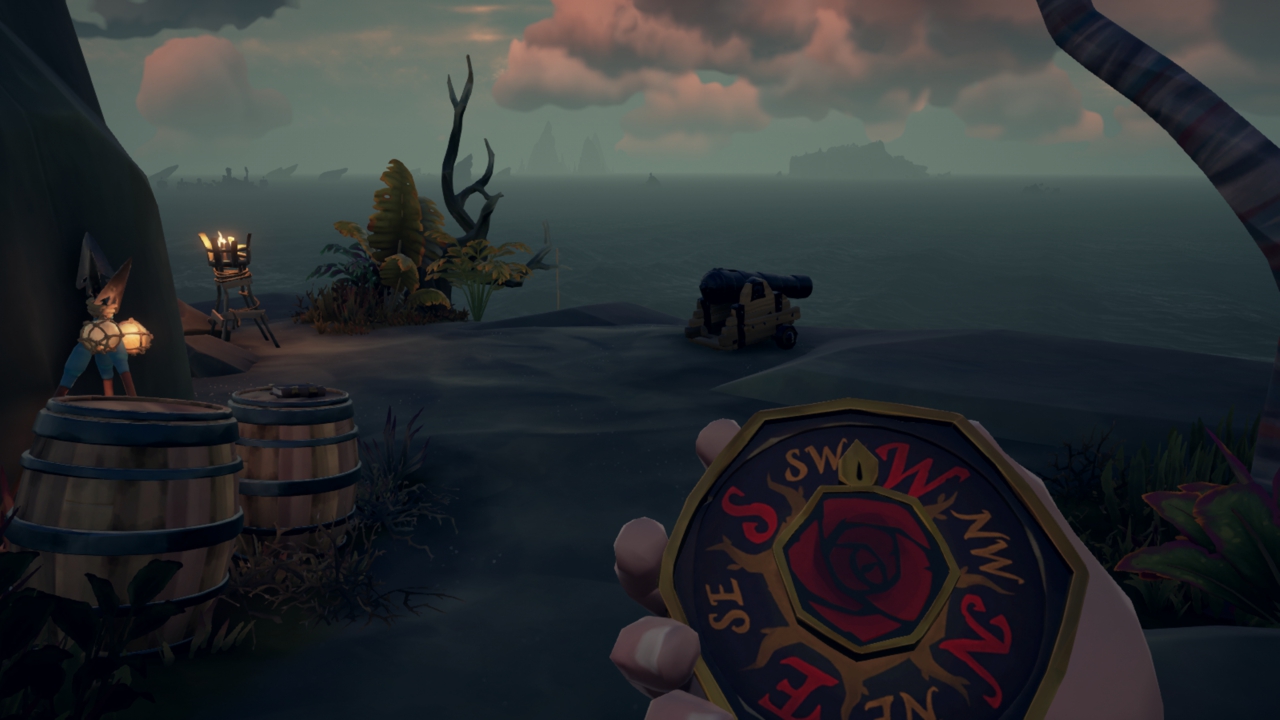
Marauder’s Arch
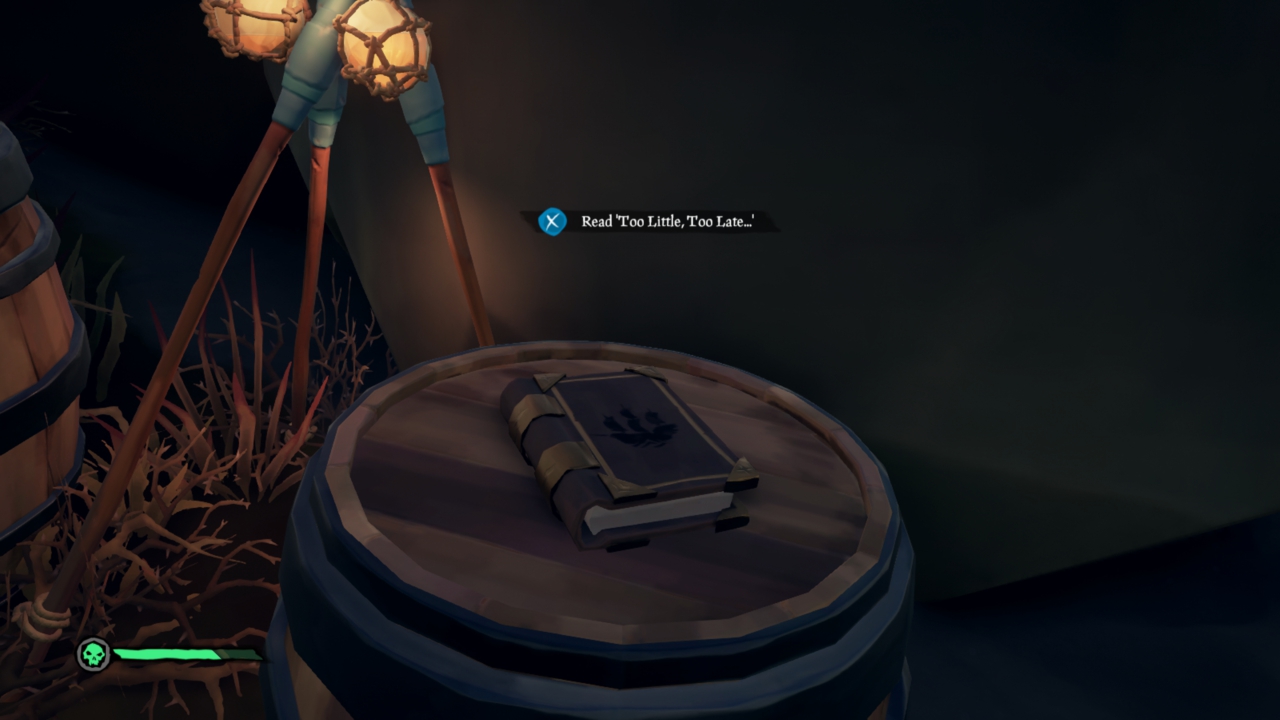
Marauder’s Arch – Journal Location
The text reads:
He has a weakness! At last, here at Marauder’s Arch, I was able to seize orders scrawled by Graymarrow himself. By his own hand, I have learned that even Graymarrow must sometimes rest his wicked bones below the soil. If he could be taken by surprise, it might be possible to defeat him… but our food is gone. Our cannons empty. Instead, we must limp back to Boulder Cay, beach our vessel in the shallows there and make our final stand together. My crew are terrified, we but sail on. I could not be more proud, and can only hope that one day we shall be avenged.


