A Plague Tale Requiem | Windmill Puzzle Guide

In Chapter 9 of A Plague Tale Requiem, Sophia will mention some smuggler’s treasure that you can find, and you’ll need to solve the Windmill puzzle to get your hands on it. It’s quite a tricky puzzle with a few parts to it, but we’ve broken down everything you need to know to solve it and find the elusive treasure. And believe us, it’s well worth your time. Read on to discover the solution to the Windmill Puzzle in A Plague Tale Requiem.
A Plague Tale Requiem | Windmill Puzzle Guide
1. Find the Windmills
The first thing you’re going to want to do is locate the Windmills themselves. As you make your way down from the Palace, you should see the Windmills off to your right in the distance. They shouldn’t be too hard to get to either by following the main path, or going off the beaten track to reach them directly.
2. Identify each Windmill
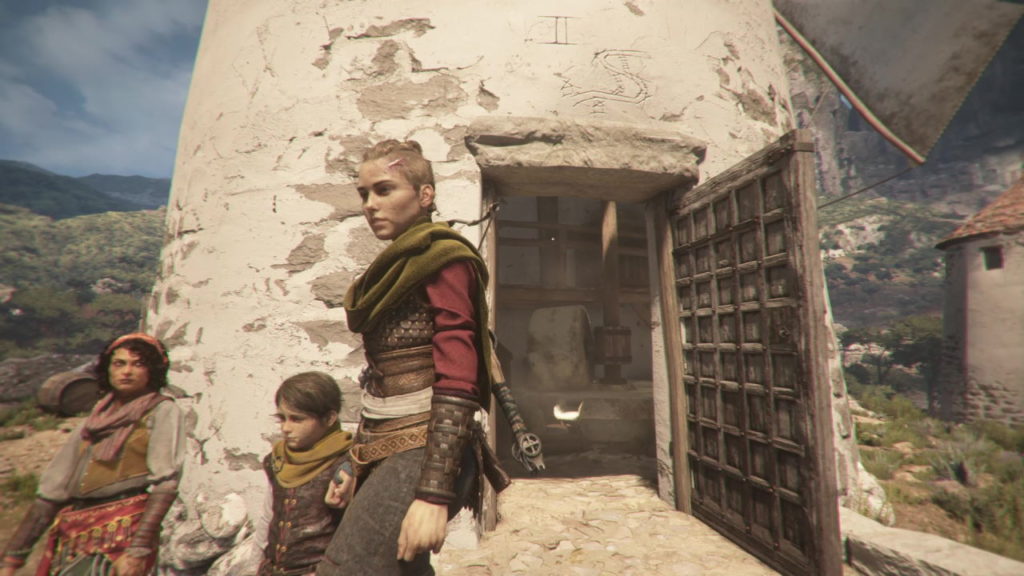
Now you’re at the Windmills it’s crucial to differentiate them. If you go to the front door of each Windmill, you will notice there is a number carved above the lintel in Roman numerals; so I, II, III and IV denoting the numbers 1 to 4.
You’ll also notice that alongside each numeral is a picture. You may want to jot these pictures down too as they offer a clue as to where to go next.
Here is Windmill I:

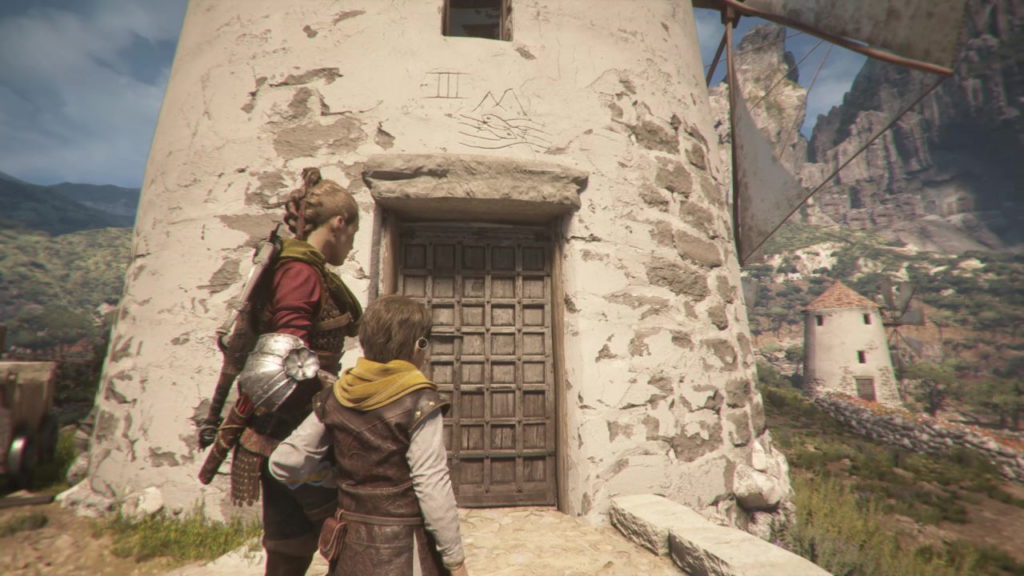
Windmill II:
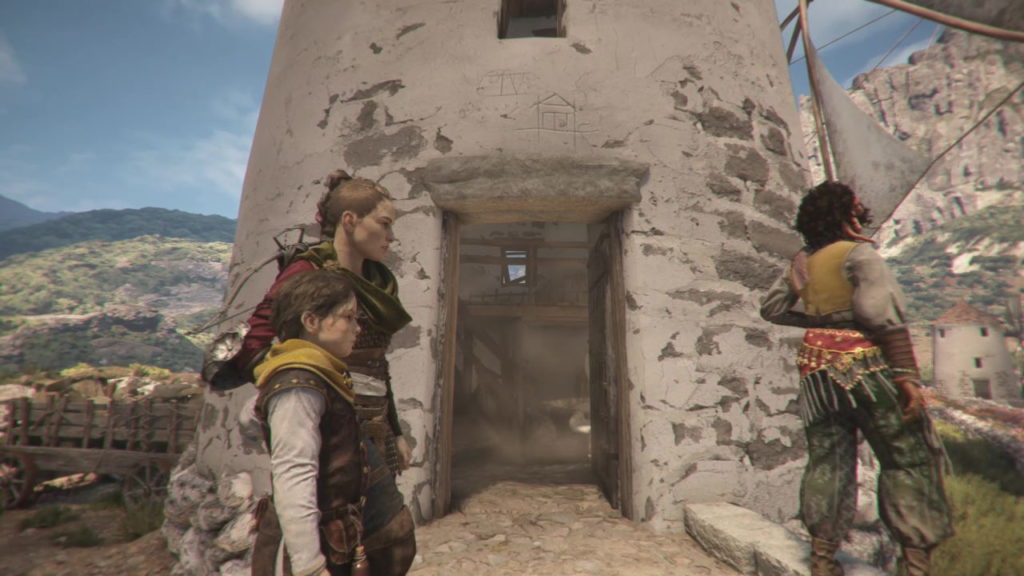
Windmill III:
And finally, Windmill IV:
3. Windmill I Clue
Clue Location
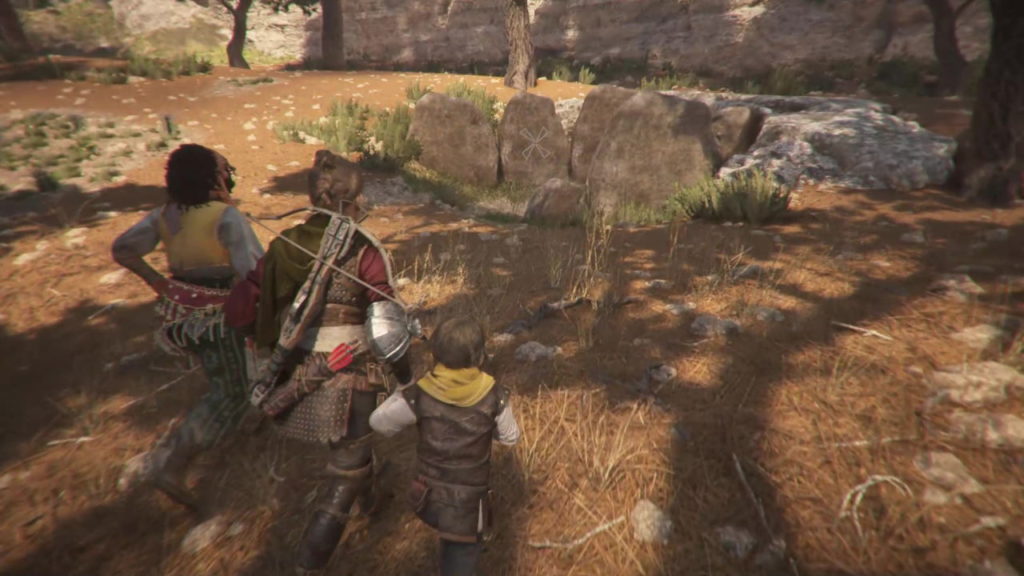
Now we’ll need to use those picture carvings on the Windmills to find their clue locations. The first picture showed a rock by some mountains and trees. This location is over the other side of the area. From the bottom of the Palace you’ll need to head left and leave the path to follow the cliff face. If you hit the area with the beekeepers you’ve gone too far.
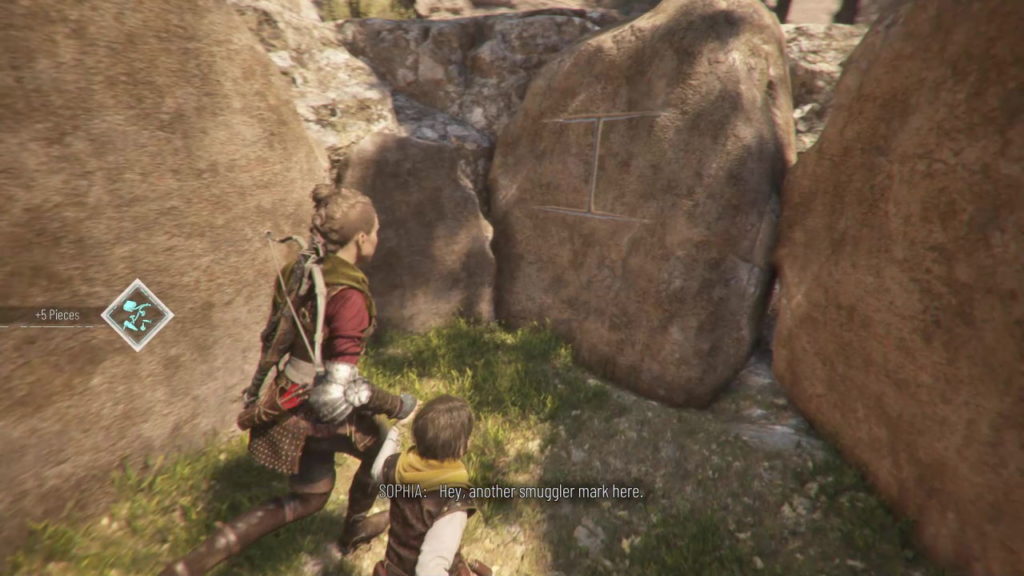
To your right as you follow the cliff, you should see a circle of standing rocks which you need to investigate. You’ll know you’ve found the right ones because you’ll see the Roman numeral I on the rock.
Windmill Clue

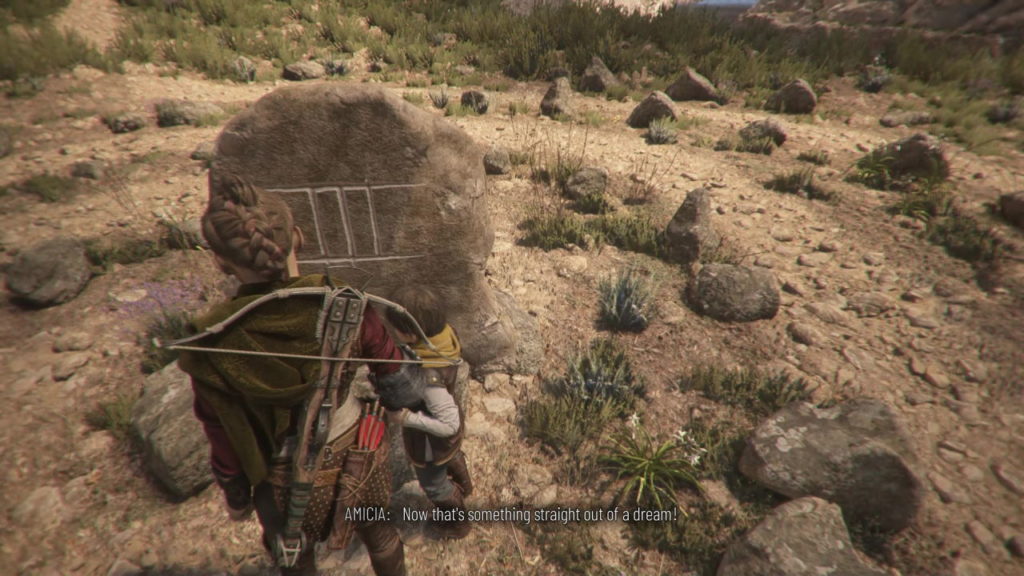
In each of these locations, you’re looking for one of two images, either a picture of four static windmill sails or a swirl design. Which one you find denotes whether that Windmill should be turning or not. You’ll see on the rocks here a picture of static sails, so Windmill I should not be turning. You might want to write these down as you go as it saves time to head back to the windmills once you’ve seen all four pictures.
4. Windmill II Clue
Clue Location
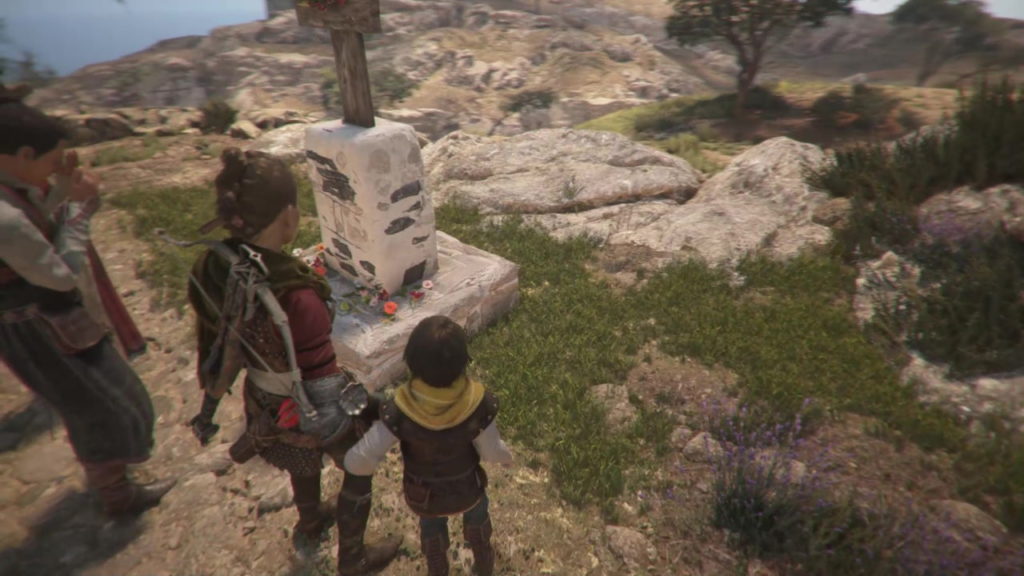
Now we’ll need to find where the picture from the second Windmill leads us. It denotes a wavy path and some steps, which sounds like the Palace path. In fact, you may have already seen this clue and run right by it. Head back up the Palace Path until you see a stone that people are praying at. If you look closely at this stone, has a Roman numeral II carved near its base.
Windmill Clue
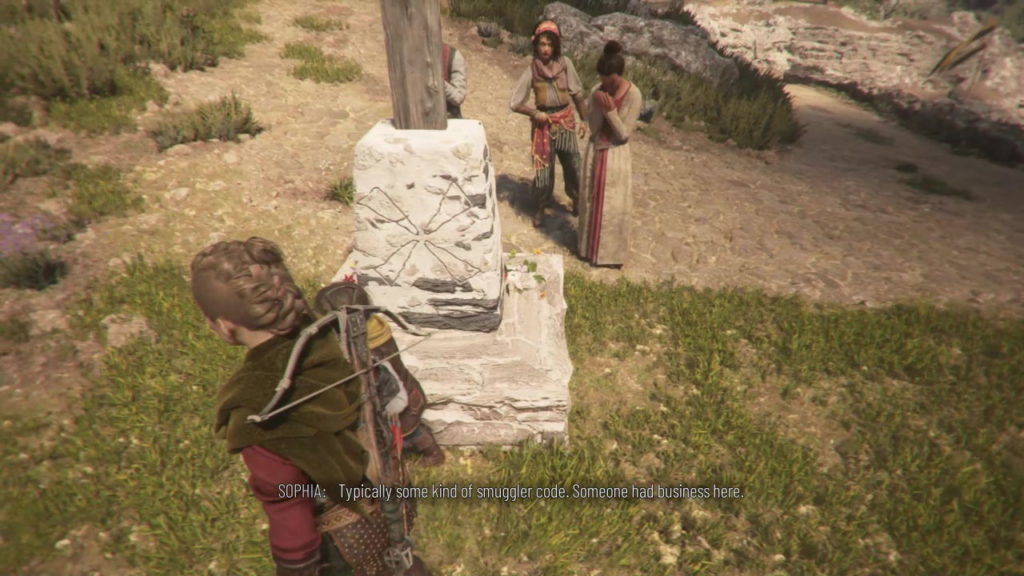
If you head around the back of the stone, you’ll see the Windmill clue. Again it’s a static set of sails, which means Windmill II should not be turning.
5. Windmill III Clue
Clue Location
The third Windmill picture was of some fish in a river by some rocks, so we’ll need to be near water. Firstly, you’ll want to find the bridge with the fisherman on it, which is on the opposite side of the area from where you and will take a few minutes to sprint to. Head past the fisherman to the far side of the bridge. Head immediately left, and follow the river until you come to a flat area with a rock in the center at the center of a spiral of stone.
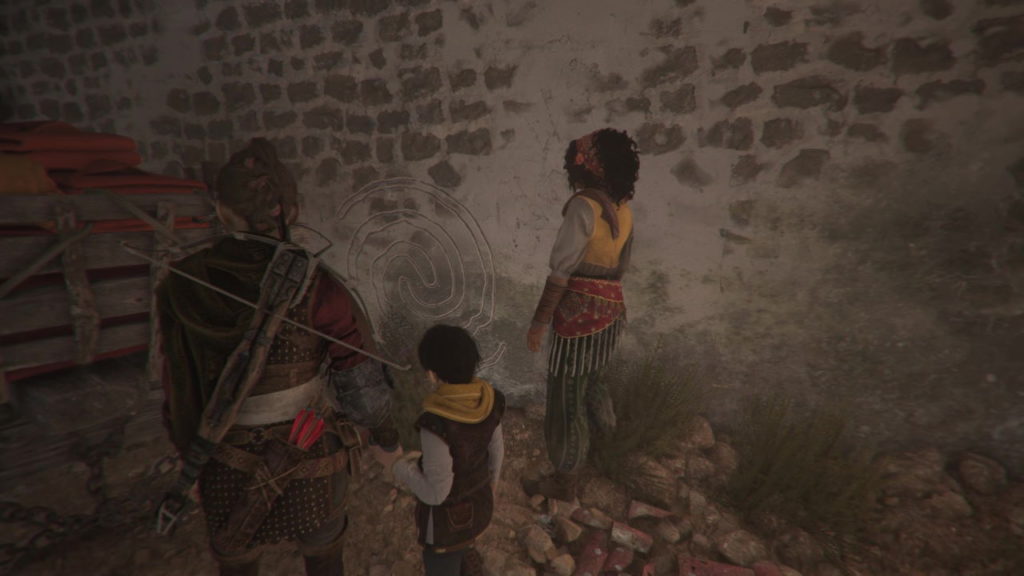
Windmill Clue
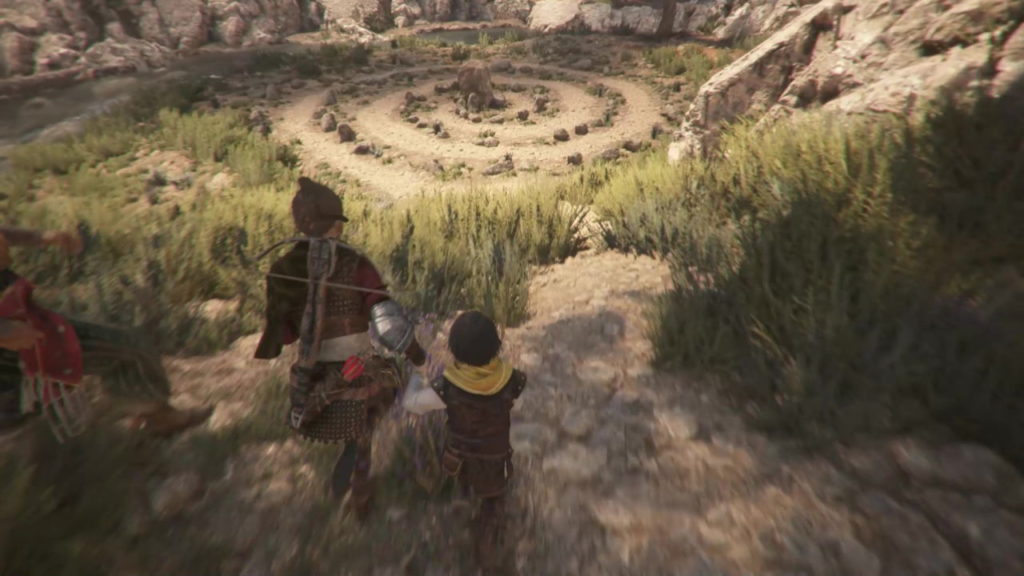
Although the numeral is carved into the central rock, the windmill image isn’t. This third clue is slightly more abstract than the others, especially if you don’t know what you’re looking for. The actual clue is under your feet: the spiral of rocks itself. The spiral symbol means that Windmill III should be turning.
6. Windmill IV Clue
Clue Location
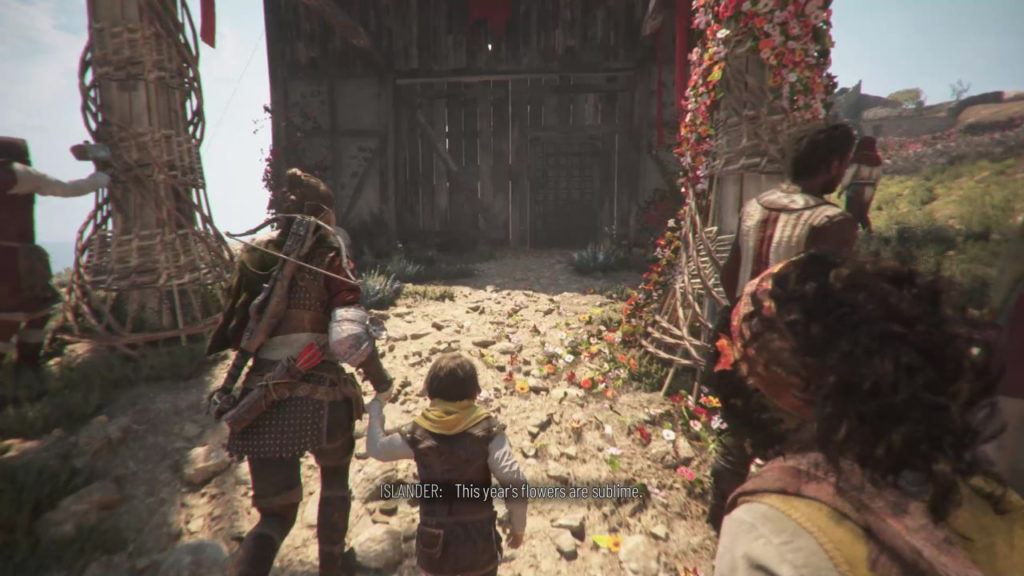
The clue for the final Windmill looked like a barn. Therefore you’re going to want to head to the barn with kites all around it next to where the main festivities are being set up. The problem (of course) is that the front door is locked.
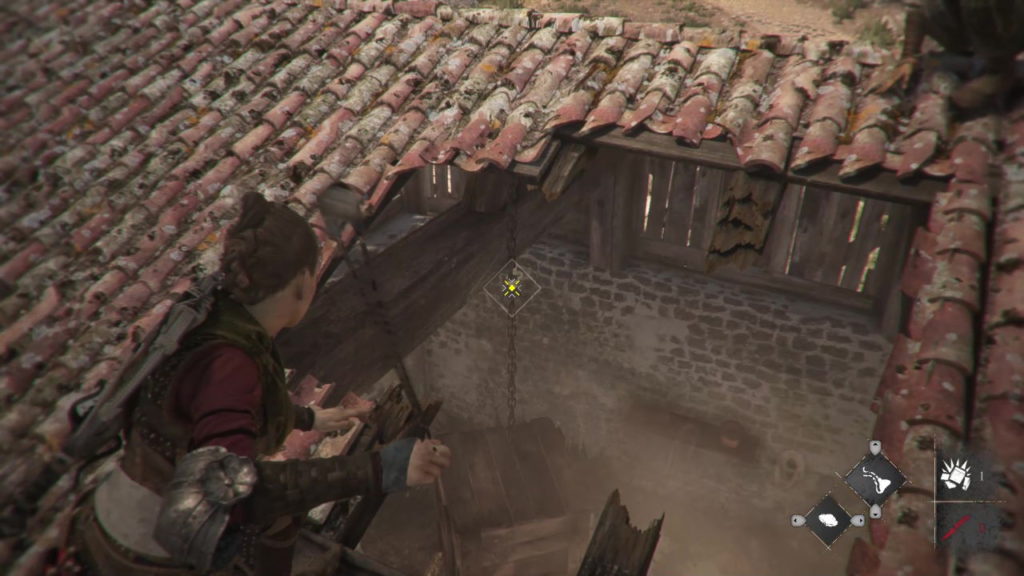
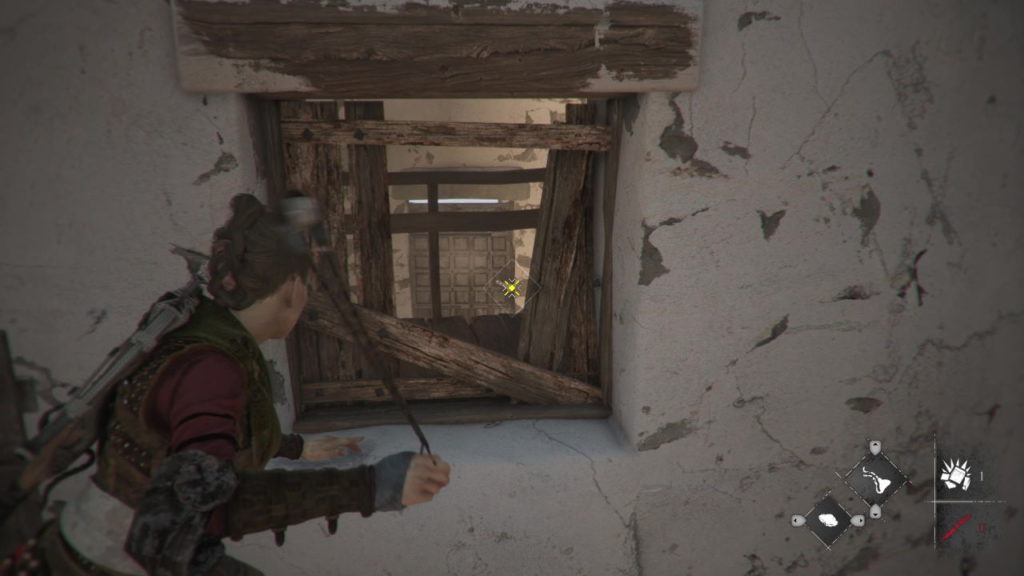
Head around the right side of the barn, and you’ll see a ladder you can climb up. Then almost straight ahead is a ledge to climb up onto the roof. There’s a hole in roof, with a box hanging from the ceiling, which you need to shoot down with your sling.
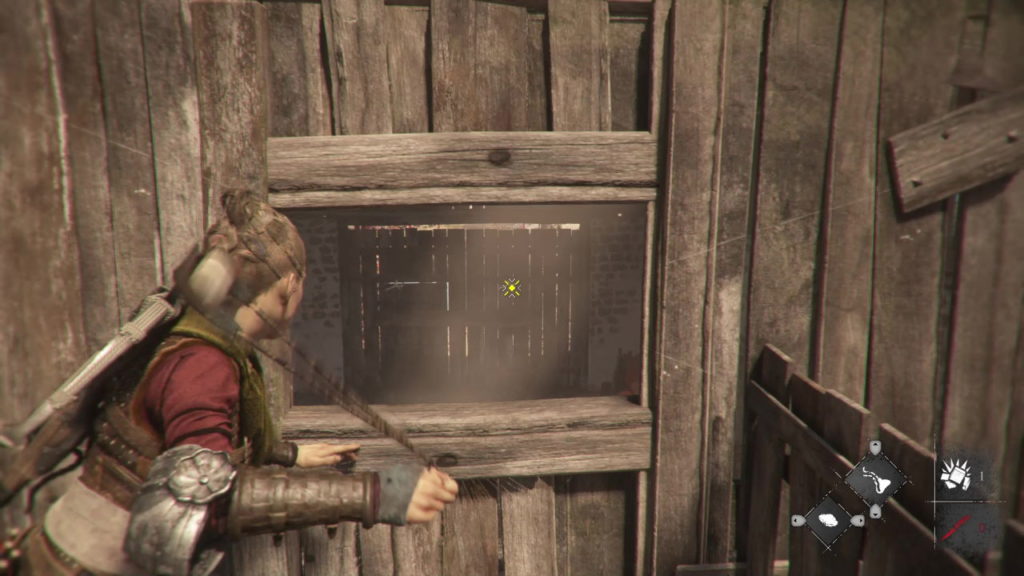
Now you need to come down onto the roof, back onto the ledge you climbed up to from the ladder. Now walk around the ledge, and you should see a window. Look inside, and with the box now out of the way you have a clear shot with your sling. You’ll need to hit two rings to dislodge the wooden planks.
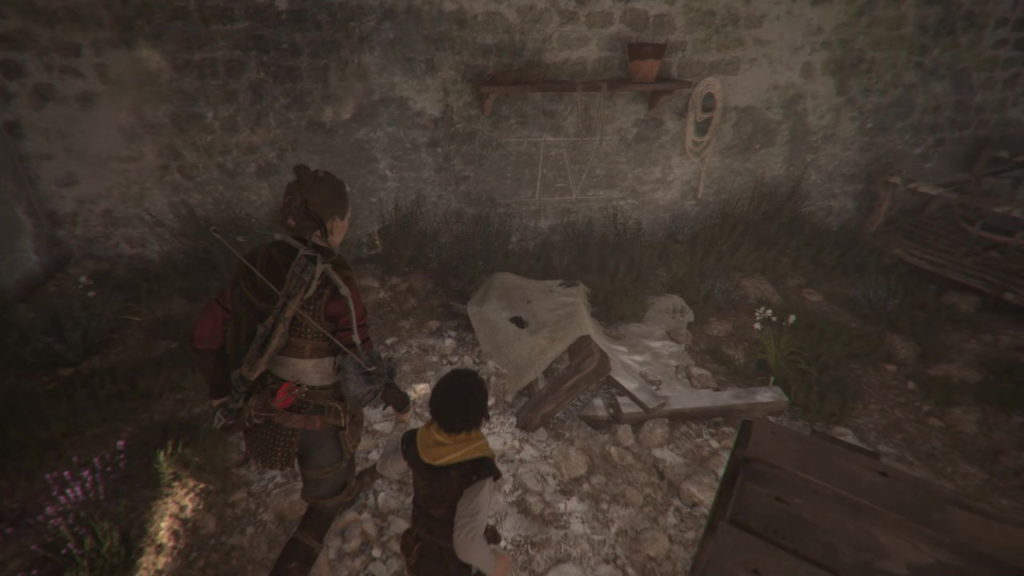
Go back down and head inside and, you should see the Roman Numeral IV on the wall
Windmill Clue
Now turn around and on the other wall, slightly concealed behind some boxes, is your Windmill Clue. It is a spiral, which means Windmill IV should be turning.
7. Get into the Windmills
With all the clues now in place you know that:
- Windmill I & II: not turning
- Windmill III and IV: turning
Now we need to go and make that happen, and to do that we need to get inside the Windmills. You will only actually need to change Windmills I, II, and IV because Windmill III is already turning. It’s only really worth going inside if you want the bag of upgrade pieces that are in there. If you do want to go in, move the car parked beside it and get Hugo to crawl under the broken section of wall to unlock the door.
Getting into Windmill I
The easiest Windmill of the four, you just enter via the front door. Interact with the pulley up the stairs to stop it from turning.
Getting into Windmill II

Behind Windmill II is a rope post that you can grab. Pull it to remove some boxes from the wooden ledge by the Windmill. Now climb up onto the ledge itself, and crawl through the gap into the Windmill. Interact with the pulley to stop it turning.
Getting into Windmill IV
To the left of the door is a cart laden with bags. Crawl under it and then climb the ladder to access the Windmill window. Use your sling to aim for the inside lock on the door to unlock it. Then go back around and enter Windmill IV. Climb the stairs and interact with the pulley to make the Windmill turn.
8. Retrieve your prize
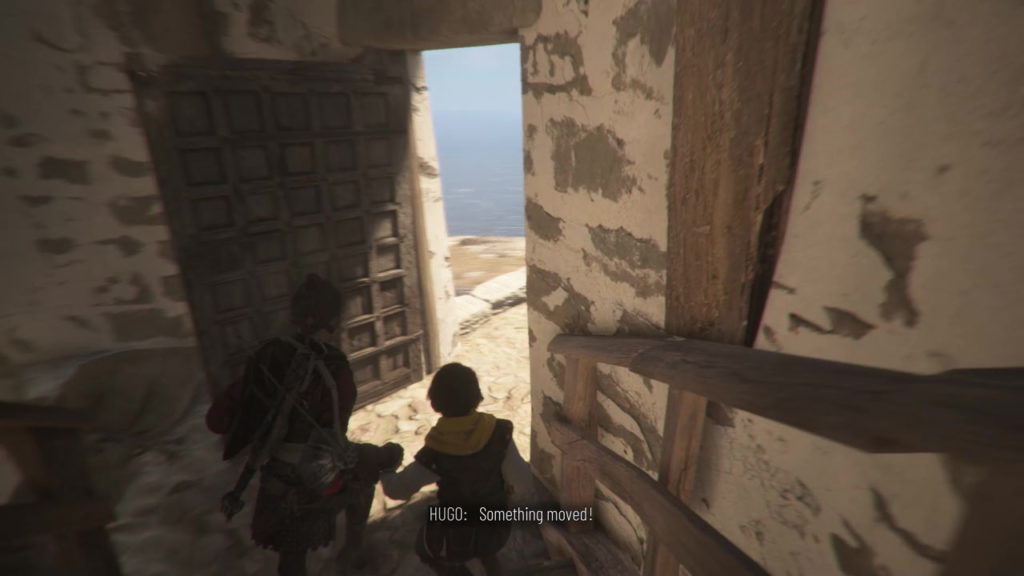
Once you finish the final Windmill correctly you’ll hear a rumble and Amicia, Hugo, and Sophia will remark about it. They say the rumble sounded a way off, so now we need to find what has moved, so we can get your smuggler’s treasure.
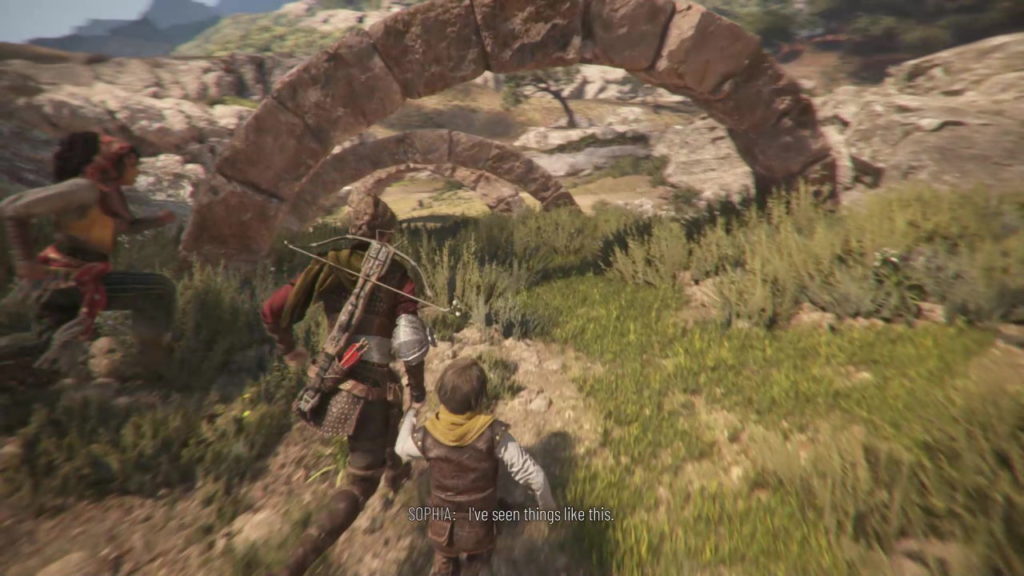
The area you’re looking for is actually behind the Windmills. You’re looking for a group of stone arches protruding from the ground. As you pass under them, Sophia will remark that it’s a symbolic passageway. That sounds like something we need!
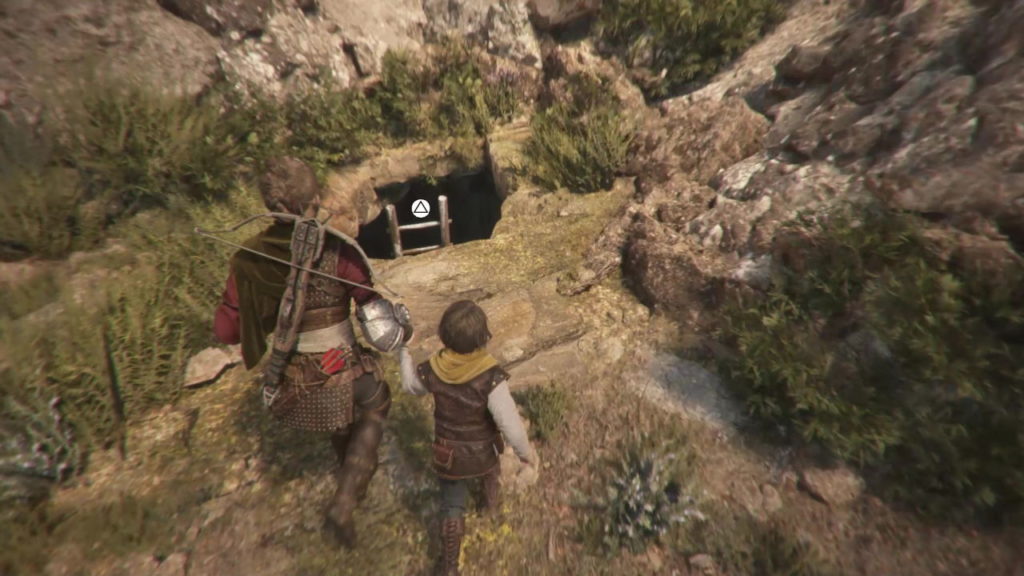
Once through the arches, turn to your right to see a hole in the ground with a ladder leading down.
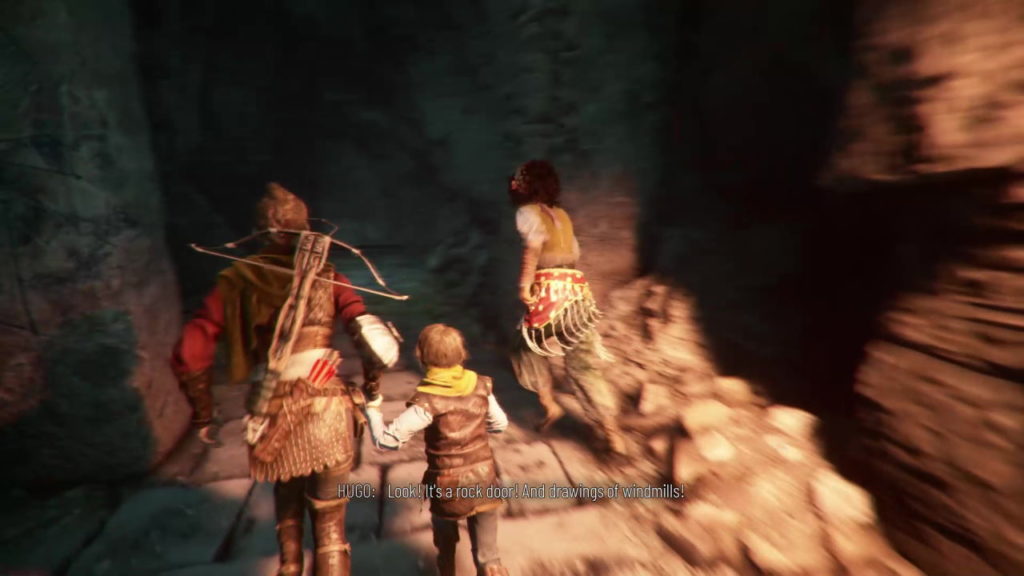
Head on down the ladder, and follow the path through the caves. Before long you’ll pass beyond a door that would have been blocked had we not solved the Windmill puzzle.

Carry on further into the cave to discover the Smuggler’s treasure! Loot everything in the area, including two large chests containing Upgrade Tools and resources. Most importantly, you’ll want to make sure you pick up the Bracer from the table. This is the true reward, and wearing it means Amicia recovers from damage quicker, which is very helpful in the combat-heavy sections later in the game.
Congratulations you’ve solved the Windmill Puzzle in A Plague Tale Requiem and got the smuggler’s treasure!
Please enter the url to a YouTube video.
CLICK HERE TO GO BACK TO THE A PLAGUE TALE REQUIEM MAIN GUIDE PAGE


