Alan Wake 2 words of power locations | How to upgrade Alan

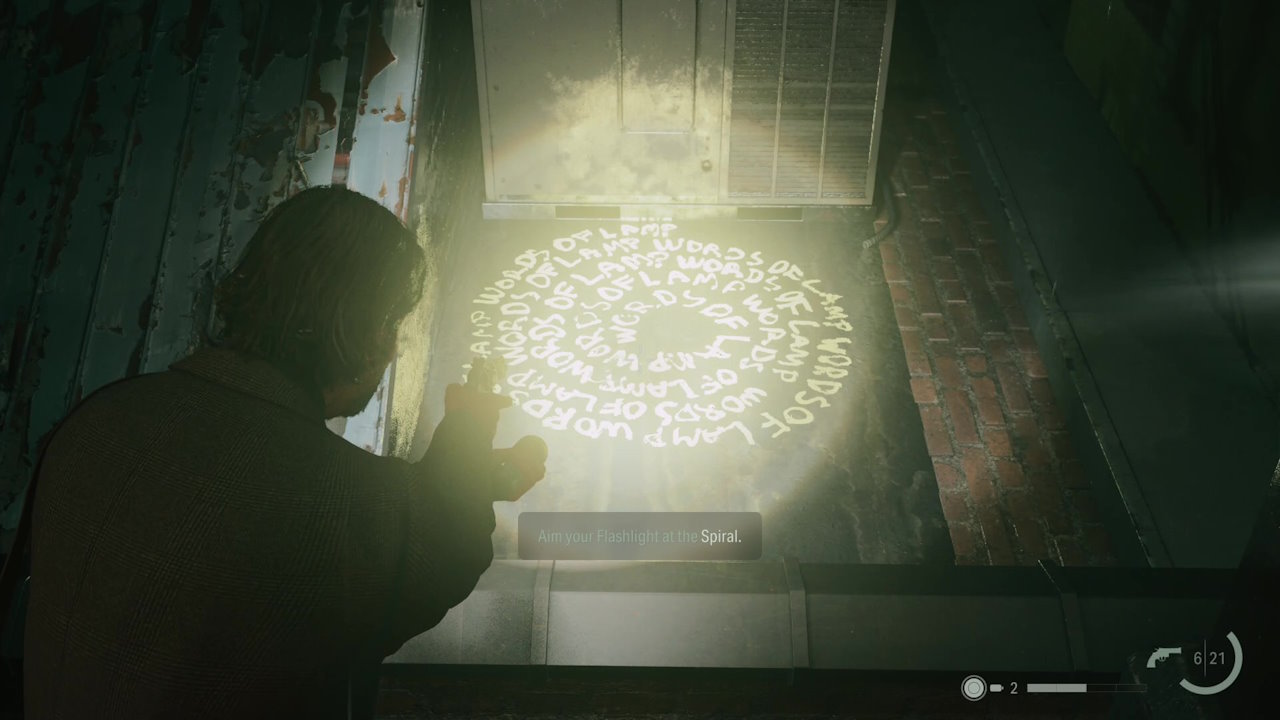
Alan Wake 2 words of power are how you upgrade Alan in one of the most anticipated sequels in a long time, and make him stronger. They are located by finding literal, actual words of power that are written in yellow writing in a circle, and can be in some awkward to see places.
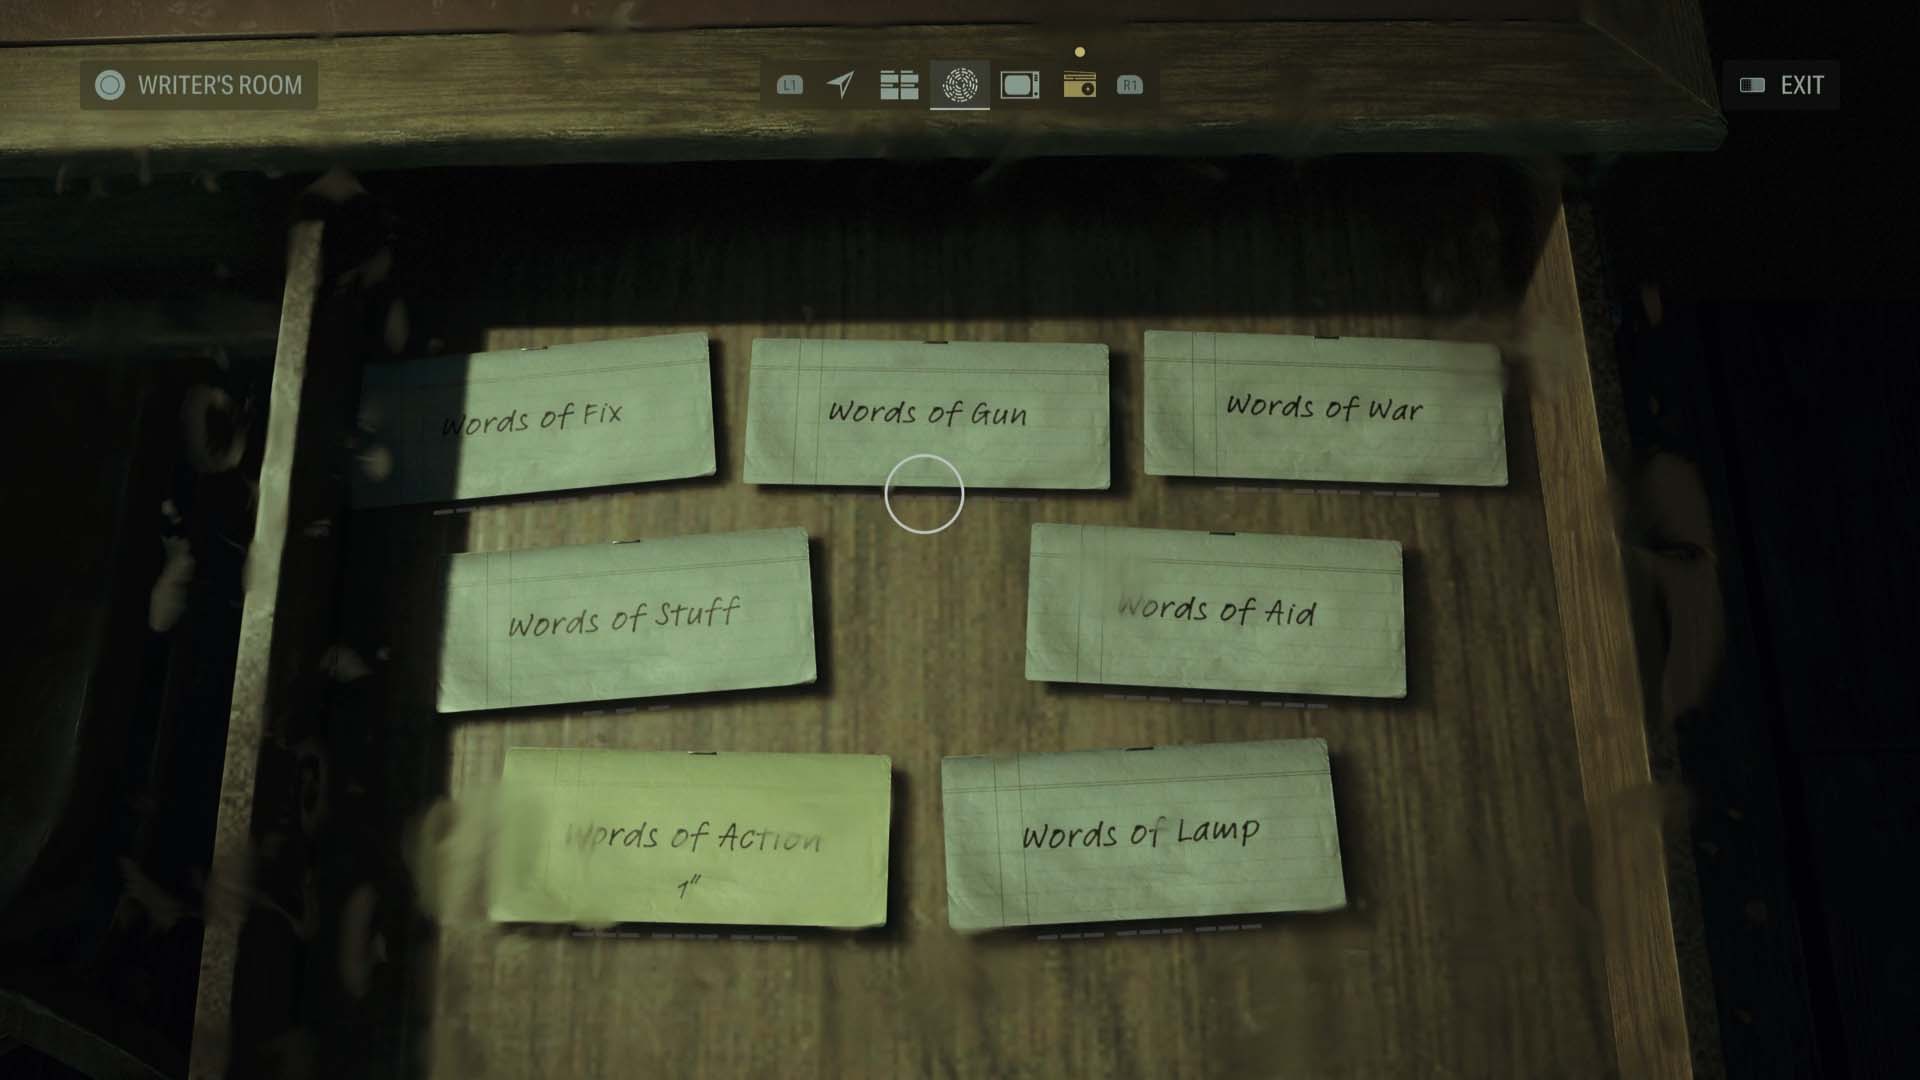
If you’re wanting to stand a chance against the darkness, you’re going to want to find as many Alan Wake 2 words of power locations as you possibly can, as each one enables you to upgrade a specific part of Alan’s makeup, from “Word of Gun” to “Word of Aid”, you can get stronger, more stealthy, more powerful, and all manner of other upgrades. With our handy words of power locations guide, you won’t need to creep around, pixel-hunting any more. We’ve done it for you.
How to find and activate Alan Wake 2 words of power
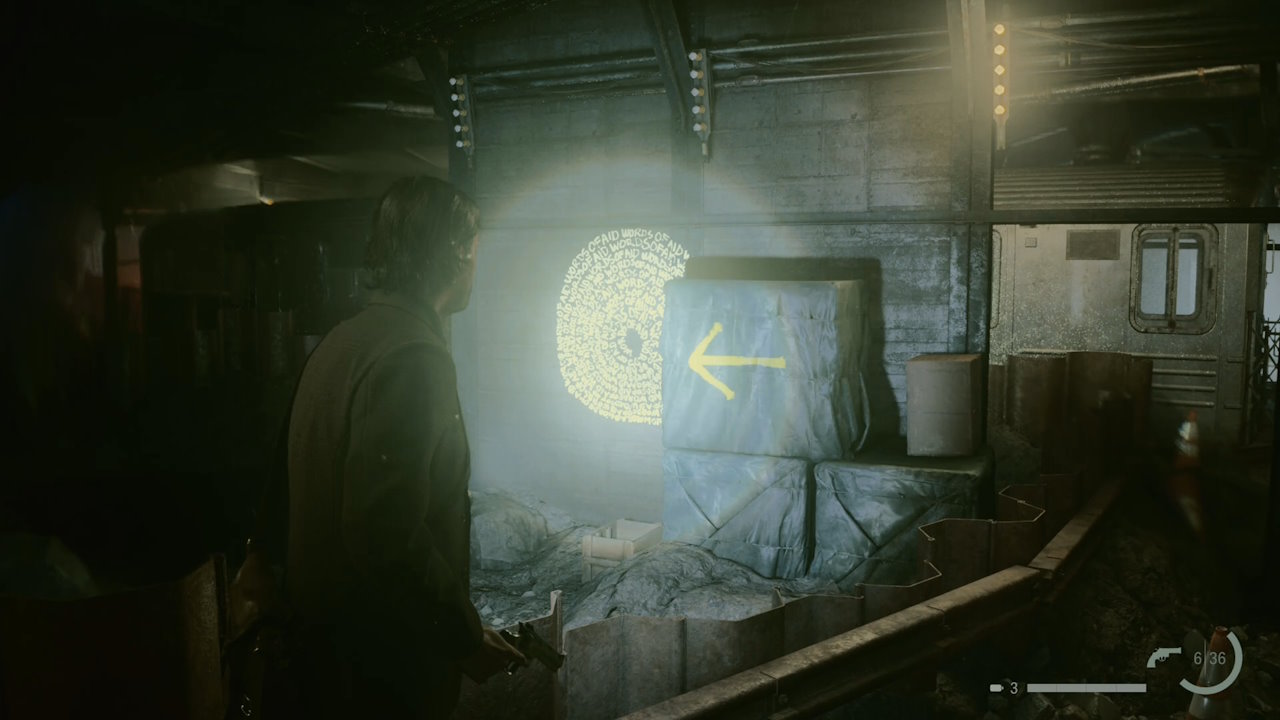
You want to always have your torch equipped (a good lesson in Alan Wake 2 anyway), and be on the lookout for yellow arrows. These arrows can be numerous, but they eventually lead you to a circular word of power. Sometimes it might be confusing, as the arrows lead you to what you might think is “nothing”, but it’s because the circular words of power locations is hidden behind a destructible piece of environment.
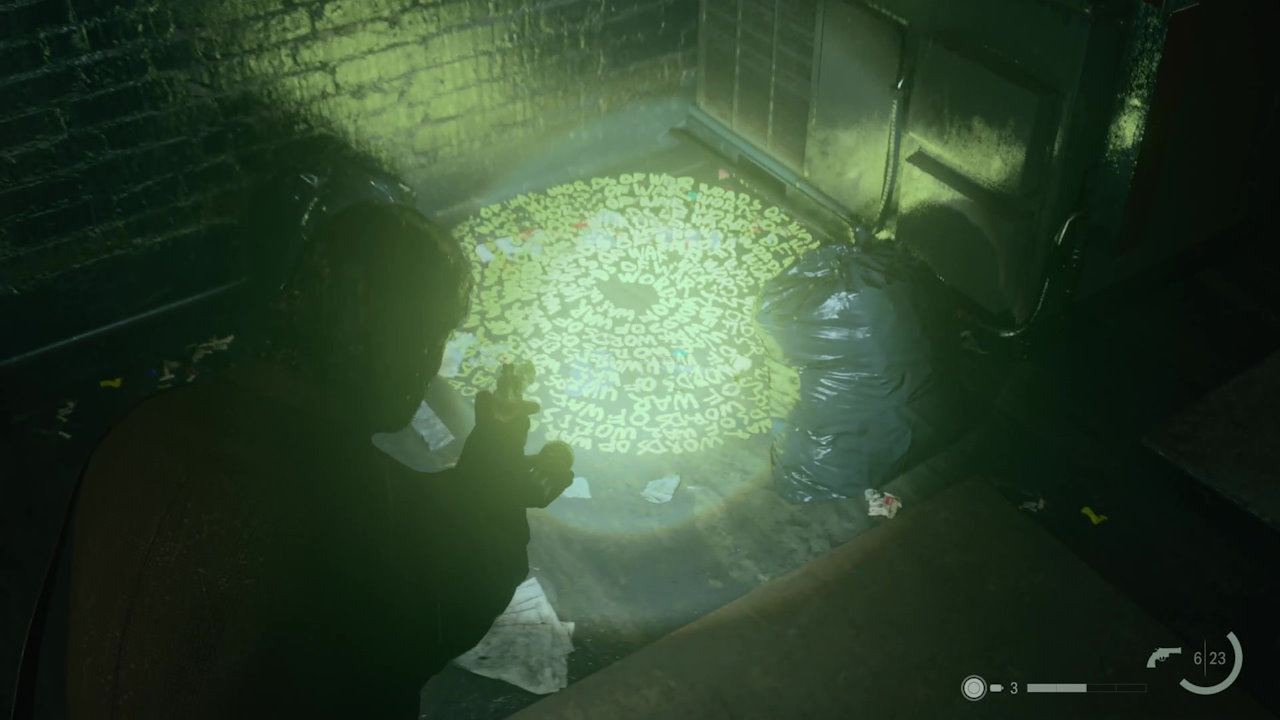
To activate any word of power, focus your torch on the centre of the circle (the part with no text), and you will hear an audio cue that signifies it being absorbed. Then you can go to your “Mind Place”, go to upgrades, and select which way you’d like to improve yourself.
WARNING: PLOT SPOILERS AHEAD
Note: This guide is a work in progress. As we discover more solutions, we will add them to this document.
Locations: where to find each upgrade
Chapter: Initiation 2 – Casey
Word of Lamp 1
Your first Word of Power is found when you’re looking for your second light source to access the Caldera Subway Station. Having put light in the lamp to the right of the Subway entrance (not the one just behind it), you’ll uncover steps upwards into the High-Line Station area. Keep exploring, and you will find a ladder to climb, and then a door to go through which leads down some stairs to a new area. You should find a Safe Room to your left. Use it, and then explore around the corner.
Note: The stairs upwards lead to a room with the Tim Breaker in it – the man who disappeared just before Nightingale attacked you in the morgue as Saga. He’s an ally. Investigate the map on the wall for hints about Word of Power locations.
Head back down the stairs, and forward, and then look to your right, you should see the Word of Power over the ledge. Shine your torch on it to activate it.
Word of War 1
From this area, head around the corner, and then through the door and up the stairs to a new area. If you head straight, you will soon see a ladder on your left. Climb it and follow the ledge around, until you start seeing familiar neon arrows that appear under your torchlight. Follow them to locate the floorspace of this Word of Power.
Word of Aid 1
For this next Word of Power, you need to have accessed Caldera Subway Station. After you’ve found the first Safe Room to the side, exit that room and head to the other side of the tunnel, you should see fluorescent arrows again, and you can follow them to this Word of Power.
Word of Lamp 2
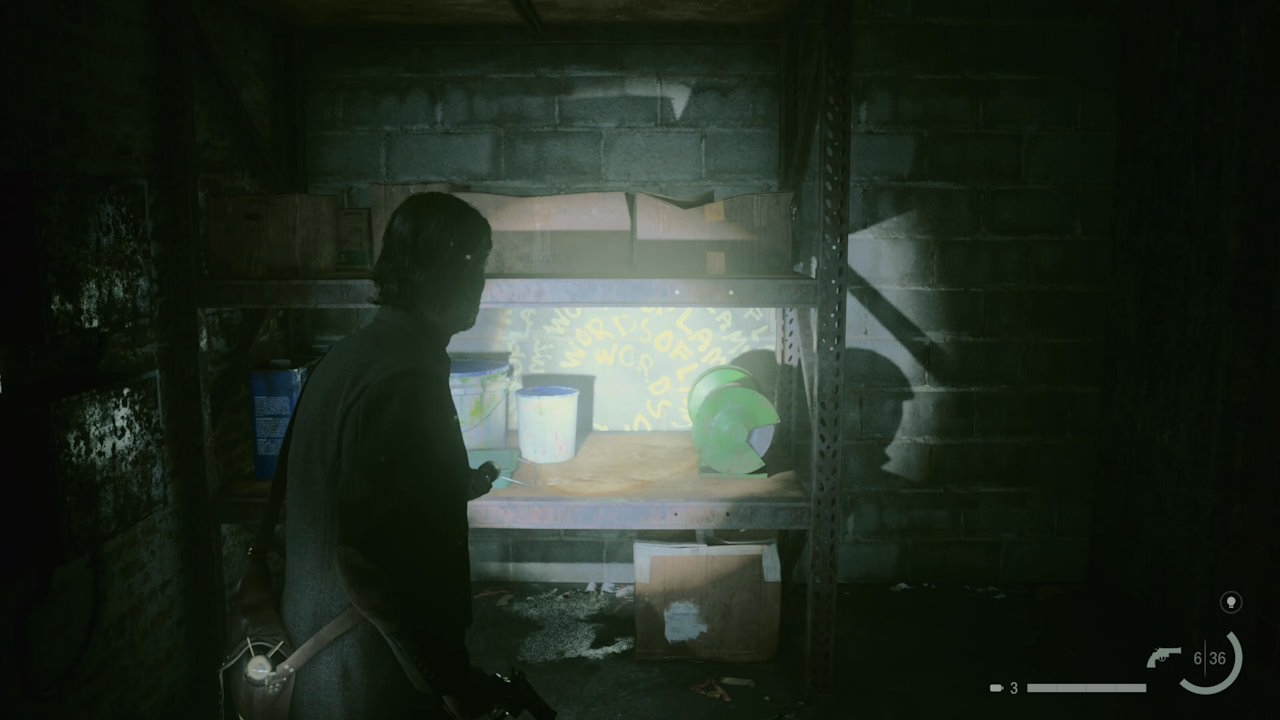
For this Word of Power, you need to head to the Collapsed Tunnel scene area. Use the Missing FBI Agent clue on the Scene to change it, and open up the doorway to the right. Head across the tracks until you reach a room to the side. Use the Lamp to take the light to reveal the way forward, and head into the side room. From here you should see a Word of Power behind a shelving unit.
Word of War 2
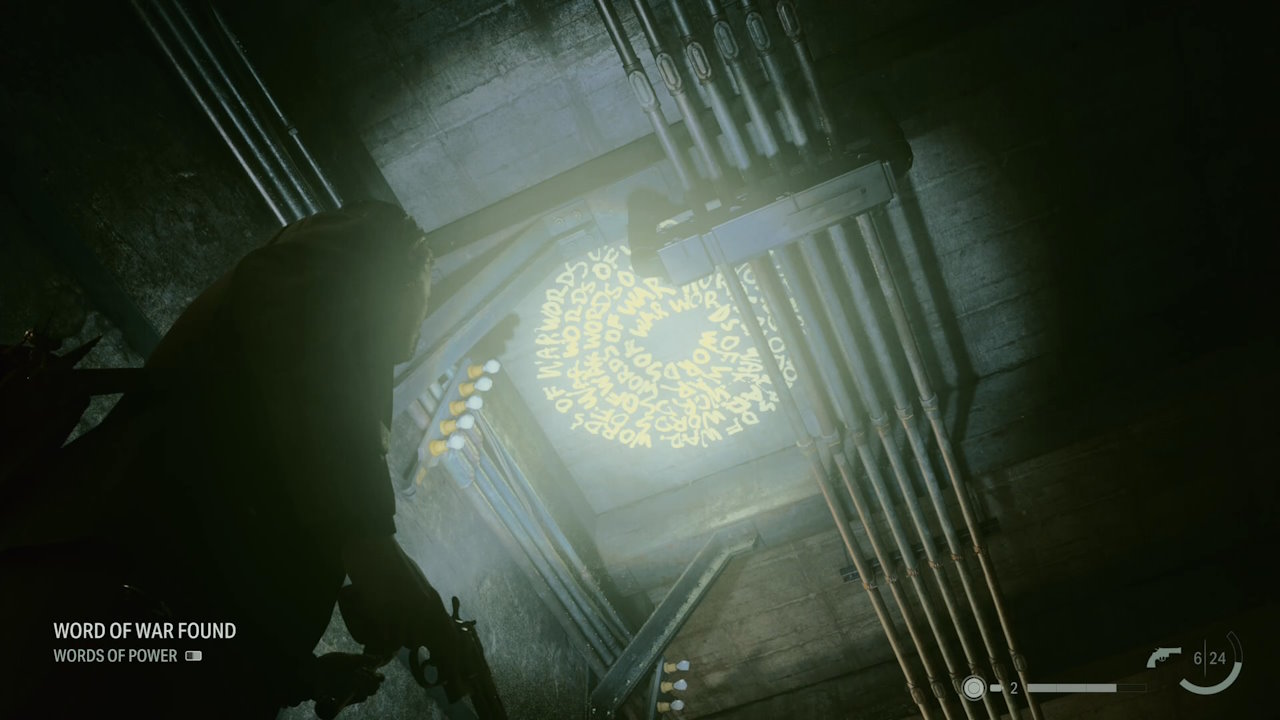
The next Word of Power is located in the Derailed Train scene area. When you reach it (after ascending the ladder from the Safe Room), turn around and head towards loads of crates and other stuff. You’ll be able to crouch under one of them. Head slightly forward, turn around, and look up at the ceiling and you should find the Word.
Word of Fix 1
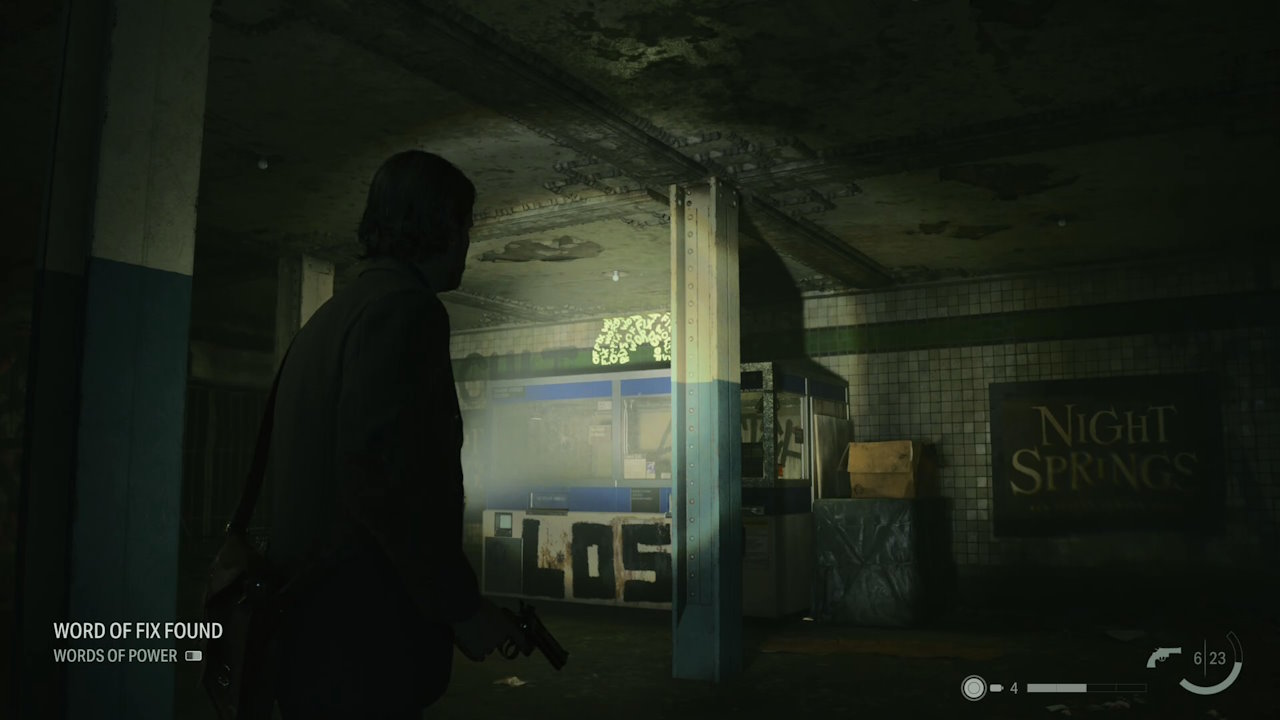
After you have headed through the Derailed Train, you’ll come to a new side room, with a ladder leading down. Then after a short corridor area, you’ll come into a large room, split in two by fencing to your left. There’s is a doorway through here, and you should be able to see the Word of Power on the far wall. You don’t have to get too close to activate it. Be warned though, that shadows will likely start attacking you en masse as you do this so be prepared for a fight.
Word of Gun 1
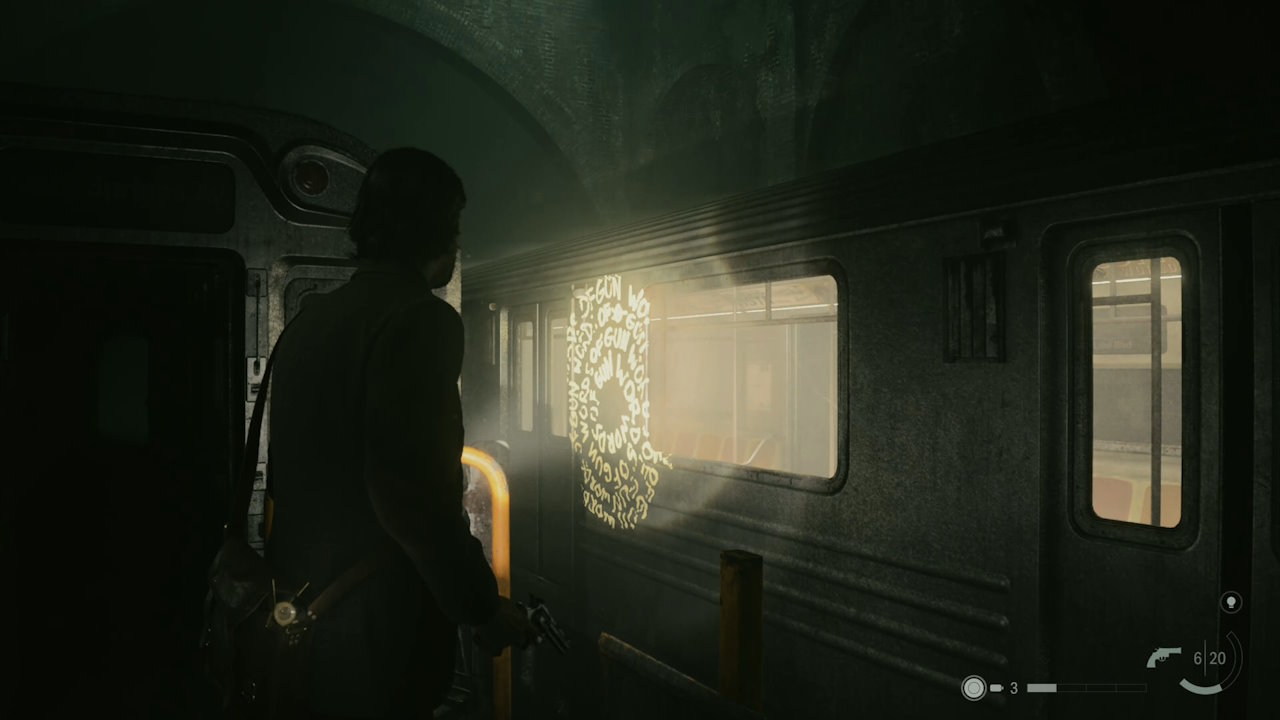
The next Word of Power is in Shrine St. Station. Once in this main area, you can find this Word of Power on the side of a train. If you’re struggling to find it, look for two trains that are next to each other, not far from the End of the Line scene area. There are some fluorescent arrows as well to help guide you.
Word of Action 1

After you have written the Summoning Ritual into the End of the Line scene area, you can actually exit on the opposite side of the station to where you entered (otherwise the exit is blocked). Once you’re beyond the shadows that will attack you, enter a side room. As you enter, you should notice this Word of Power on the far wall. Shine your torch on it to activate it.
Word of Fix 2
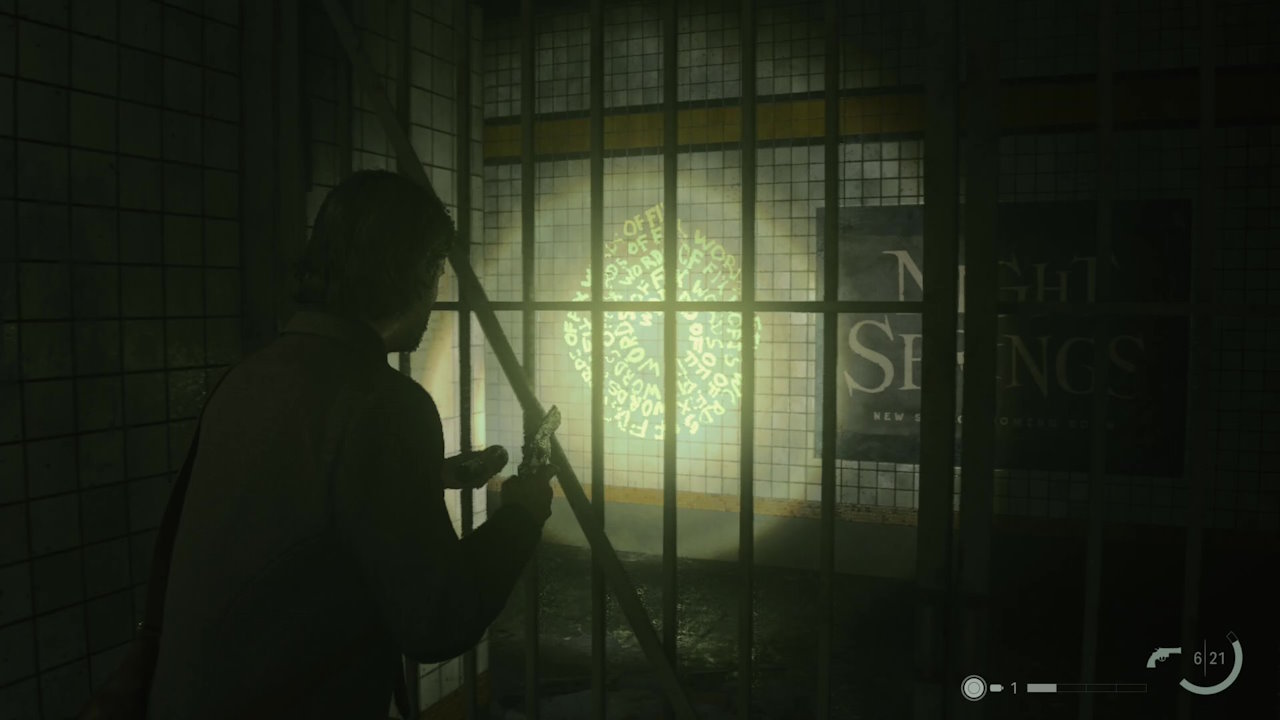
Up the stairs from the room with the last Word of Power in it, you should find a Safe Room to your right. However if you keep looking straight ahead, you should see a Word of Power visible through the bars. Shine your torch correctly at it to activate this latest Word of Power.
Word of Gun 2
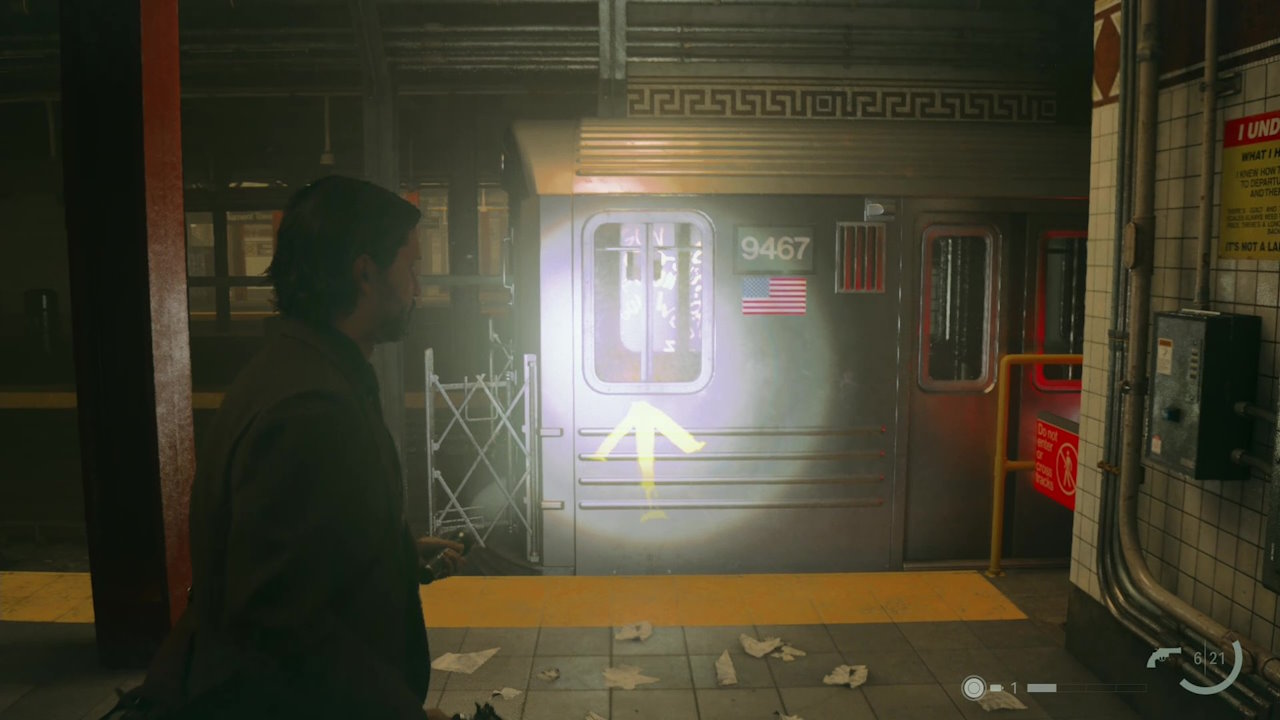
After performing the ritual and officially ending the Act you will find yourself back near the entrance of Caldera St Station. Look to your right to spy the end of a train with numerous fluorescent arrows around it. Look inside to spy the Word of Power. You actually have to stand quite far back here to activate the Word.
More solutions coming soon


