Marvel’s Midnight Suns | Third Moon Seal Guide

Right, you’ve got the First and Second Moon Seal in Marvel’s Midnight Suns and the Word of Power: Open and Reveal spells, so you’re now ready to move on and find the Third Moon Seal. This is the longest questline of the four, and will require a bit of legwork to get it done. Luckily, we know exactly where to go and how to get the Third Moon Seal in Midnight Suns.
Third Moon Seal Step 1: Locate Hiram Shaw’s Church
Once you have the Reveal Power you’ll be able to head into the north-east corner of the map, where you’ll find an old Church. Agatha is waiting for you inside, and you’ll be given the instruction to “Explore the Church”. It’s pretty vague, but you can actually use the Open Power to get through the door at the back of the room, despite it not having a symbol on it.
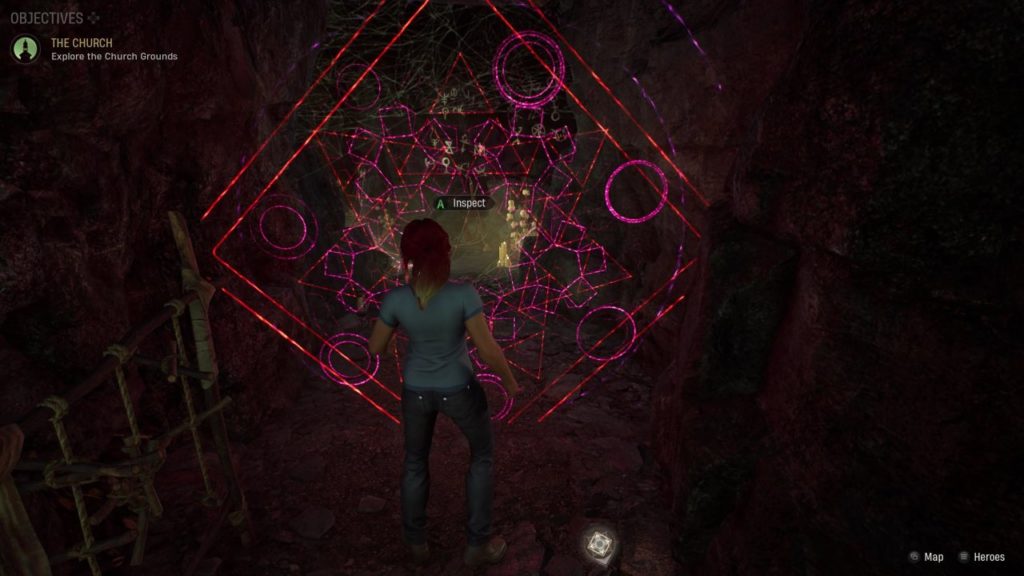
While exploring behind the Church you’ll come across a red magical ward that won’t let you pass. Agatha will tell you to talk to Strange.
Third Moon Seal Step 2: Talk to Dr. Strange
Head back to the Abbey and chat with Dr. Spooky, who will come back to the ward with you and basically tell you he doesn’t know how to break it. Thanks for the help there, mate.
Third Moon Seal Step 3: Wait
Yup, the next step may be the hardest of all. You just have to wait until you progress the story enough to trigger the next development. Some time after the “Sneaking Out” campaign mission, Strange will contact you again.
Third Moon Seal Step 4: Dispel the ward
Now armed with the knowledge to remove the bizarre red ward, you can shatter it and explore the grave beyond. You’ll find details of Hiram Shaw, a fanatic who hanged Salem witches from a cursed tree somewhere nearby. There’s more to this Mystery though, so let’s keep going.

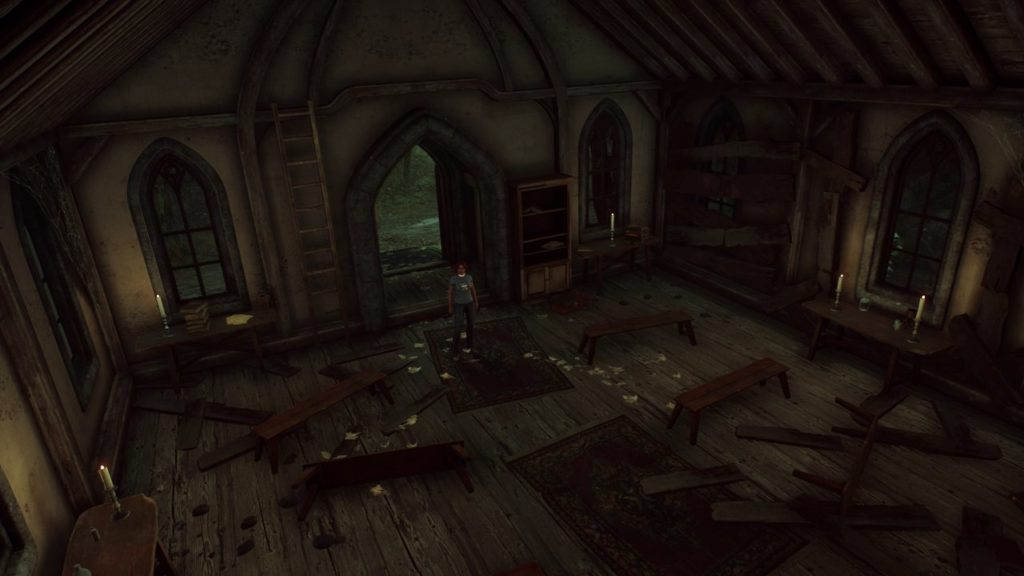
Third Moon Seal Step 5: Search the Church
Return to Hiram Shaw’s Church and use Reveal in the room where three blank pages rest on a table. It will reveal three images, and you’ll need to either memorise them or take a picture. We recommend the latter. These are the locations of witch warrens, where Hiram’s victims would hide important items to avoid discovery. And we’re going to find three of them.
Third Moon Seal Step 6: Find the first Witch Warren
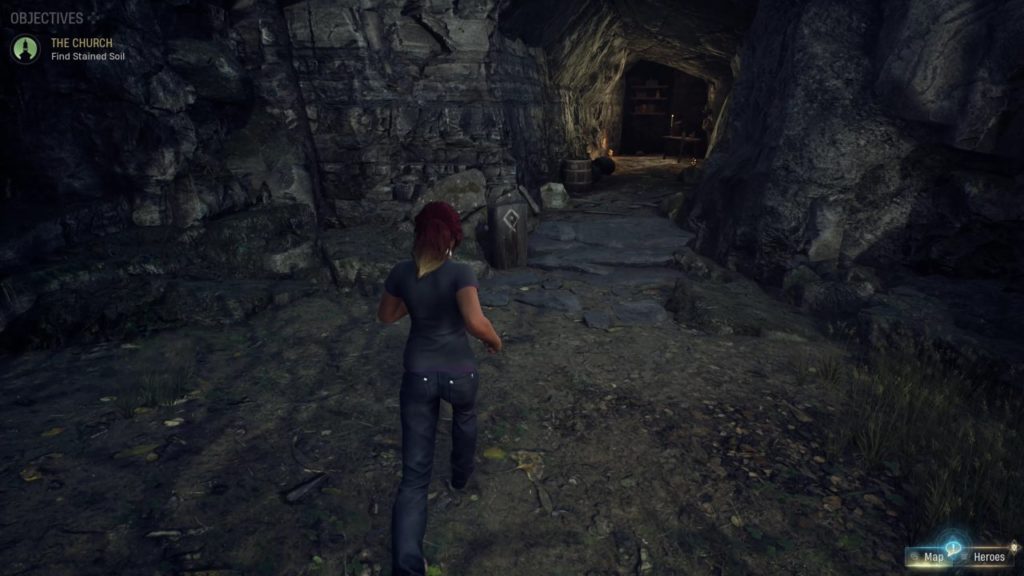
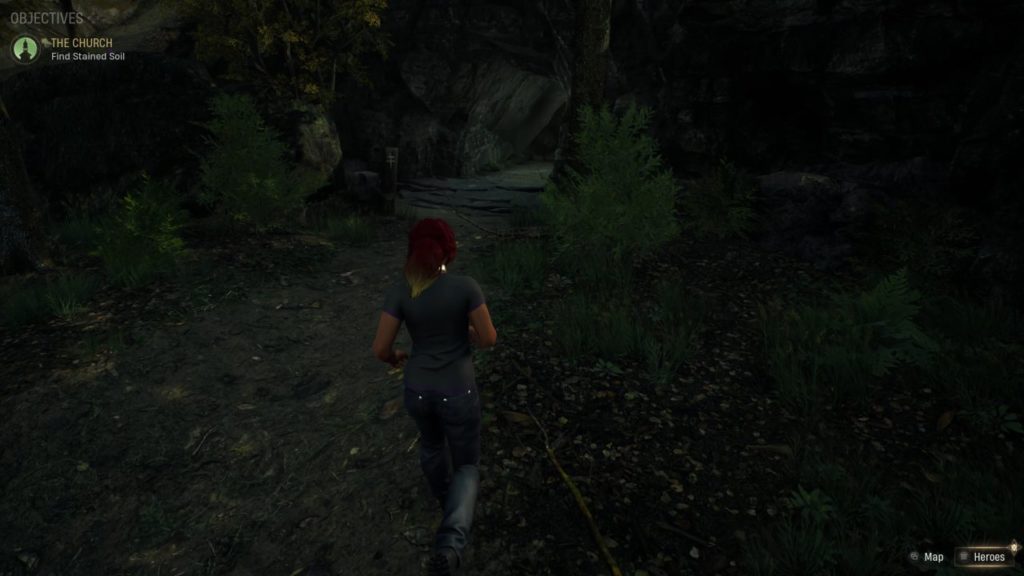
In order to get the Third Moon Seal, you must first track down the witch warrens and retrive samples of magical blood-drenched soil. The first image shows a view from the Standing Stones, so head there first. Stand in the centre of the Stones, facing towards the entry to Atum’s Cavern, and turn left. The view will now match the image you found.
Head forwards and seek out a small wooden plank in the ground with a witch sign daubed on it. Head into the cave and retrieve the soil sample.
Third Moon Seal Step 7: Find the second Witch Warren
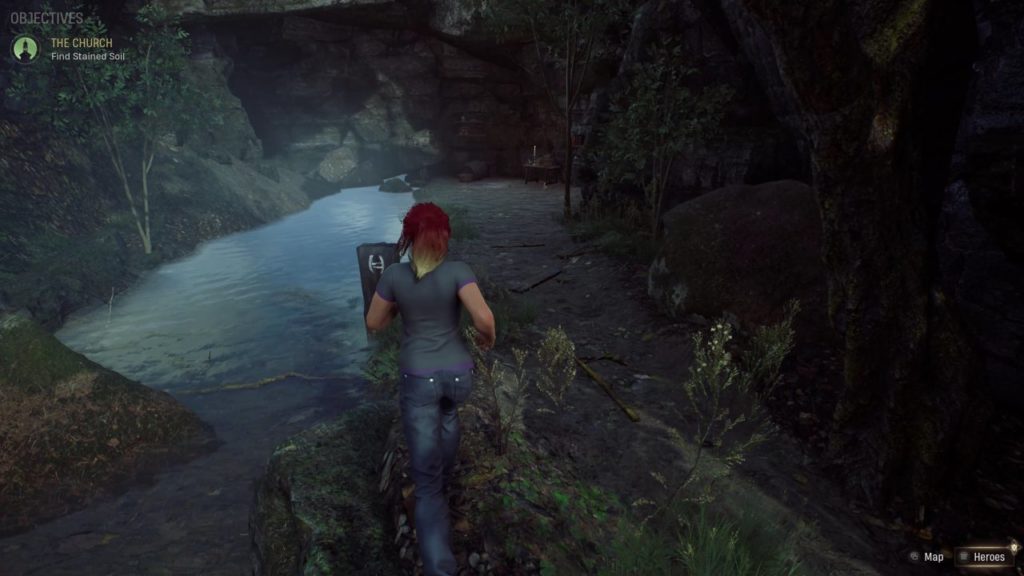
The second one is the easiest to find, as there’s only one river in the Abbey Grounds. Head back to the river near the Training Yard and follow it around the rocks and right to the end.
You’ll spot the witch sign and the warren at the end of the river. Grab the soil, and pat yourself on the back.
Third Moon Seal Step 8: Find the third Witch Warren
To find the third warren you’ll need use your memory a bit. Or, well, this guide, obviously. It’s actually located in Dreamer’s Descent. Explore the area until you find a slope heading upwards; go past that and turn around, and you’ll find a view that matches the image. There’s a cave on the right, but the witch sign is on the left. Collect your bloody soil and return to Agatha.
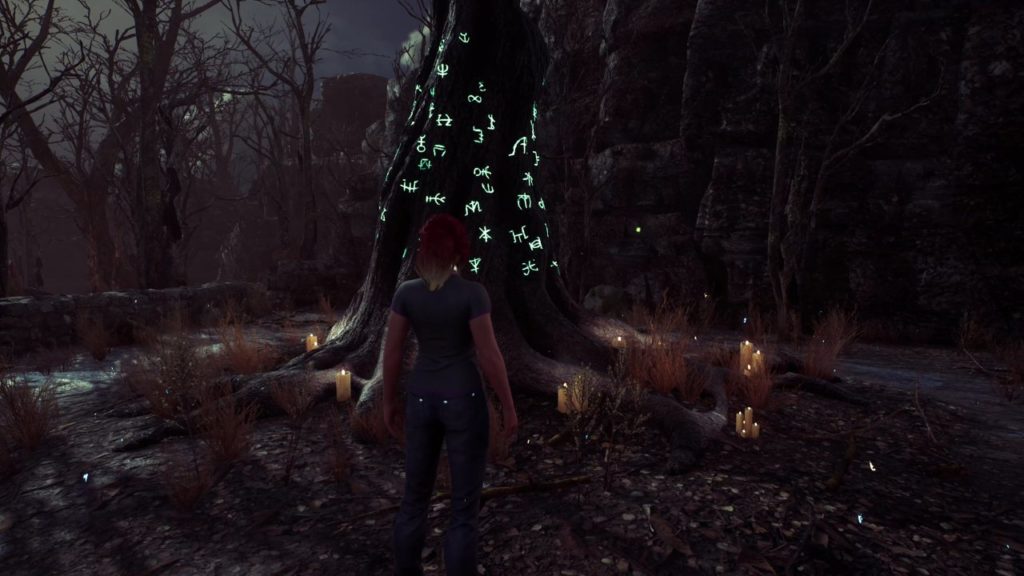
Third Moon Seal Step 9: Locate the Hanging Tree
Your next job is to find the tree where Shaw killed his victims. It’s located in the Shaw’s Church area, but it’s up high on top of a hill. You’ll likely find the graveyard opposite it first, but you can’t really miss the tree if you explore enough: it’s a massive, gnarled and twisted stump covered in glowing green runes. Use Reveal beside it, and the Third Moon Seal will appear.
Third Moon Seal Step 10: Complete the Trial of Hyppus
Agatha will tell you, confusingly, to return to the Reflecting Pool. This is a location you may have missed completely. Head to the Everflowing Glade, north of Hiram’s Church. You’ll find a long wooden bridge with a statue at the far end covered in a knot of corrupted roots.
Halfway up the bridge is a path to the left, which will take you to the Hyppus Blood Gate. This has a recommended character level of 12 and will be pretty tough if you’re under that.
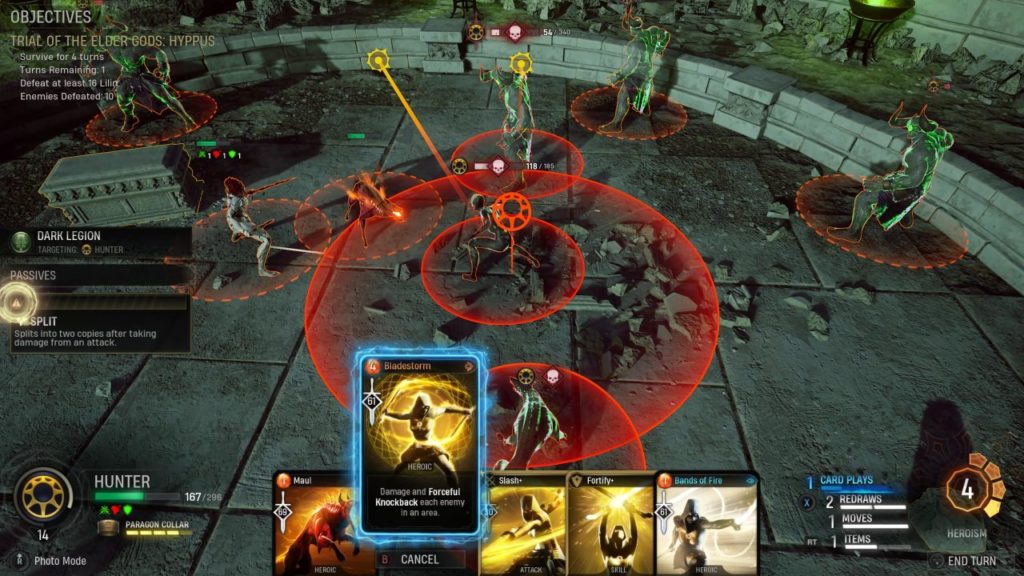
As before you’ll face ghostly Shadowhounds and brutish Guardians, but you’ll also have to contend with the smaller Lilin known as Dark Legion that are able to split themselves and Guardians in two, doubling their number.
You need to survive for 4 turns again, while killing 16 enemies. Damaging Dark Legion will cause them to multiply, so you can clear up quite a few each turn – and you’ll need to, as the Guardians do massive damage in this Trial.
Third Moon Seal Step 11: Place the Moon Seal on the Altar
Use the Moon Seal with the altar in the Cavern, and receive Word of Power: Purify. Now you can go round the Abbey grounds removing all those pesky magical roots that block your path. Start with the one behind the statue of Hyppus.
Well, there you go. We hope this guide helps you find the Third Moon Seal in Marvel’s Midnight Suns.


