A beginner’s guide to Biomutant

Biomutant, from Experiment 101, isn’t a particularly hard game at brass tacks. Most RPG veterans will soon have a character that can easily survive most of what the game throws at them. However, it’s an incredibly busy world, full of things you might miss if you’re not looking. It’s also brimming with the unexplained – so we’ve put together a handy beginner’s guide to Biomutant.
1. Don’t sweat your class
Although the class and species you choose in Biomutant initially affects your early game, by half a dozen hours in you’ll be finding your feet and starting to get comfortable with a certain play style. I began as a Saboteur, and while the dual-wielding was cool at first, I soon found myself using heavier weapons and rifles to deal more damage and get through fights in a more efficient way.
If you try a weapon and like it, don’t be afraid to switch, and if you find a playstyle that feels good whether it’s melee, ranged or magic focused, stick to it, have fun with it, and get good at it. Don’t be afraid to experiment and find a style that feels really comfortable.
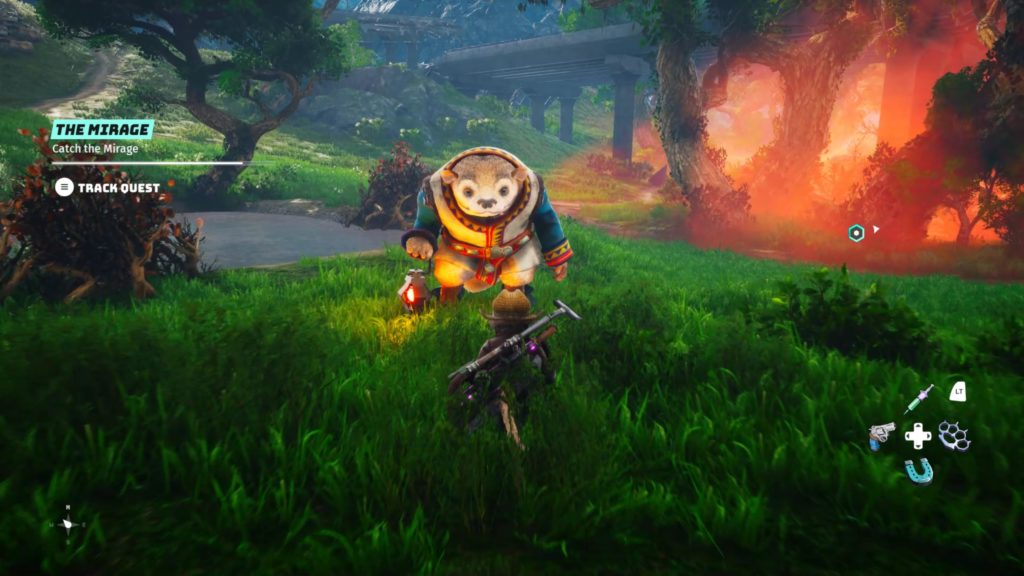
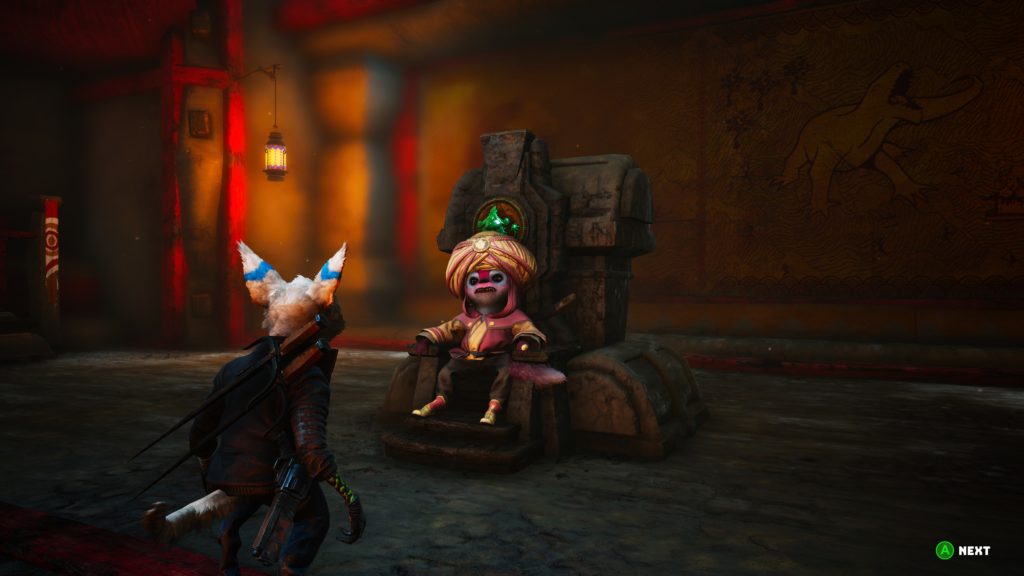
2. Catch the Mirages
Now and then you’ll catch a glimpse of a big white and brown dude holding a lantern. He’s usually a fair distance away, and if you lose sight of him or don’t get to him in time, he’ll vanish for a while and turn up later.
Catch him if you can, for he is the key to unlocking old memories an permanent upgrades for your Automaton. For example,if you want the glider, he’s your man. His missions are quite tough fights, too, but don’t worry: even if you lose you’ll still get your upgrades.
3. Loot everything
As with any open world action RPG, loot is hugely important. You’ll need to break into every box, cupboard, car boot and crate you see. You’ll find consumables everywhere, from medkits to Adrenaline boosters and ammo modifiers. More importantly, though, you’ll find gear – tons of the stuff. As well as gear, you’ll find add-ons for your gear, and weapons parts to craft new swords, axes, hammers, rifles and shotguns.
If a container is glowing gold, red, or purple, it’s even more worth the effort, as that means there’s “superb loot” hidden inside. There’s very little vendor trash in Biomutant, as most of what you find can be used for something or other, even if it’s just to break down into parts.
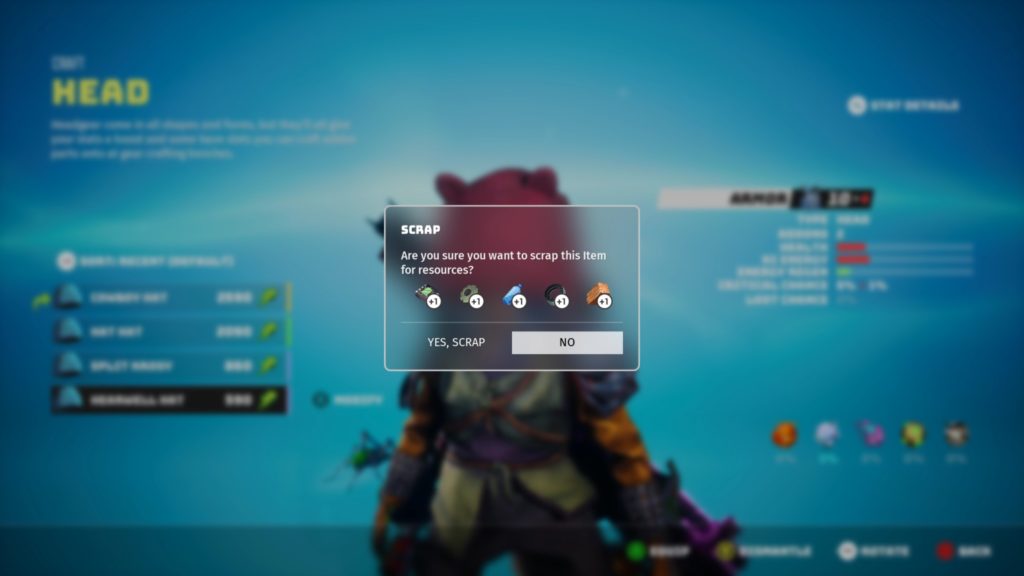
4. Dismantle, don’t sell
Which is a good segue for the next tip: break down everything you don’t want into parts. For the first 5 or 10 hours you’ll struggle to fully upgrade anything because of the resource cost. While there are certainly things worth buying at the various brokers you’ll meet, you should pick up more than enough money simply completing quests and ransacking derelicts without needing to sell anything.
Instead, break everything down to harvest the crafting materials and any mods or add-ons that are attached when you find it.
5. Modify your gear
Also, remember to equip add-ons for everything you’re wearing or using. Add-ons can be found out in the world like any other loot, and will cost a small amount of resources to affix, but they’re absolutely worth it. Most leg armour will have two slots, while the torso can have up to four, the head two and shoulders one each. That’s a lot of extra defence.
Likewise, you can usually attach at least one add-on to your melee weapons to improve the damage. This is well worth doing towards the latter half of your adventure as enemies get much tougher and more frequent.
6. Build up your resistances
Bio-blobs you’ll find out in the world have two uses. The first is to unlock biological mutations such as the ability to vomit acid on your enemies (lovely), but if you’re building a tankier character that doesn’t need all that bio-psi-freak crap, you could opt for the second main use: upgrading your resistances.
The first 20% in each resistance (heat, cold, biological, radioactive, and oxygen) cost one Bio-blob each, soon moving up to two. It’s worth investing here, as the more intrinsic protection you have the longer you’ll last if you inadvertently wander into a hazardous area.
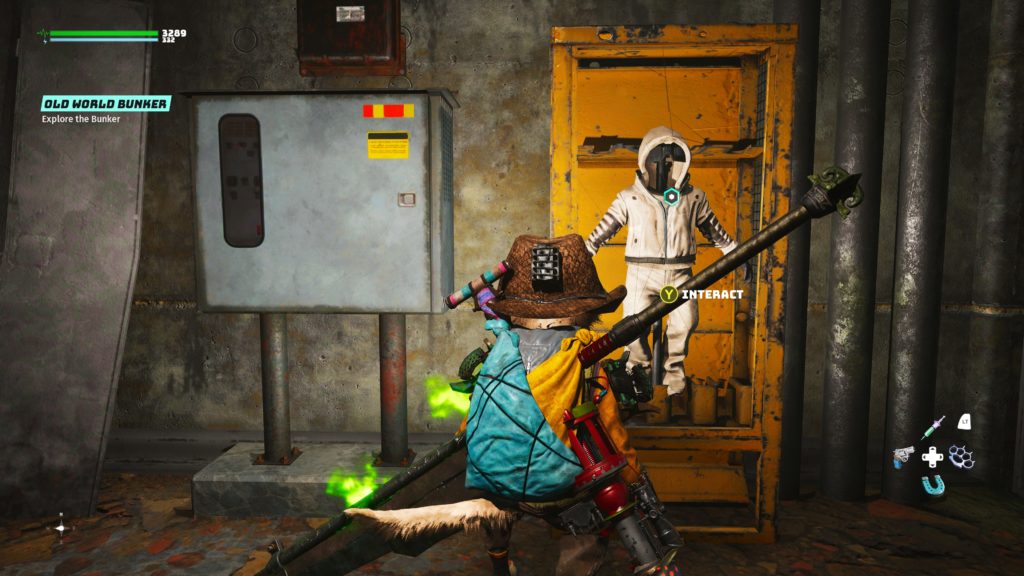
7. Find the Ping-dishes
That being said, you’ll often need 100% protection against a certain element to really explore hazardous areas. Scattered about the world are five special suits that will grant you just that, often allowing you to find the hidden Old World Vaults or various other super useful loot.
The first time you enter a hazard zone you’ll be given a sidequest to find the relevant Ping-dish that will lead you to the suit you need. It’s absolutely worth finding all the Ping-dishes (huge satellite dishes on the world map) as soon as you’re able, as the suits are totally essential. If you get stuck on where to find them, we have a handy guide to help you out.
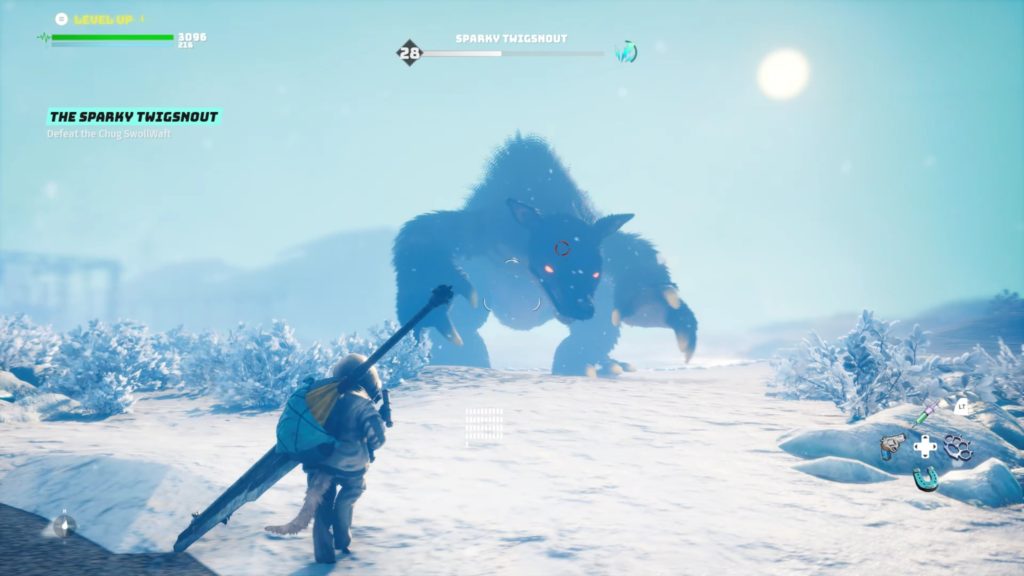
8. Hunt the monsters on the map
Speaking of the map, if you examine it closely you’ll notice the grey impressions of many buildings. If there’s no name above them, it means you haven’t found them yet. While there are tons of places worth exploring in Biomutant, pay particular attention to the outlines of huge monsters in certain places.
These eight behemoths are mini-bosses known as key-swallowers, and if you find them and defeat them, they’ll cough up an Old World Vault Key. The Vault Key will then give you a side-quest to find out what it unlocks, which will lead you to one of the Vaults. There’s almost always a unique weapon or item inside, as well as a bunch of shiny loot.
9. Finish all the Tribal War quests
Mild spoiler warning: there are six tribes with which you can align, but you’ll more than likely choose Jagni or Myriad as they’re the first ones you meet. After defeating two rivals, you’ll be given the option of ending the war early, at which point all other tribes will cease hostilities toward you.
While this is a good thing if you’re trying to expedite the ending, you’ll miss out if you do it. Each tribe has a unique weapon such as the Myriad’s boomerang, and an outfit. You won’t get these if you don’t either defeat or subjugate your rivals.
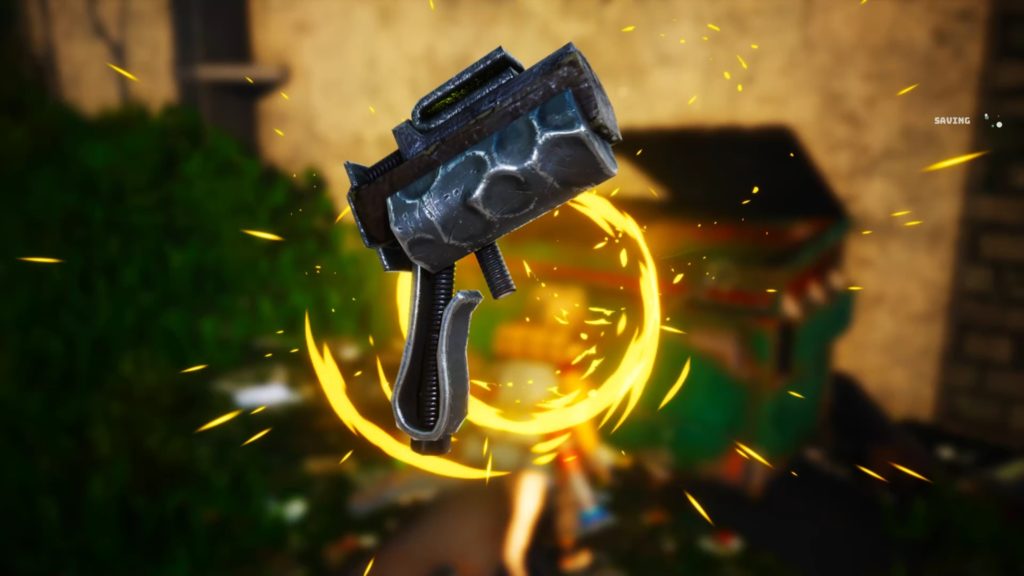
10. Upgrade the Klonkfist
While you can use the Klonkfist as a weapon if you want to, it’ll swiftly find itself outmatched. Its primary use is to smash down broken walls to find secrets and hidden loot. In no time at all, you’ll find walls too strong to break down with the standard Klonkfist. At this point, you’ll need to upgrade it.
Seek out an NPC named Klick, who will give you instructions on how to supercharge the metal in the device. Do this as early as you can, as the heavier walls often hide very lucrative gains. For a full breakdown of how to do this, check out our guide.
11. Remember your mutations and perks
I add this only because I went through a six to eight hour chunk of the game forgetting I could use skill points to activate General and Class-specific perks. While you’ll unlock new Wing-Fu moves with each new weapon, you need to go into the menu to activate them.
While there, have a look at the Perks tab and the Mutations tab to boost your chances of survival in Biomutant’s beautiful yet dangerous world.
12. Unlock the Levitation skill
Most skills you can spend your Psi Points on are worth having. One ability leaves scorching trails of fire behind you to to immolate your foes; another allows you to create a patch of frozen ice that makes your enemies slip and slide all over the place.
One skill I found super useful as a primarily ranged character was Levitate. It costs 10 points, which will take a while to amass. It’s worth getting though, as it allows you to rise above the fight and rain death from on high. This is particularly useful in the big group fights with enemies that like to charge at you.
13. Follow the Automaton trails
You may have noticed an option for Appearance as well as Function in your Automaton menu. This is because you can unlock a variety of skins for the helpful little sod.
Quite often you’ll find Old World noticeboards, at which point the Automaton will pick up a trail and you’ll get a quest to follow it. Some are useless so it may be tempting to ignore them, but don’t. Some of them will lead to a nice big gift-wrapped box containing a new skin. Grab them all!


